
I have to admit, I’ve been looking forward to this phase of the build for some time now. The Tomcat’s TPS scheme weathers in a very interesting way and painting it was going to be a blast.

As with all my models, this phase started with Mr. Surfacer 1500 black. I did pickup some seams in the primer, so I sanded them down and resprayed some more Mr. Surfacer. After here however, I took a very different direction in the painting of this model. I decided to use the Layered ink patina technique popularized by modeller Kris Sieber (@Luftraum72) instead of my standard marbling/preshading approach. What this called for was the application of solid colour over top the primer before stippling liquidex inks over the paint.


Few paints spray as smoothly as SMS and it almost felt criminal covering these layers up. To start, I brushed X-20 Acrylic thinner over top the paint in preparation of the Liquidex Titanium White being brushed over top. After the correct about of ink had been applied I quickly began stippling the ink with a coarse stippling brush. It’s important to work fast here, the ink drys quickly and once it does it’s set in its pattern. You can add more x-20 onto the dried ink to activate it again however this is a hit and miss technique and should not be relied upon.


Following this layer, I diverged from the established process and wanted to re-entroduce to panel line variation in the finish. To do this, I masked off some sections and painted them in diluted grey, black, brown and white. It’s important not to go overboard in this step as it will take away some the contrast from the white acrylic ink. Following the panel line variation layer, I apply an approximately 60% opacity layer of the blue grey colour. This is to tint the section back towards the desired colour tone. The last step is to apply Liquidex Carbon Black ink and stipple it in the same manner as the titanium white. The carbon black is allowed to dry before it is almost entirely wiped away with X-20 thinner. I mist one final coat of blue grey before completing the specific section I am working on.
Below you can see various parts all at different stages of this gathering process. The Fuselage has been painted in Blue grey with no colour modulation. The wing has been stippled with white ink, had specific panels shaded, and the 60% opacity grey layer added. The stabilizer is complete with the Black ink and the final grey mist layer. This photo does a really good job at demonstrating the stages of this weathering process.

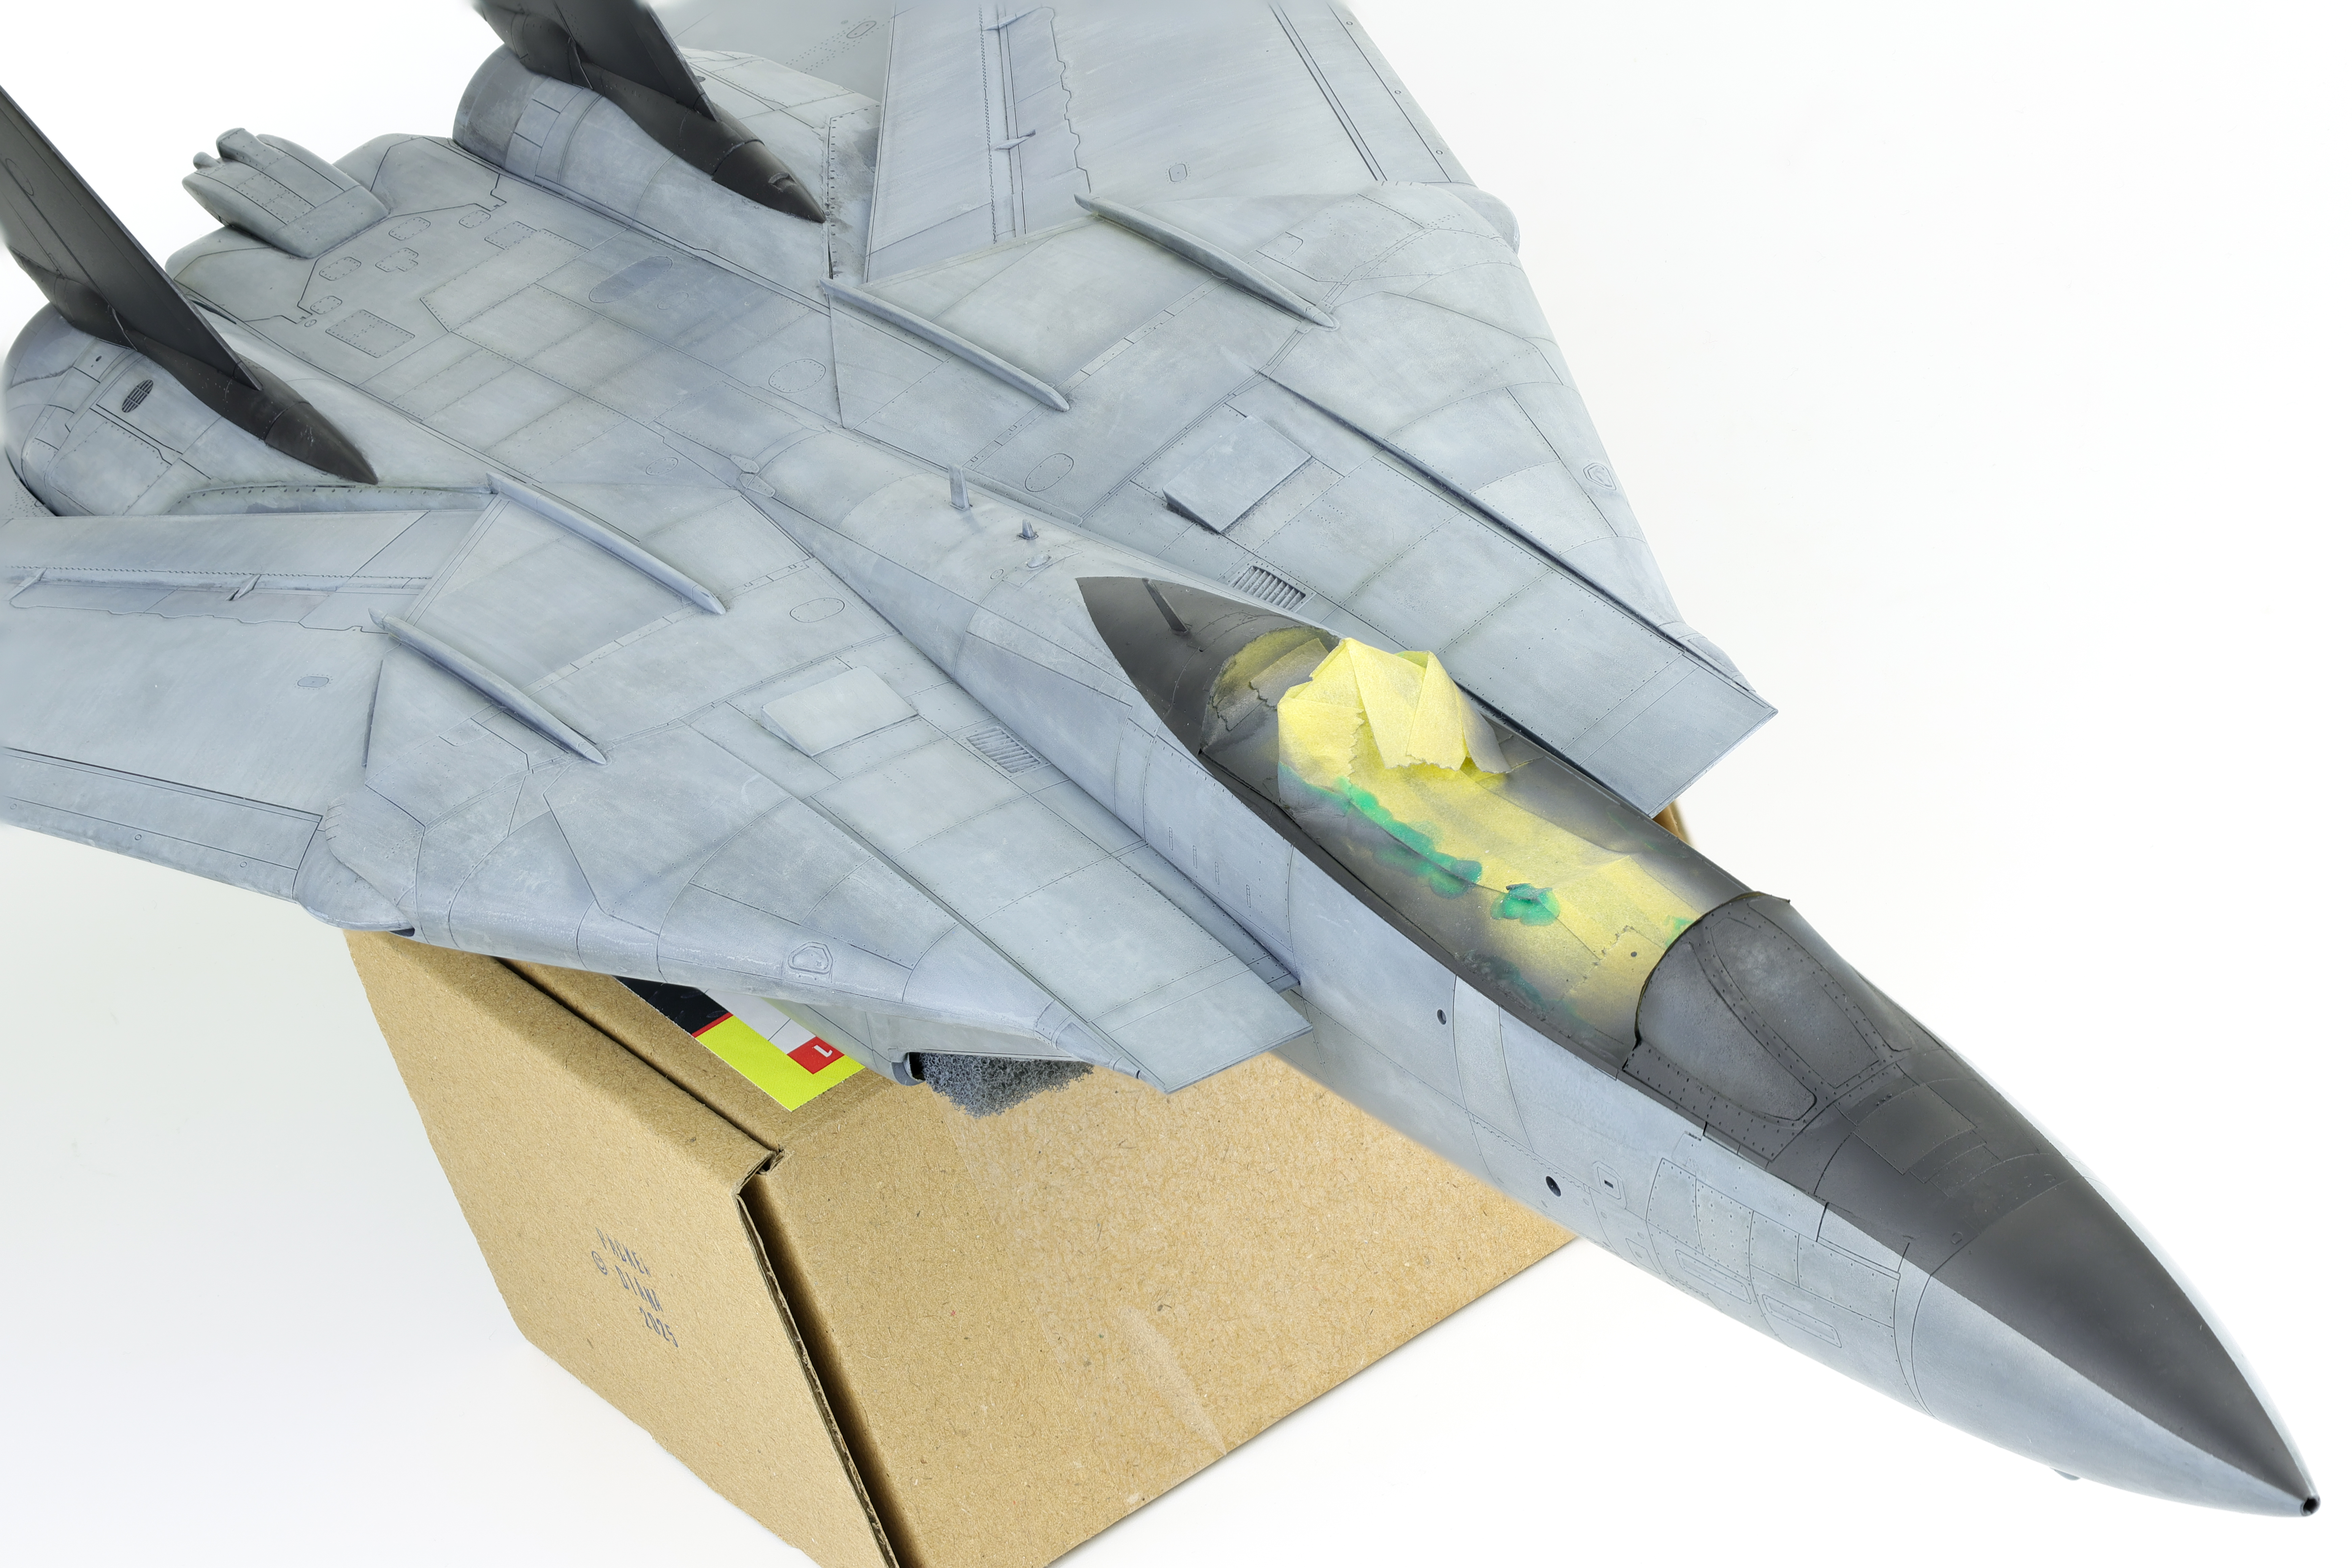
With the sub assemblies well on their way, I got to work painting the main fuselage. I had painted this section here and there whenever I had some spare Blue grey in my airbrush but eventually the time came to finish this task of the build.


As always, the SMS paint went on buttery smooth and provided a nice base for further work with the acrylic inks. I did however, chose to deviate from the process followed during the wing and stabilizer painting and chose to highlight some panels prior to applying the white ink. I did this because I felt that shading after the ink was applied was covering it up too much and wanted to see if shading specific panels would still be visible after several ink applications and shading.


Following the panel variation effect, I applied the first layer of Liquidex Titanium white, as seen in the earlier steps, then a layer of colour modulation over top. I decided to introduce a new process at this point, adding a random panel line pre-shade with a dark brown/black colour. I continued with the pre-shading, adding some SMS Gunship Grey in order to highlight select pannels.


After the preshading was completed, work could move on to blending the layers together. First, I needed to seal in the previous work with a Lacquer satin varnish. This step is crucial because further inks will be applied and if done without the varnish they will begin to re-activate the underlying Titanium White layer.
With the Titanium White ink sealed in, I then got to work applying a 2/1 mixture of Carbon Black and Titanium White ink in the same manner of the initial layer (stippled on with a stiff brush, over top X-20A). After the ink has had a chance to dry, A paper towel moistened with X-20A is rubbed over the surface, removing the majority of the black in, with it remaining in very limited parts of the surface.


At this stage, the Model is very near to its finished colour however some final tuning is required to get the look that I’m after. If left in its current state, the model would be somewhat over weathered. To remedy this, I Apply a very diluted layer of more SMS Blue Grey in order to achieve the final colour of the F-14. I am essentially slowly blending everything together in the same shade that I started this process with. The end result is a highly realistic TPS finish that has already been weathered somewhat.


After completing the final Blue Grey blend coat, I could turn my attention to the scheme elements for this specific F-14. The specific aircraft I’m building was a VF-33 bird in the squadron’s farewell livery, featuring black tails and a black cockpit accent. This necessitated some masking as I wanted to paint these section prior to spraying the gloss coat. This process was pretty straightforward and just required some tedious masking and minor colour variation effects.


With the completion of the primary paintwork, this portion of the build was complete! I then gloss coated the model before starting the decals.


Leave a Reply