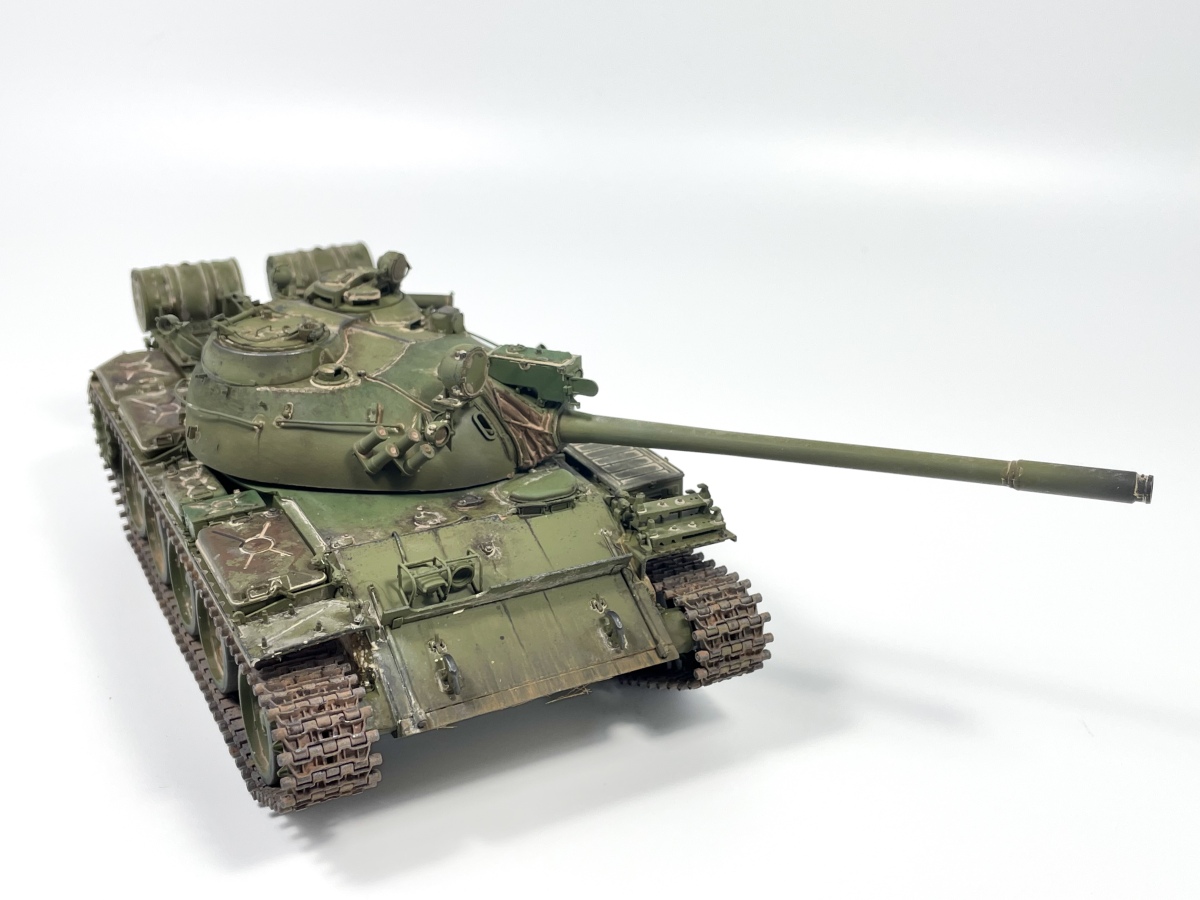
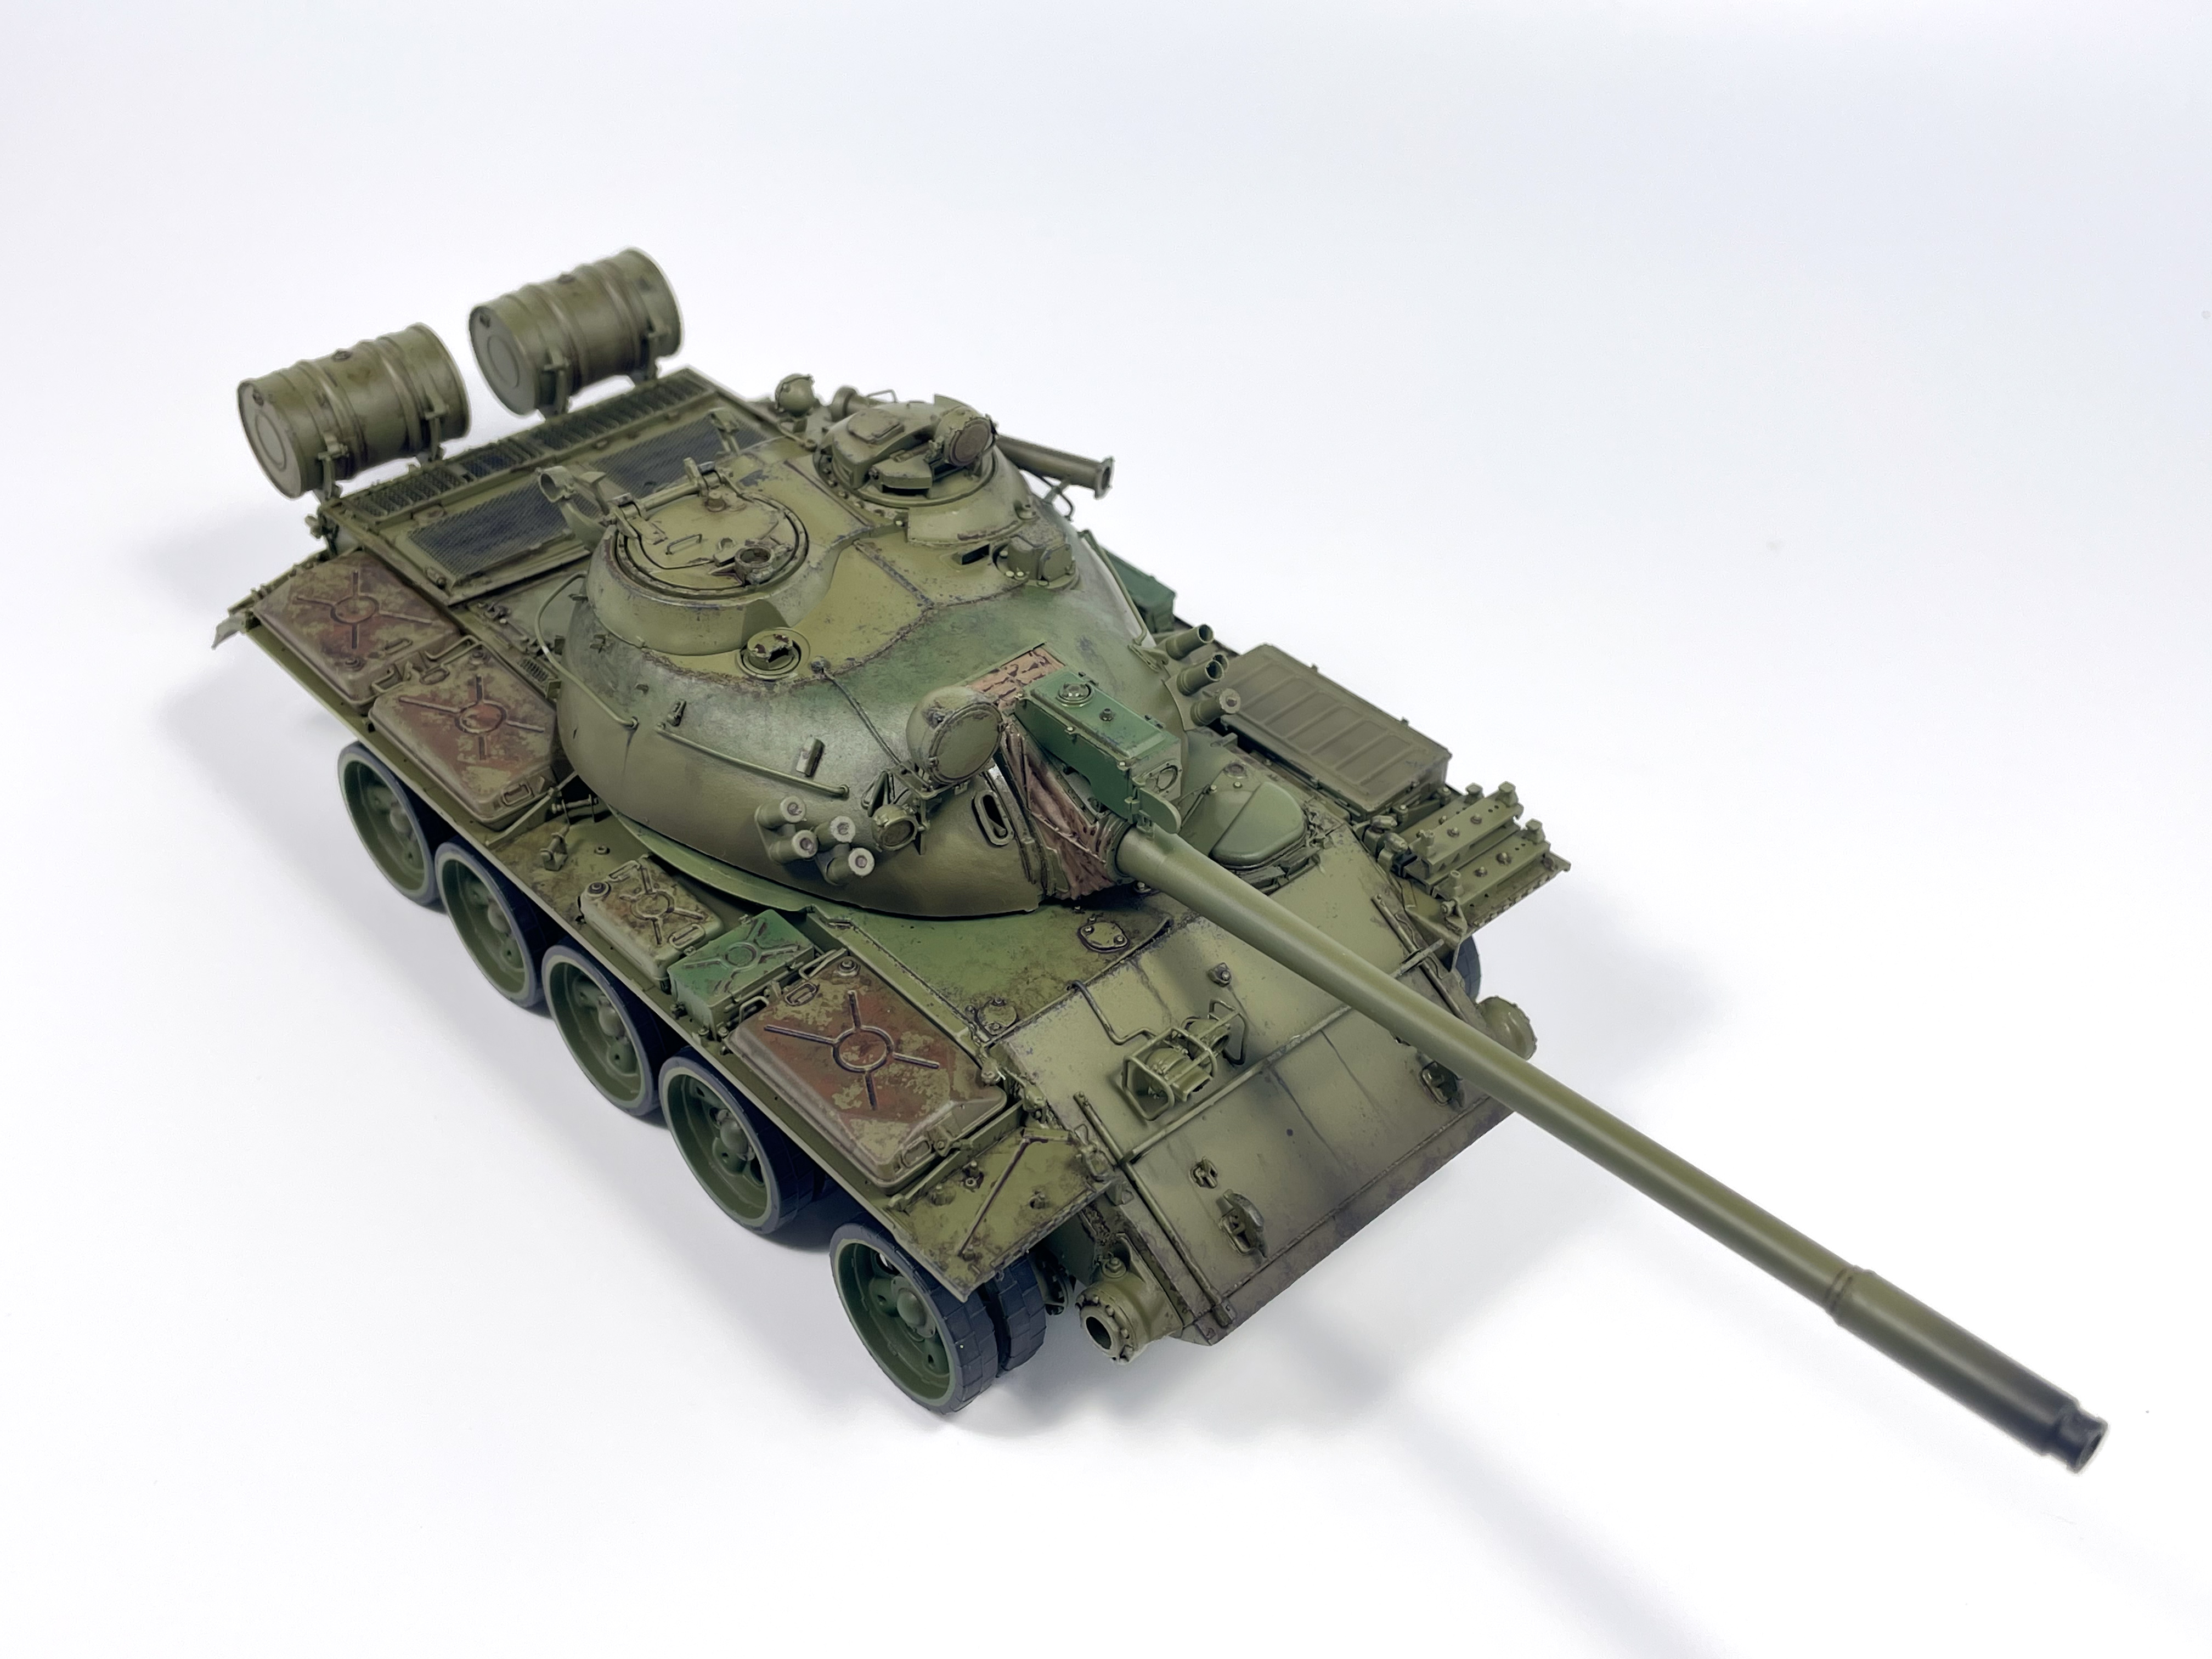
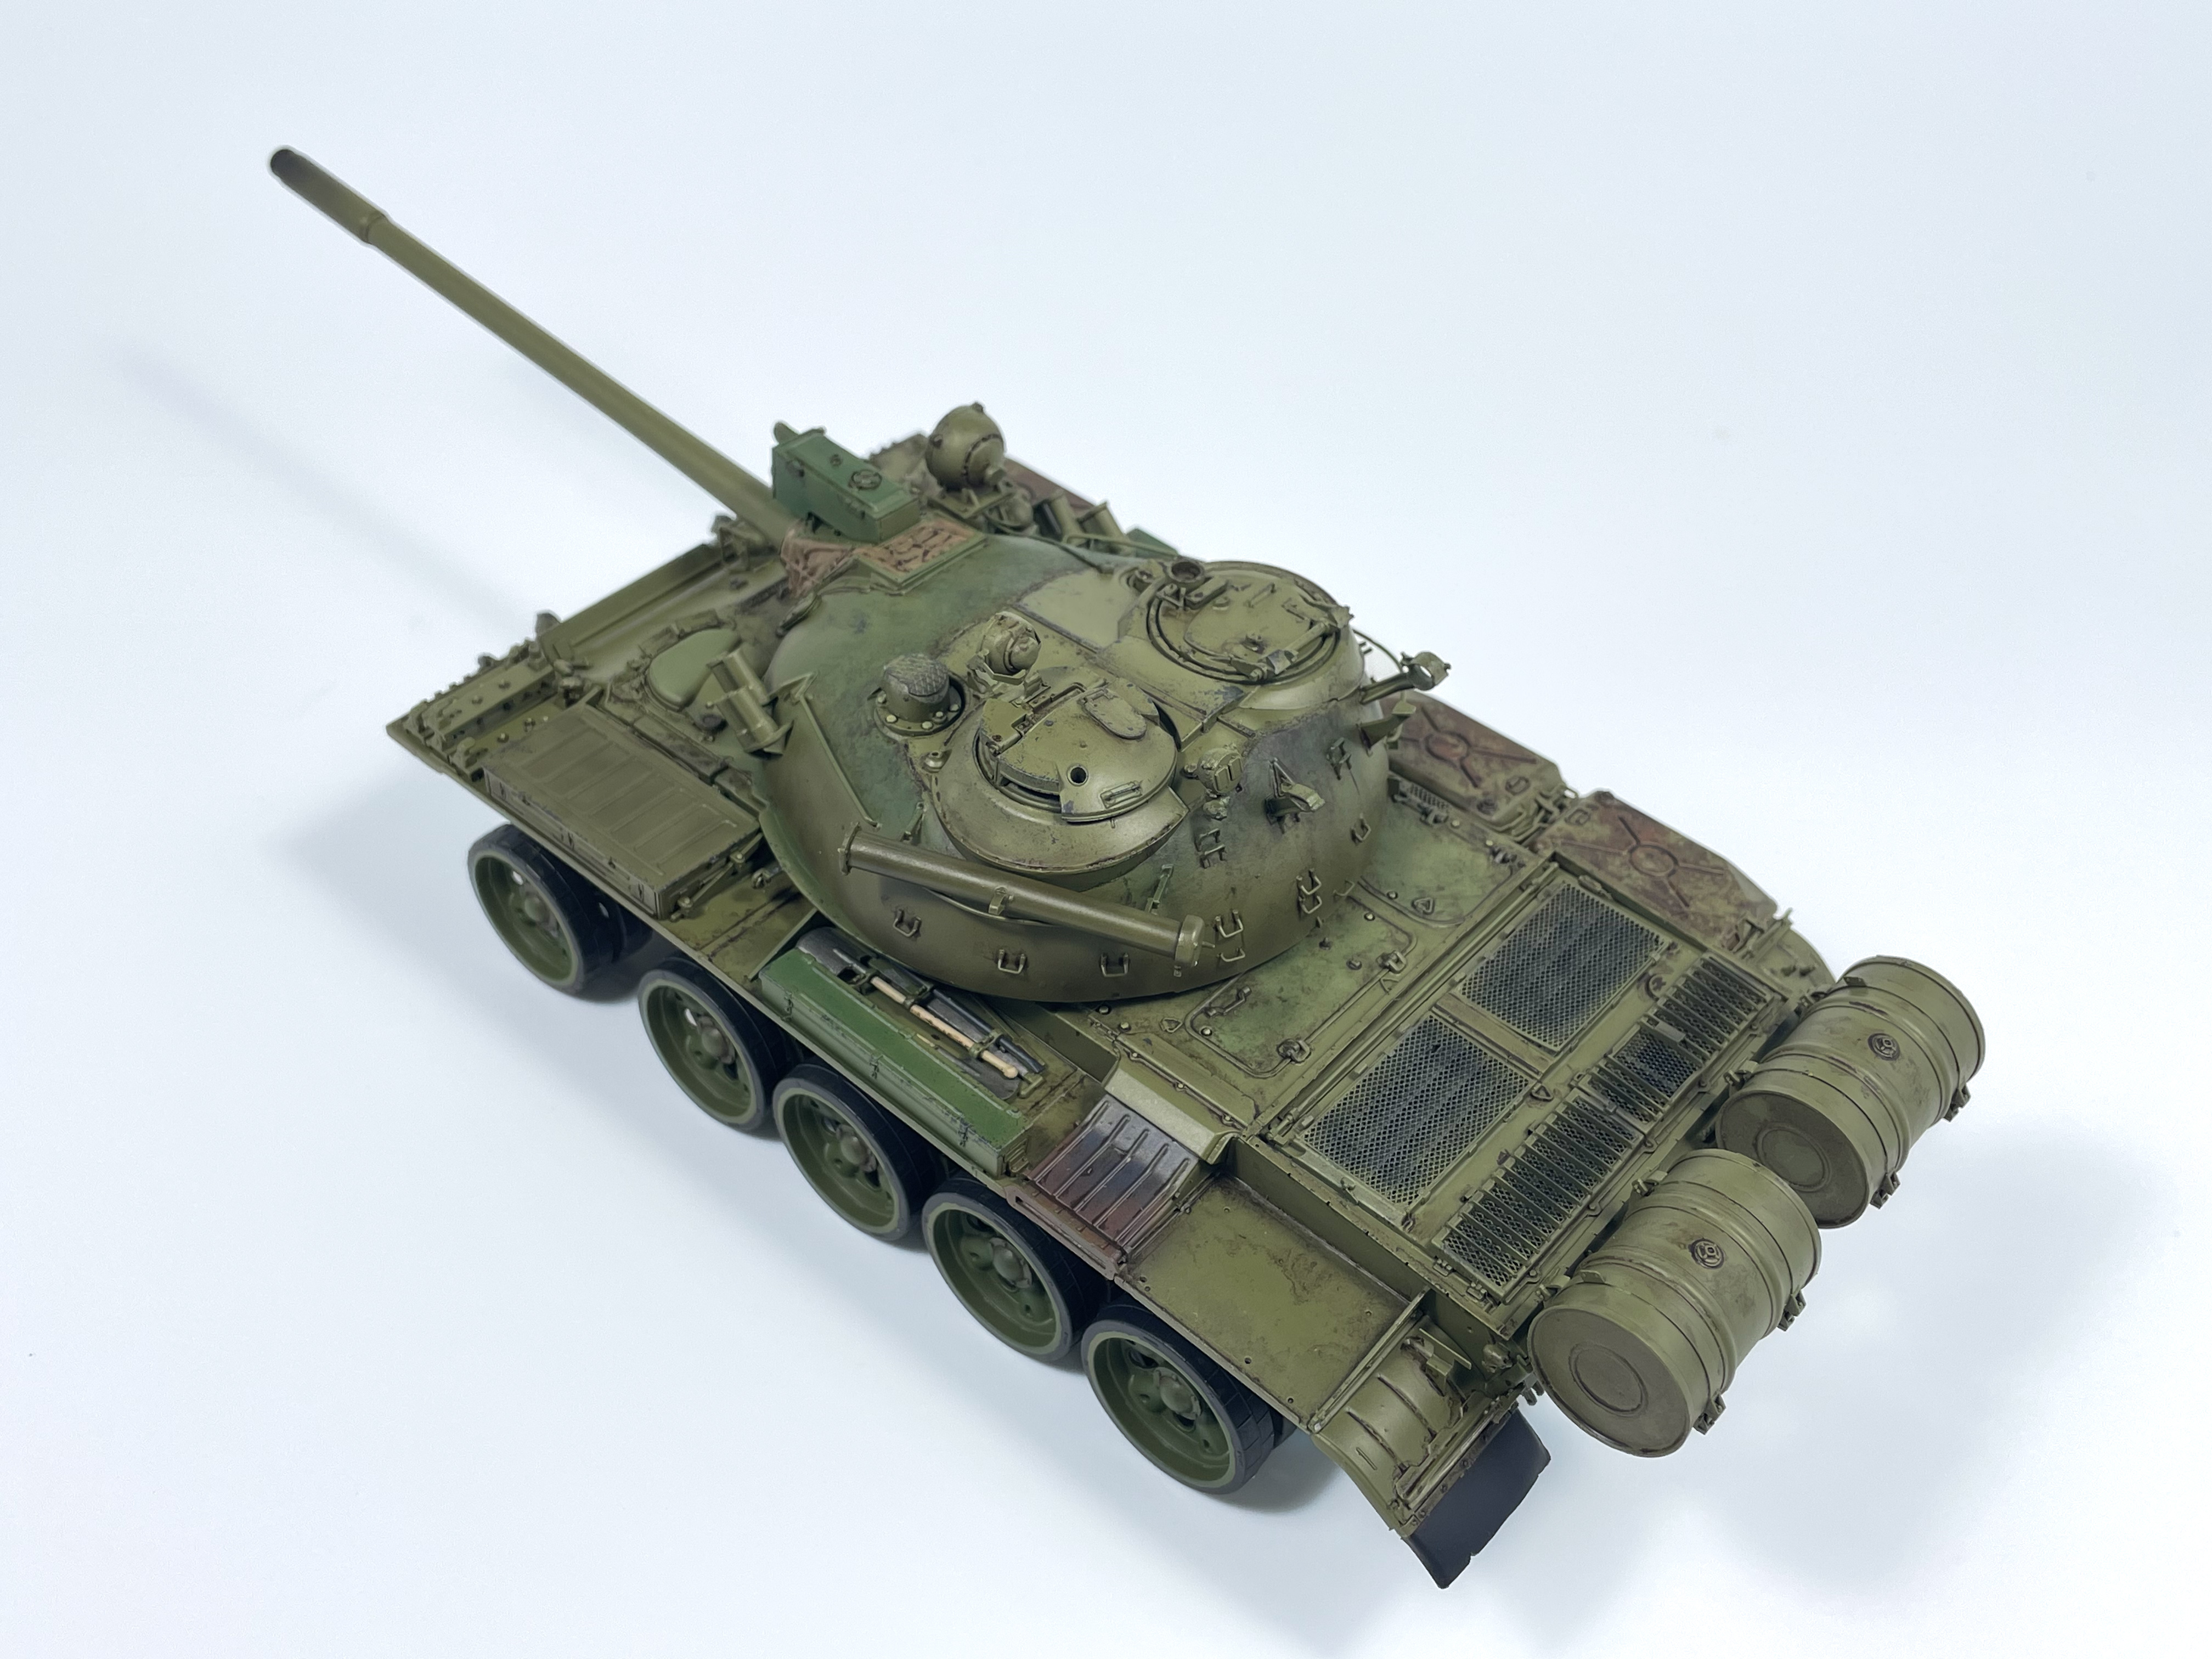
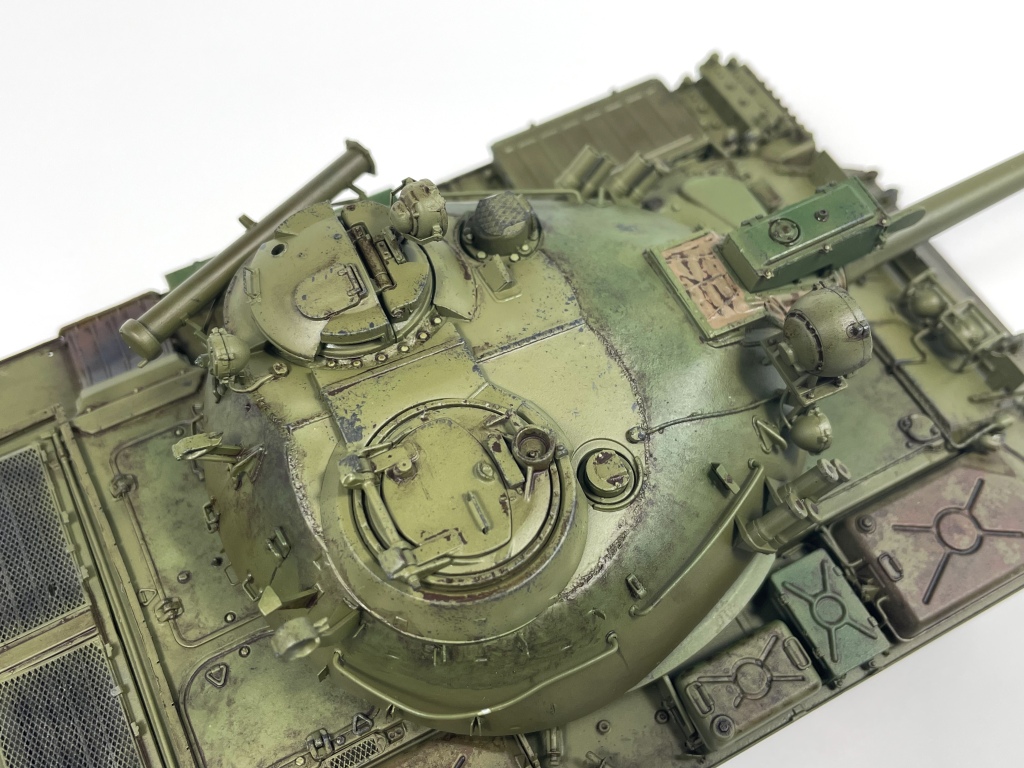
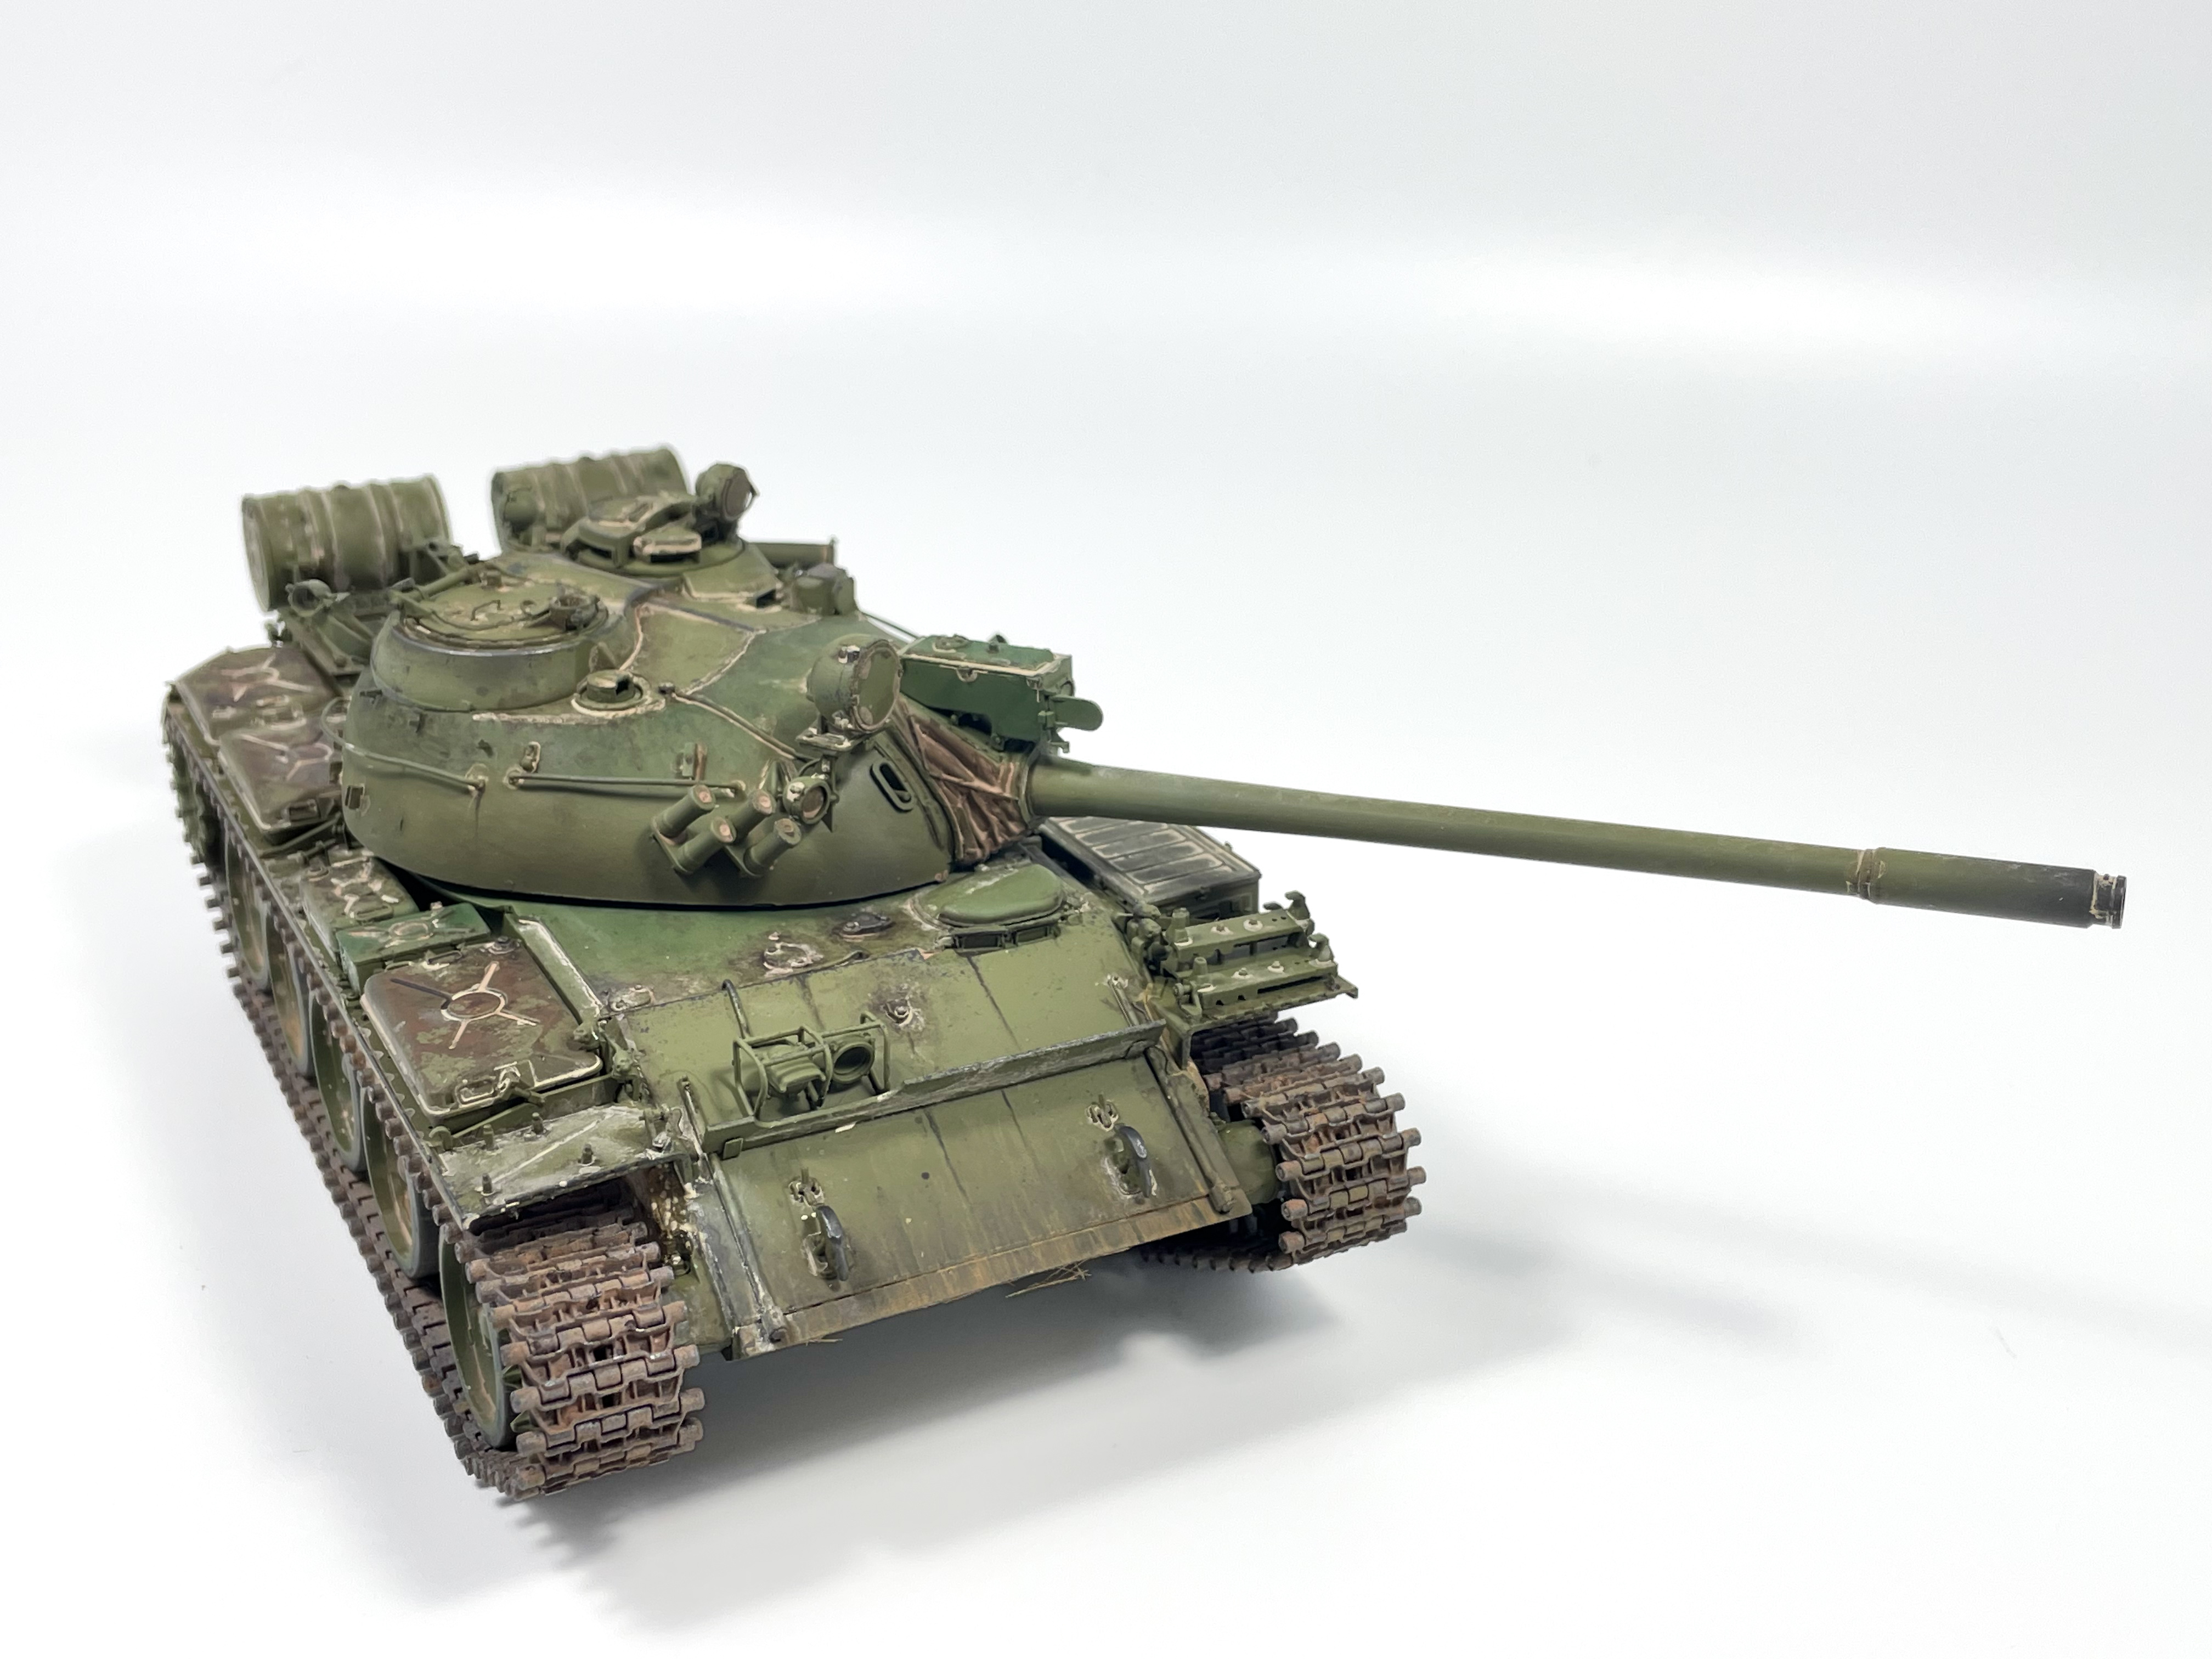
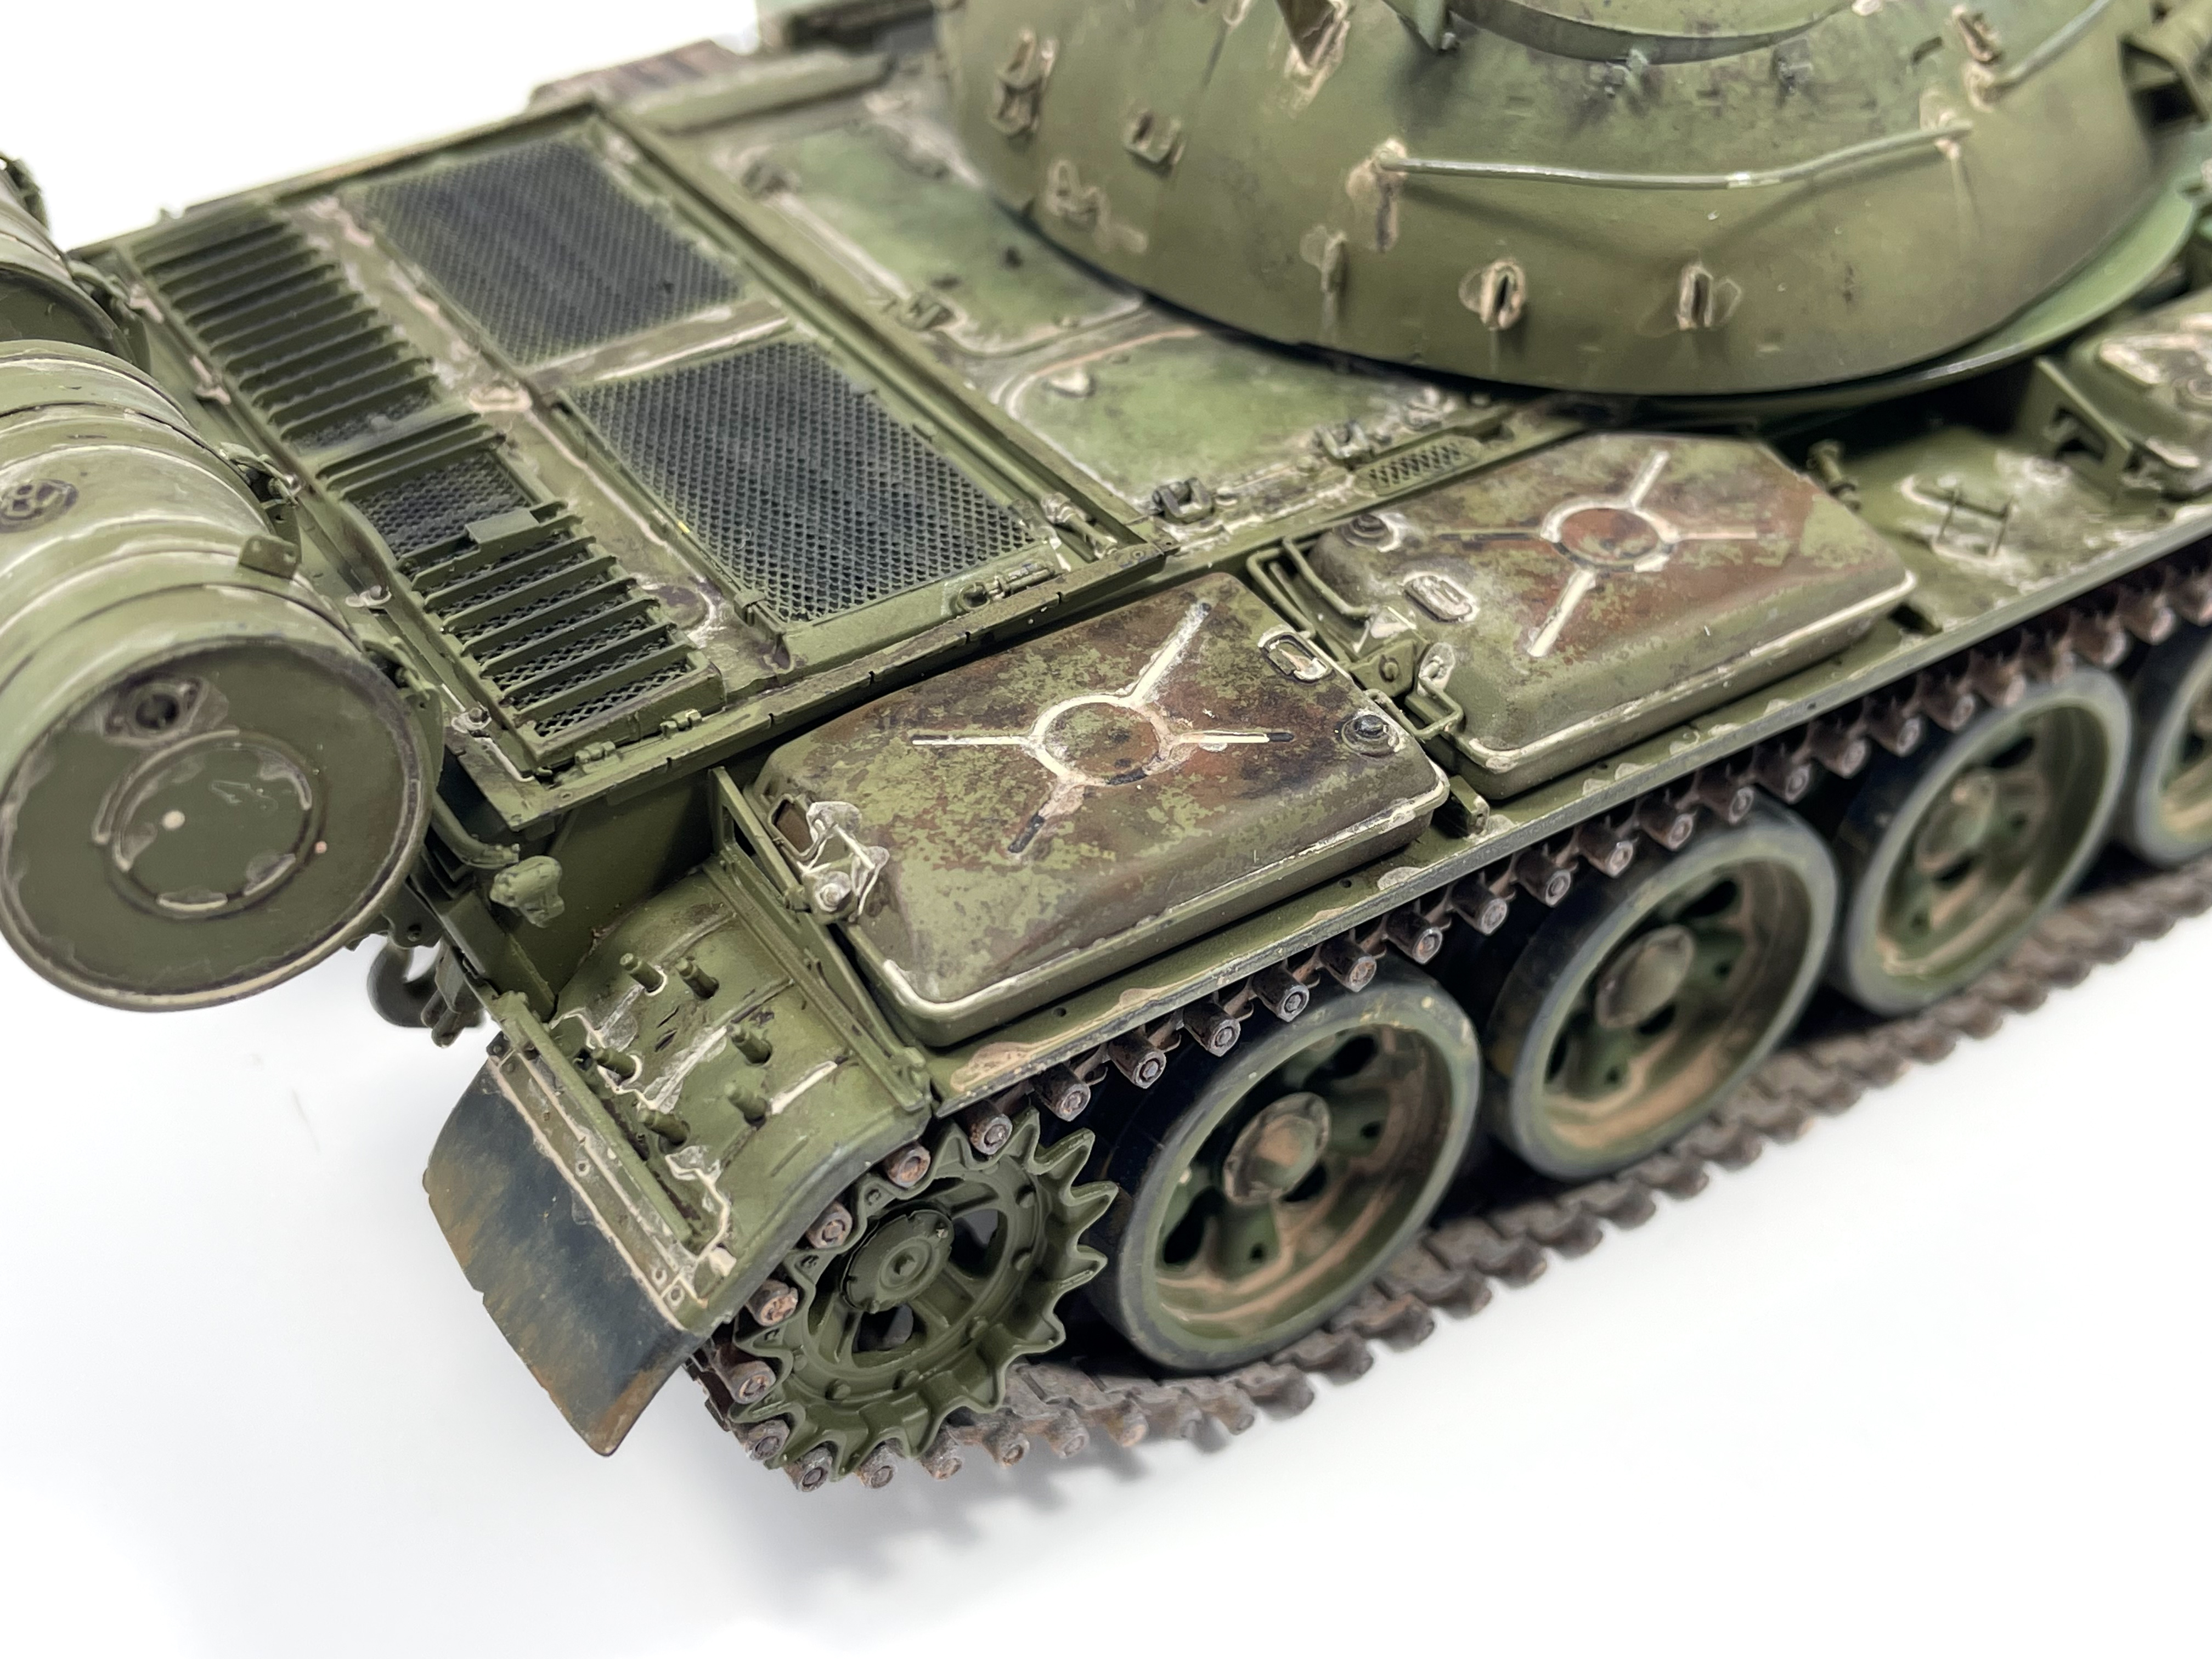
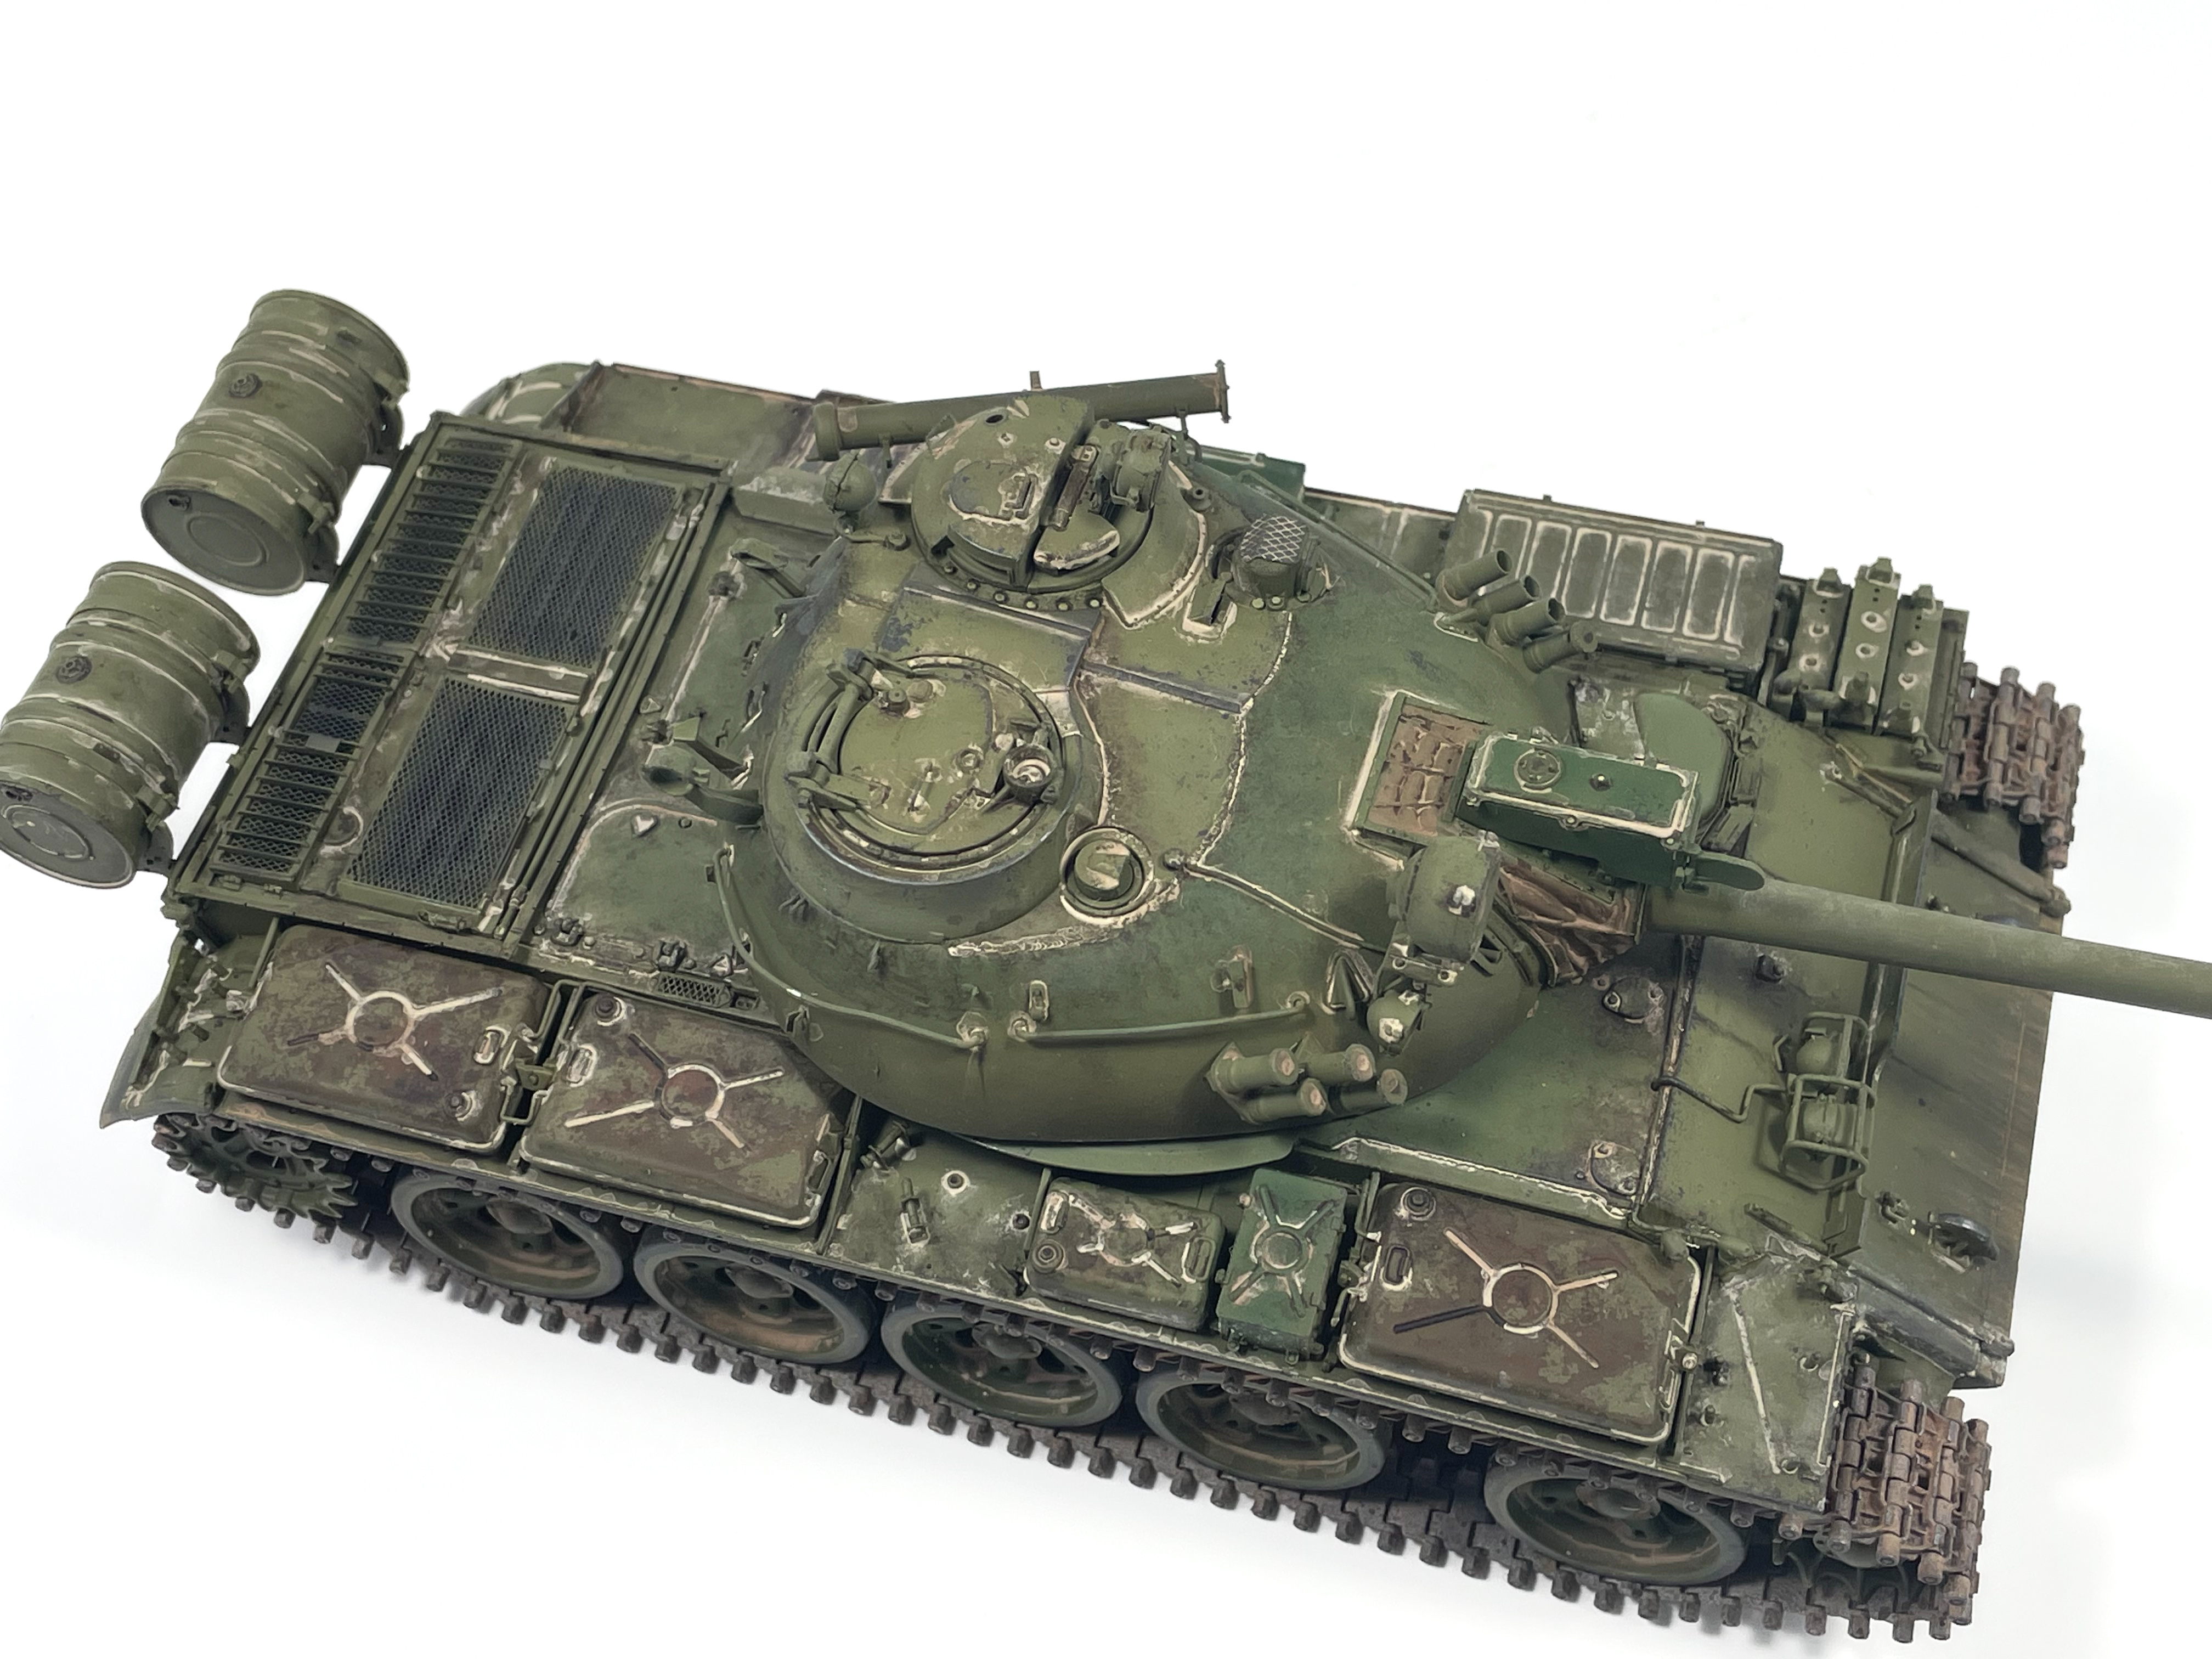
Miniart’s T-55 has been in progress in one form or another for almost two years now. It’s survived being stuffed in a box and a move across the country. There’s a few reasons why I’m only getting around to finishing it now, namely that I was more interested in other projects and that it’s a complex kit and not one you’d try to finish when being away from the hobby for a sustained period of time. I’ve slowly picked away at it for the past year but with a new year returns an old build as I’m determined to start the year by finishing off this shelf queen.
In starting the weathering process I’m reminded that conceptualizing the final result *before* beginning the painting process is needed for a good result. In slowly chipping away on this build I painted a layer of 4BO with no real direction as to what I wanted the final result to look like. Looking back this was a mistake, as I would have liked to add some chipping effects via the hairspray method. This mistake could be salvaged however and I decided to use this build to experiment with post shading, colour modulation and other heavy weathering effects. Basically I want to push this build and really go far with the weathering and pigments to get a better understanding of what works and what doesn’t. I settled on a dusty finish of a vehicle set in a desert environment and I think the green of the tank will contrast nicely with the brown environment it will be set in.
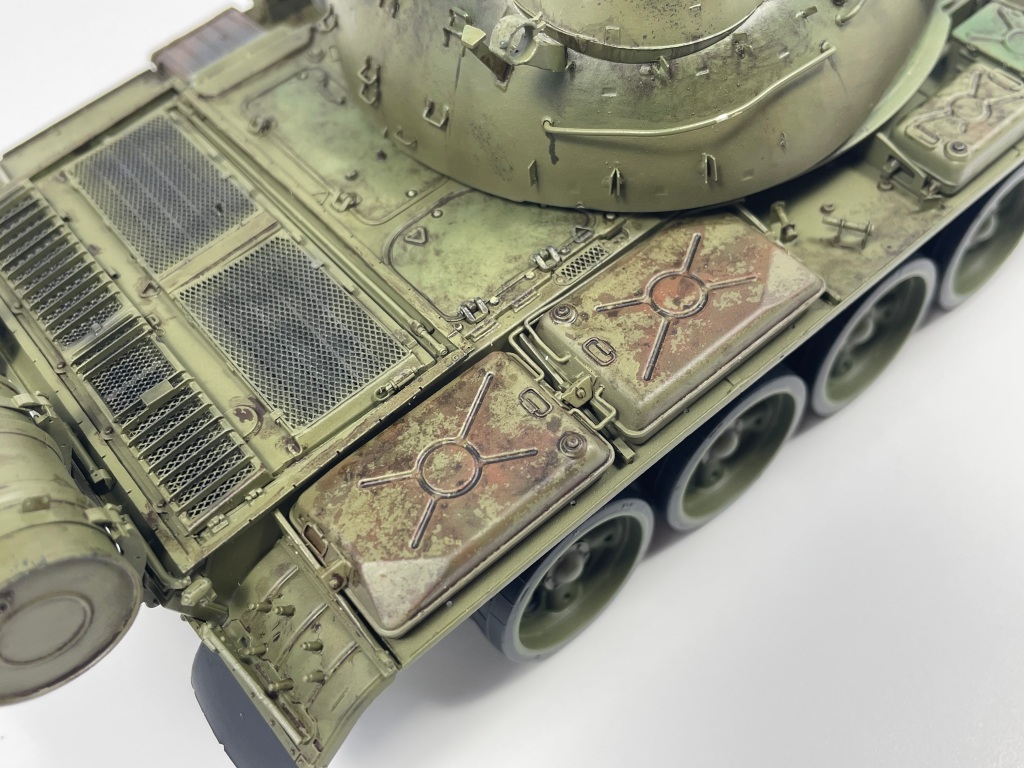
The weathering process started with adding some rust highlights by spraying some various rusty shades on the fuel tanks to create some contrast between the tanks and the vehicle hull. I then opted to treat the fuel tanks to a chipping effect to simulate areas where the paint has peeled away and exposed the rusted metal underneath.
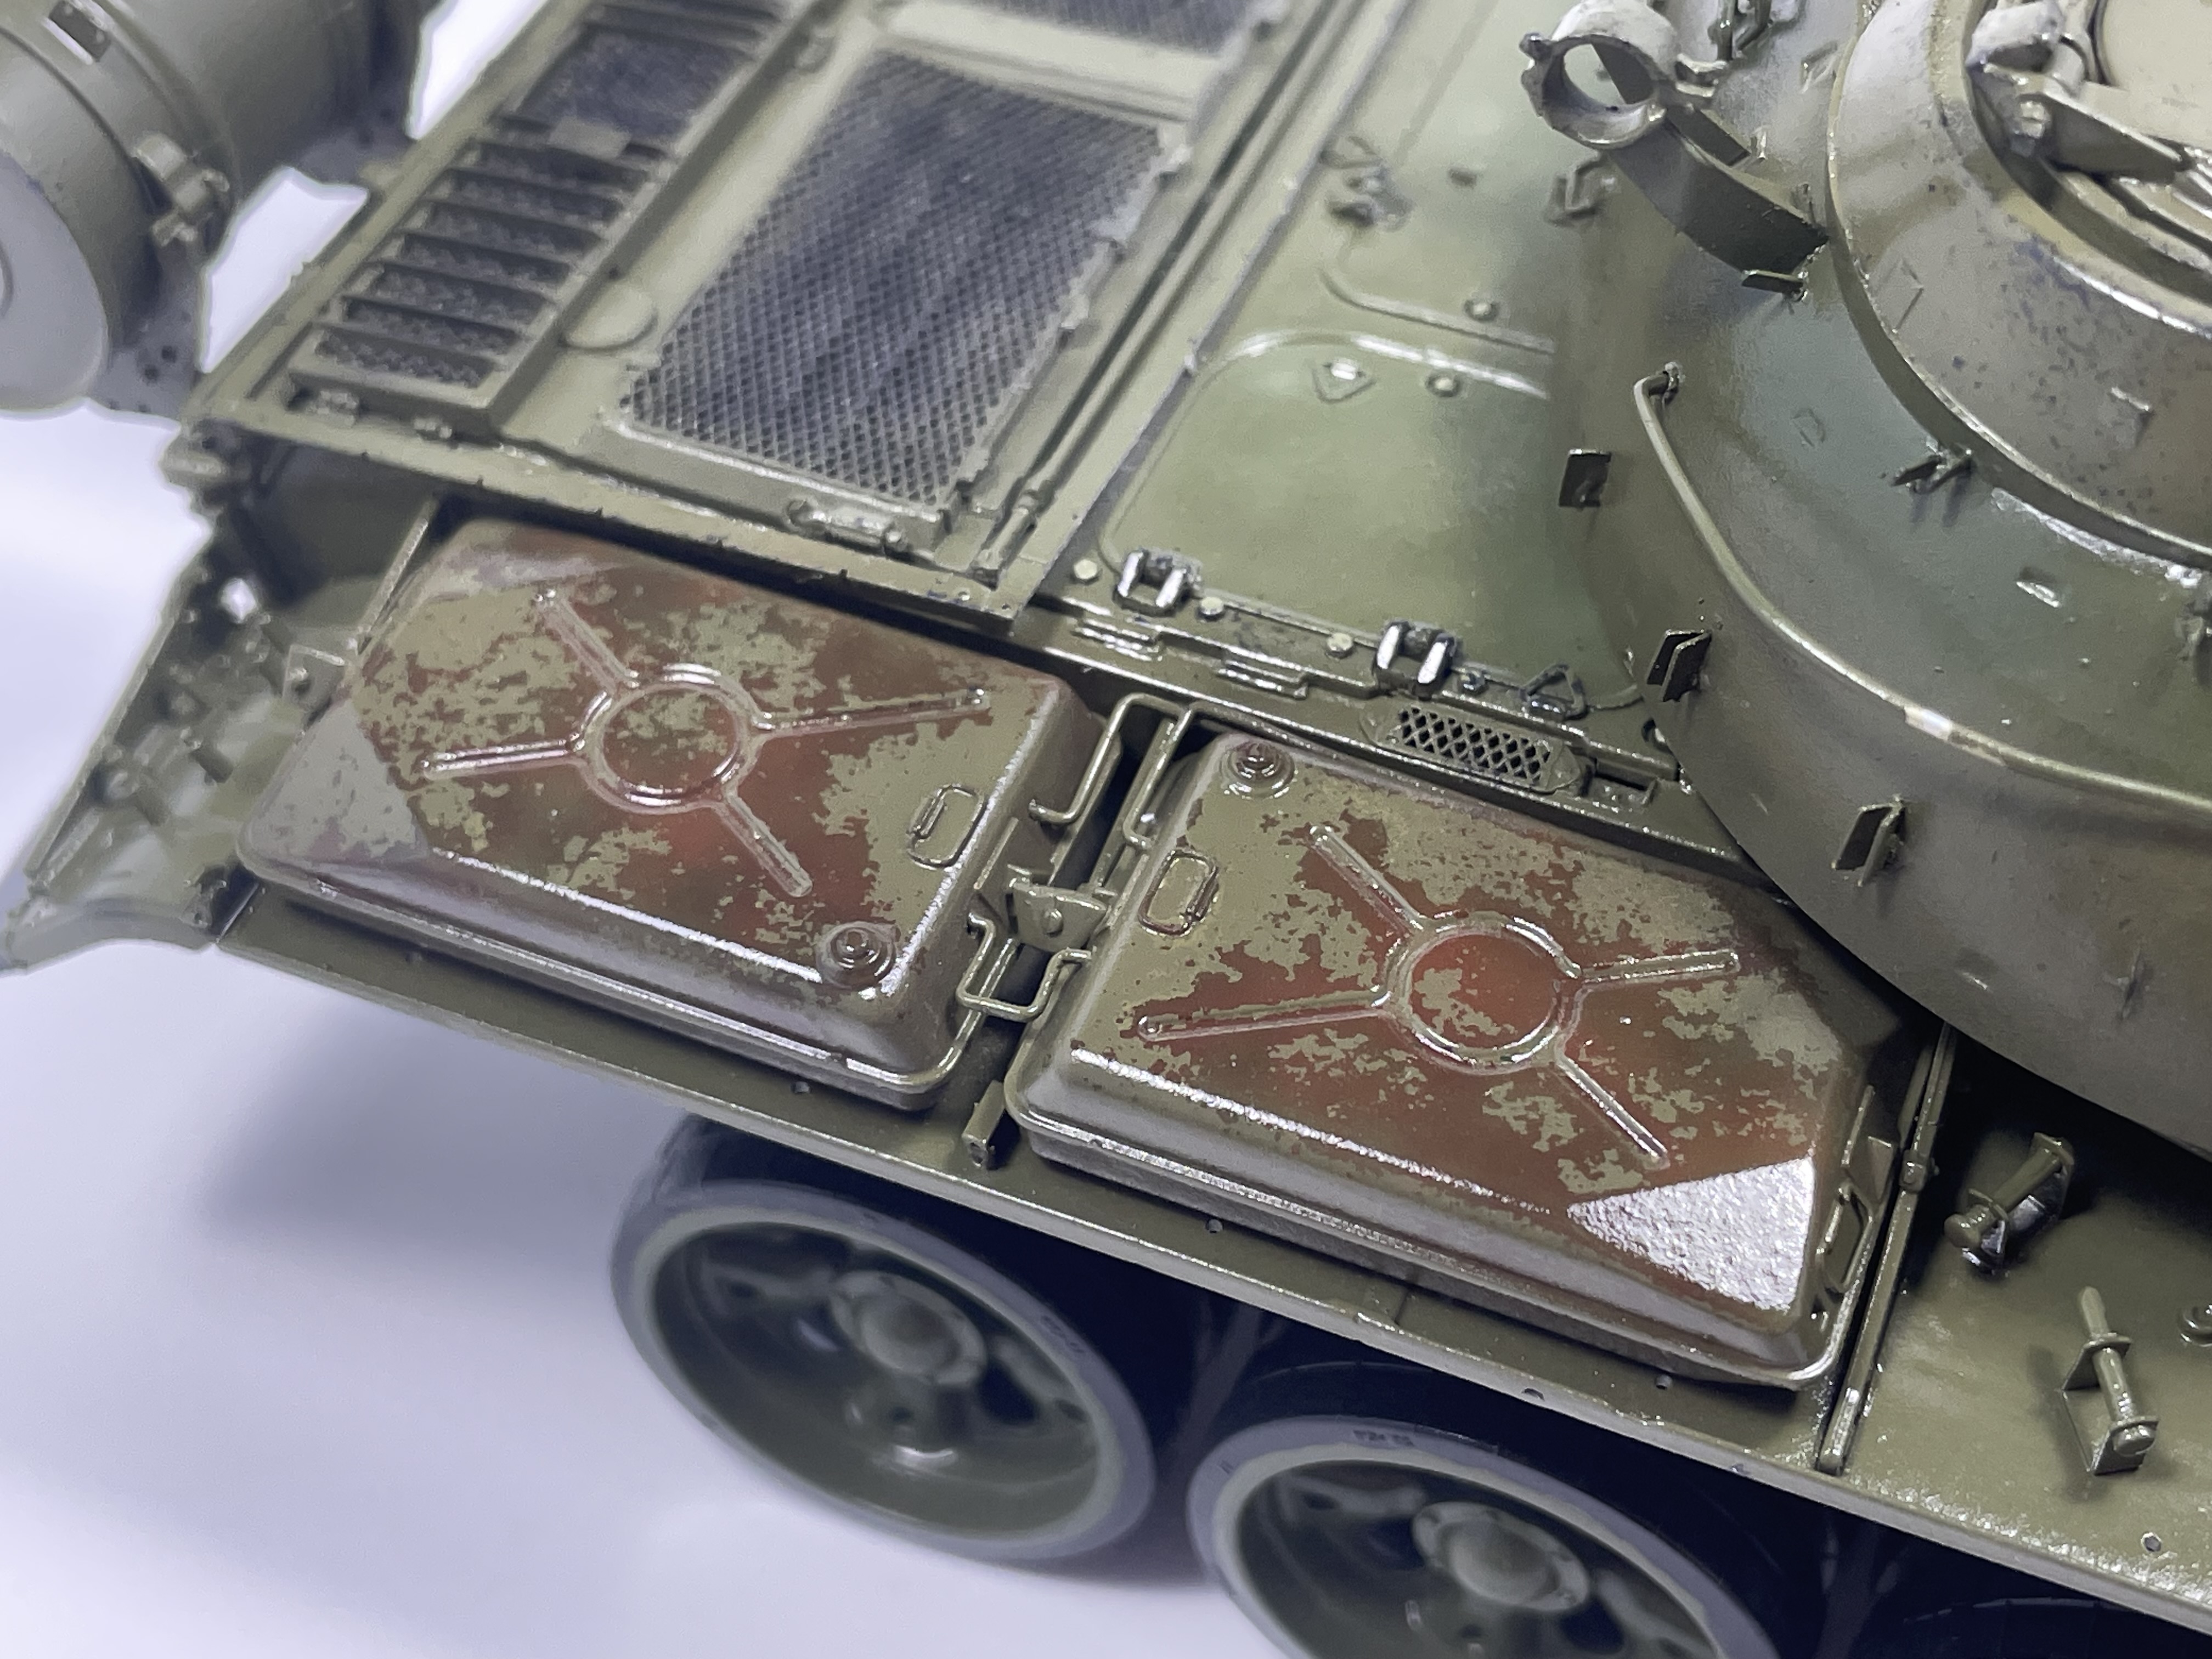
After getting the tanks where I wanted them, I hit the model with a gloss coat to seal the paint prior to an oil pinwash. Normally I’d stick with satin finishes on armour but seeing as there were a lot of details for a wash to skink into I opted for the gloss coat in this stage. After the pinwash I used VMS Satin to seal the model again before moving onto further effects. I opted for a satin coat instead of working over a gloss surface because it would allow for easier blending between the various effects I wanted to use.
Initial weathering was comprised of enamels from MIG using various grime and fuel stain effects. I like how this initial stage turned out although I think I need more practice with enamels as they are not my go to as much as oils are. That said, I like how “grimy” I was able to make the surfaces look and how the staining interacts with the colour modulation. This phase was only meant to be a base for the pigment work which will come next.
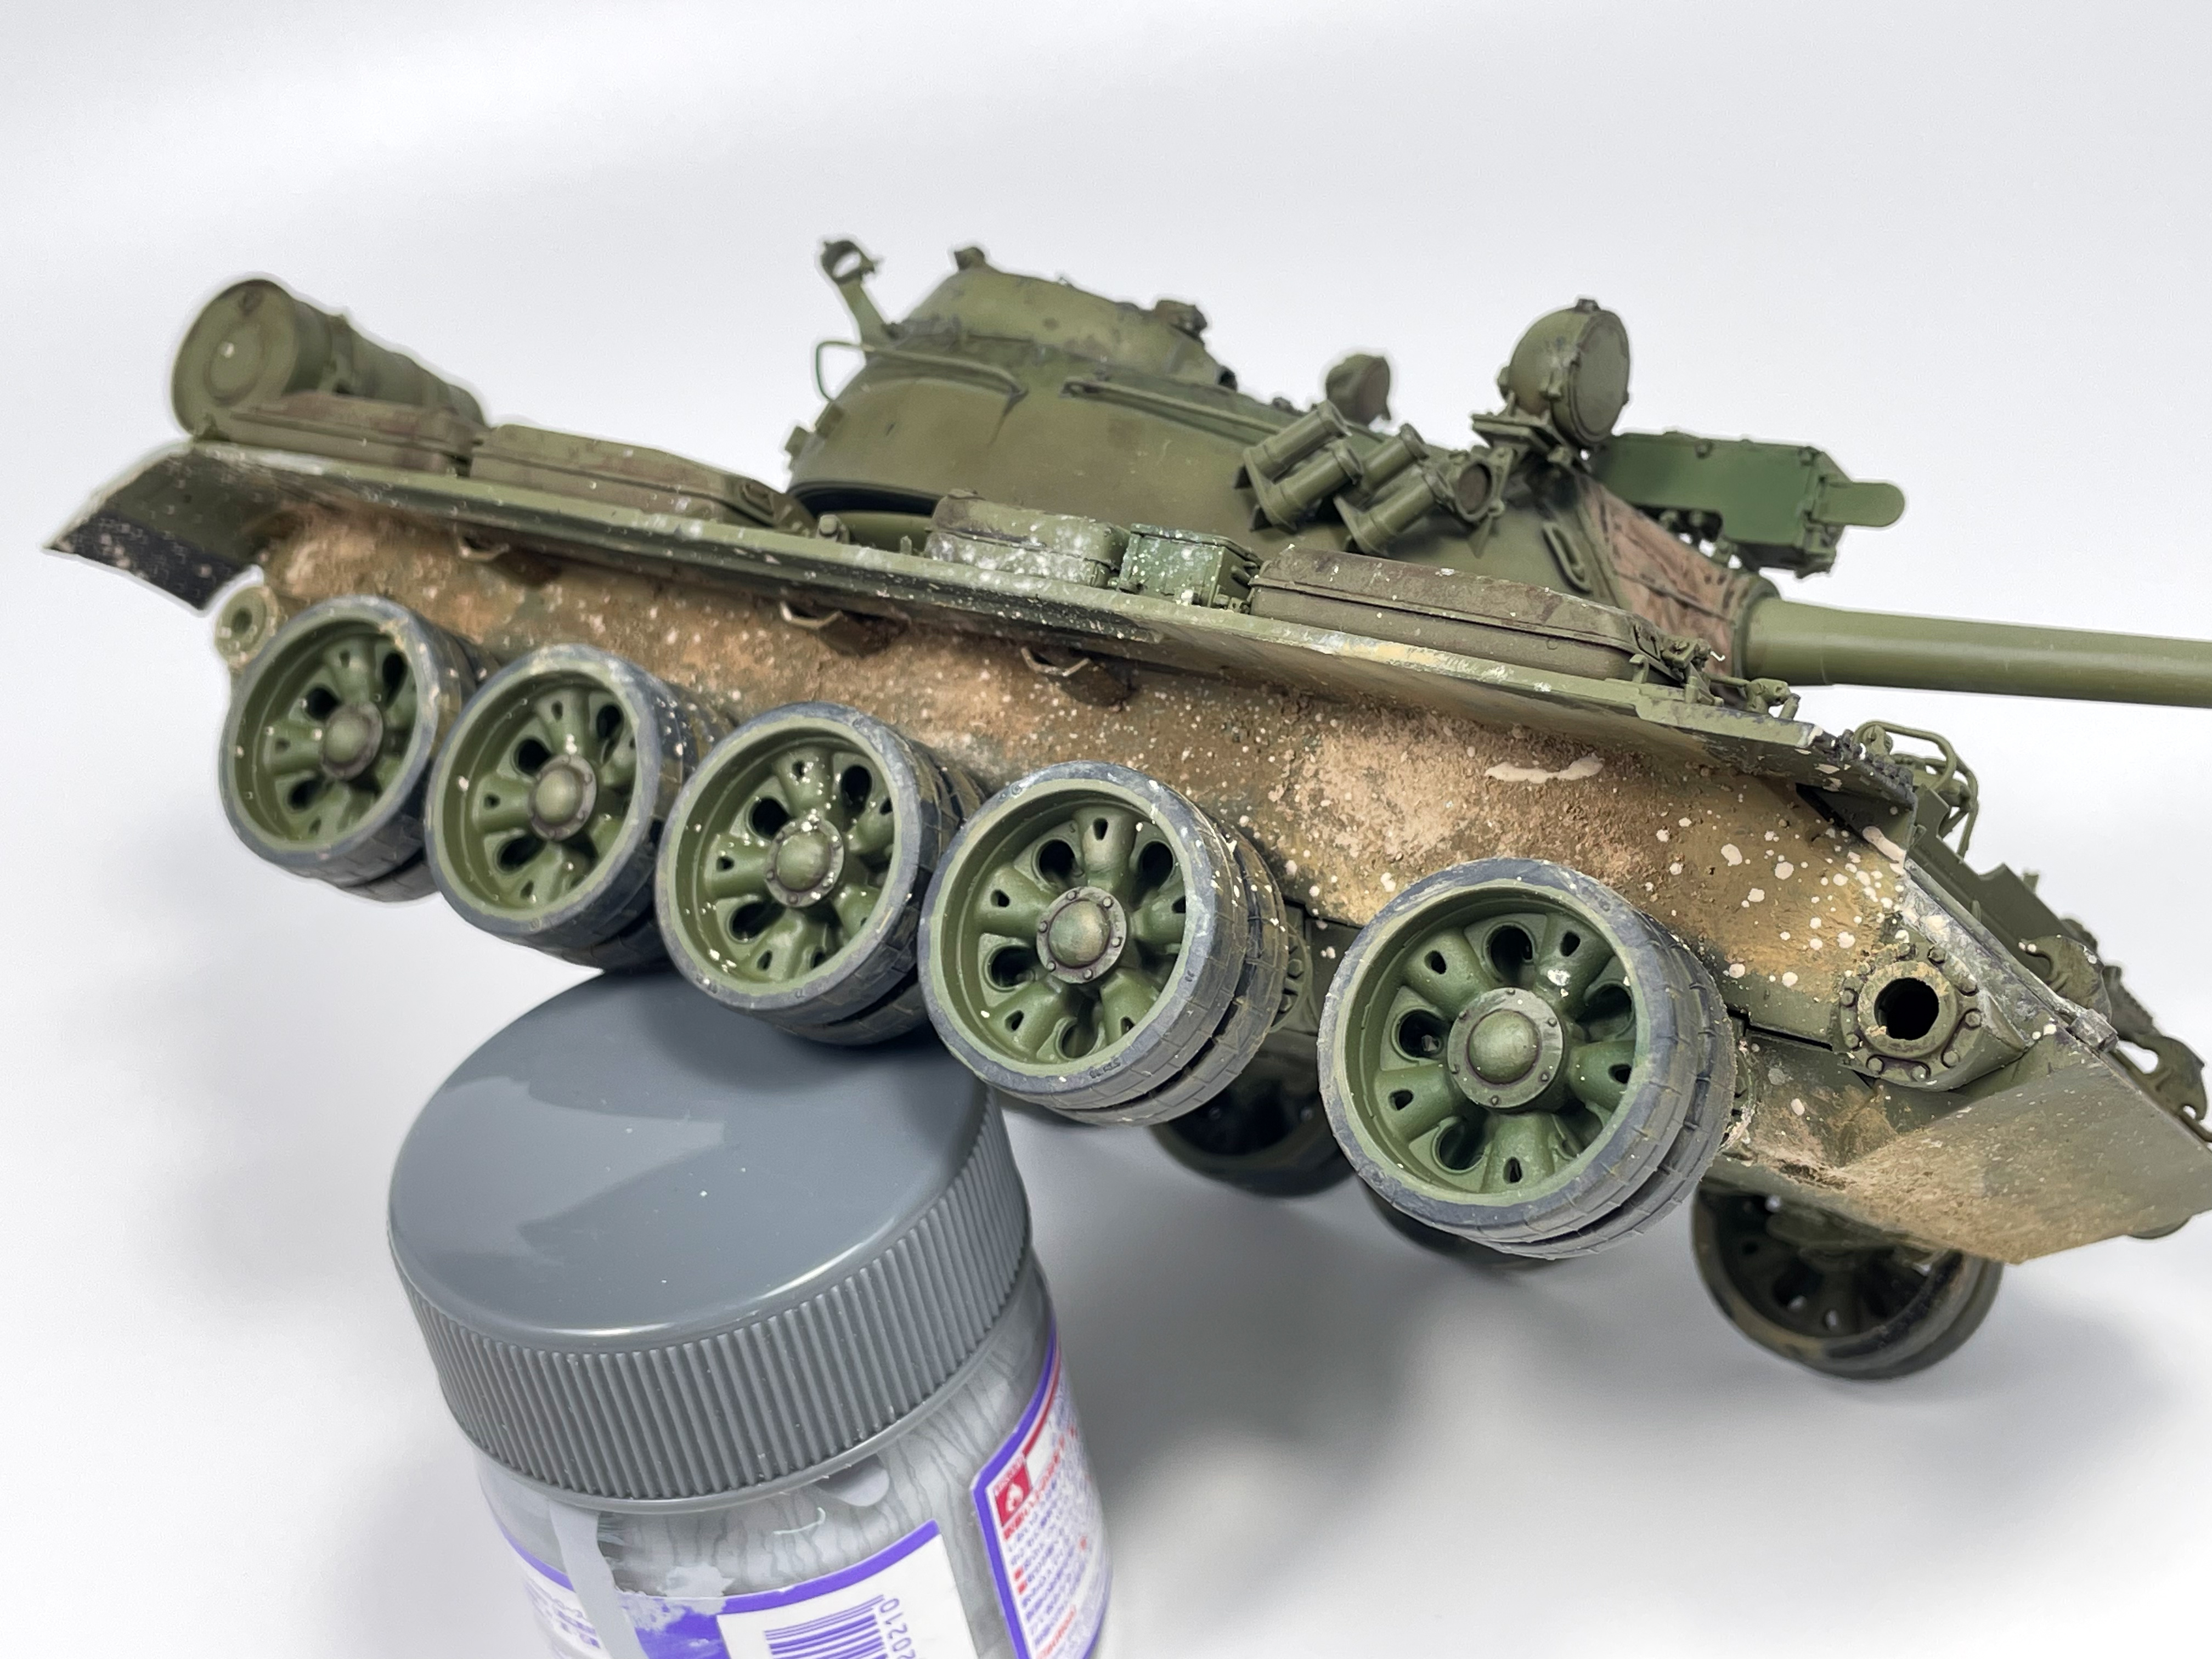
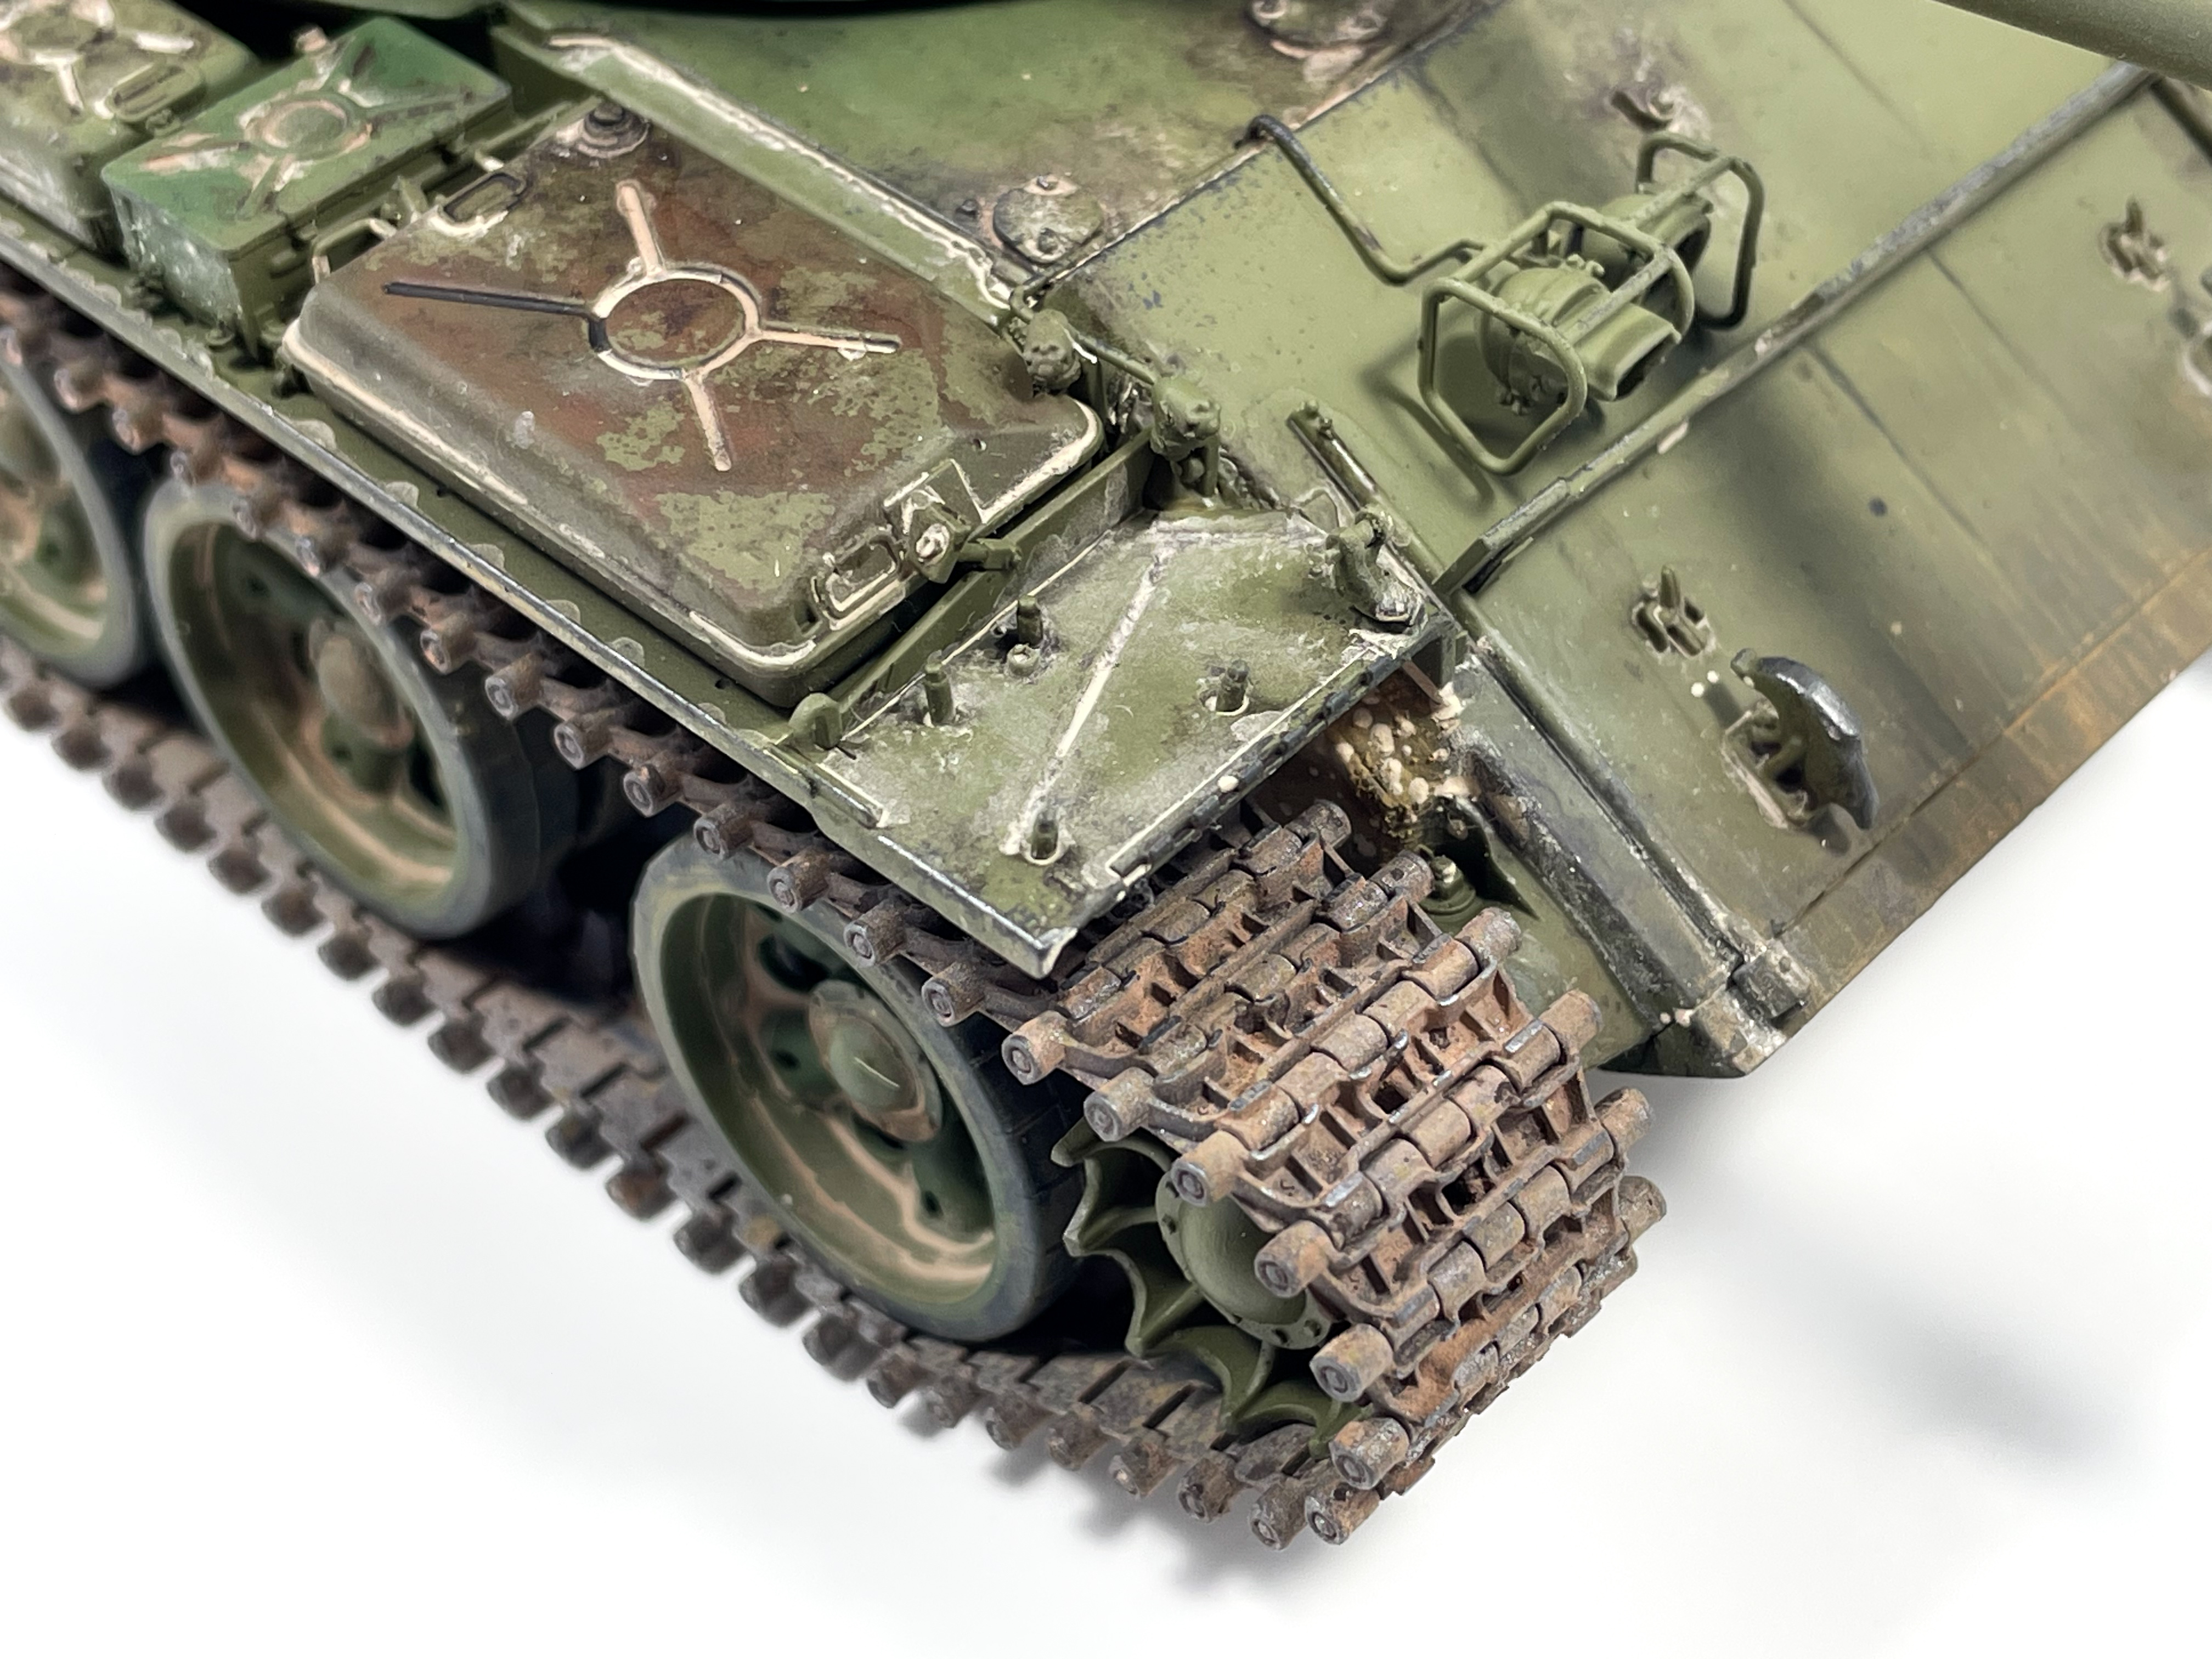
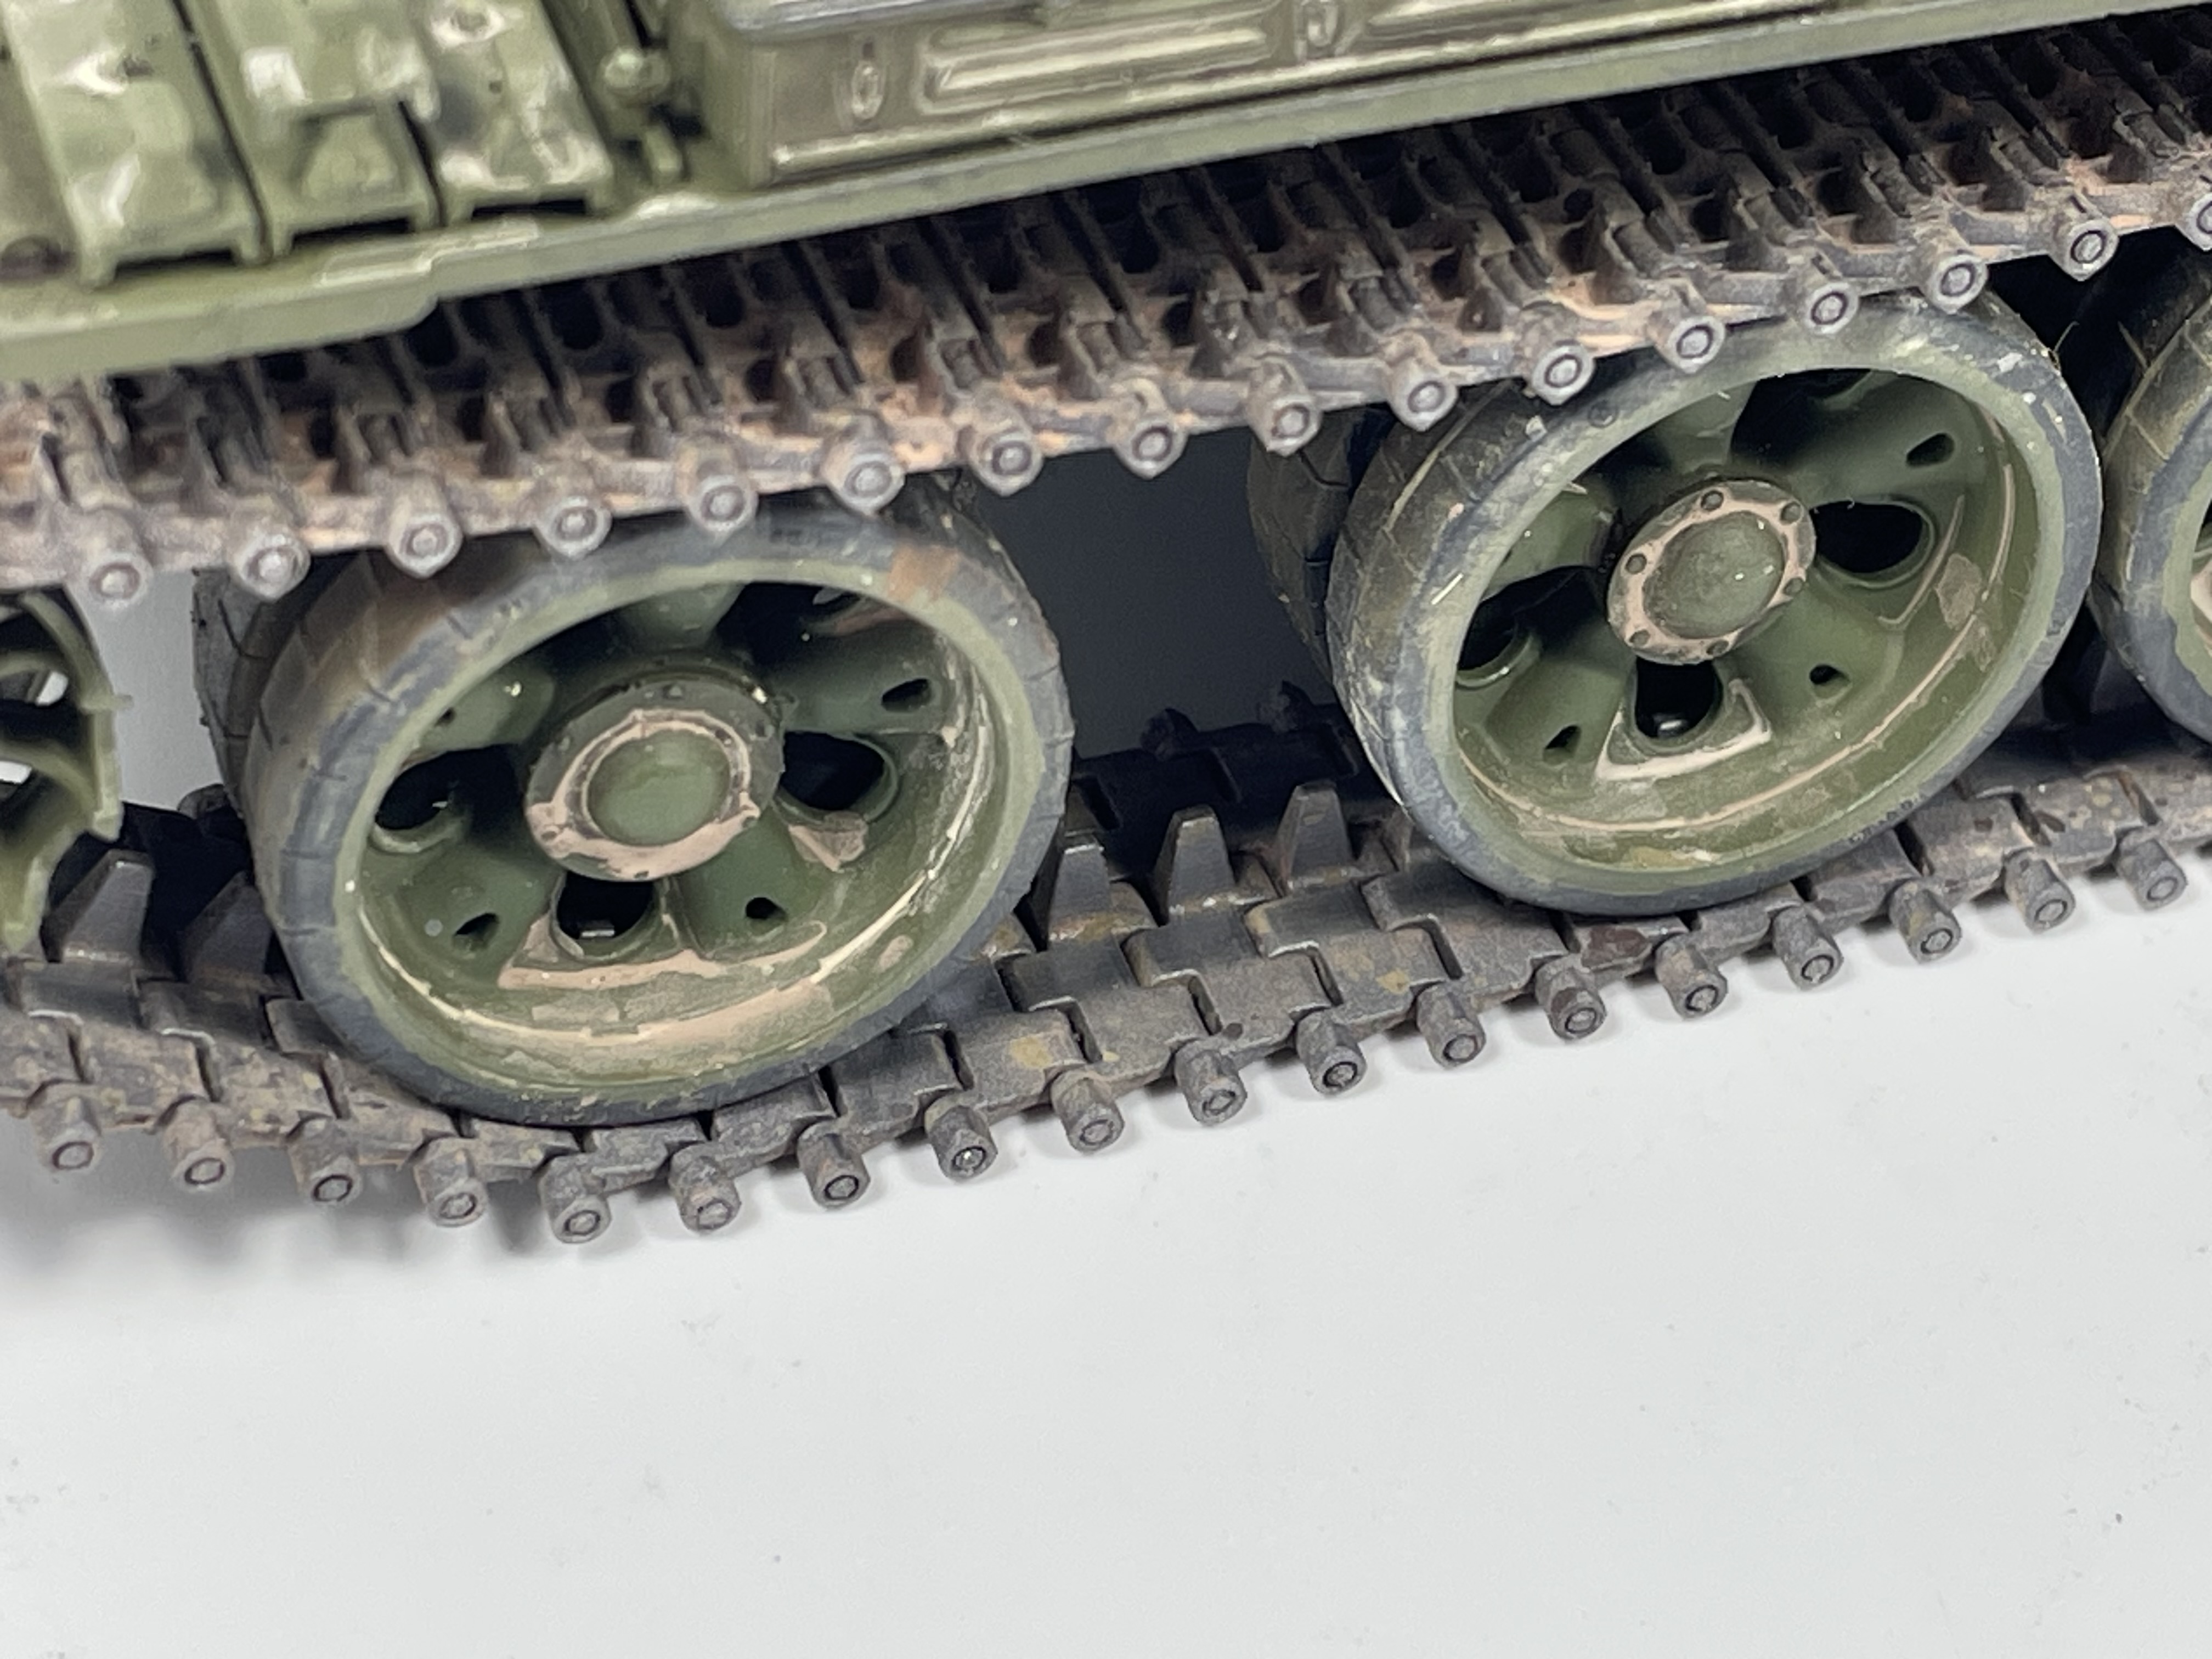
Since I knew I wanted to pose this vehicle in a Desert or Arid setting, I wanted a significant amount of dusting done to the model. I started on the running gear and underneath the fenders and stippled on AK’s “Kursk Earth” along with various other pigments. I also utilized a “light mud” product from AK to get very light splashes to add contrast. With it having been quite a while since I had really dirtied up a tank much of this process was experimenting to see how I liked the end result. I also cut up some static grass and mixed it with a light pigment before applying it to the model to simulate foliage being stuck to the underside of the vehicle.
For the initial dusting I utilized two pigment shades with pigment fixer and while I think it was good experience to practice with using pigments I think my application of this medium would use some refinement. I do think I need to slow down a bit and put more effort into blending while the pigments are still drying which is something I’ll need to keep in mind for the next build.
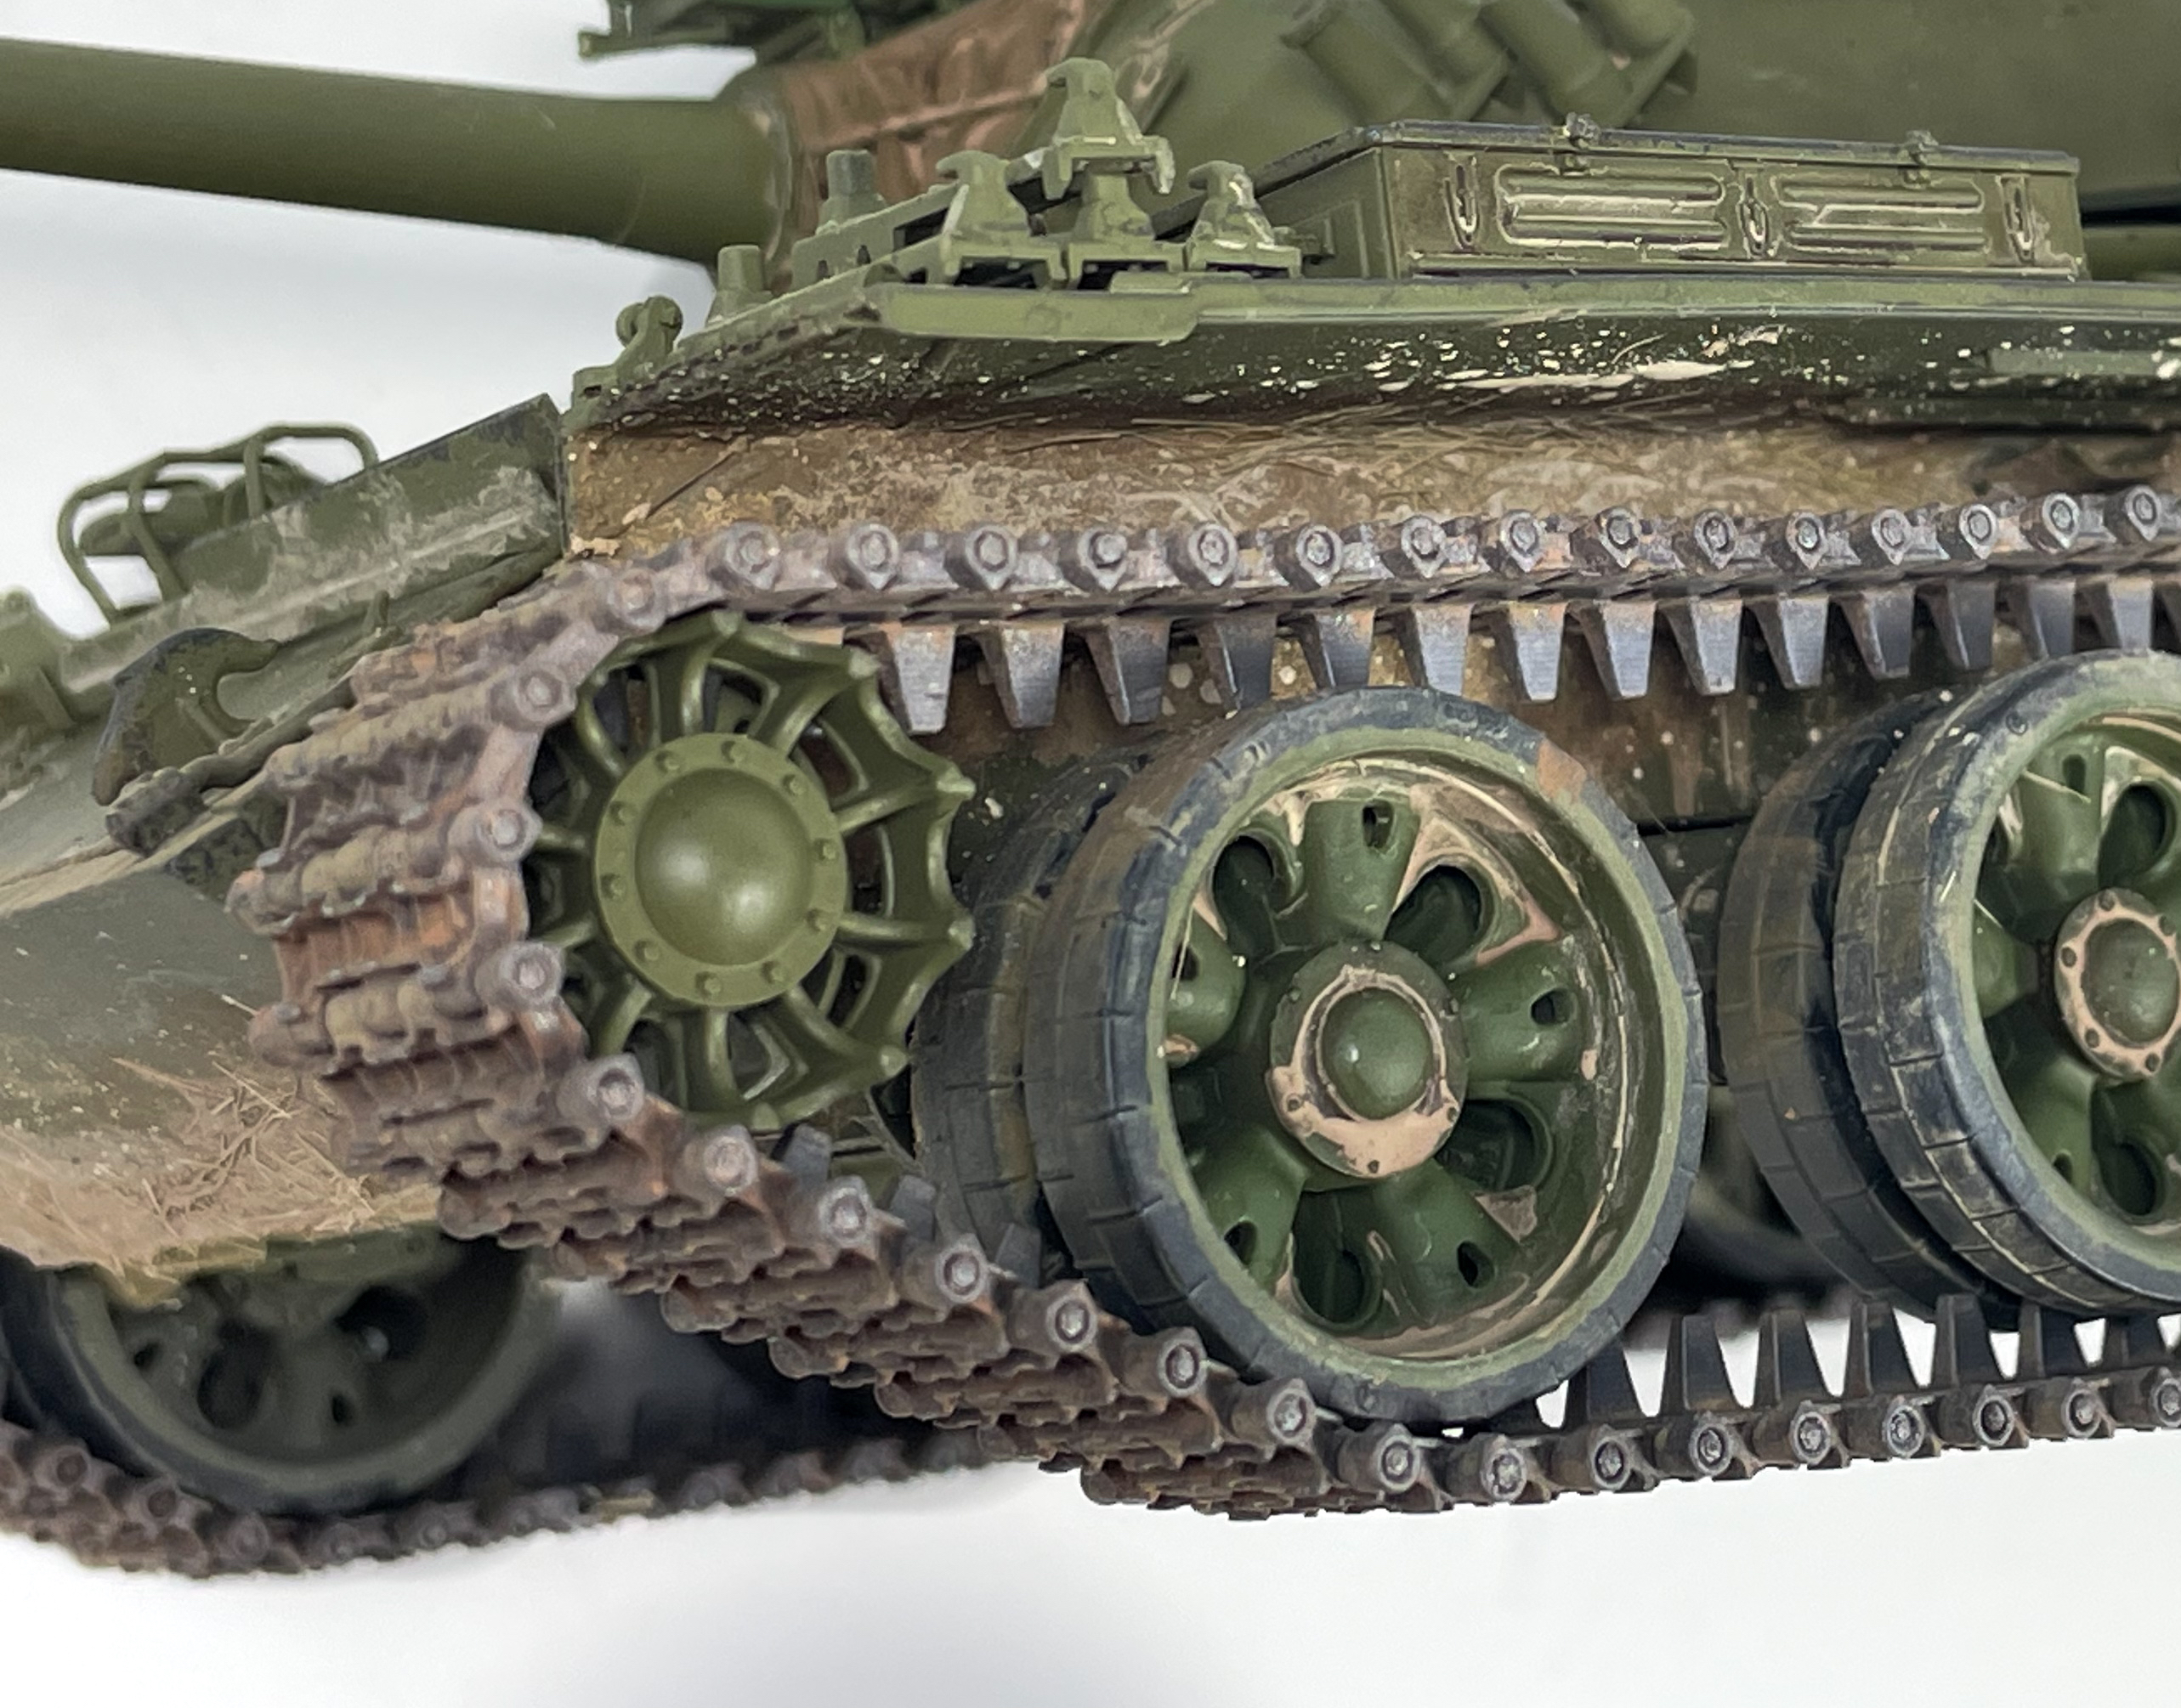
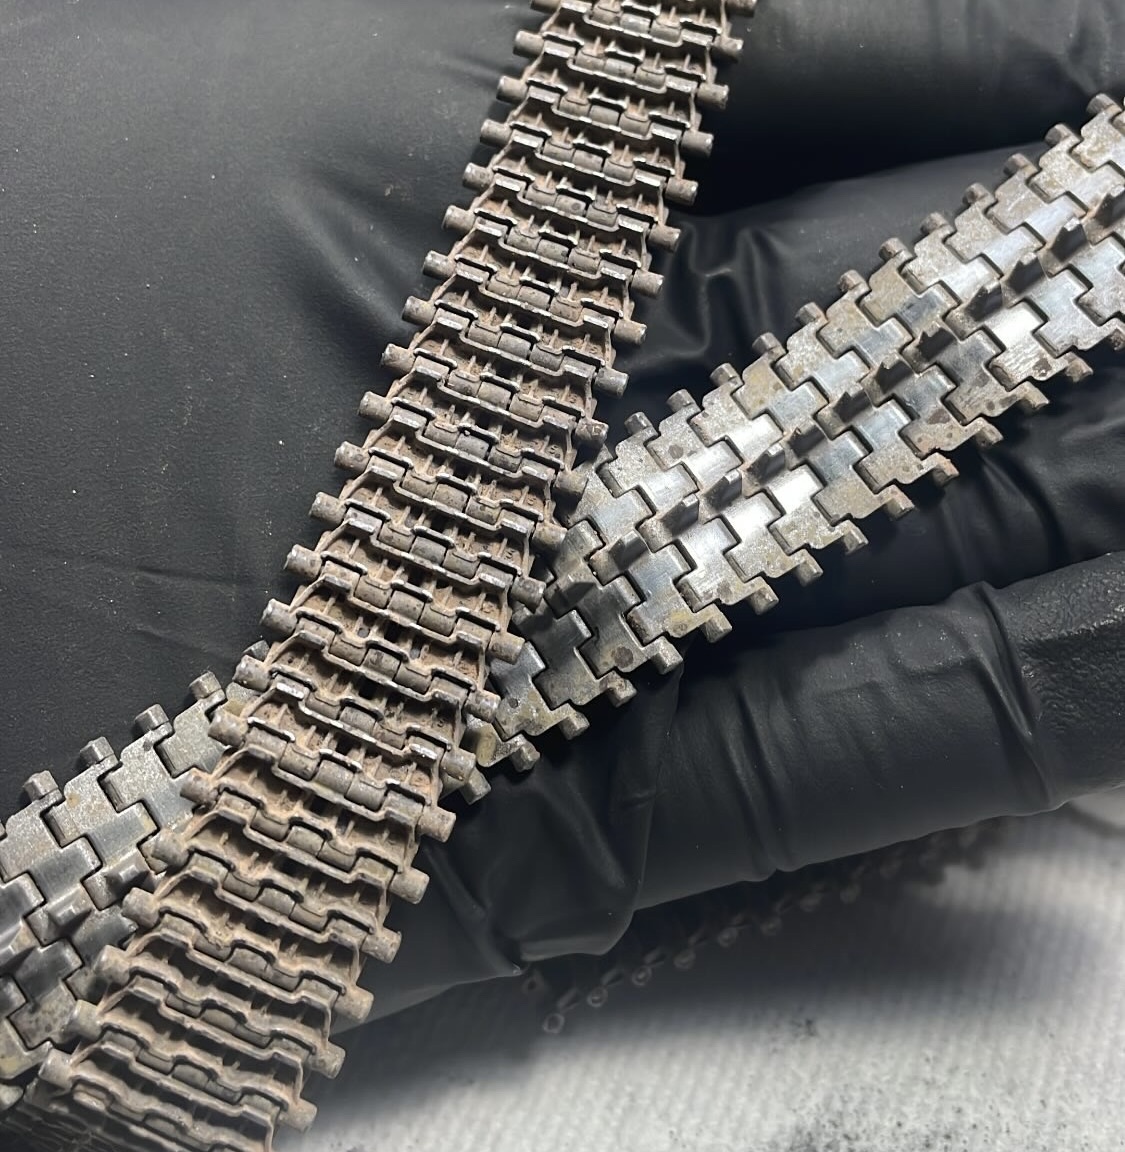
I used T-Rex tracks for this build and couldn’t be happier with how they turned out. I painted them in Gunze Mr. Metal Color “Iron” which if left unbuffed will remain a dull dark grey but will result in a really great shine if you rub the surface. I added some more “Kursk Earth” long with several different pigment shades to create a dusty weathered look. I then used several q tips to wipe away the pigments where wear would occur and revealed a nice shine to represent polished metal. I also added graphite onto the cleats on the reverse side to represent where the track would contact the ground the hardest and buff them metal.
This is where I’ll leave this update for now but there are sill a few things I’d like to do before declaring this one complete. I’d also like to put this one on a proper base so I’ll need to get that completed as well. Hoping to get the T-55+Base all done by the end of February so not a whole lot of time left!
