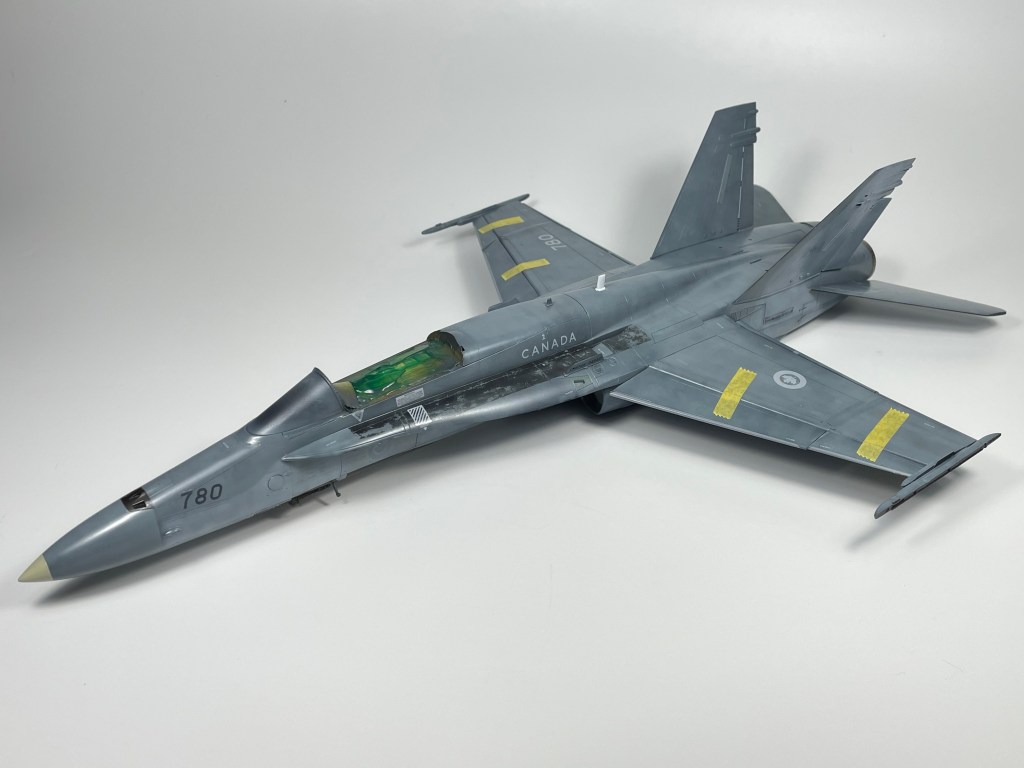
After the paint was down, it was time to clear coat. I’m always on the hunt for a better product or method for sealing a model as it’s my least favourite part of model building. I find that adding a gloss coat is the step I always have the least control over and it has the most ability to fuck up all the hard work I’ve put in the model, I learnt this the hard way when I built my Mp4/13 a few years back:

As such, I’ve always tended to choose a “low risk, low reward” method for clear coating. For the longest time that was Tamiya clear + Mr. Color levelling thinner (MCLT) as it was always a pretty safe way to get a clear coat on the model and didn’t take too much thinking beforehand. I switched to VMS clear a little while ago as the application was even more simple, just drown your model in it and it’ll shrink down into all the panel lines no problem. For a while VMS was my go to but I found it wasn’t the most chemically stable, it frosted very badly over a week-old layer of paint and nearly ruined a Spitfire I was working on:

As a result I switched back to Tamiya clear but still wasn’t quite happy with the results I was getting out of it. I found that I wasn’t able to get as smooth surfaces as I’d like with it. I then discovered Mr. Hobby GX 100 Super clear III. GX 100 is to other clears as what MCLT is to other thinners, the stuff is absolutely fantastic in so many ways. Easy to apply, durable, chemically neutral, and most of all a fantastically smooth surface.


I shot a layer of 50/50 Gx100/MCLT then misted straight MCLT over the still drying first layer. This technique can be a bit difficult to achieve but basically you want to spray the straight MCLT on the model until the very point in which the surface becomes “wet”. You want to avoid drenching the model because you are spraying straight thinner onto the finish and can burn through the paint if you’re not careful, this is a very “hot” method of painting. The end result looked a little semi-gloss rather than gloss in the final result but it was still the smoothest (in terms of feel) finish I’ve ever had, which is what really matters for the decals.
Speaking of decals, I used the “Combat Hornets” set by a local company, Leading Edge Models. If you want to depict a combat Cf-18, this is the set to get. You get options from the early 90’s to present day and enough stencils to build two jets. It includes specific markings for almost two dozen aircraft and the ability to depict any Cf-18 with the assorted numbering (which is what I did) They are durable and settled down excellently there is no competition in this category right now, These are the best Cf-18 markings out there right now hands down.


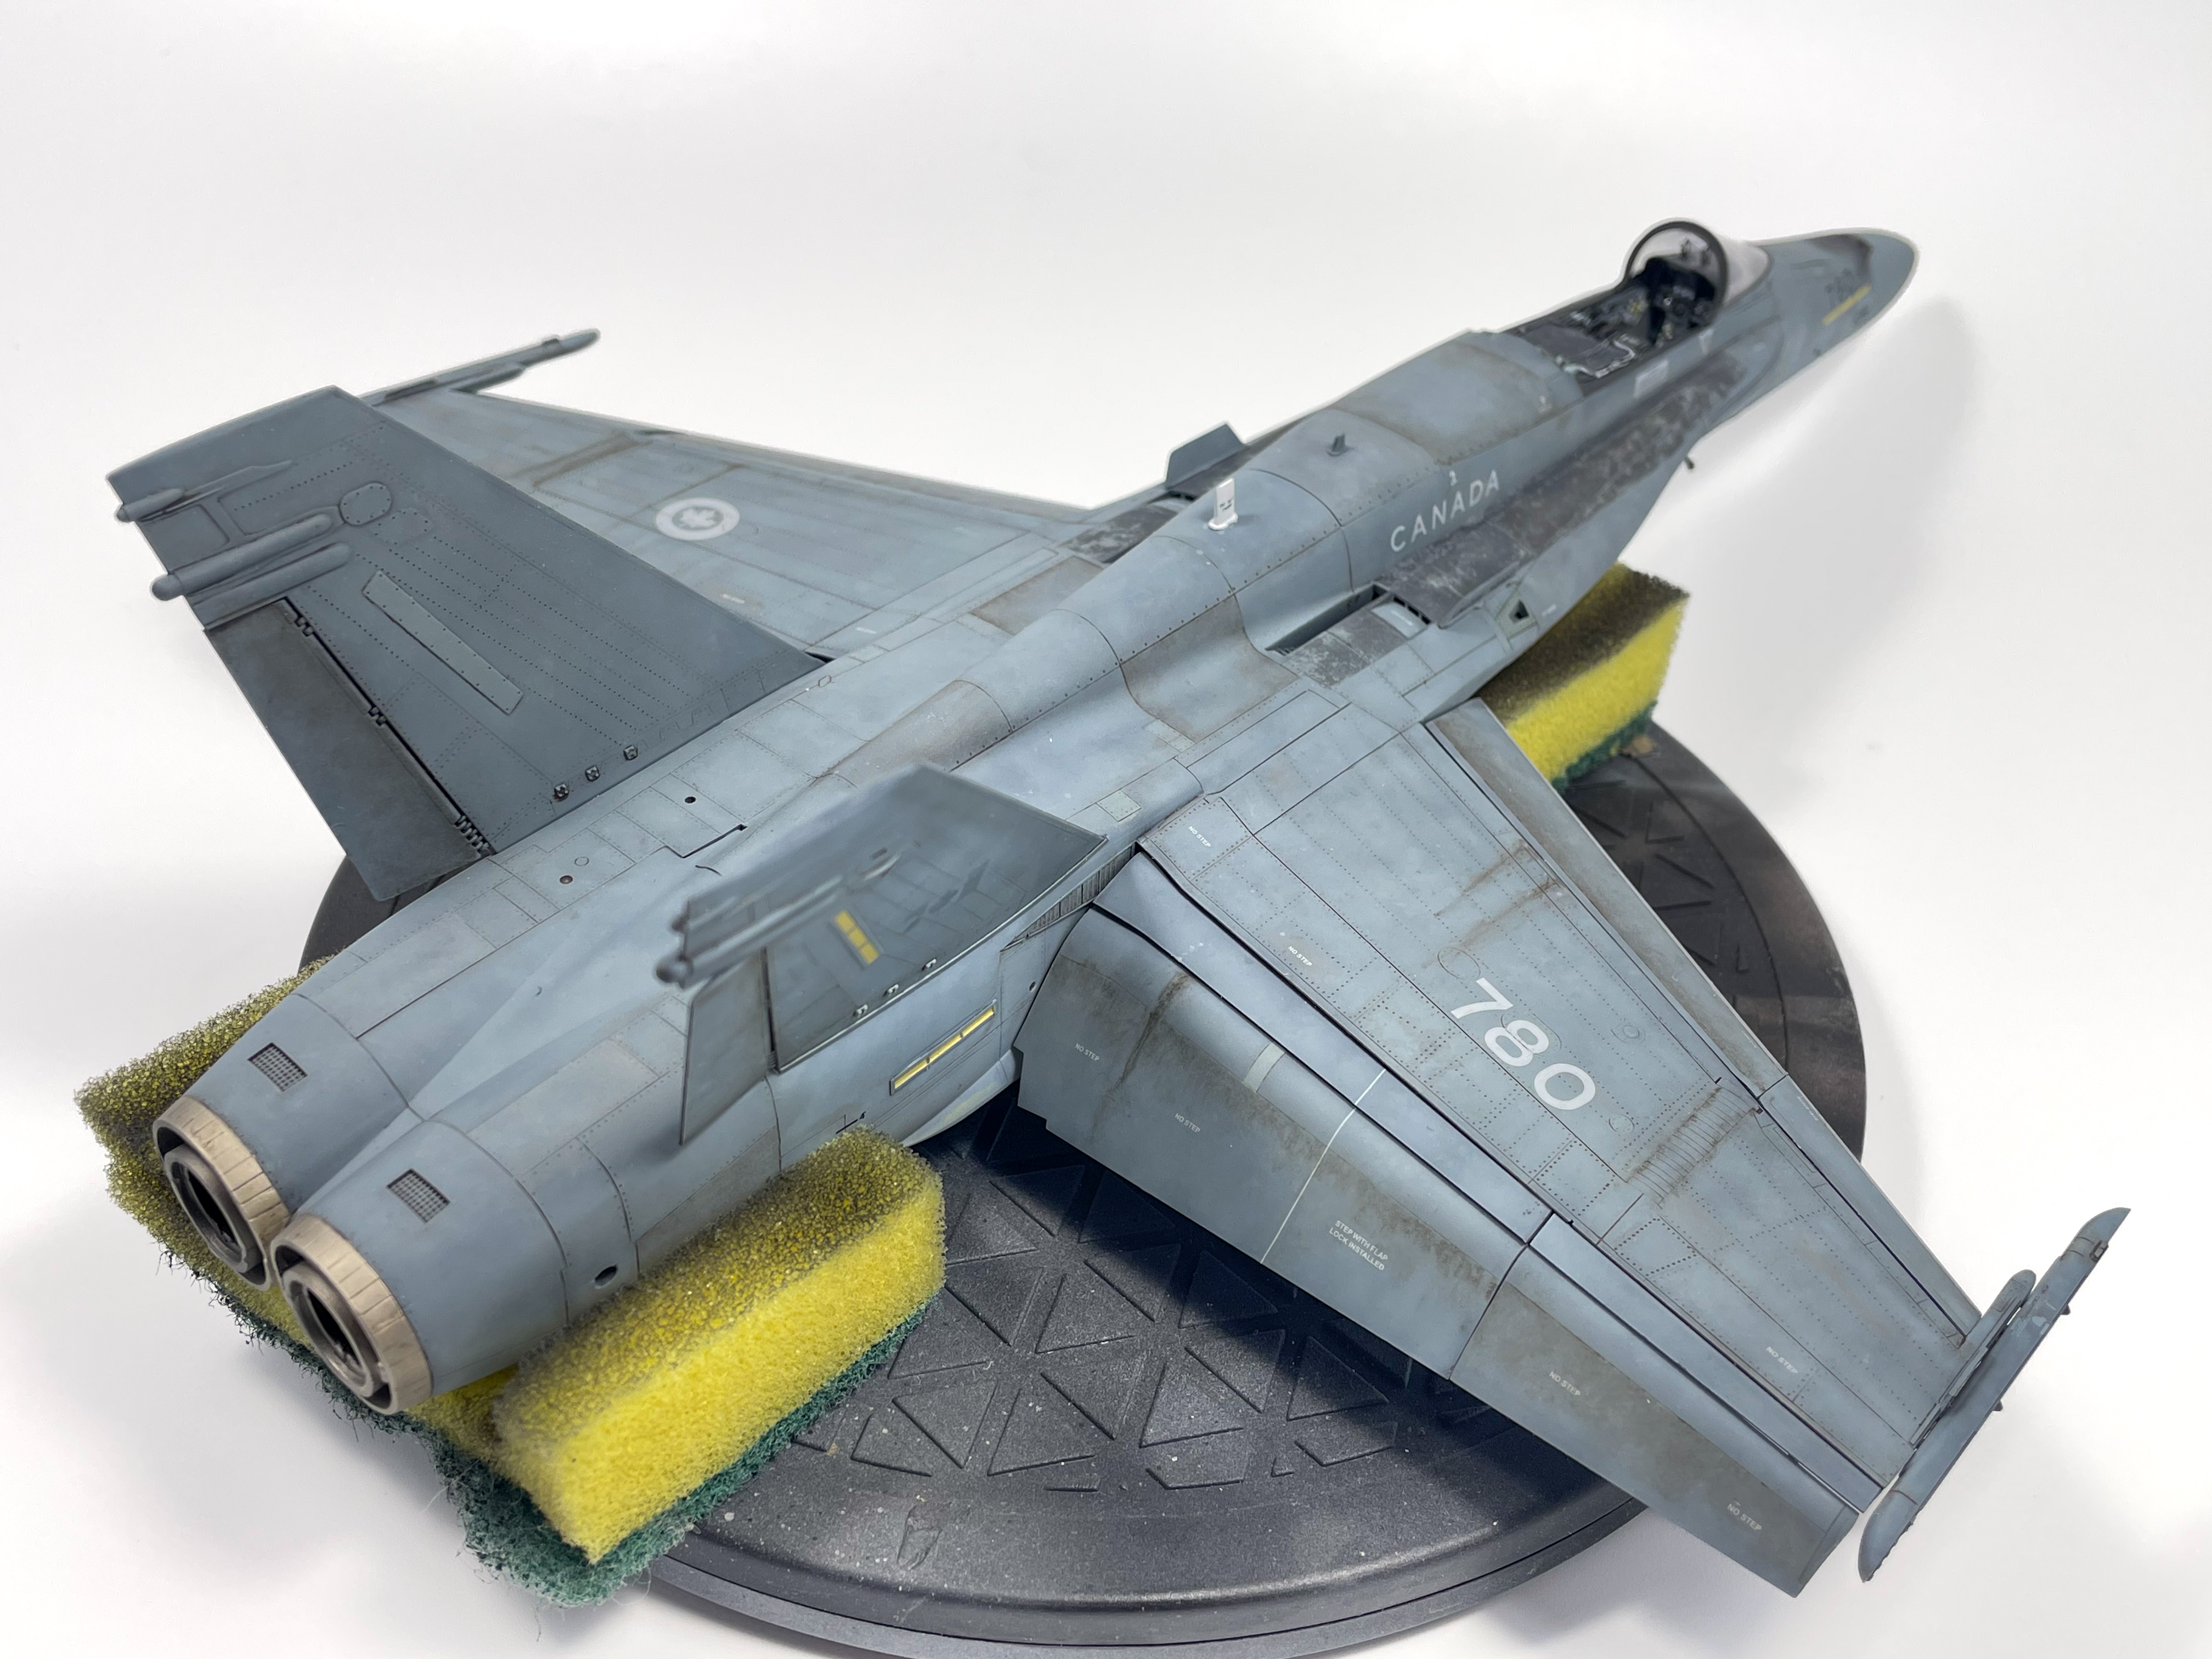
Oil paints, as always, were used entirely for the weathering process. I first hit the model with a mixture of very dark brown and dark grey oil wash. This mixture had the intended effect of not being super noticeable over the grey finish, which is typically desired for more modern aircraft finishes. I sealed the initial wash with VMS Satin before moving on more detailed oil work. I used Abteilung Bitume oil paint in this stage, it’s by far my favourite oil shade to work with. I taped off where I didn’t want the oil effect to appear and stippled the paint in order to get a smooth transition.

I like to use this tactic because it’s so versatile IMO. If you want only a very subtle effect you can load your brush up with thinner and blot out 95% of the paint. On the other side you can leave most of it and it’ll create a very striking contrast. After that I also did some various streaking effects on the wing. This is a common effect to create for Cf-18’s as the streaking fluid is typically very visible in a lot of reference photos. I hit the model with a coat of VMS Matte and the weathering stage was complete!


