
For my next major project I decided on building a CF-18 Hornet, I’ve always wanted to build one and really wanted to utilize everything I’ve learned over the past year.
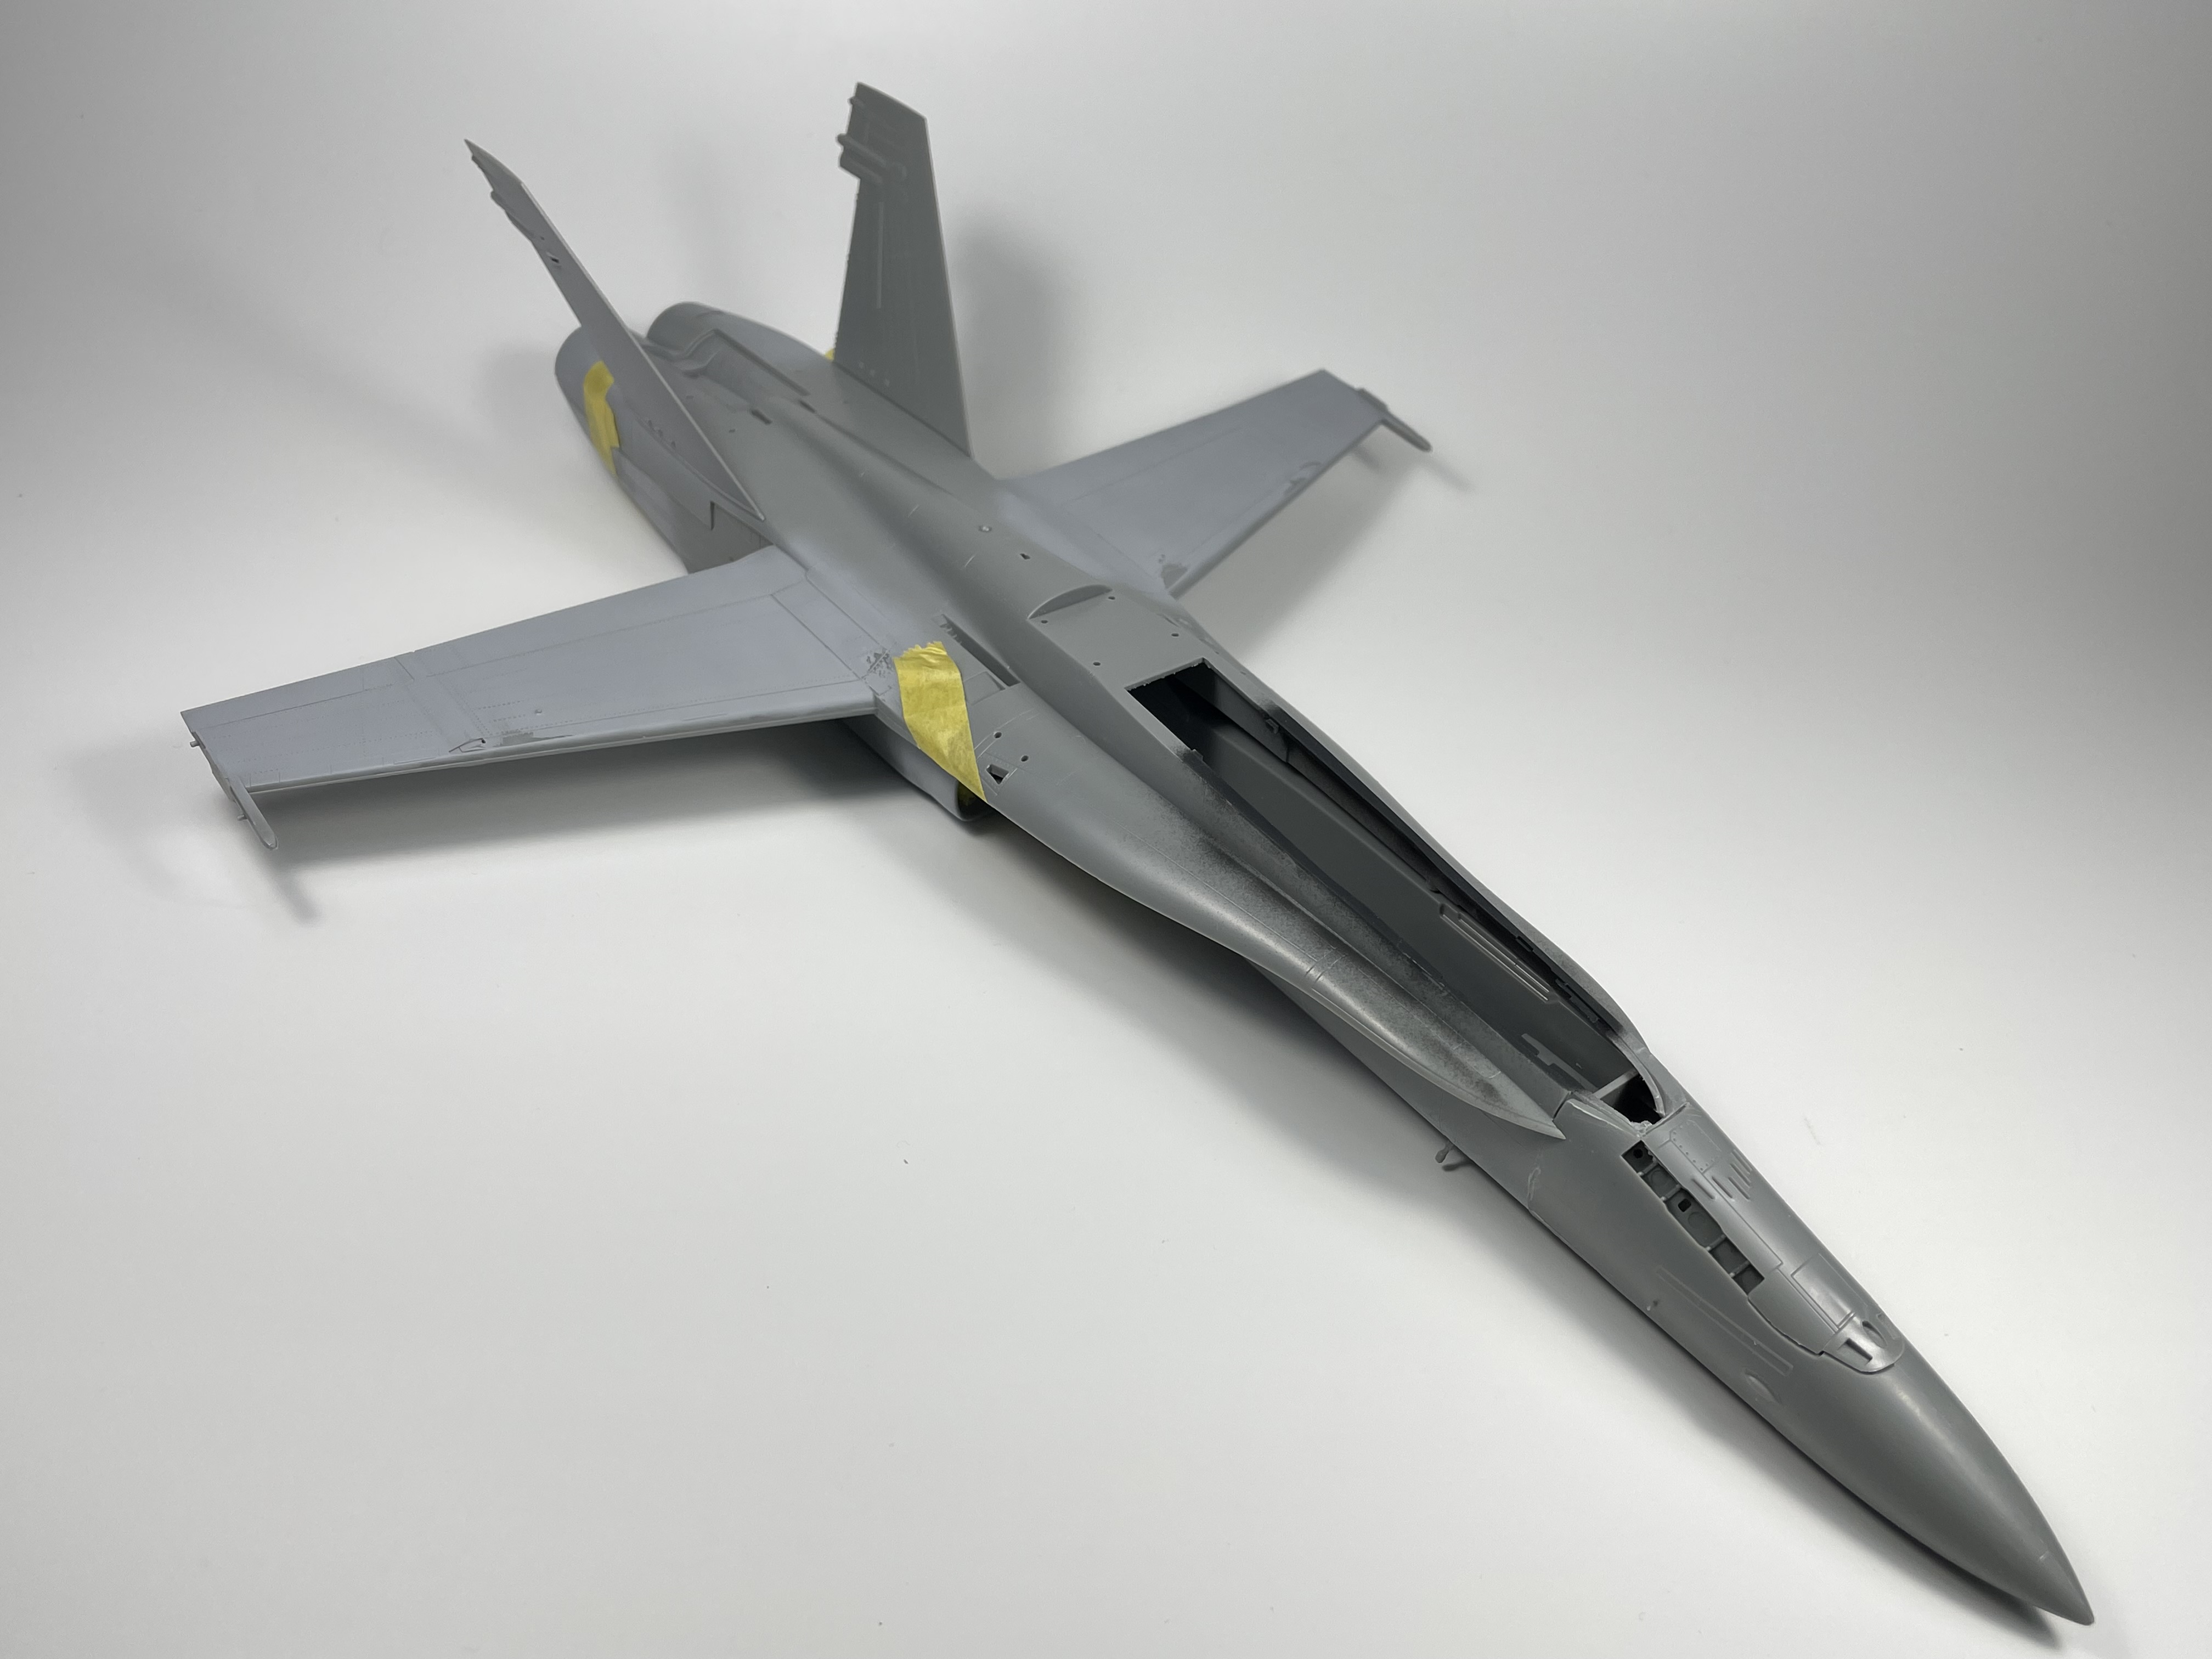
After doing some research on the available options, I settled on the 1/48 offering from Kinetic. The brand wasn’t my first choice, but they are the only manufacturer that has a somewhat new mold of a legacy Hornet.
I wanted to do a somewhat fresh take on this subject and so opted to build an early 90’s bird that participated in the 1991 Gulf War and in the scheme prior to the distinctive “Canada” wordmark (fellow Canadians will know what I’m talking about this logo is everywhere).

Construction unsurprisingly starts with the cockpit. I took my time here, spending a few extra days to get all the details I wanted added. Lots of extra wiring was added to the resin Aires seat and the end result really paid off. Lead and copper wire was used (0.1, 0.2 widths ) along with brass micro-tubes from Albion alloys. Some 3d Printed avionics from Anyz were also used. I coiled 0.1mm copper wire to create a avionics cable in roughly the same position it is in real life.


The cockpit was painted over a few days, It was surprisingly straightforward. After adding the X-22 clear coat, the real fun could begin, dealing the cockpit. For this I used Anyz and Airscale decals. Anyz makes really great “miscellaneous” decals and cockpit switch selector indicators. Airscale has good warning and dial decals.


Overall I’m very happy with how the decaling went for this project, it’s time consuming work, but not difficult by any means


For the weathering, I wanted to keep it restrained but obvious that the jet was working in a desert environment. I felt that it would be reasonable for dust to accumulate in areas of the cockpit. The key would be to keep it very subtle. I used dusty shades of oils to brighten up the surface and pickout highlights.

Kinetic’s gear bays are quire well detailed OOB. None the less, I still wanted to add some extra detail here for the experience. After looking at various reference photos I could tell that they were incredibly busy and complicated, and the extra piping would help increase the realism. I found it difficult to work in the nose gear wheel well as there really isn’t a lot of space to work in. As such, most of my detailing efforts went into the main gear bay. I painted the bays in standard Tamiya white and picked out details with various metal shades along with Tamiya black.


I added various Anyz and Airscale decals to the wheel wells and I feel that having lots of placards in the area really adds to the realism. For the weathering I think that I may have overdone it in same regards. I first did a very light brown (tan coloured really) oil wash in order to simulate dust buildup. I then followed that up with a very dark brown/black pinwash in crevices to pickout all the details. I then spreckled the surface with MIG’s oil and grime effect to simulate oil spots. Is it overdone? yup, that’s ok though it not too off the mark IMO but this result is on the dirtier end of the spectrum for sure.


To return to the cockpit, all that was left to complete on it was to add the sidewalls and Anyz dials to the build. Suffice to say I’m very happy with how the cockpit turned out.


Leave a Reply