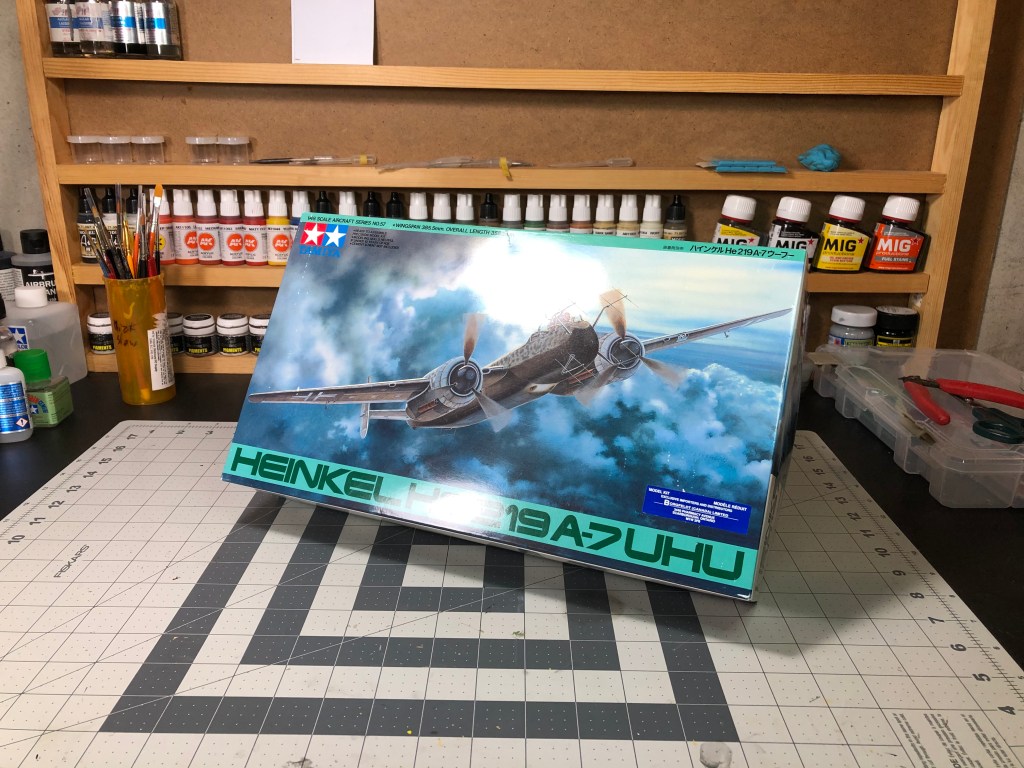
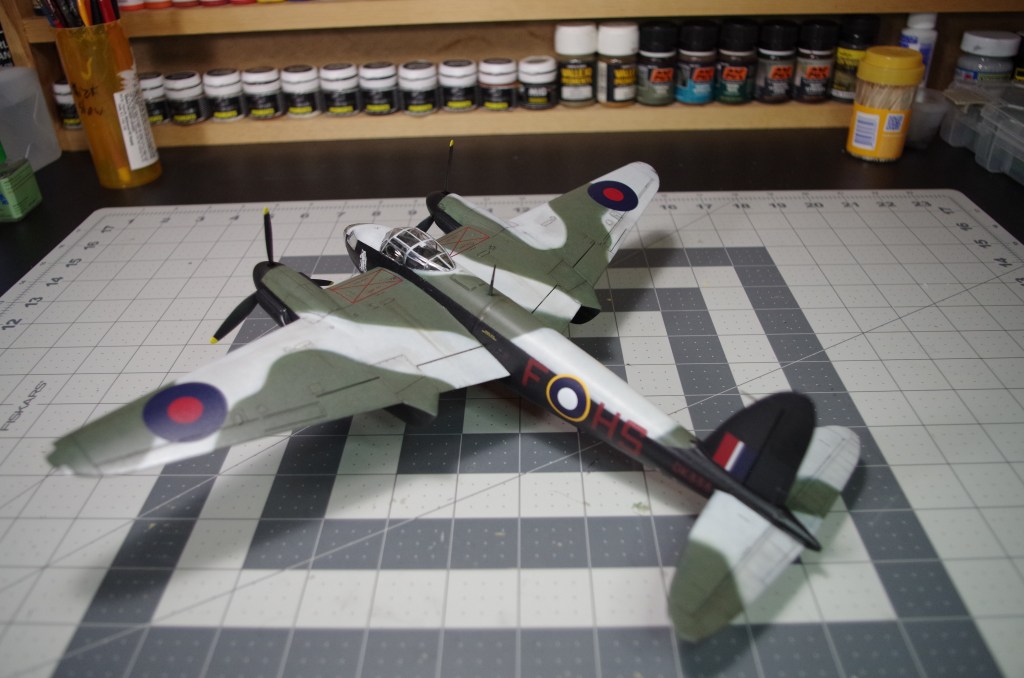
In stark contrast with the Mosquito, steady progress has been made on the Uhu. I’m committing myself to the build and have managed to put in at least some time into it every night this past week. Not all of the process has been fun unfortunately. For all the praise that Tamiya gets about the quality of their newer kits, the same quality is hard to find in this one. The engine nacelles were particularly problematic seeing as there are 5-6 different parts that need to be positioned exactly right to ensure proper fit of the others. Unfortunately for my build, the wings came ever so slightly warped meaning that after being completed there was a rather large gap in the engine nacelle.
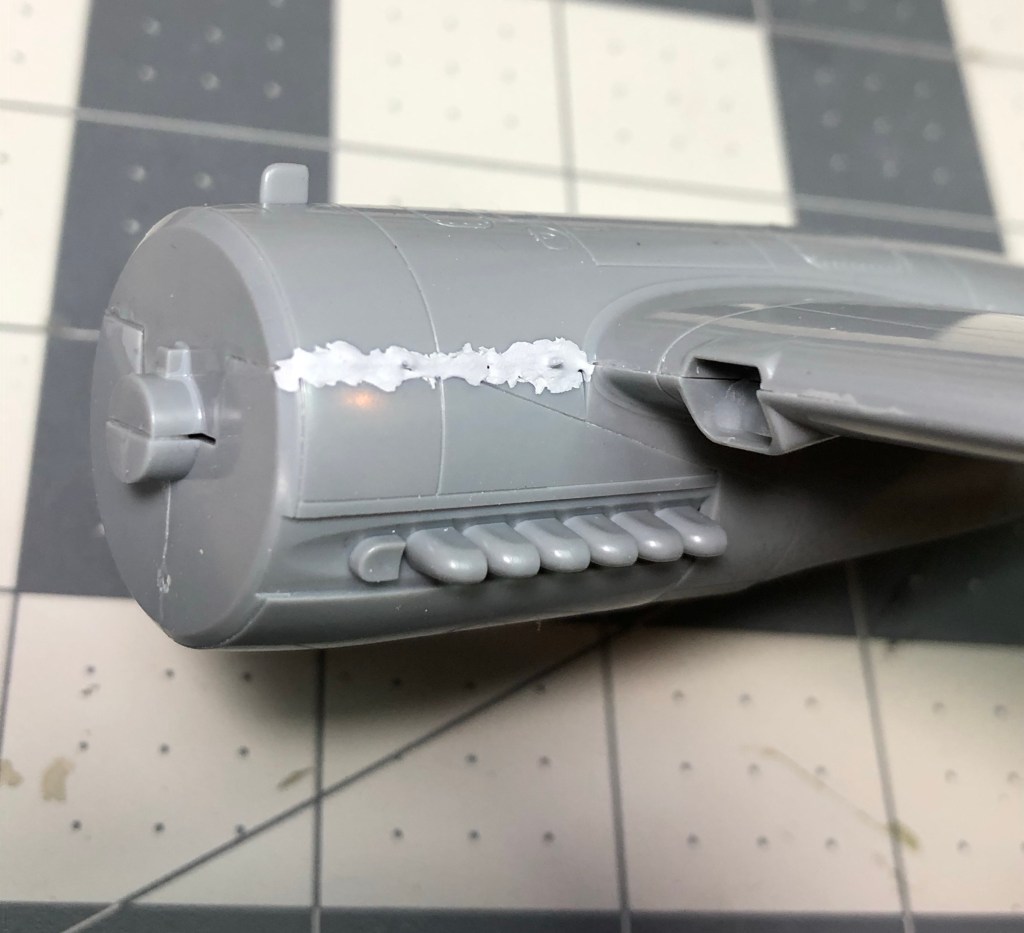
The main fuselage was definitely better fit wise but when it came to join the halves together I found a very slight gap near the nose. It’s very faint and only slightly noticeable. Non the less, I applied some Mr. Surfacer for the main body seam and sanded it down over the next couple days. it wasn’t nearly as difficult to get to as the engine gap but just tedious work instead.

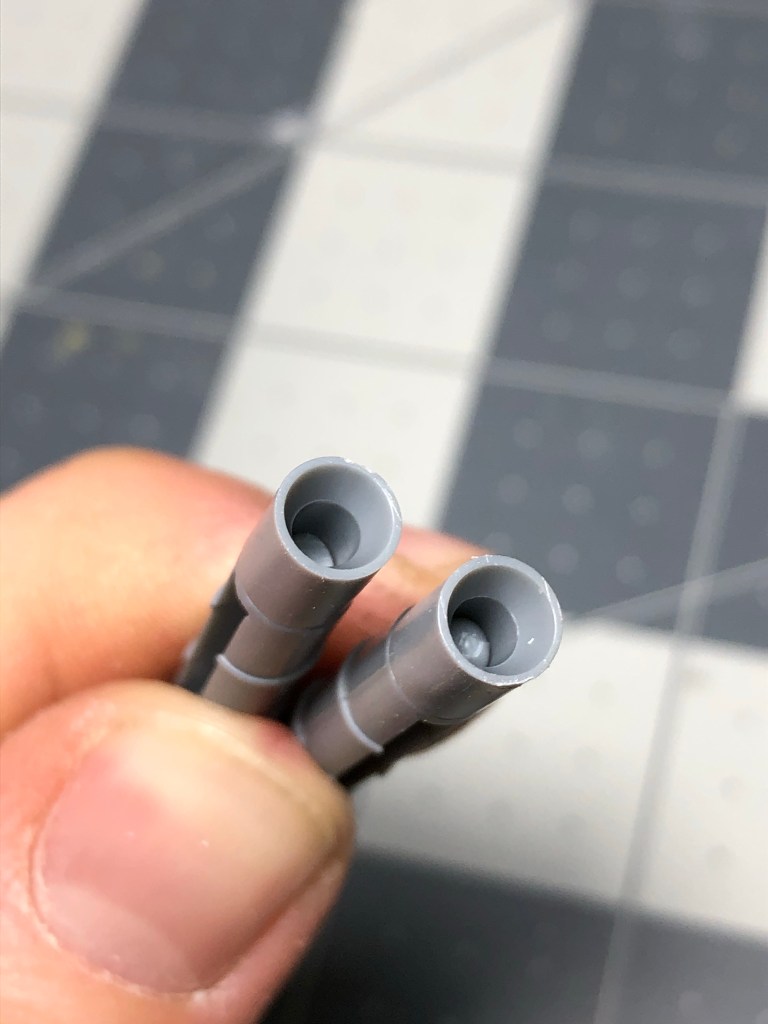
For the main fuselage cannons I drilled out the barrels pretty easily, it adds a lot to them I found and was a pretty easy process. I’m actually not sure what kind of process was intended for these since they’re fitted pointing upwards in the main body of the aircraft. whatever the reason, they look a lot better now than how they did straight out the box.


I also wanted to add some detail around the flame hiders provided by the kit. Out of the box, they are pretty standard, nothing special. I instead wanted to change things up and add some texture definition and depth to these parts. To start I trimmed down the locator pin on one end so that they would appear deeper than normal. Secondly I drilled a hole in the intake side to again, add depth to the part. Next I took a page out of Nightshift’s book and did some texturing on the part itself. I figured that the Luftwaffe wouldn’t have used any exceptionally durable metal for this piece (especially this late in the war) and as such it would have rusted and worn easily. For the finished product I’ll be going for a rusted finish on this piece to really spice up the final model.


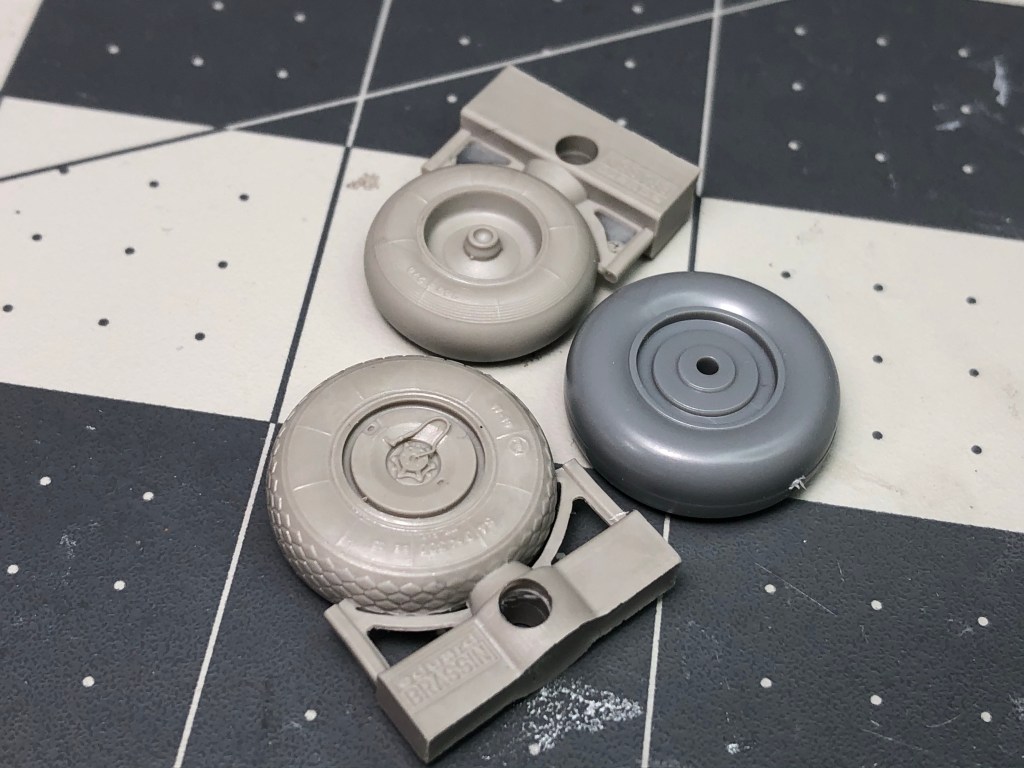
In terms of additional accessories planned for the build, I originally had only planned to use Master Model’s brass Fug 220 radar set. When comparing the out of the box radar and the brass part, there’s really no comparison. The Master part really looks fantastic. It’s only drawback is how fiddly it’ll be to assemble. I’m already not looking forward to it. One thing to note, Although the Fug 220 was mounted on the He-219 and it being on this model is absolutely correct, Master doesn’t list the He-219 as a aircraft compatible with the set. Keep this in mind when searing for aftermarket accessories for your own He-219. I also picked up Eduard’s resin wheels for the build. Originally I didn’t plan on it but just saw that they were in stock when I was getting the radar set. I’m really glad I did, the OOB gear is really pathetic and Eduard’s edition is really next level stuff. I can’t wait to see them on the finished model.

In terms of updates that’s pretty much it for now, the wings will be joined on soon. The gear, props and canopy all have to be started so I’ll be getting to those next. In all likely hood I’ll probably mask up the canopy next and try to get a primer coat down first before moving onto the gear. I’m confident that I’ll get it done within a month but I’m still not sure how long the painting and weathering process is going to take, It’s a big model and I’ve got big plans as to the type of finish I’m going for.