Categories
Armor In Box Reviews

Meng M4A3E2 In Box Review

I’ve never built any American armor before and I’d be lying if I said I wasn’t a bit apprehensive about the subject. As somebody who feels at home building two and three tone german armor, making a olive drab Sherman would be a first for me. Building a E8 or a E2 has been on my “to-do” list for some time now and picked up Meng’s offering to take the plunge. My first impressions of the kit were quite favorable as it’s clear that the kit is very well built and detailed. With this great detail however came a cost, as I was able to get Meng’s kit for around $90 CAD.

Kit Features: 18/20

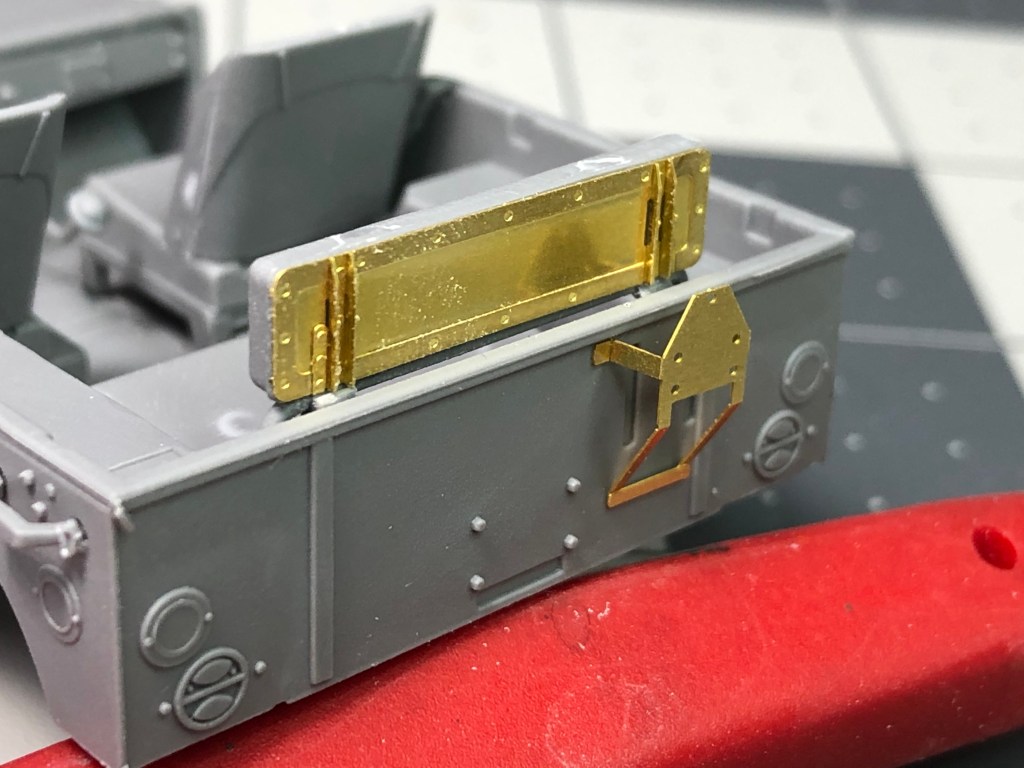
Meng doesn’t shy away with providing the modeller with a lot of extra goodies. A metal barrel, photoetched parts, single link tracks (as well as rubber ones). Beside these initial accessories, the kit also includes a lot of other small things that really help it’s score in this sense. A long barrel 76mm gun (without the muzzle break) is included along with photoetched numbering for the turret. The kit offers some stowage options in the form of spare road wheels, fuel cans, and ammo boxes. The kit however looses points in that no extra figures are provided and must be bought from a different manufacturer. When compared to Miniart’s Jeep previously reviewed, Meng’s Sherman misses out on a point here.

Quality of Molding: 49/50

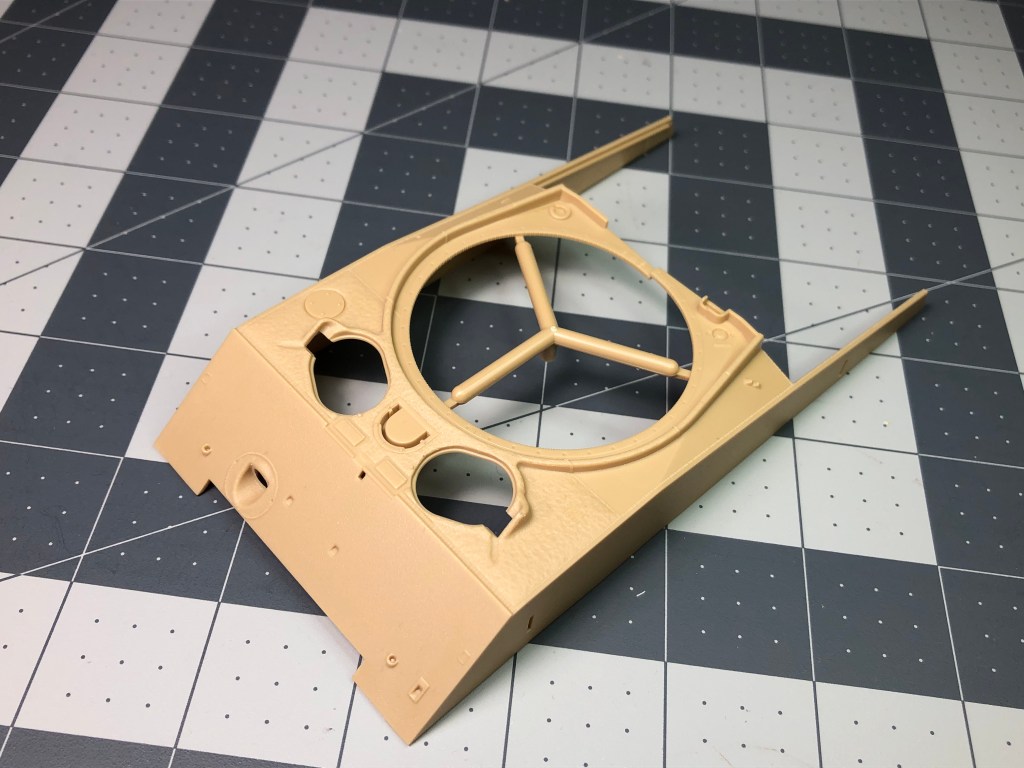
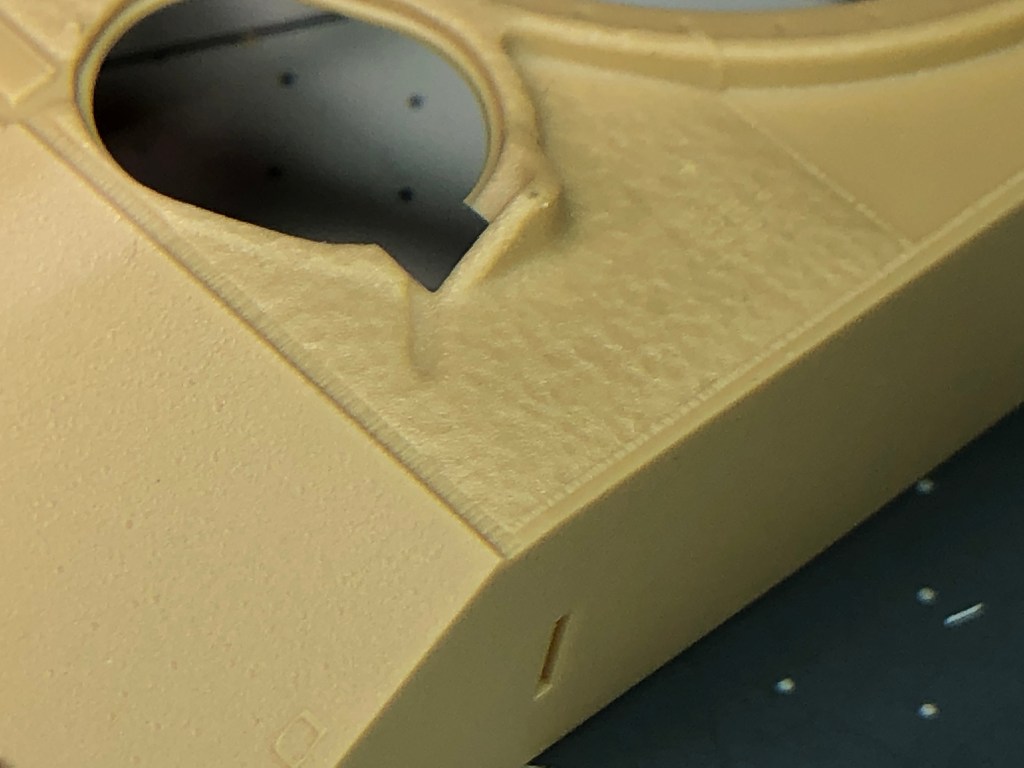
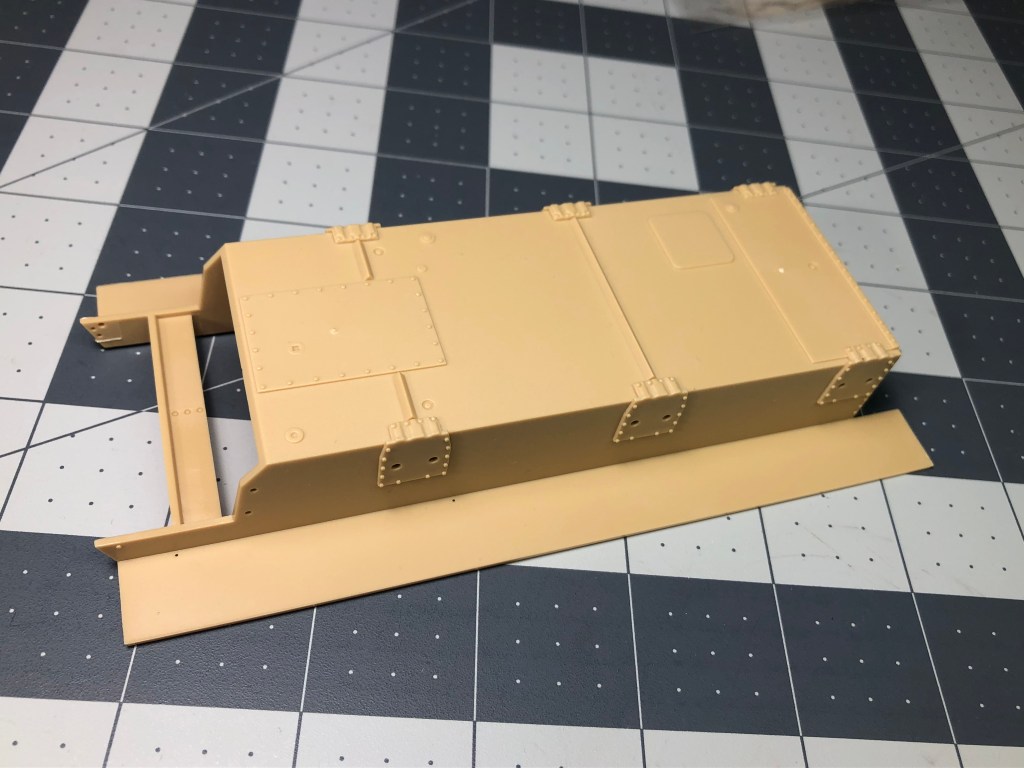
Simply put, this E2 is the kit with the most detail I’ve ever seen. The detail in the molding of the hull and turret can be easily seen and the way Meng has finished the cast texture and weld seams is truly next level. The texture is extenuated by the serial numbers on the hull and turret. There is very little (if none) flash found on the parts requiring no cleanup besides the sprue leftovers. Detail can even be found on places not easily seen such as the bottom of the hull. The kit only looses points due to the fact that some people might find the detail overdone as in person the different surfaces are very obvious, photos don’t really do this kit justice.

Instructions: 18/20

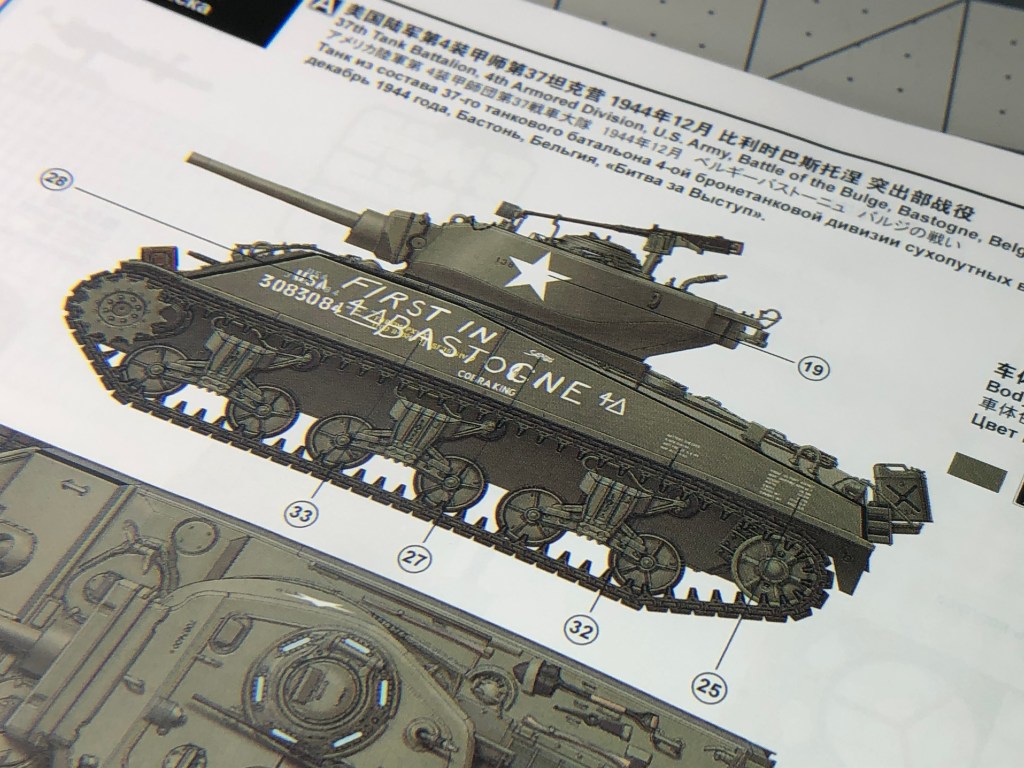
The kit instructions are very well put together and even offer a little reading material in the preface about “Cobra King” the tank in the box art. They are well thought out and are straightforward as to what they ask the modeller to do. Additionally, the kit is very clear in when the modeller has a choice between various options such as the .50cal mounting options. The instructions indicate which parts are to be added by color coding effectively. Speaking of color, the instructions are printed in full color with five different views of the several finishing options found in the kit. Each finishing option gets it’s own page in the booklet. The instructions only lose points due to construction material.

Miscellaneous: 7/10

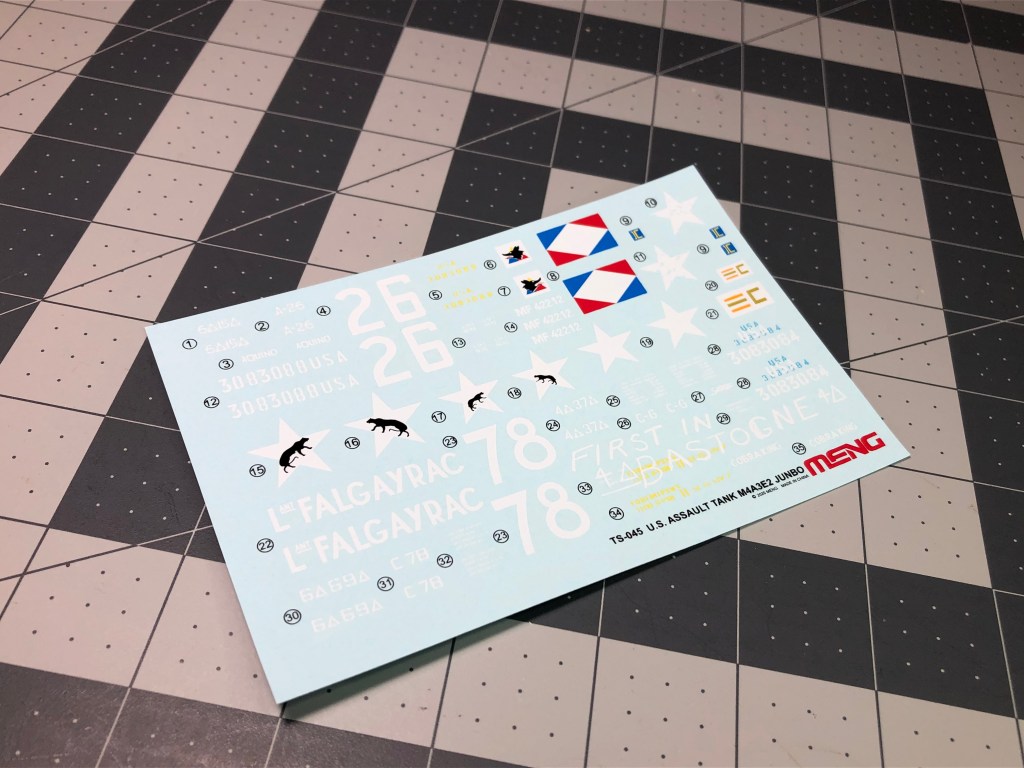
While the kit does come with a healthy 5 marking options the $90 CAD price cannot be ignored as at this price point many marking options are to be expected. The decals are nicely printed as well. Furthermore, the kit includes a jig for constructing the single link tracks which should make the process less labor intensive.

Total: 92/100

A very fair score for this kit, modest photoeched parts, no figures, and a hefty price tag balance out the insane detail found in this kit. Top tier kit for a top tier price.

Categories
Aircraft

Tamiya Mosquito B.MkIV (Part 1)

For my next project I wanted to go with something slightly large to gain more experience airbrushing. Seeing as I could get Tamiya’s 1999 Mk.IV Mosquito for a good price I decided to pull the trigger on it. I also wanted to use this kit as a “testbed” of sorts as I’ve also got Tamiya’s 1/48 He-219 “Uhu” on deck afterwards so I’ll need to have mastered the Sotar 20/20 by then to complete the Uhu’s complex camouflage pattern.

In terms of the build, It’s been on the bench for about a week now and I;m happy with how it’s going. I appreciate the fit and design of the Tamiya kit after completing Miniart’s Bantam. I took the liberty of filling out the exhaust holes however found that they cannot be easily seen after final engine assembly.

Most of the early construction has to do with building up the wings and cockpit as to be expected. I painted the interior parts with a mix of AK Grey Green and Intermediate Green with a single drop of Mr. Color leveling thinner. Paint was thinned in a rough 50/50 ratio with water. Thinned with Tamiya TS-13

Categories
Armor

Miniart Bantam 40 BRC

So I’ve finally finished Miniart’s Bantam jeep, and wow what a slog. The kit was a absolute dumpster fire. The fit was vauge, poor, and overall it seems like the kit was handed to an intern to design then sent off to the factory for molding. Don’t even get me started on the the figures. Put simply, the figures are incompatible with the jeep and can’t be positioned sitting in it. Even after chopping off a few toes you can’t get enough clearance to position them sitting down. Additionally, there’s the fact that there are subtle differences between how the figures are portrayed in the instructions and box art and how they actually build up, it’s as if they changed the molding and just didn’t bother to update the instructions.

Suffice to say, Miniart should be ashamed to have their name on the box cover.

For the last bit of the build I wanted to refresh my memory in traditional weathering techniques. Overall, I think I was successful in this regard. It was nice to get the creative juices flowing in terms of which weathering techniques to use in conjunction with others. Overall the main goal for this build was just to attempt old procedures and not really worry about them turning out or not. I’m a firm believer that each model a modeler builds should be an extension of the last and be used to improve upon the next one.

So considering the final build, where should I improve for the next kit? For one, the painting. I was adapting to a new airbrush (Badger Sotar 20/20) as well as new paints (AK Acrylics) and early on the painting was very shaky. It got the point where I had to tell myself that I needed to take a step back and practice with the new brush before continuing further. After 48 hours of practicing my X’s, O’s and squiggly lines with varying paint/thinner ratio’s and PSI’s I finally got to a point where I felt comfortable trying again. In the end, the paint turned out ok, but there was too much splatter and I need to keep experimenting with the ratios.

Another place I need to improve is with my mud splattering. I used AK mud products and Mig/502 Abteilung pigments and to be honest the end result was a bit over done and not what I was looking for. I used two shades of AK mud and three pigment shades but in the end the splatter was dominated by two colours. I also need to learn to vary they thickness of the mud as well.

In the end, despite the kit issues, I think the Bantam build was a success and I’m happy to be back to the bench.

Categories
Armor

Minart Bantam 40 BRC (Part 2)

After struggling through the construction stage of Miniart’s Bantam, It wasn’t long until it was time to lay some paint down. The camouflage scheme I picked for the model was derived from the box art with a few changes. Notably the slightly different colour of the hood part to signify that it was changed at some point in the jeep’s service life. After completing the painting I also started the weathering process, adding small black chips and metal wear using a AK graphite pencil.

Next step is the clear coat, decals and further weathering.

Categories
Armor

Miniart Bantam 40 BRC (Part 1)

For my first project back to the hobby I wanted to start off with a small, manageable project that wasn’t going to take weeks to complete. I settled on Miniart’s Jeep and for the past few days progress has been steady. I must say however that building the kit so far has been a struggle. The kit has consistent fit issues and misleading instructions to say the least. In terms of build progress, I’ve got a few more things I want to finish up before moving up to painting and I’m hoping it have it complete before the end of next week.

It feels good to be back to the hobby, although I wish my first kit back wasn’t such a dog if a kit. One redeeming factor is that the detail is nice at least.