With the main cabin completed on the Pavehawk, I got to work on assembling the fuselage halves and moving onto more advanced stages of construction. While I had thought that I had gotten through the majority of the construction phase, I soon learned that I still had quite a bit of work cut out for me.
The main reason for this was my decision to completely re-rivet the model to accurately depict the HH-60’s raised rivets. my initial plan was to just apply the rivets directly over top the recessed holes, however I quickly found out that this solution wouldn’t work for two reasons. The first was that although close, the Qunita rivets I’m using don’t have the exact same spacing as seen in the molded detail. This would mean that after a number of rivets, they would no longer be covering over the molded details. The second was that in using decal setting solution to get the rivets to adhere to the surface, I found that the film would sink too far into the rivet holes and would be too noticeable when paint was applied.
All of that was a long winded way of saying that I was going to have to putty over top the rivet holes before applying the decals.
This was something that I had desperately wanted to avoid. Other than the fact that this was going to take forever, the added complexity of cleaning the putty up had the possibility of obscuring detail.
I opted for Vallejo’s acrylic putty which has quickly become one of my favourites to work with. While it doesn’t have a good surface finish or sand easily, this putty’s greatest strength is that it is acrylic and dissolves in water. This was suitable for this application because it meant that I could apply it to the rivets, let it dry for 30 seconds, and then wipe away the excess with a wet cotton bud, leaving only putty in the rivets.
This approach made puttying over the rivets a viable strategy and while it was still time intensive, it was now an approach that was doable. I was able to completely re-rivet the fuselage in around two weeks, taking one week to putty the model, and the other to apply the decals. While there was still some left to apply, the majority were on the fuselage which was where the bulk of the work was.
Needing a break from endless riveting, I turned my attention to another phase of the build, the engine and gearbox assembly. This assembly is applied to the top of the fuselage and is where the rotor head sits. I had thought that this would be something that I could sort out in a night or two however I found that this was a somewhat complex process and required about a week of work to ensure that the fit was correct and all the necessary parts must be painted before installation. This assembly also required the construction of the main rotor head, of which I used the Reskit part.
The rotor head installed on top the main gearbox. The head has been left unglued to facilitate painting.
A ugly mixture of olive drab, dark brown, and grey was used to recreate the brown-green colour of USAF Blackhawk rotor heads.
A light dry brushing of RLM 02 was used to highlight detail.
At this stage I also got to work on the gear assemblies and refuelling boom. These were thankfully straightforward, if a bit fiddly, assemblies. Reference photos indicated the top of the cabin underneath the gearbox was painted in a yellow green colour which I applied before adding the gearbox. This will practically never be seen however I felt that the detail was needed here.
I then moved on to getting started with masking. Tidy masking work was going to be crucial considering how many holes were present in the fuselage and the big piece of clear styrene up front. Early on I decided that I would be using the kit doors as masks as I felt that they would give the best chance for a seal as opposed to taping off the openings. I decided to use masking fluid to seal off the edges, running a qtip along the openings allowed the masking fluid to perfectly seal these parts in place. I was a bit suprised with how well this approach worked.
With the majority of the construction and masking phase completed, I could finally move on to painting and weathering the model.
For modellers wanting to build up a 1/35 scale UH-60 and its variants, the various offerings from Kittyhawk are often the only game in town. Released just before 2020, KH’s family of UH-60 kits are often infamous for their fit issues while being somewhat expensive solely due to the fact that these are rare subjects, especially in 1/35th scale.
The Pavehawk: An Introduction
The HH-60G Pavehawk has long been an icon of the U.S Military, seeing service from 1982 to 2021. Primarily tasked with Air Force search and rescue operations as well as Pararescue medivac, Pavehawks have participated in wide ranging operations from the jungles of Panama to the mountains of Afghanistan.
The Kittyhawk offering
Kittyhawk kits have an unfortunate reputation among modellers due to several issues, ranging from general poor fit to fuselage warping. Despite these shortcomings, there really isn’t much selection for modelling large scale UH-60’s with older Academy and MRC moldings offering more basic variants of the Blackhawk. ICM has recently released their own 1/35 UH-60 however at the time of writing, there hasn’t been any further sub variants of this kit released yet.
My HH-60G build:
Construction starts with building up the cabin using the floor, ceiling, and side bulkhead parts. Right off the start I found the fit for these parts to be particularly tough and I had to spend some time sanding and slicing away material to ensure that these parts would join together smoothly. Getting good fit is important with the cabin parts because any conflict here will lead to further issues down the road. Next, I moved on to adding my own detail to areas that I found were lacking. From my reference photos I could see that there was some structural ribbing underneath the gunner windows that was not replicated by the kit. I decided to try my hand at recreating this detail and to do so I cut out some styrene sheets and added some decal rivets over top. This is a really small detail, but I’m glad I spent the hour or two recreating it.
I then moved on the overhead cockpit panel, taking a knife to the the molded on detail here. The kit has excellent molded detail, however I decided to go through the trouble with adding Anyz switches and dials so this existing detail would need to be removed. I then drilled out where the new switches would have to be with a 0.2mm drill bit.
After this initial scratch work was completed, I then moved on to paint. These parts were primed in my go-to primer, Mr. Finishing Surfacer 1500 Black before some SMS Lacquer U.S Medium Grey was sprayed over in a uniform coat. I masked off the sections of the cabin ceiling according to my references which nicely adds some visual interest. I then hit the overhead control panel with a subtle dark grey dry brushing to bring out some definition to this area.
I then got to work on the floor and sides of the cabin. The fuselage sides went together fairly straightforwardly, and were assembled out of a few pieces that must be aligned correctly with one another. I made the mistake of assembling this part before painting. Doing this necessitated some tricky masking between the green sections and the black cockpit parts. Nonetheless, I was able to complete the required painting and moved on to the cabin floor.
The cabin floor was definitely the most tedious part of this phase of the build, largely due to the fact that some excessive masking was needed to recreate the wear strips present on the floor of the cabin. These strips are always heavily worn in photos and I used the hairspray method to recreate this wear pattern. After this job was done, I sealed everything in a GX100 Gloss varnish in preparation of weathering.
With my previous work sealed under a varnish, I could then start the weathering process for the painted surfaces. I chose to keep things simple here and limited myself to a dark brown oil wash to highlight the surface detail yet not overwhelm it. After all, this is a modern aircraft and unlikely to get too dirty. I then sealed my work in a GX114 Matte clear coat.
After all my prior work had been sealed, I then got to work on the cockpit section. I had deliberately set this section aside, with the intention of painting and weathering it separately from the main cabin. References showed a fairly deep black as the cockpit colour, so I opted for Tamiya’s Flat Black instead of my standard NATO Black. I got started on the weathering right away and first applied some Vallejo Black Grey paint chips with a sponge. These are really subtle and only show up in the right light, however I fell that they accurately depict superficial scuffs that would be seen in this area. I then moved on to more substantial chips with Tamiya’s Zinc Chromate paint, followed by some silver. From my references I was able to see that many of the bolts and screw heads had had paint entirely worn off which I tried to recreate in my build. I then moved on to some more scratch work, adding detail underneath the seats. References again showed that this area was a maze of avionics and cables. I chose to recreate this mess with some styrene rectangles and lead wire.
With the cockpit floor completed, I was then able to move on to other various subcomponents, namely the instrument panels and seats. As with the overhead panel, I opted to use Anyz switches and dials to enhance the cockpit and give a more tactile feeling to this area. I started with the front panel, first painting it flat black before applying a grey drybrushing to highlight raised surfaces. I then added various instrument dial decals from a Jira-GIO decal sheet, which were then sealed over with some clear UV resin. I added some photography film to replicate the displays and declared this part complete. I didn’t want this part to appear too dirty so I kept the weathering very minimal.
I next moved on to the large centre instrument panel. This part is very much a focus point as it takes up a lot of space in the cockpit and is filled with many different switches and dials. I built up this part the same way I make many of my cockpits, I first scraped away the existing detail before drilling out where the new switches would be placed. The painting was done the same as the front panel, with flat black followed by a grey dry brushing prior to decal application. Minimal weathering was done on this part as well.
The seats were somewhat fiddly assemblies without great alignment. In reference photos I saw that these seats often had a fuzzy, soft material that I wanted to replicate. To do this, I added some Mr. Surfacer 500 paste which I stippled to create a rough surface on the seats. After a quick layer of black, I applied a light grey dry brushing to bring out the texture of the fabric. The cabin seats were also difficult to assemble with unclear angles for gluing. I used oils to depict a dirty, stained surface on these parts.
The next part of the cabin assembly that I moved onto was the internal fuel tank that many HH-60’s have fitted. This was a fairly easy part to build up, although I complicated it by swapping out the ratchet straps included int he kit with photo-etch ones from Czech manufacturer Miryoku. The specific aircraft I’m building, SN# 26206, was indicated as having a large American flag applied to this tank which I thought was particularly striking.
With the majority of the internal components completed, I could then start to think about starting to bring everything together. I did several test fits to ensure that the parts fit together well and that there wouldn’t be any conflicts when the cabin was sealed into the fuseluage.
Bringing everything together:
I first attached the middle and rear bulkheads to their respective spots on the floor and ceiling. Next, I then glued the fuel tank into place and attached the straps to their attachment points. I then installed the cockpit parts and the cabin section was complete!
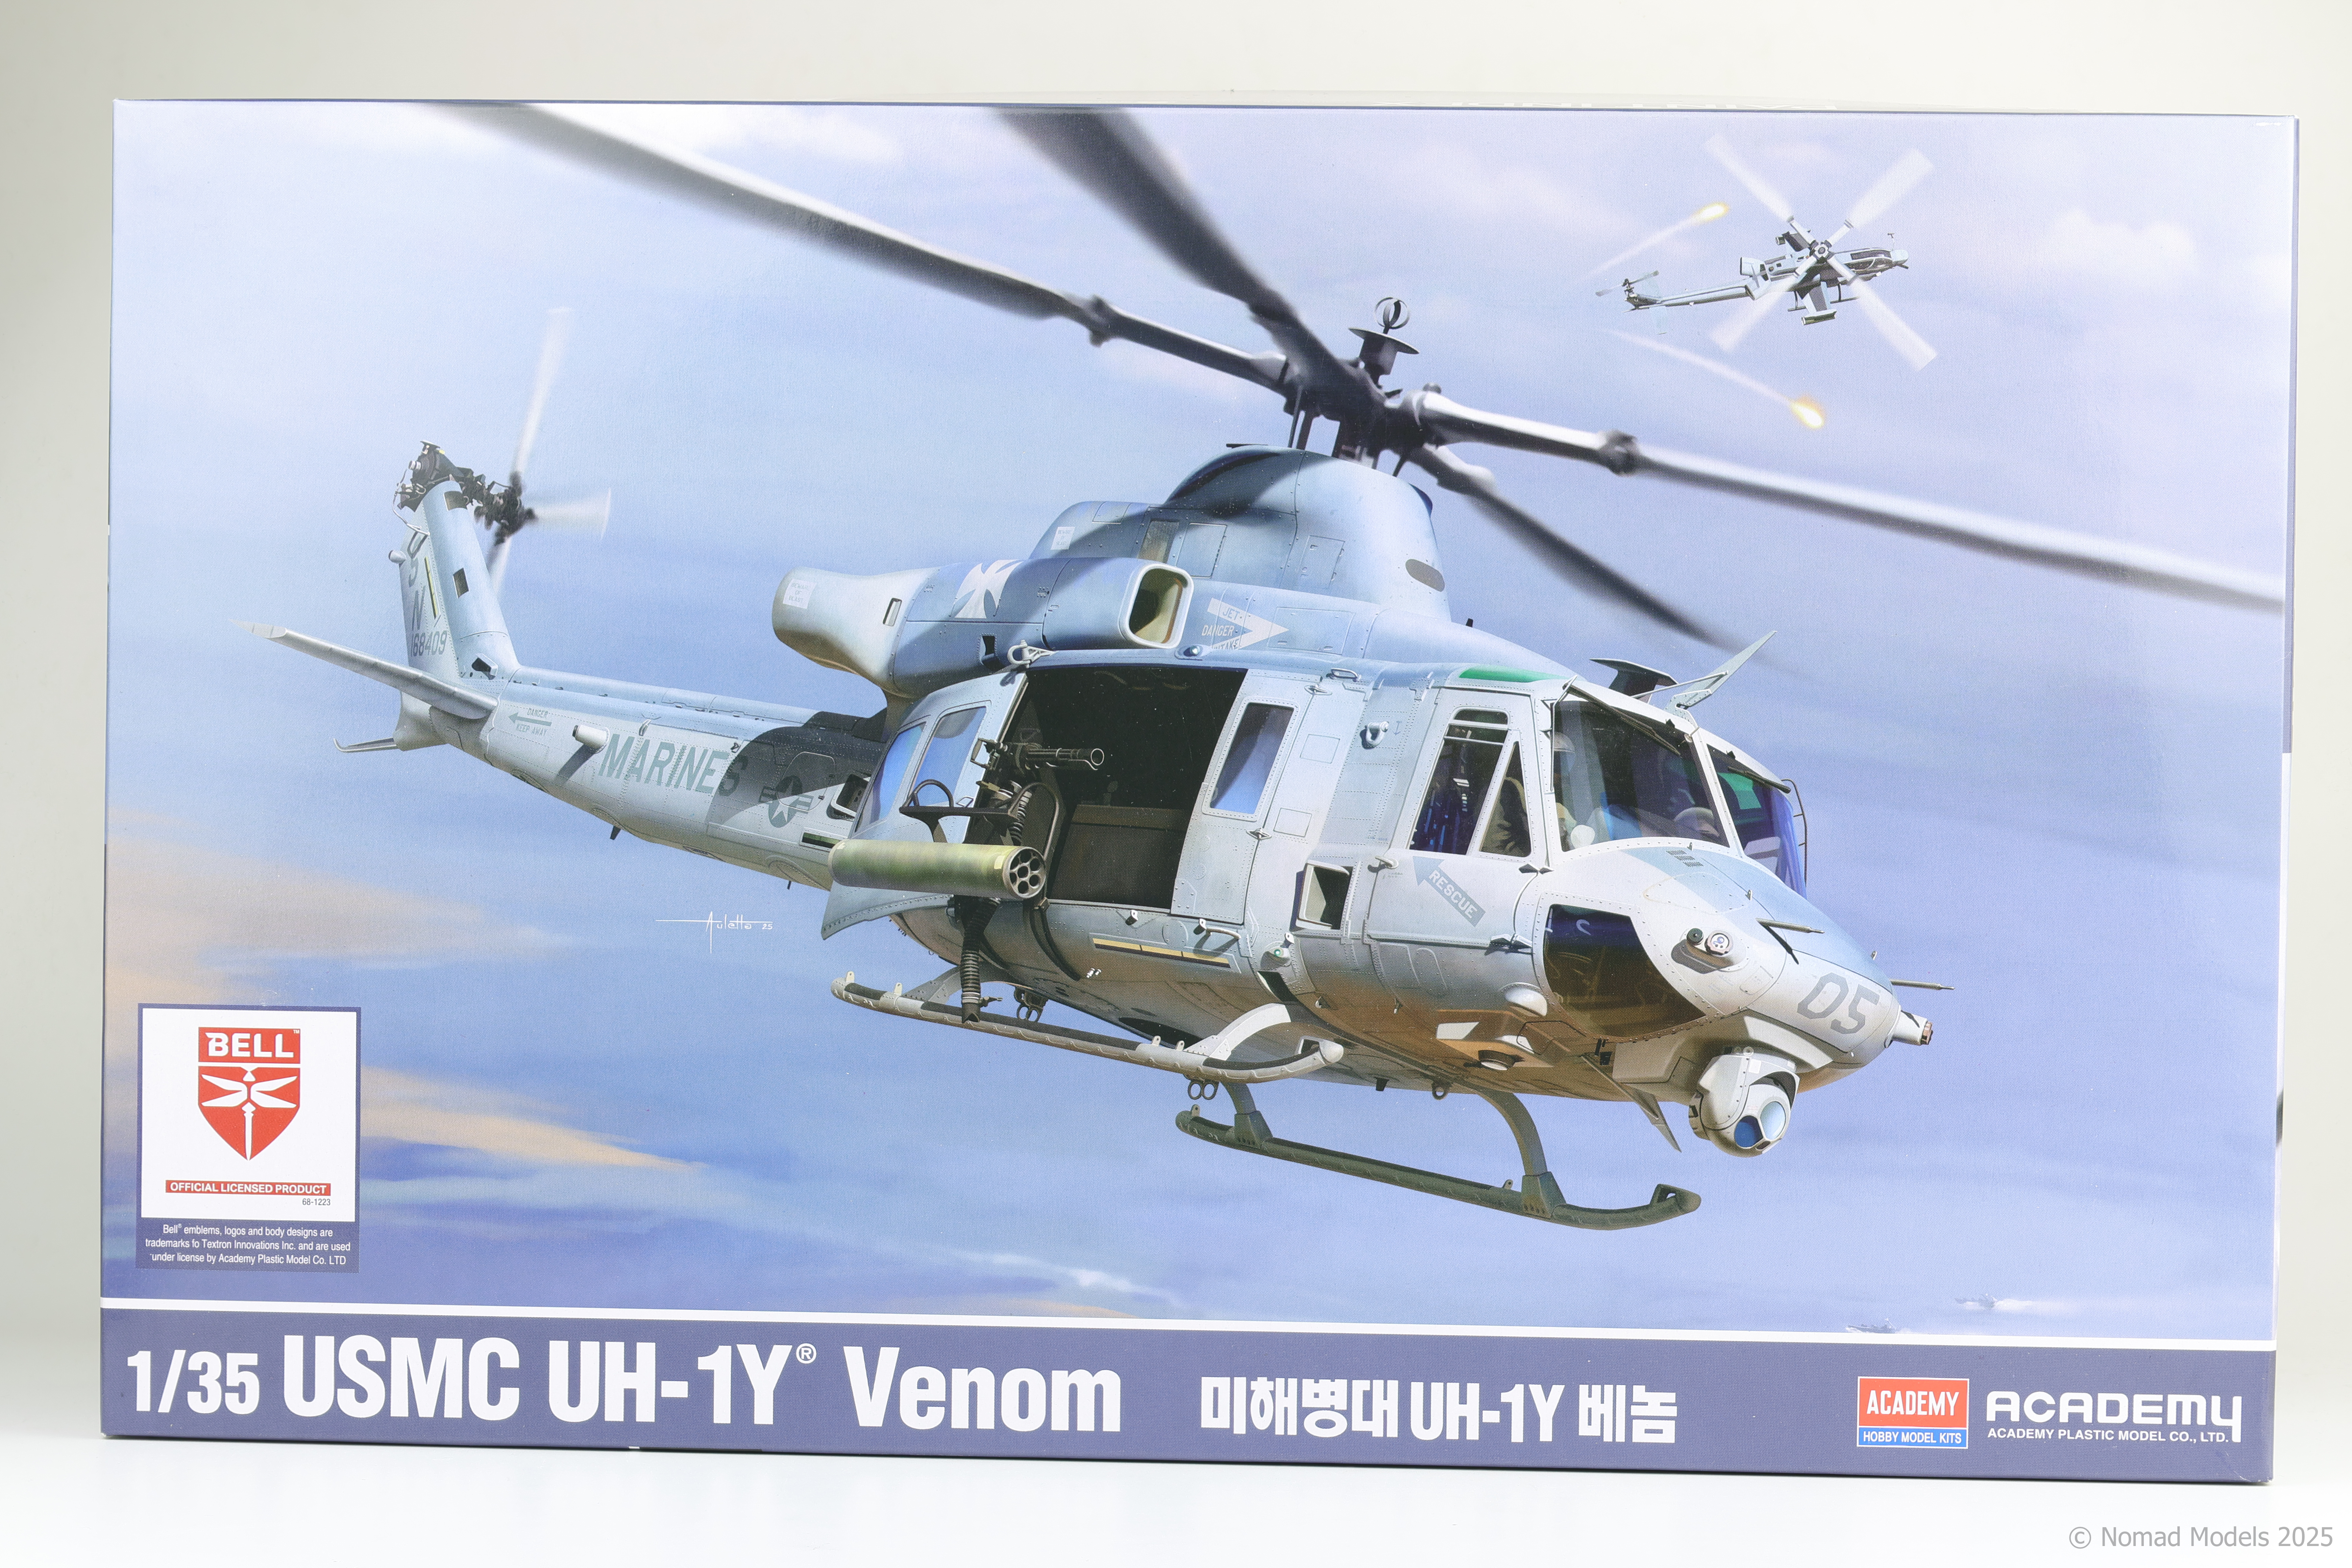
I’ve recently been collecting various 1/35 scale Helicopters (emphasis on collecting not building 🙁) and when I saw that Academy was releasing a new tool 1/35 UH-1Y Venom I have to admit, my interest was piqued. When this kit showed up at my LHS, there was no chance I could turn it down and couldn’t help myself from picking it up. Let’s see how it stacks up!
Kit features: 16/20
At first glance I felt that the features included in this kit were lacklustre however after thinking it over I feel like this was a harsh initial assessment. Some armament is included on the two sprues for Academy’s earlier AH-1Z kit in the form of rocket pods. This does allow the Venom to be fitted with either Lau-68 (smaller) or Lau-3 (larger) pods. On its surface, this seems like a fairly uninteresting fact however, I particularly like the inclusion of the larger Lau-3 tubes. These are rarely seen on Venoms and it could have been easily justified to leave them off. Academy’s inclusion of them is helpful for people who don’t want to have to go out and buy a separate pod to recreate a fairly unique load out. Also included is a fairly small PE fret (surprisingly so considering this is a 2025 release) along with pre-cut masks for the clear parts. Also of note is the fact that the kit can be built with its rotors stowed and includes the required bracing to do this. Considering that 1/35 helicopters often have large rotor diameters, this is a good option for those who don’t have a lot of space for completed models. Overall, I’m fairly satisfied with the features and accessories included in this kit but nothing really strikes me as a luxury addition besides the mask set. Academy looses some points on the small PE fret and lack of figures, but gains them back with the aforementioned masks and inclusion of niche loadout options.
Quality of Molding: 50/50
The quality of molding achieved in this kit is by far and away its greatest strength. The level of detail achieved here is incredible. Positive rivets are next to crisp panel lines with well defined shaping. This kit is next to Tamiya’s F-35 series in the terms of the detail that was achieved here. Of particular note is the tail boom, unlike other kits, this part is a single cylinder with the typical excellent detail on the outside. I don’t think I’ve seen a part this well made before. There’s no improvements to be made here so a perfect score is warranted.
Instructions: 11/20
The instructions are fairly basic, and do the job with few additions. They are the fold out, not booklet style and weirdly enough, were split up into two separate sections in the kit I got. I also noticed that there are a few places where the original Korean text was not translated into English, notably on Step 8 when joining the two fuselage halves together. There is a large caution warning with Korean text, but no English. Every marking option has it’s own colour profile in its’ separate booklet but on the whole, the quality here really doesn’t live up to the kit’s details.
Miscellaneous: 7/10
The kit includes 5 markings options which I feel like is a perfectly acceptable amount. Since Venoms are largely painted the same way, each scheme is pretty much identical, only varied by unit specific insignias. The decal quality is also fine with no big issues noticed.
Total: 84/100
If I had to sum up this new Venom, I’d say it’s basic in the areas that are less important, and outstanding in the crucial areas. It’s very clear that Academy spent a lot of time working on the tooling for this new release and the effort shows. Where Academy looses points is on the instructions and basic approach to the kit features. Ultimately though, The detail in the plastic is what’s most important to me and it’s where the Venom shines.