
Decals
With the primary paintwork done on the F-14, I could finally seal everything up with a GX100 gloss varnish. The decals I chose for this project was the Furball Aero-Designs part II set. I’ve been wanting to try out a Furball set for white a while now and was pleased with how the performed, having both excellent detail and setting good characteristics.


For this build I did opt to try to sand the excess lip away created by the decals. I went about this by spraying on subsequent layers of gloss varnish before sanding over the decal. I don’t do this for every build as it can be somewhat time consuming but for subjects that have large, prominent decals, I think that the additional time spent here is worth it. I started out with 6000 grit sanding sponges before moving on up to 8000.

Weathering
With the decals squared away, I turned my attention to the weathering. Initially I had thought to keep weathering minimal and try to complete the process as quickly as possible with the finish line so close. After taking a day to think things over, I decided that trying to rush things right at the end was not the right decision.
With the model currently in a gloss coat, I settled on starting the weathering with some oil streaking effects. I decided to start on the underside of the model where mistakes would be less obvious, and where the real subject would be more likely to build up dirt and grime.
I started the oil effects by brushing slightly diluted dark brown oil paint in the areas I wanted streaks to occur. I allowed the oils to dry for a few minutes before dragging a fan brush moistened with oil thinner over top the streaks. I particulary like this technique at the start of weathering as this effect serves as an anchor for future work.


I continued this effect throughout the rest of the model, although I opted to limit it somewhat on the upper surfaces of the aircraft as I felt that overly prevalent streaks would be distracting and overwhelm the viewer. Although it took a bit to get the look right, I’m fairly happy with how it turned out as this was a good start to replicating a heavily worn Tomcat.
I then chose to seal the oil in a satin varnish. This was required because the oils are very fragile to damage and alteration. In fact, even after dry for several days, they never really dry off completely and as such need to be sealed underneath a varnish to completely fix them into place. I chose a satin varnish as well because there were some subsequent effects that I wanted to try out that would perform better on top of a satin finish rather than a gloss.
The first effect I applied was a dark grey pinwash over the models panel lines. While the panel lines were somewhat subject to a wash when the black ink layer was applied, I found that the effect had been diminished somewhat and I wanted to bring out the prominence of the lines again. To do this, I made up a dark grey oil colour and applied it sparingly over the model’s various panel lines, and was cleaned up with a paper towel.

Following the panel line wash, I then got back to further streaking effects, this time with pastels. I had never used pastels before as a weathering medium, however I saw them used in an interesting way to re-create subtle streaking effects that I thought was worth trying to replicate. I first used my hobby knife to scrape off some of the pastels before loading up a silicone shaper tool with clumps of the pastels. I would then drag the shaper over top the model which would create a subtle streaking effect. One thing that I like about this approach is that the pastels take a long time to build up and it’s easy to not take things too far. It’s a very forgiving technique.
I largely used this process on the wings and again on the underside of the fuselage, this time adding volume to the earlier oil streaking effects. The technique works particularly well when the top of the panel is taped off, creating a very nice contrast with the unaffected surface.


After completing work with the pastels I then moved back to oils for some select weathering in specific places. The first place I focused on was the hinges for the flaps and ailerons. I had done some colour modulation in this area and felt that it could use some more work. I applied some minimally diluted dark brown oil paint to the hinge before working over it with a larger brush. I took care to wipe away any grime that had moved up the wing as I felt that this area would not have gotten as dirty.


Next, my attention turned to the anti slip surfaces on top of the intakes. I had chosen to used the included decals for this area and as such they were not looking weathered at all. To fix this, I again utilized oils and faded them around the edges to recreate dust and dirt buildup that had accumulated due to foot traffic.


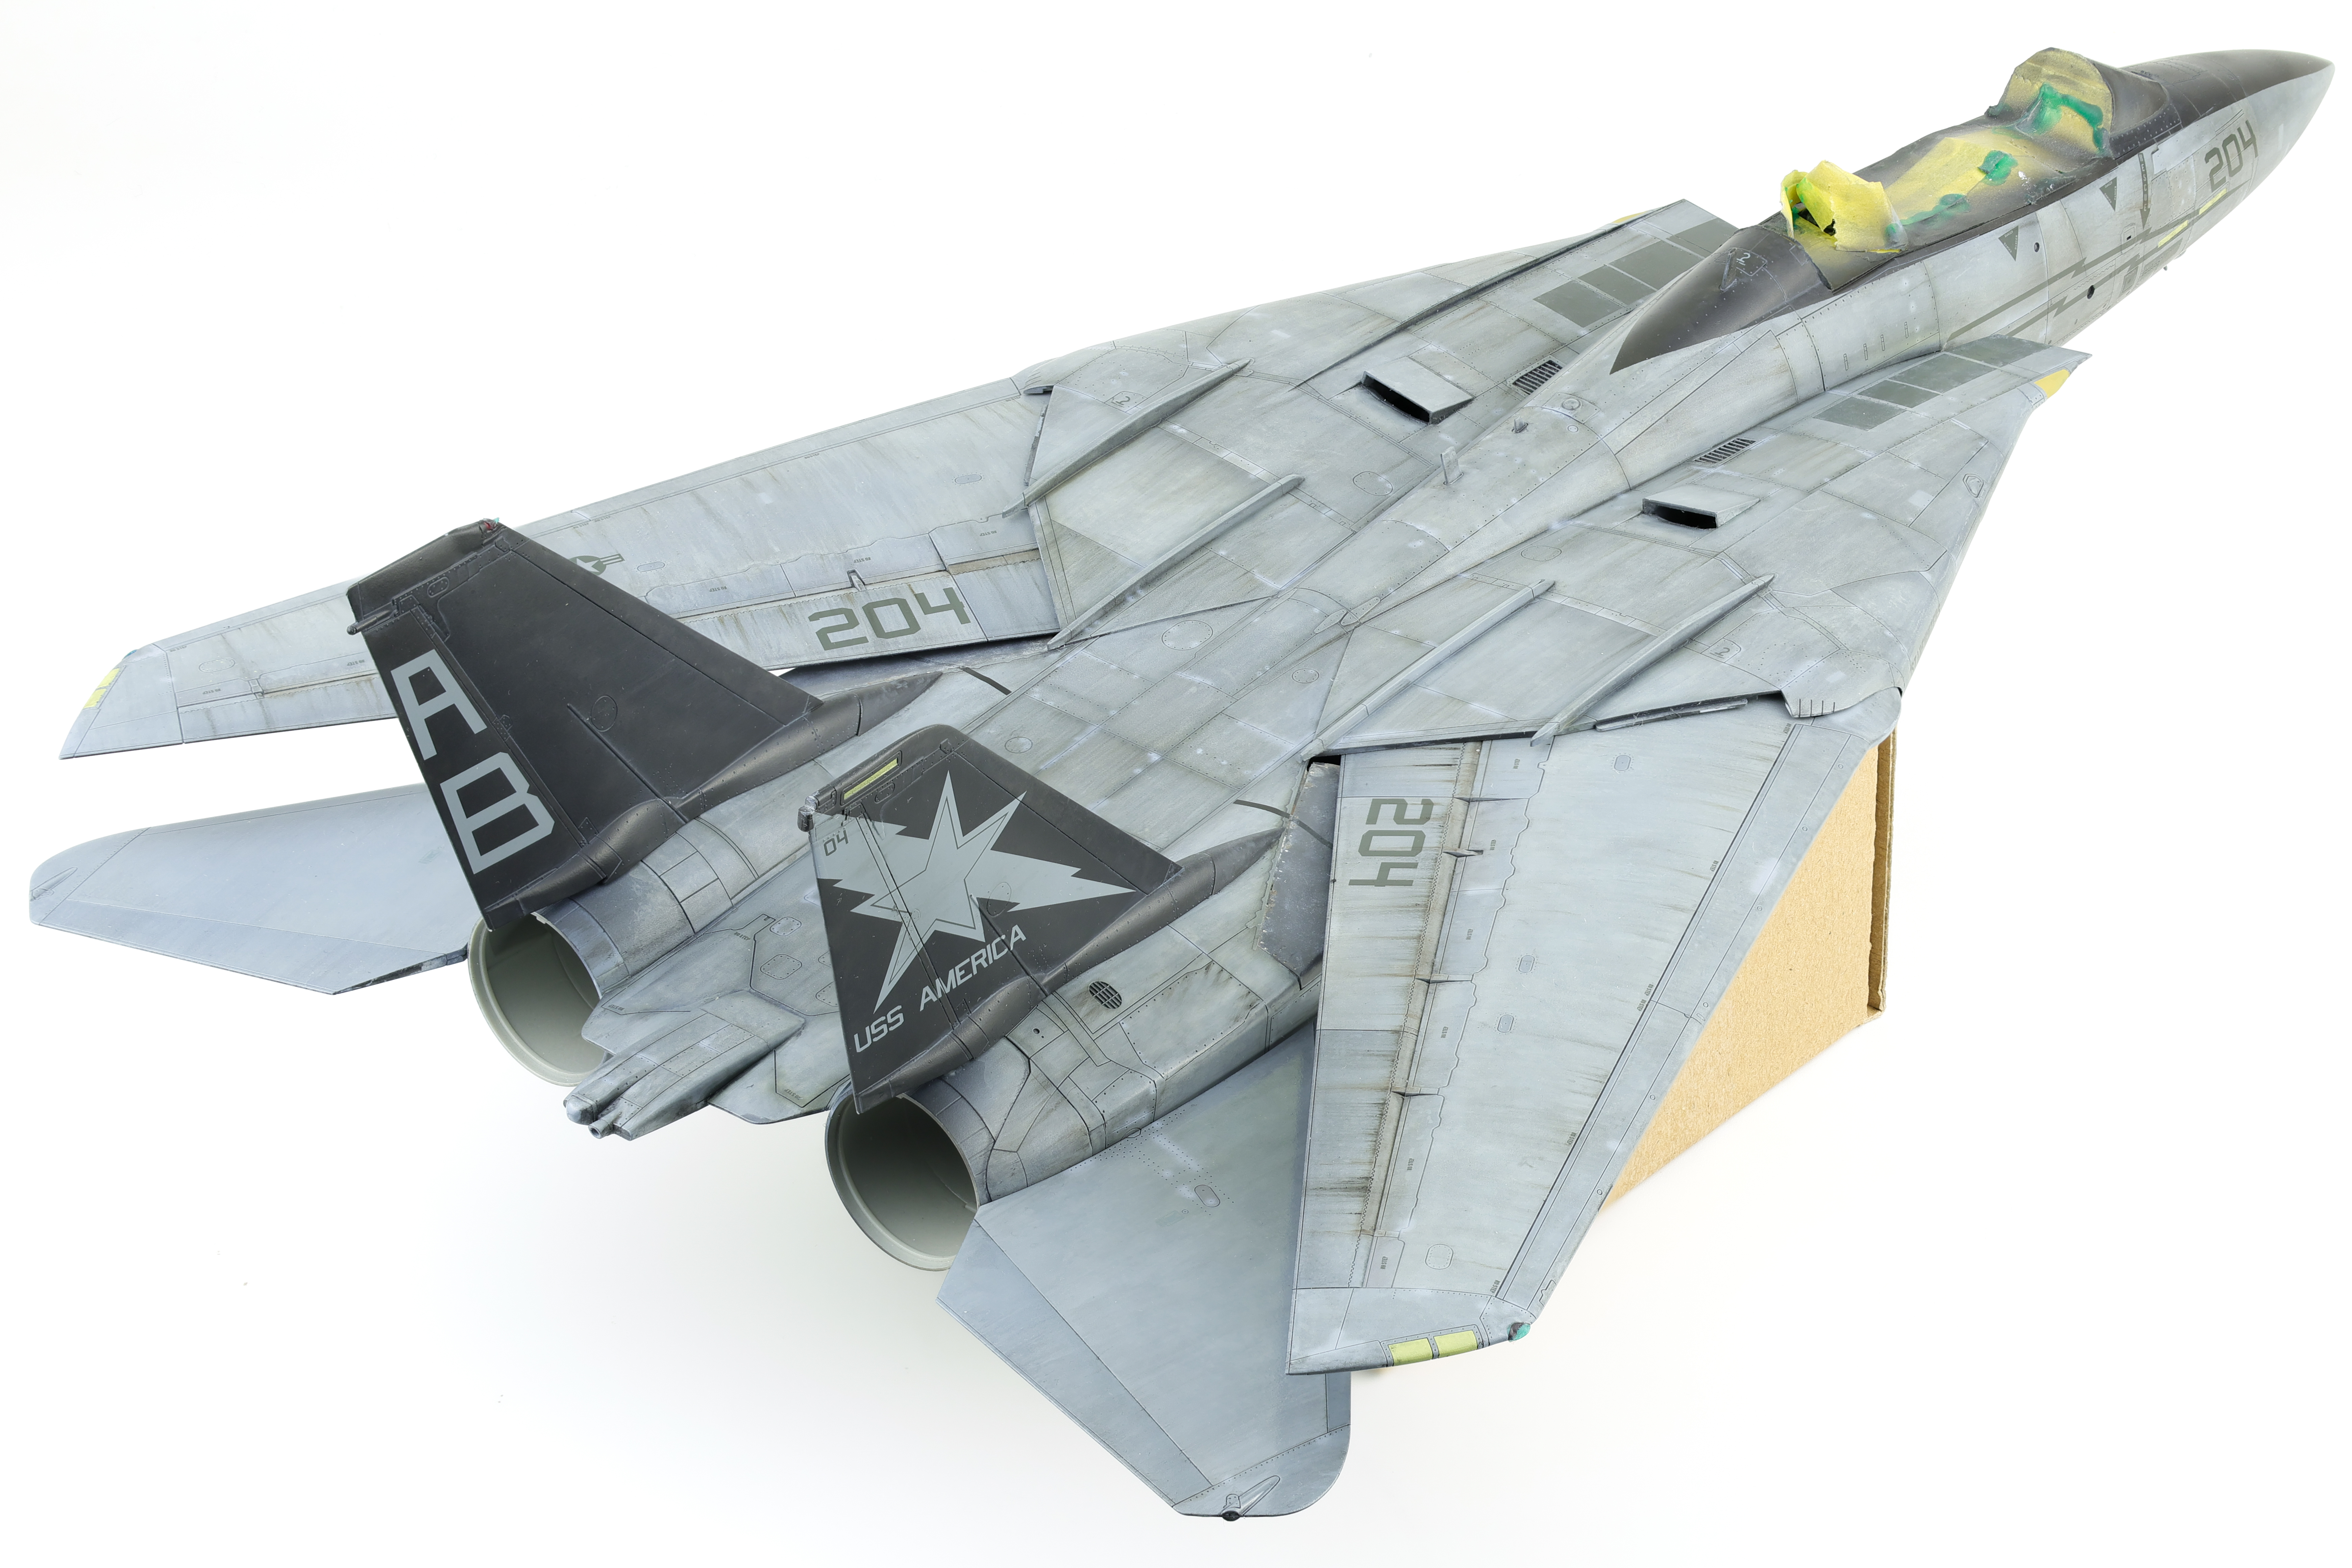
The final weathering effect that I applied to the model was the anti-corrosion paint touchups that were applied by crews while on deployments. These touchups are very prominent on weathered Tomcats and I wanted to recreate them on my build. I opted to create this effect with two methods, with metal templates and free hand airbrushing. I started applying paint through the template to get a good feel for how the airbrush was spraying prior to trying to freehand onto the model. I think that this approach turned out well as it recreated fairly accurately how paint touchups were applied to the real life aircraft.


With this final step in the weathering process completed, I sealed my work in a matte varnish. With this major stage complete, I was able to move on the penultimate steps before completing the build!


Leave a Reply