Tag: Armour

  • Tamiya He-219 “Uhu” (Part 5)

    Tamiya He-219 “Uhu” (Part 5)

    After a little over two months on the workbench, Tamiya’s 1997 Uhu has finally been completed. All things considered, I’m very happy with the result. Ever since I returned to the Model building I’ve been slowly adding techniques and procedures back into my repertoire. Tamiya’s Uhu was a lot of firsts for me, First time using oil washes, first time trying chipping effects, first time using VMS products, and first time rigging aircraft. While I was comfortable with these techniques prior to my modeling hiatus they were new to me upon returning and had to be re-learnt.

    I made some significant mistakes along the way as well, notably not leaving enough time for the VMS decal setting solution to cure before spraying the satin coat and therefore wrinkling the otherwise perfect decals. Another problem I encountered was that the canopy did not seal perfectly with the fuselage causing overspray to get up inside the cockpit, something that I’ll need to look out for next time around. I also used the exhaust flame hiders as a “test run” for future German AFV exhausts. I’m not happy with how they turned out but that’s not the point, the goal was to find out what worked and what didn’t and now I know for the future how to improve.

    As for the model itself I’m definitely happy with how some additions enhanced the model. Eduard Models’ Resin wheel set definitely added some pop to the final product and I was pleased with where I was able to get them for the final product. The Master Models Fug-220 Radar set also really enhances the front of the kit.

    As for the weathering and finishing on the model, I used Abteilung 502 oils for an initial dark brown/black wash. I also opted to highlight some select panels with the airbrush. I used Mig Productions Oil and Grease as well as their Fuel stains product as well. The aircraft was painted with Vallejo Model air Grauweiss and Grauviolet for the spots. It was sealed with VMS’s Satin and Matte clear coats.

    That’s a wrap!

  • RFM Panzer III Ausf. J In Box Review

    RFM Panzer III Ausf. J In Box Review

    Want to see my build of this kit? Click here: https://nomad-models.com/2023/10/03/rfm-pz-iii-ausf-j/

    One of my first ever “mainstream” kits I’ve built was Tamiya’s Panzer III Ausf. L. Ever since then, I’ve been a huge sucker for the tank. In my opinion the Panzer III was the most over looked tank of the second world war and as such, it’s got a soft spot in my heart. Funnily enough, I didn’t intend to pick this kit up. I originally wanted to give Tamiya’s new Marder III a go, however it wasn’t in stock at my LHS. Bought for $70 CAD, This kit is a little steep price wise for what you’re getting. The Pz. III isn’t a huge tank and I was pretty surprised by how few sprues there were in the box. Anyway, let’s get into it, here’s my inbox review for Rye Field Model’s Panzer III Ausf. J.

    Kit Features: 16/20

    The kit certainly isn’t lacking for specialty features. It includes individual length tracks, a generous amount of photo etch, and a few other goodies. One thing I was particularly happy to see was the ability to open and close lots of different hatches. RFM also gives the builder the option of a workable suspension if they desire, a increasingly common addition to kits these days. The “Figures” included in the kit are interesting to say the least, essentially just geometric shapes, they are only useful as a nice novelty and not something most builders would want to include in their build. The figures are a bit of a catch-22, odds are if you’re the kind of builder who stages figures in your model, you do it because you want some additional realism/life into the scene. The problem is that they are inherently unrealistic and don’t fit well in the build. If anything you can use them as painting dummies in the future to practice your figure painting skills. Besides that though, the kit really provides you with some nice accessories to play with. Of particular note are the tracks, which, don’t have any injector pin marks and will require little cleanup.

    Quality of Molding: 45/50

    The molding of the kit is definitely the best part of this build, the details are crisp and it’s obvious RFM put a lot of effort into this area. Small details are well defined and clearly visible. Of particular note are the weld seams molded into the plastic. In my opinion these are some of the best injection molded seams found today. Another specific area of note is the detail found in the running gear. The “Continental” branding on the tire can clearly be made out, furthermore, patches of weld beads can be seen on the inside of the wheels. With typical kits, the bottom of the tank will often consist of a “tub” that the suspension can be attached to before closing the top. In this kit however RFM has opted to split up this construction method, allowing for greater detail in individual pieces. Seeing as this is a 2020 release, this kind of detail is expected and the kit absolutely delivers. Points are only lost due to the absence of any texture in the molding.

    Instructions: 19/20

    I was pretty happy with the instructions upon my first impression. Printed on a large booklet they feature 3d colour CAD illustrations of various build processes to aid with part placement. The instructions also indicate where on parts glue should be applied, this is particularly helpful with the track construction. The only issue I think may be a problem is that they seem quite busy. They may be hard to follow for some builders.

    Miscellaneous: 8/10

    The kit gives the modeller a pretty wide selection of markings to choose from, all of which fit pretty neatly on a small sheet of decals. While these specific options aren’t my cup of tea, I have to say RFM did a good job providing options. The only issue I have with the markings is that they don’t indicate unit or location on the color plates. For $70 this is a pretty healthy kit feature wise.

    Total: 88/100

    There’s no other way to say it, this is a really capable kit at a reasonable price. This kit is leaps and bounds better than the other J variants on the market. I have no doubt it’ll build up to be a good looking Panzer III. It comes with a good helping of accessories and is loaded with detail. Definitely try to pick this one up.

  • Tamiya Tiger I S33

    Tamiya Tiger I S33

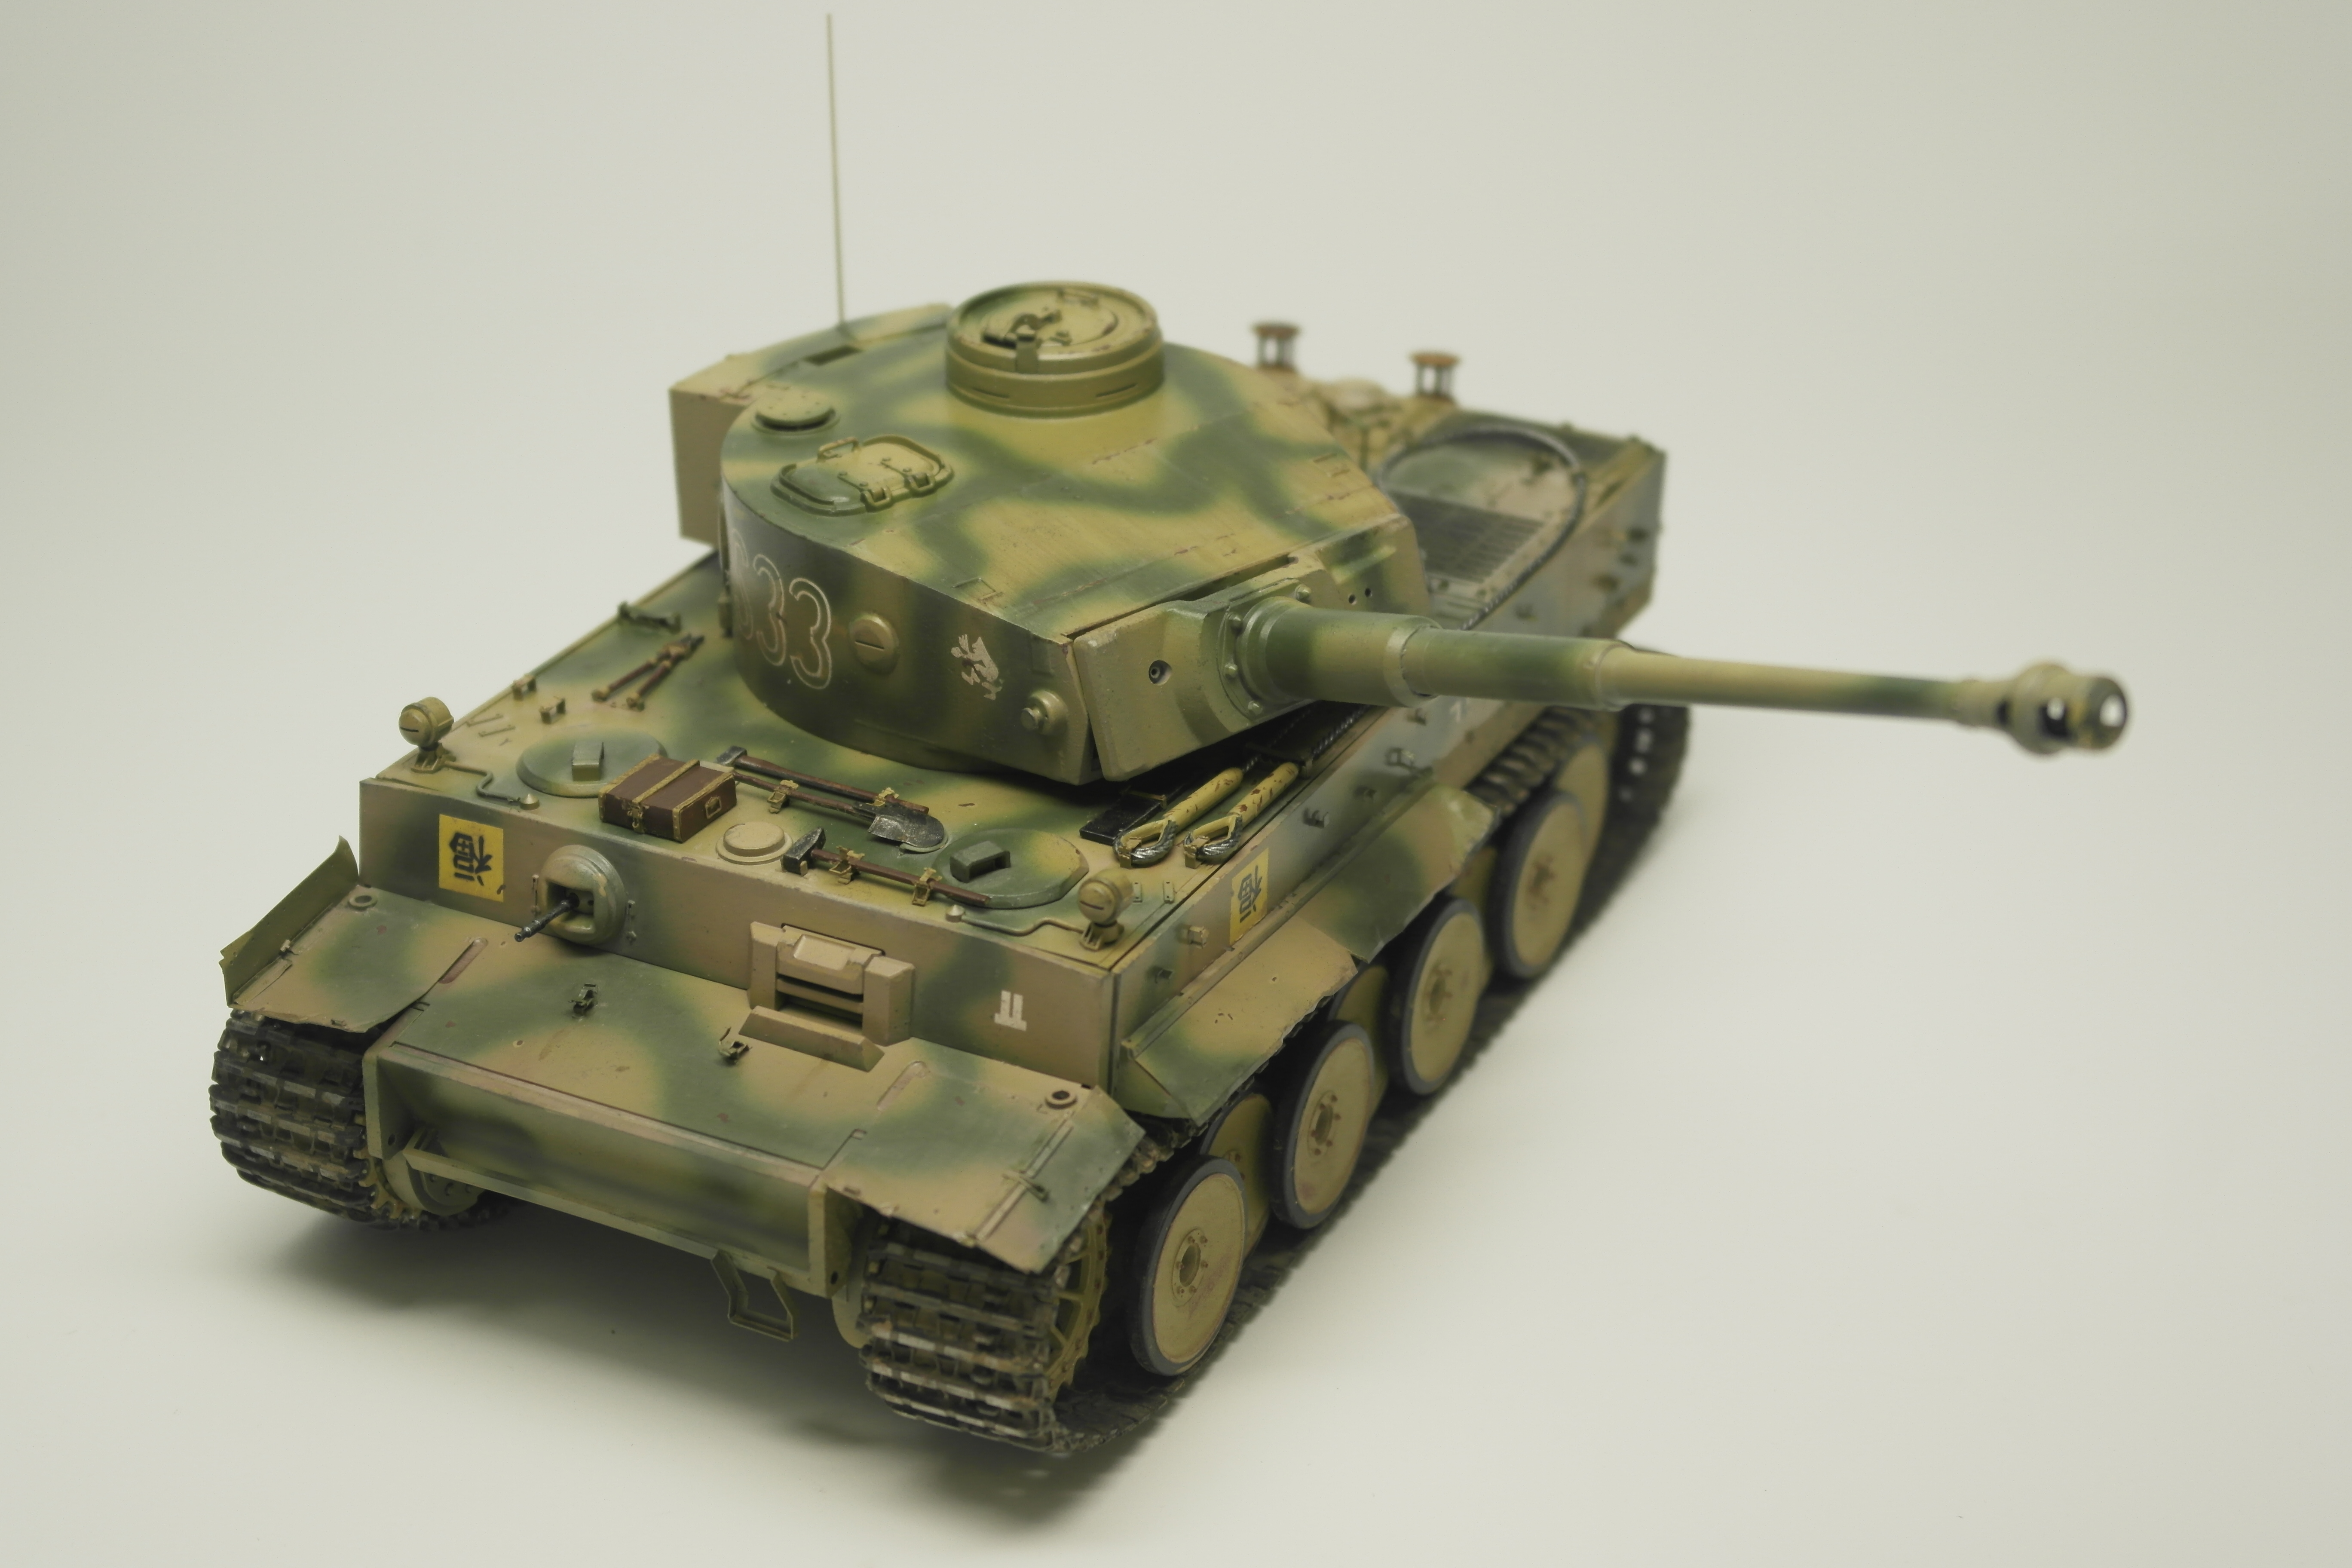
    After starting in July, I have finally completed Tiger S33. After nearly a month of no work getting done in June (due to parts not arriving) The Tiger is complete. Aftermarket parts used included Fruilmodel metal tracks, RB models metal barrel and 2m Aerial, As well as Eduard Phototech. The model weighs a pretty significant amount due to all the metal!
    After priming in black I finished it in pretty standard brown and green camouflage, Tamiya Acrylics were used.

    For weathering I clear coated the model, did a dot filter, clear coated again, and used AK interactive’s Streaking grime product. It worked pretty great although I would caution anyone who wants to used it to make sure they work quickly and not allow it to dry on the model.

    I finished with testors dull coat

  • Tamiya Tiger I S33 (Part 5)

    Tamiya Tiger I S33 (Part 5)

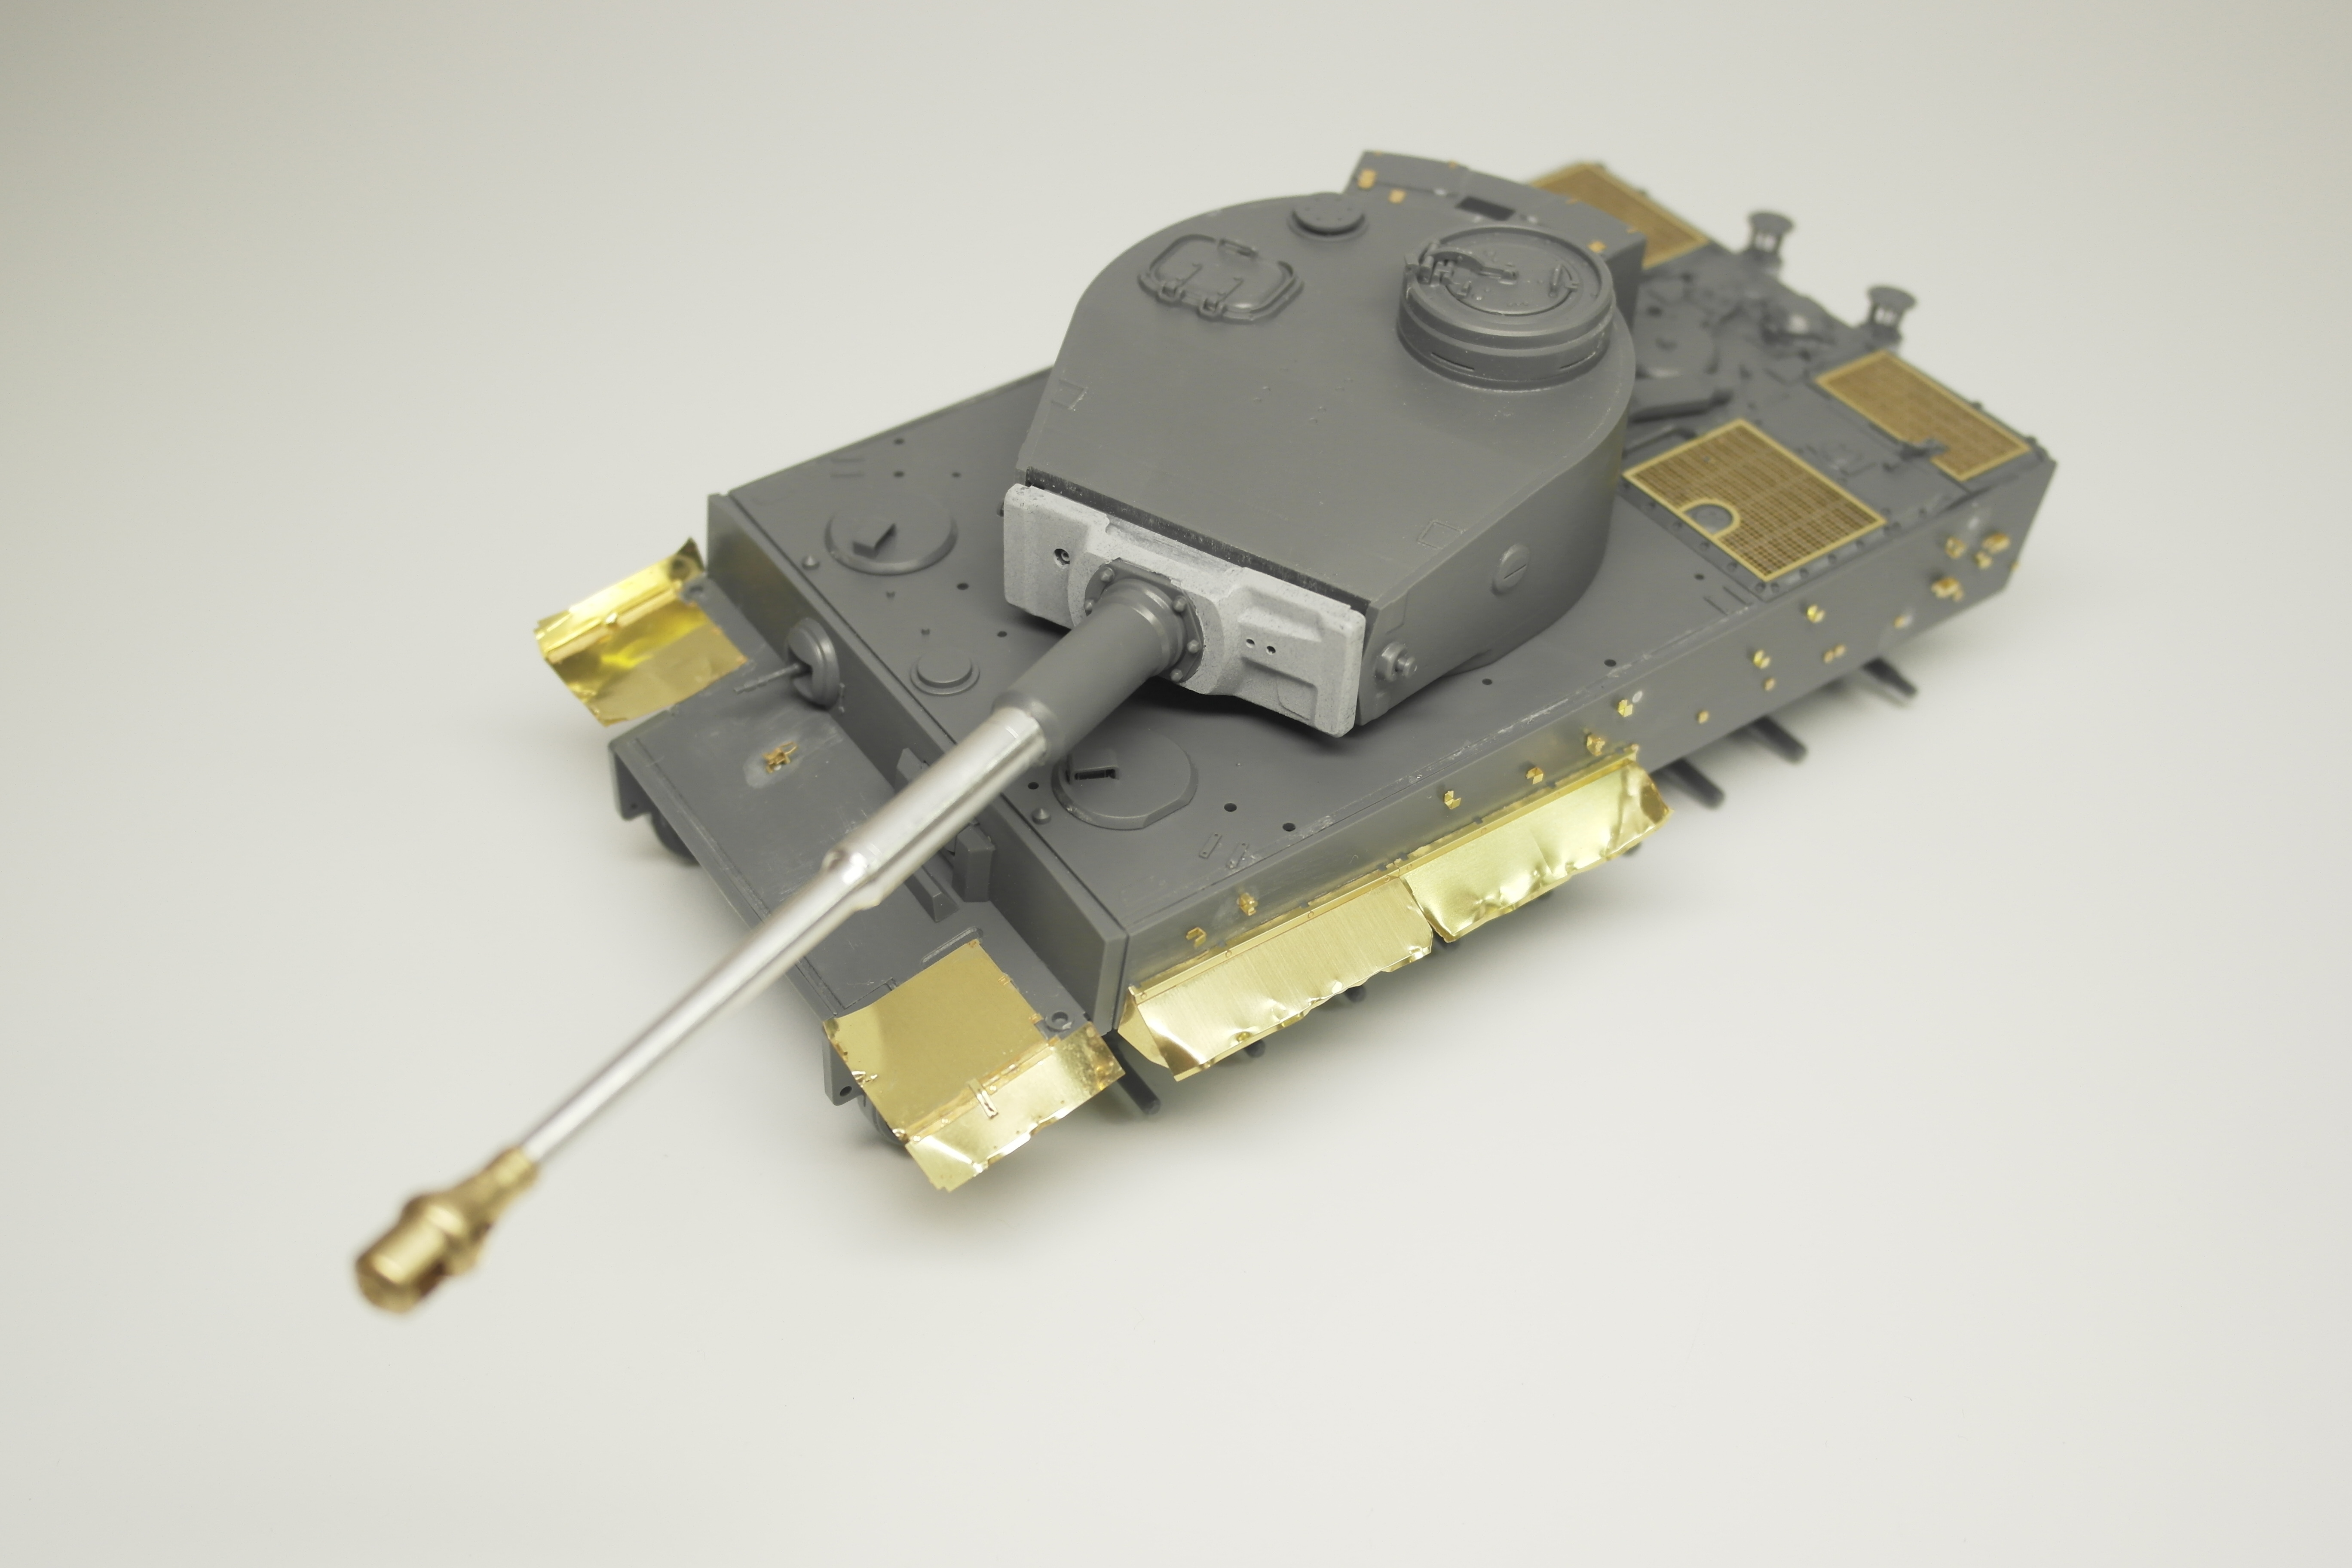
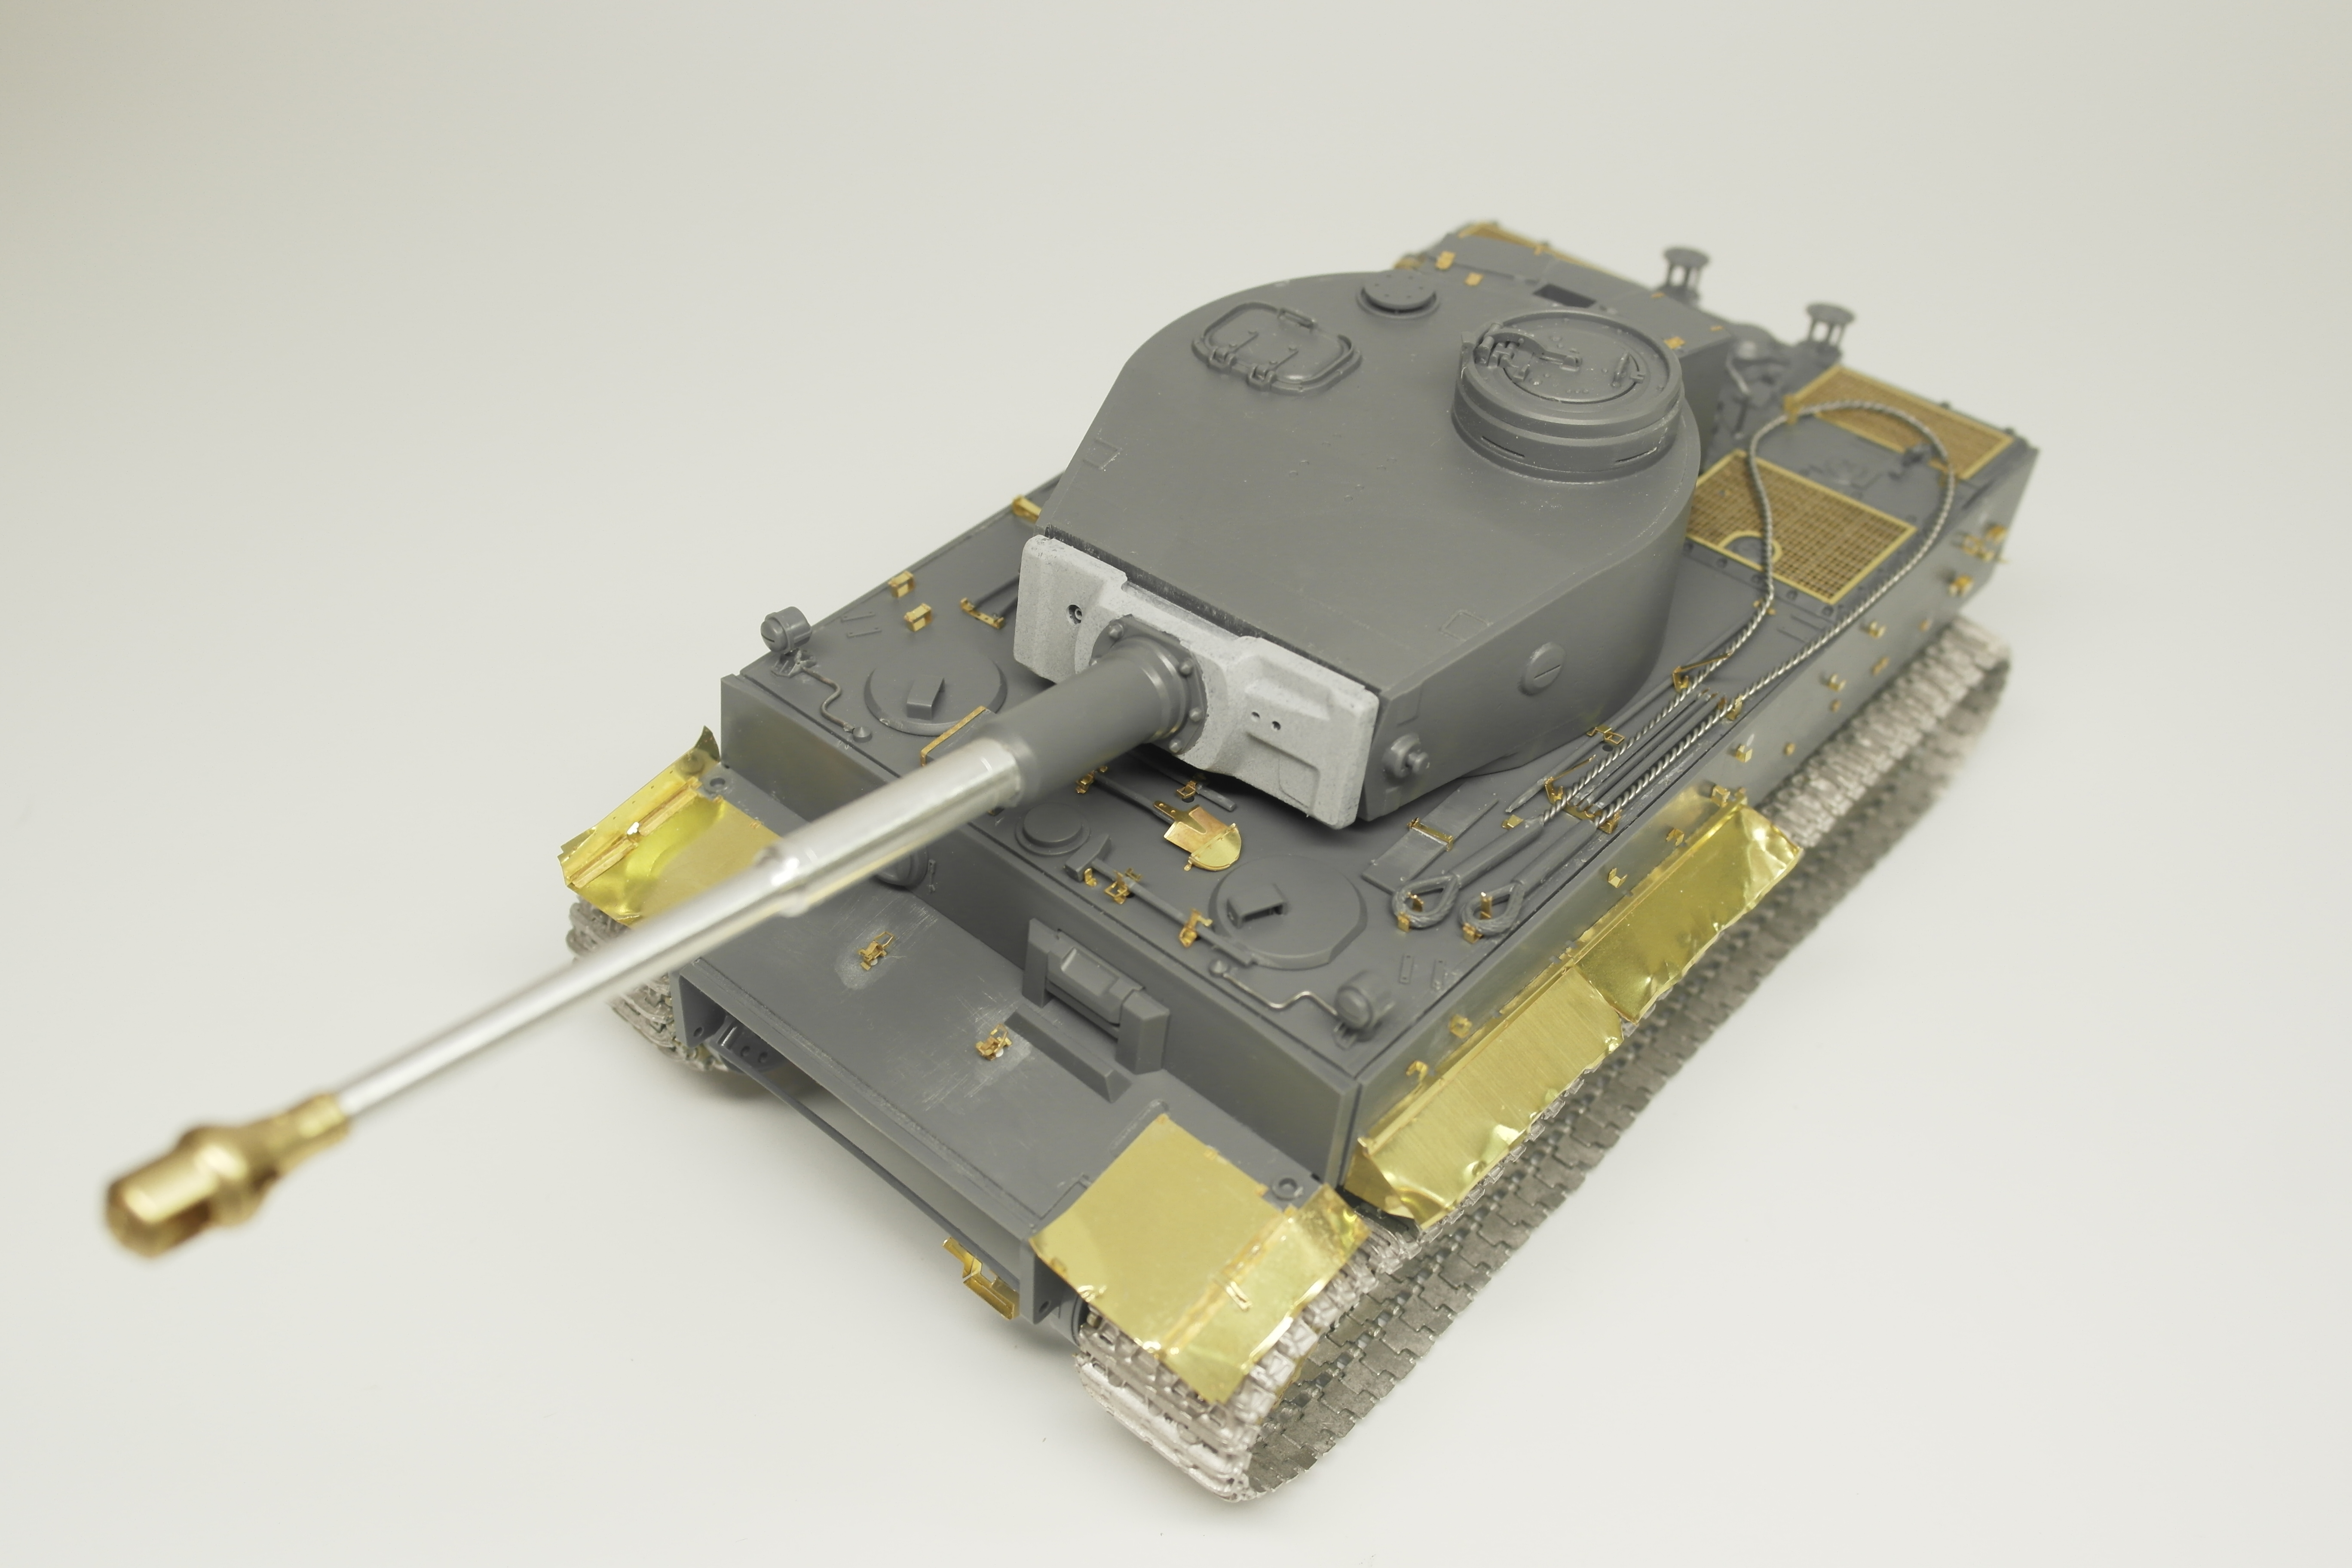
    Last update until primer and paint goes on! just 1 or 2 things left to add/fix. I decided to post an update to show what the model looks like with all the aftermarket pieces added. one of my favorite details is the fire extinguisher it really enhances the detail of the model to another level.

    Many of the tools are not glued down, as I didn’t want them getting in the way of the weathering and I wanted to be able to paint them with greater precision. There are a few details I added that were not included in the kit or PE sets. One of which is the wires for the headlights, as well as the tow cables. I made them by taking three pieces of soldering wire, attach one end to a vice and the other to a dremel tool, I think it looks ok but I could have used smaller wire.

    Thats all for now! Paint is imminent, I have a big project coming that needs to be finished by the end of September (for a competition) so I hope to start working on it around August!


  • Tamiya Tiger I S33 (Part 4)

    Tamiya Tiger I S33 (Part 4)

    After getting Eduard’s PE set in the mail this past week the Tiger is finally progressing, Photo etched parts are bout 80% complete, I just need to add a few small details and handles for tools and such, should be ready to go for paint in a few days. in general I’m really happy with where the build is going, especially the damaged side skirts and fenders. Not pictured is a metal antenna from RB model, which will probably be applied last.

    I’m still plugging away on the Taisan Porsche, although right now i’m only focusing on the body. It’s got it’s first coat of paint and gloss coat although I still have to do 1-2 more coats of the gloss in preparation for the decals an polishing.