For the past few weeks I’ve been steadily building Eduard’s 1/48 F6F-5 Hellcat as a sort of “reset” build to complete before diving into the painting stage of the Tiger project. I picked the Hellcat because I’ve always had a soft spot for U.S Navy fighters and also because I wanted to move this kit out of the stash.


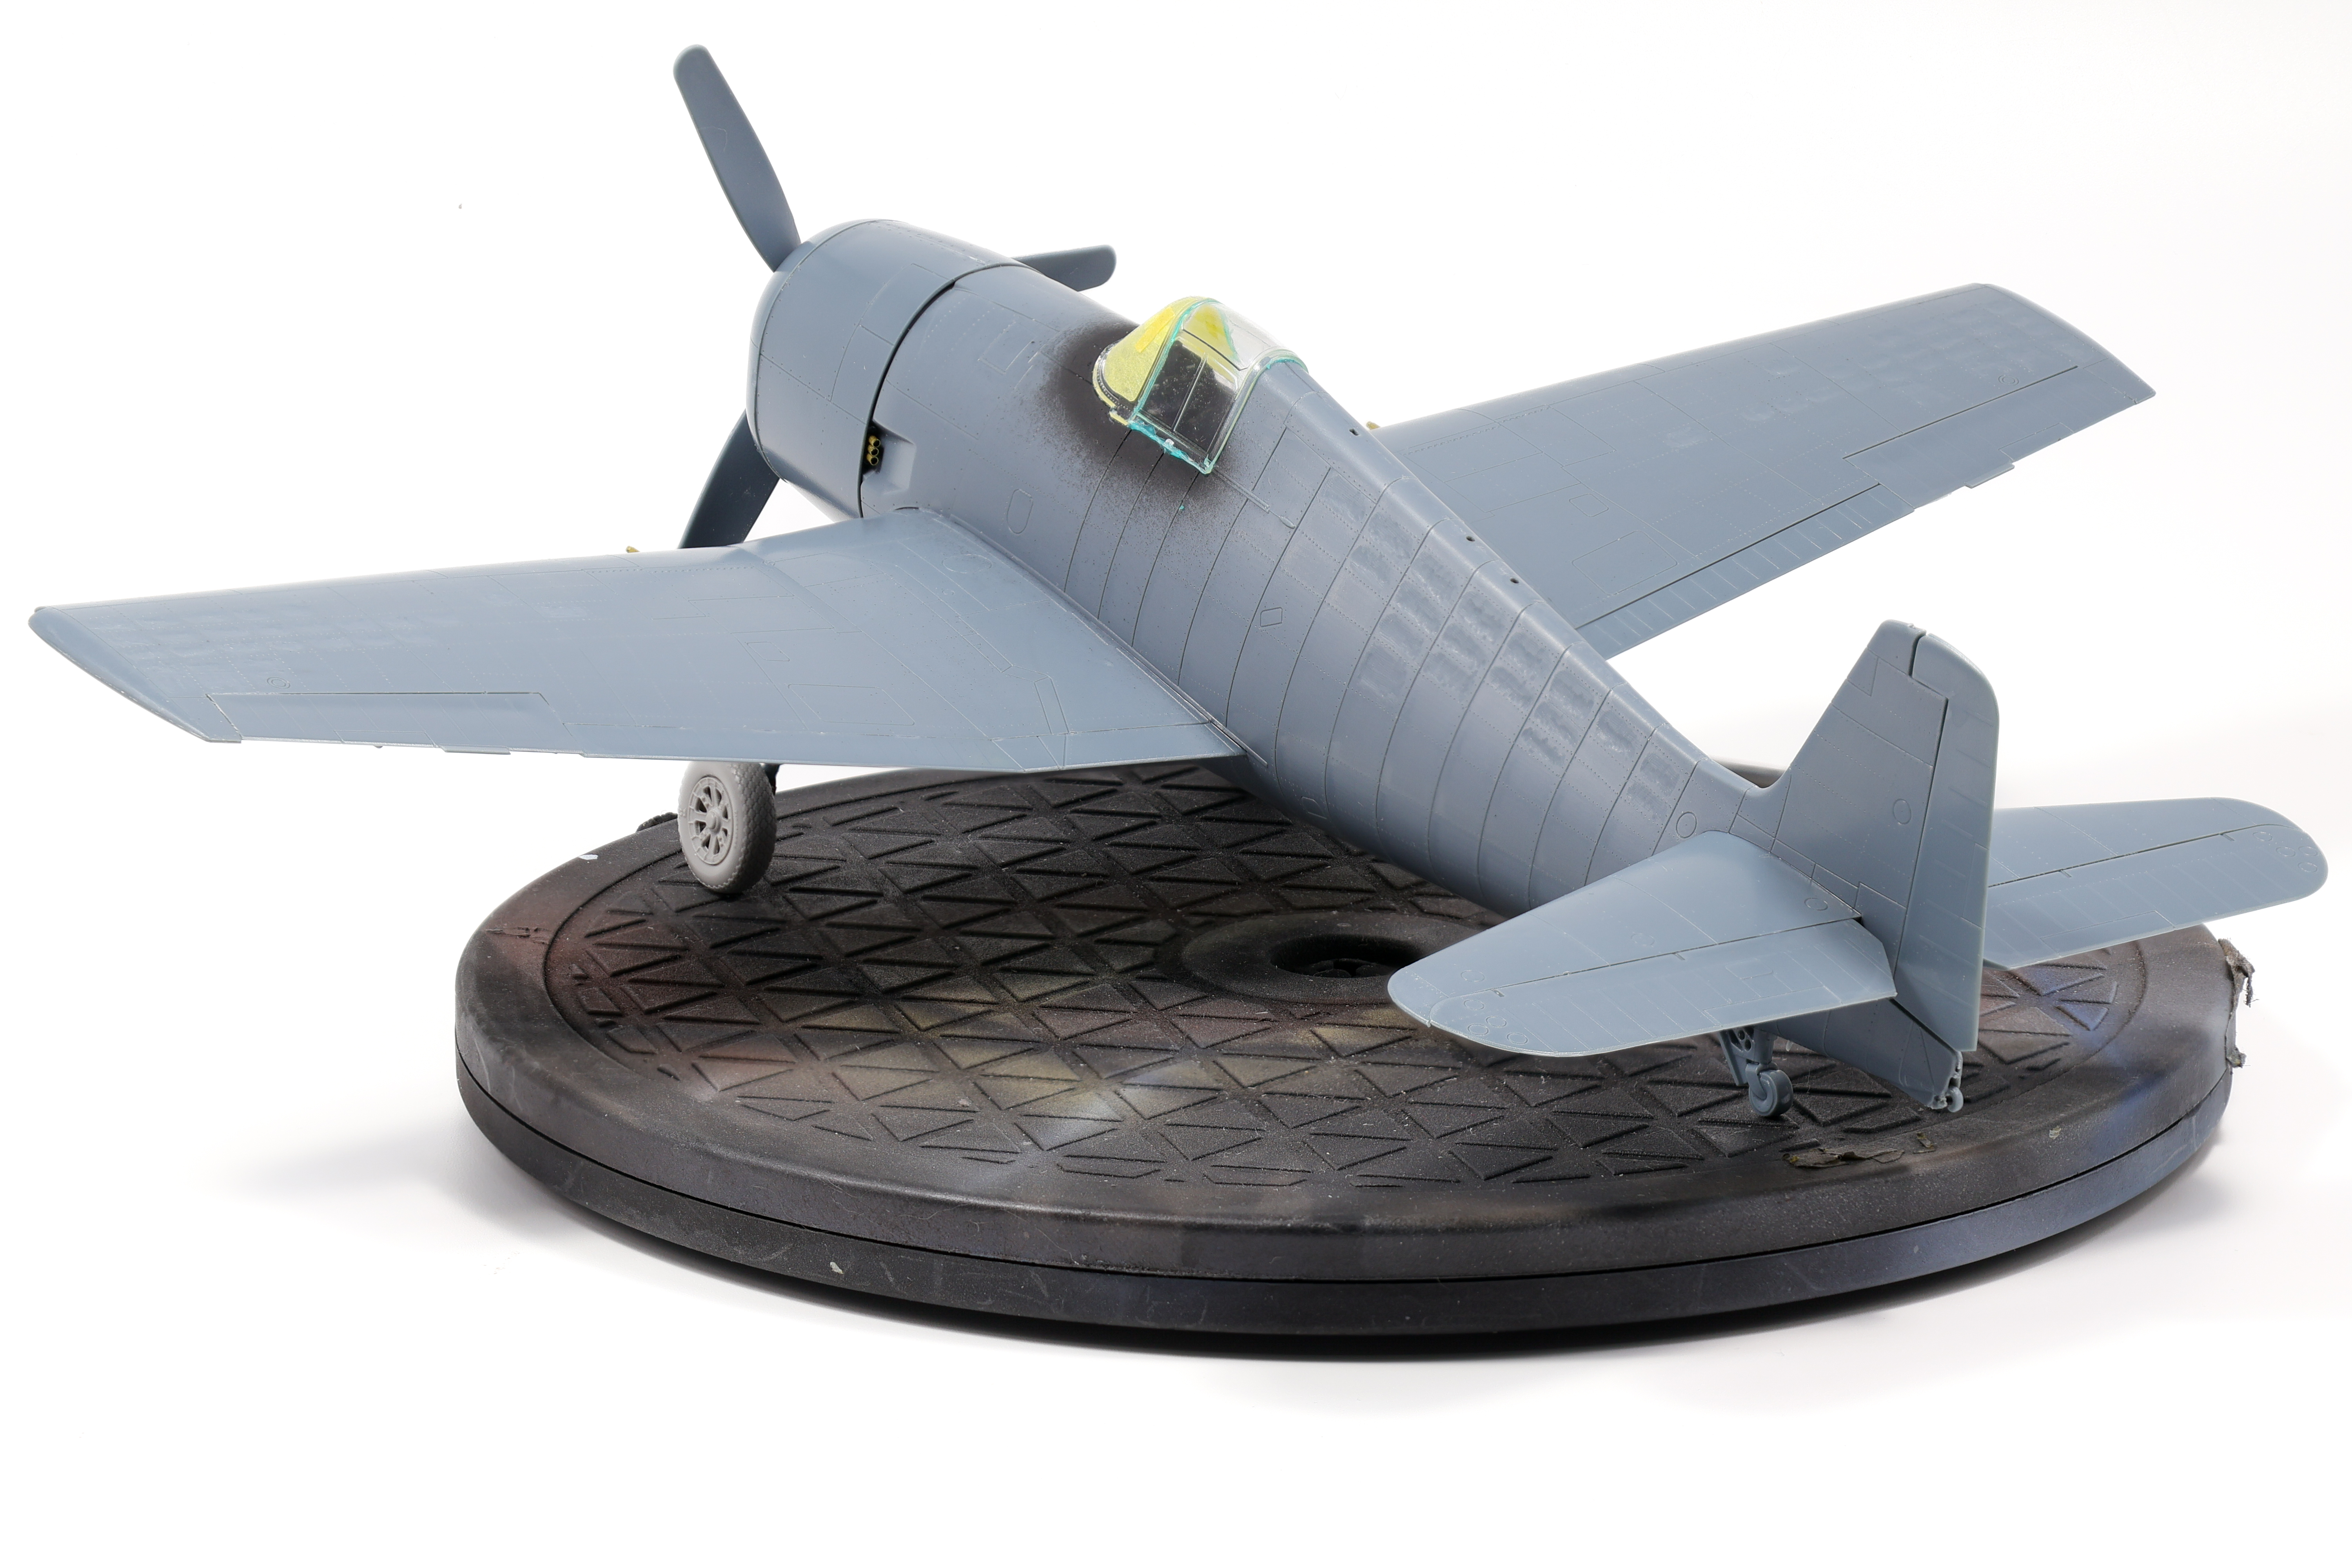

Construction was straightforward although a bit disappointing. This kit is by no means a new Eduard release with the molds dating back to 2008. This is not that ancient but in the grand scheme of things it’s a far cry from the hyper detail kits the brand is releasing nowadays. If you’d like to hear more about my thoughts on this kit, I did a out of box review on it last year:

Eduard F6F-5 Hellcat (Late) In Box Review
Eduard’s Profipack Hellcat has impressive features including photo-etched parts, resin wheels, mask set, and armament options. However, its quality of molding is below-par as it lacks detail and crispness. Eduard’s excellent instructions and various marking options are commendable, albeit limited in color and vibrant prints. With a challenging price, the kit’s weekend edition provides better…
The chipping effects on this build required a two stage chipping process. The first stage consisted of a metallic colour underneath a custom zinc chromate mix chipped with standard hairspray chipping. This was done somewhat quickly as the results didn’t matter too much in that only a small fraction of this coat would be visible in the final model. After this coat was chipped, I hit it with a coat of hairspray and re-primed with 1500 black for the preshading coat.
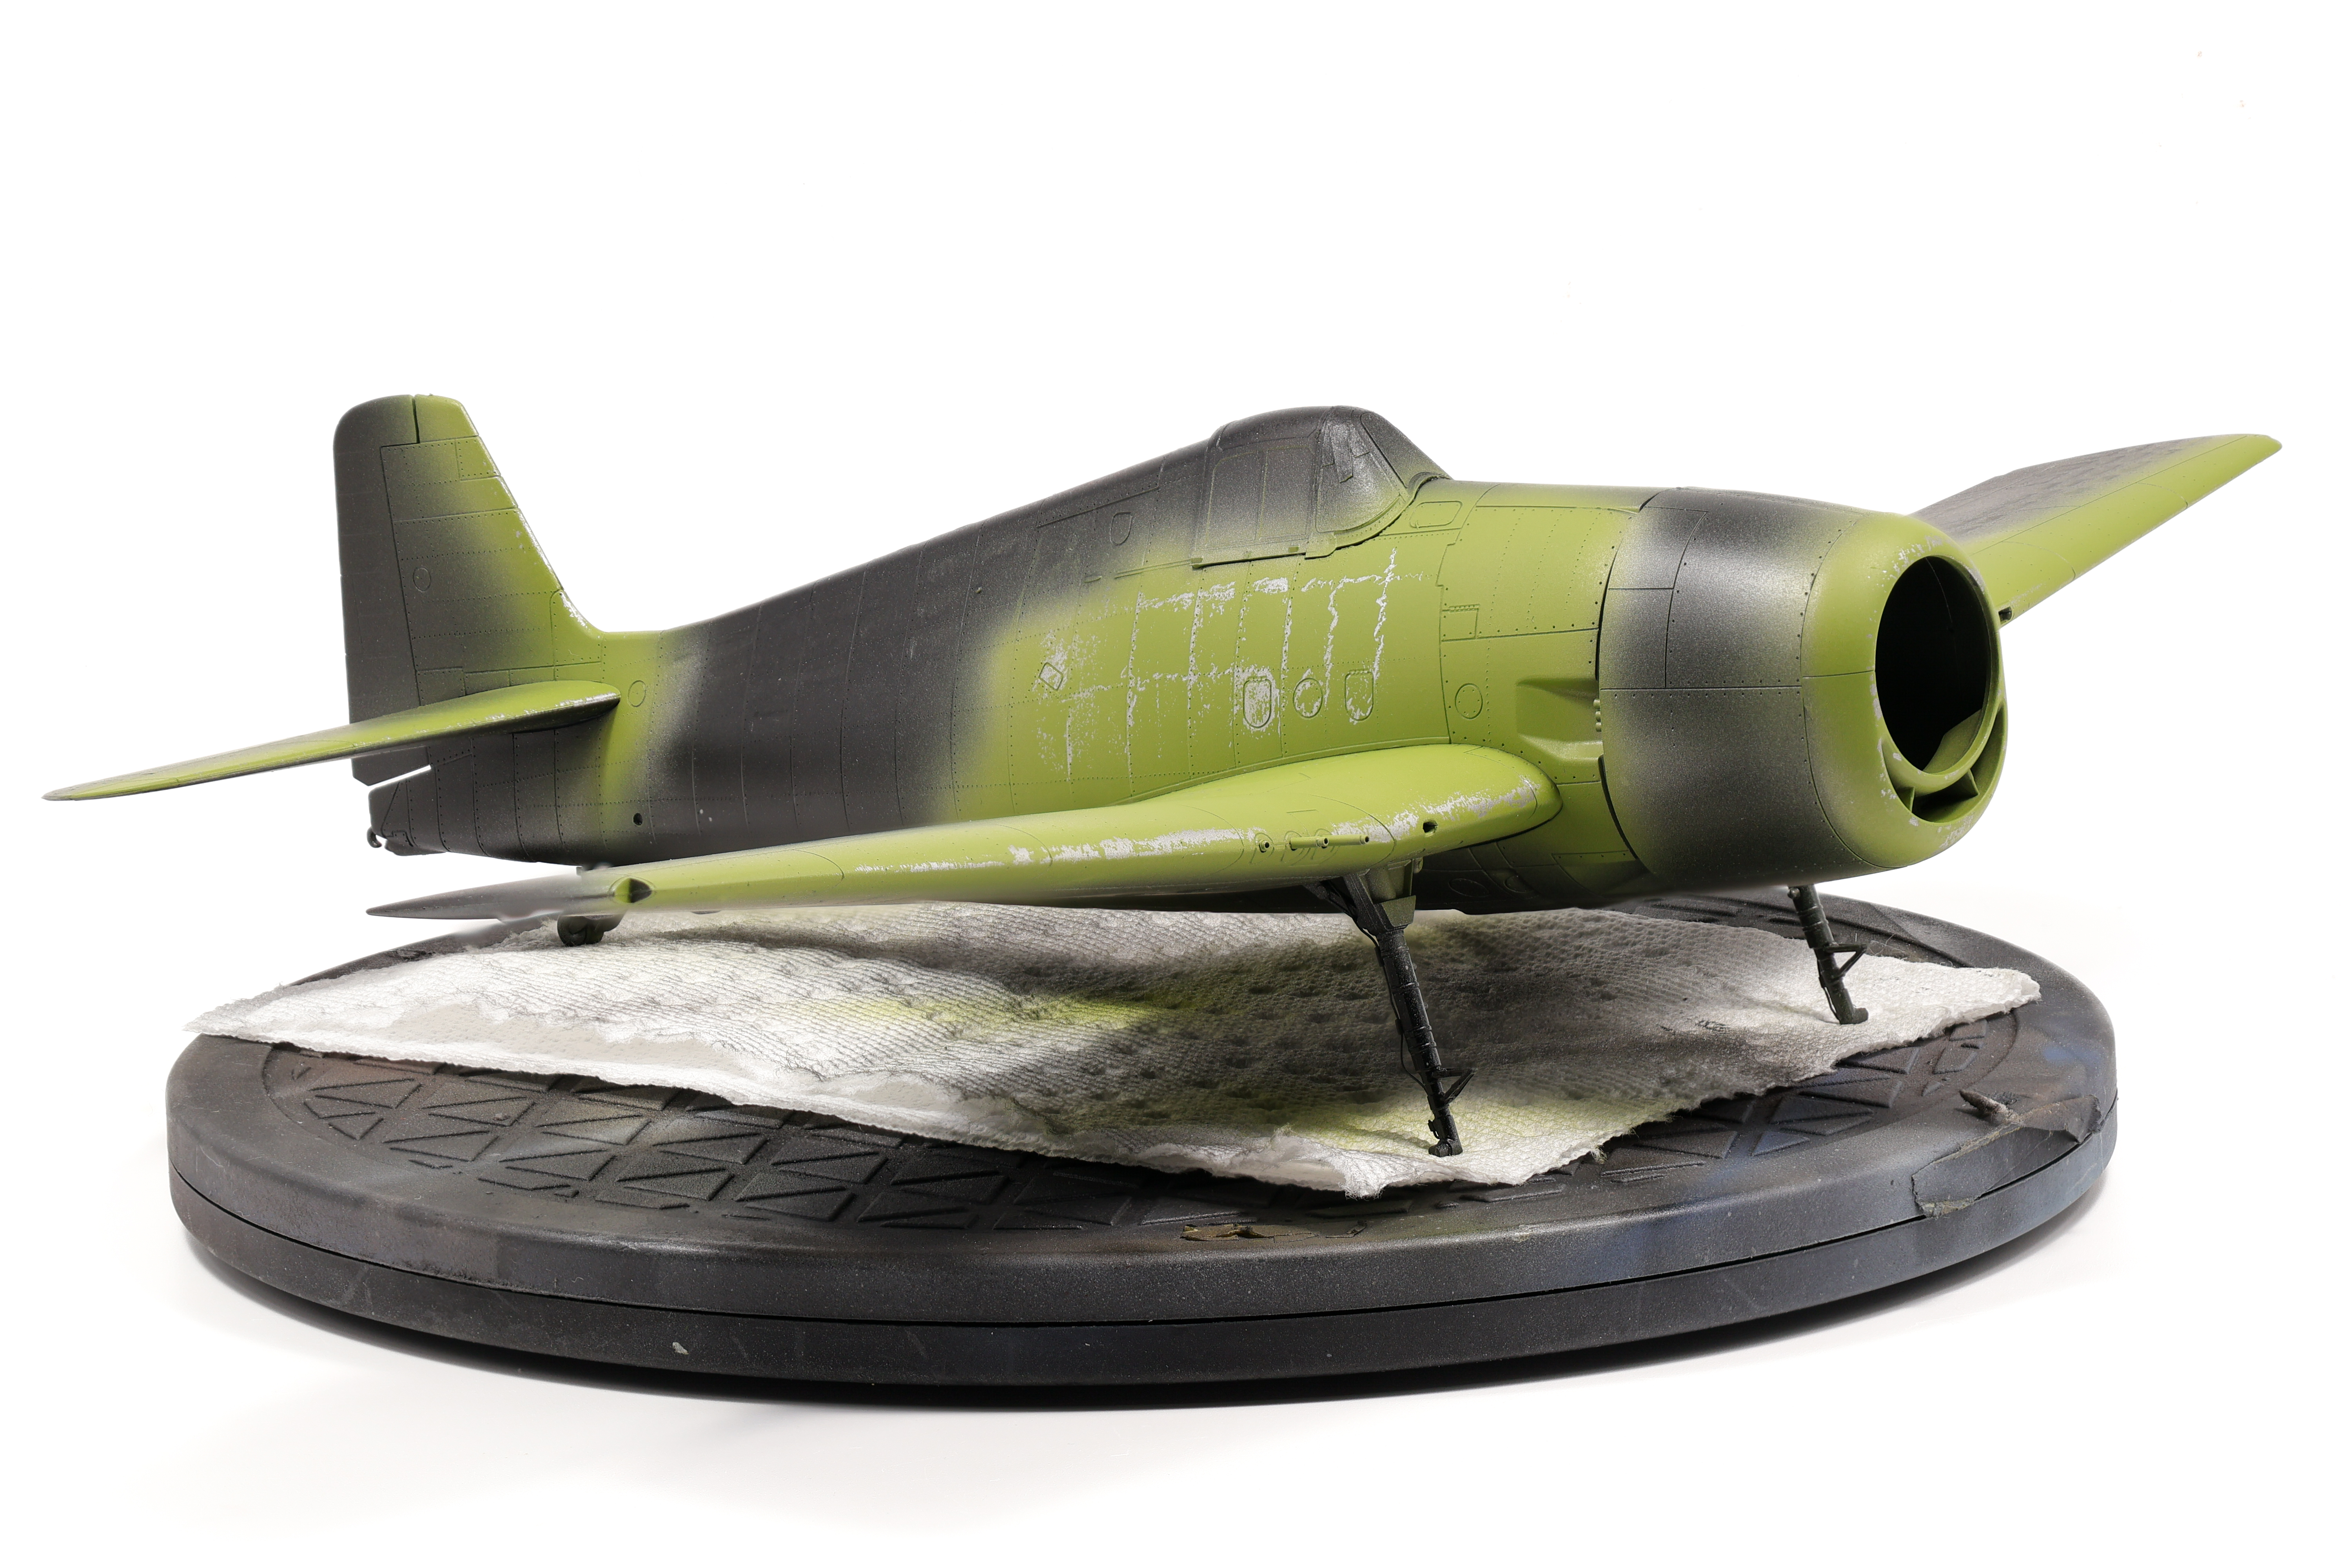


The preshade/marble coat took an entire day to complete and I was very happy with how it came out in the end. I was able to get a lot of variability in the finish which I knew would be needed to show through the very dark blue final coat.


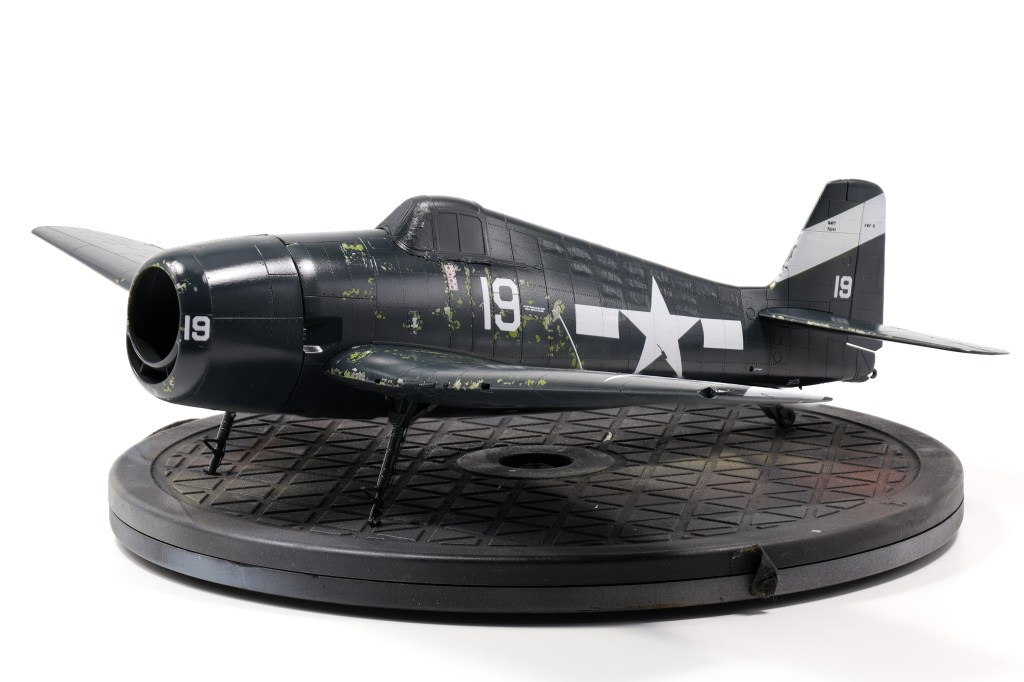
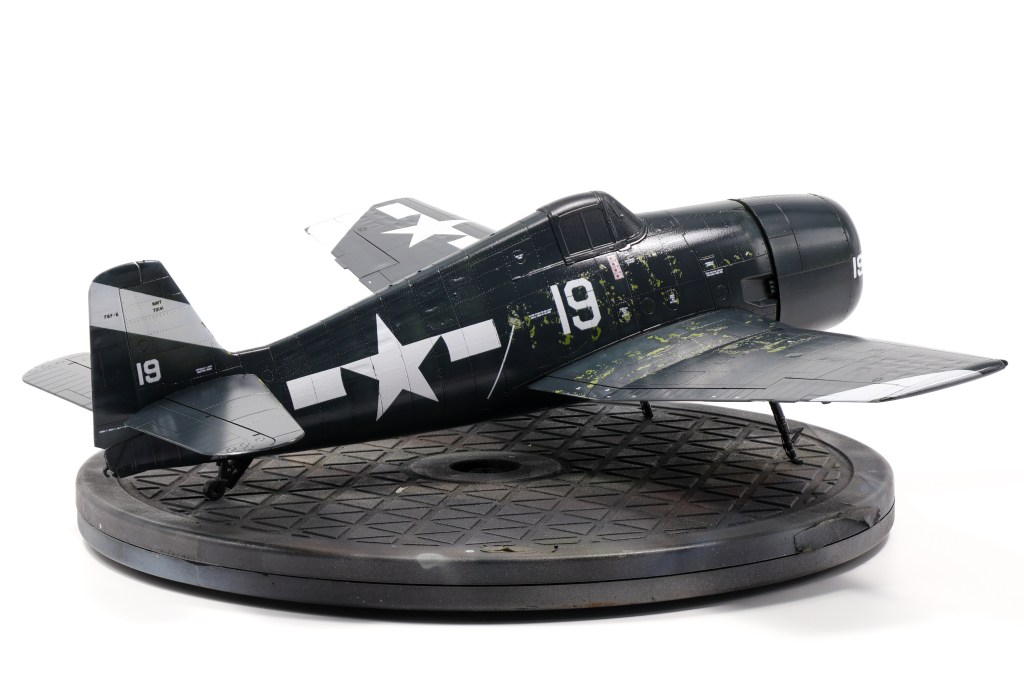
For the main coat I selected Mr. Colour 14 (Navy Blue). It’s a semi gloss paint to start and I added some GX100 gloss to increase the sheen which worked well I found. I knew that I’d be finishing this model in a gloss finish and wanted to make sure that my base coat was as smooth as possible.
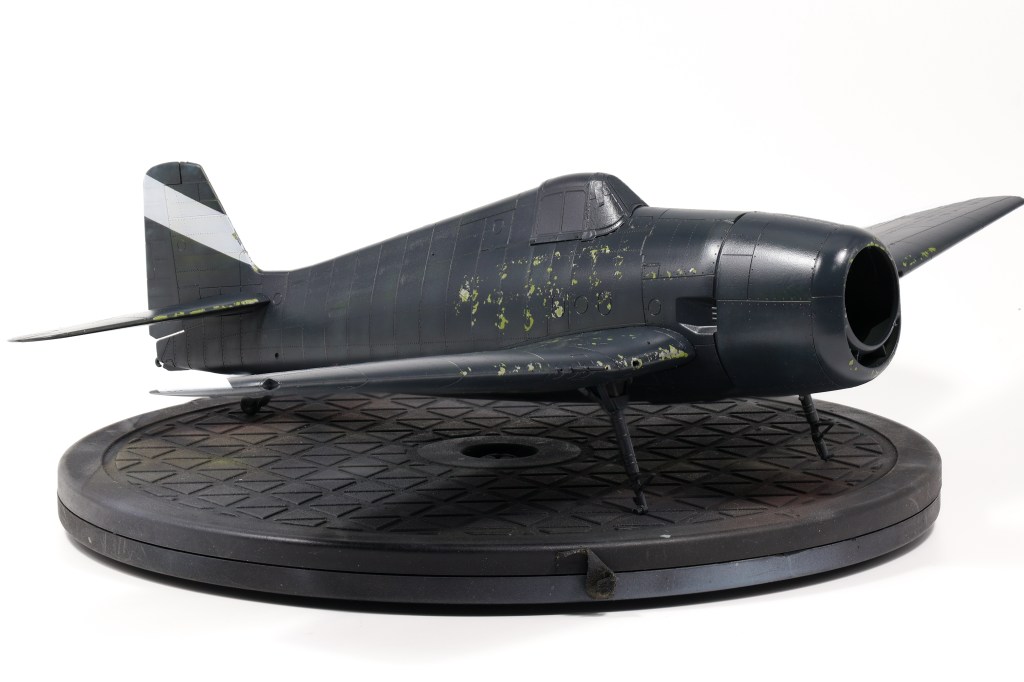
I then got to work removing the masking fluid left behind as part of the weathering process and I was really happy with how this approach turned out. It was difficult at first to remove the fluid but with a plastic tool I was able to scrape it off quite efficiently. I was worried about paint peeling off in areas where the fluid was not applied but this ended up not being an issue as the main coat of Navy Blue was very durable.
After removing the masking fluid I hit the model with a coat of GX100 gloss varnish in anticipation of the decals.


Decals were out of the box, and went down somewhat well. Being from Eduard, I decided to experiment with removing the carrier film with Tamiya Enamel thinner. This went well and helped achieve an even greater painted on effect.