
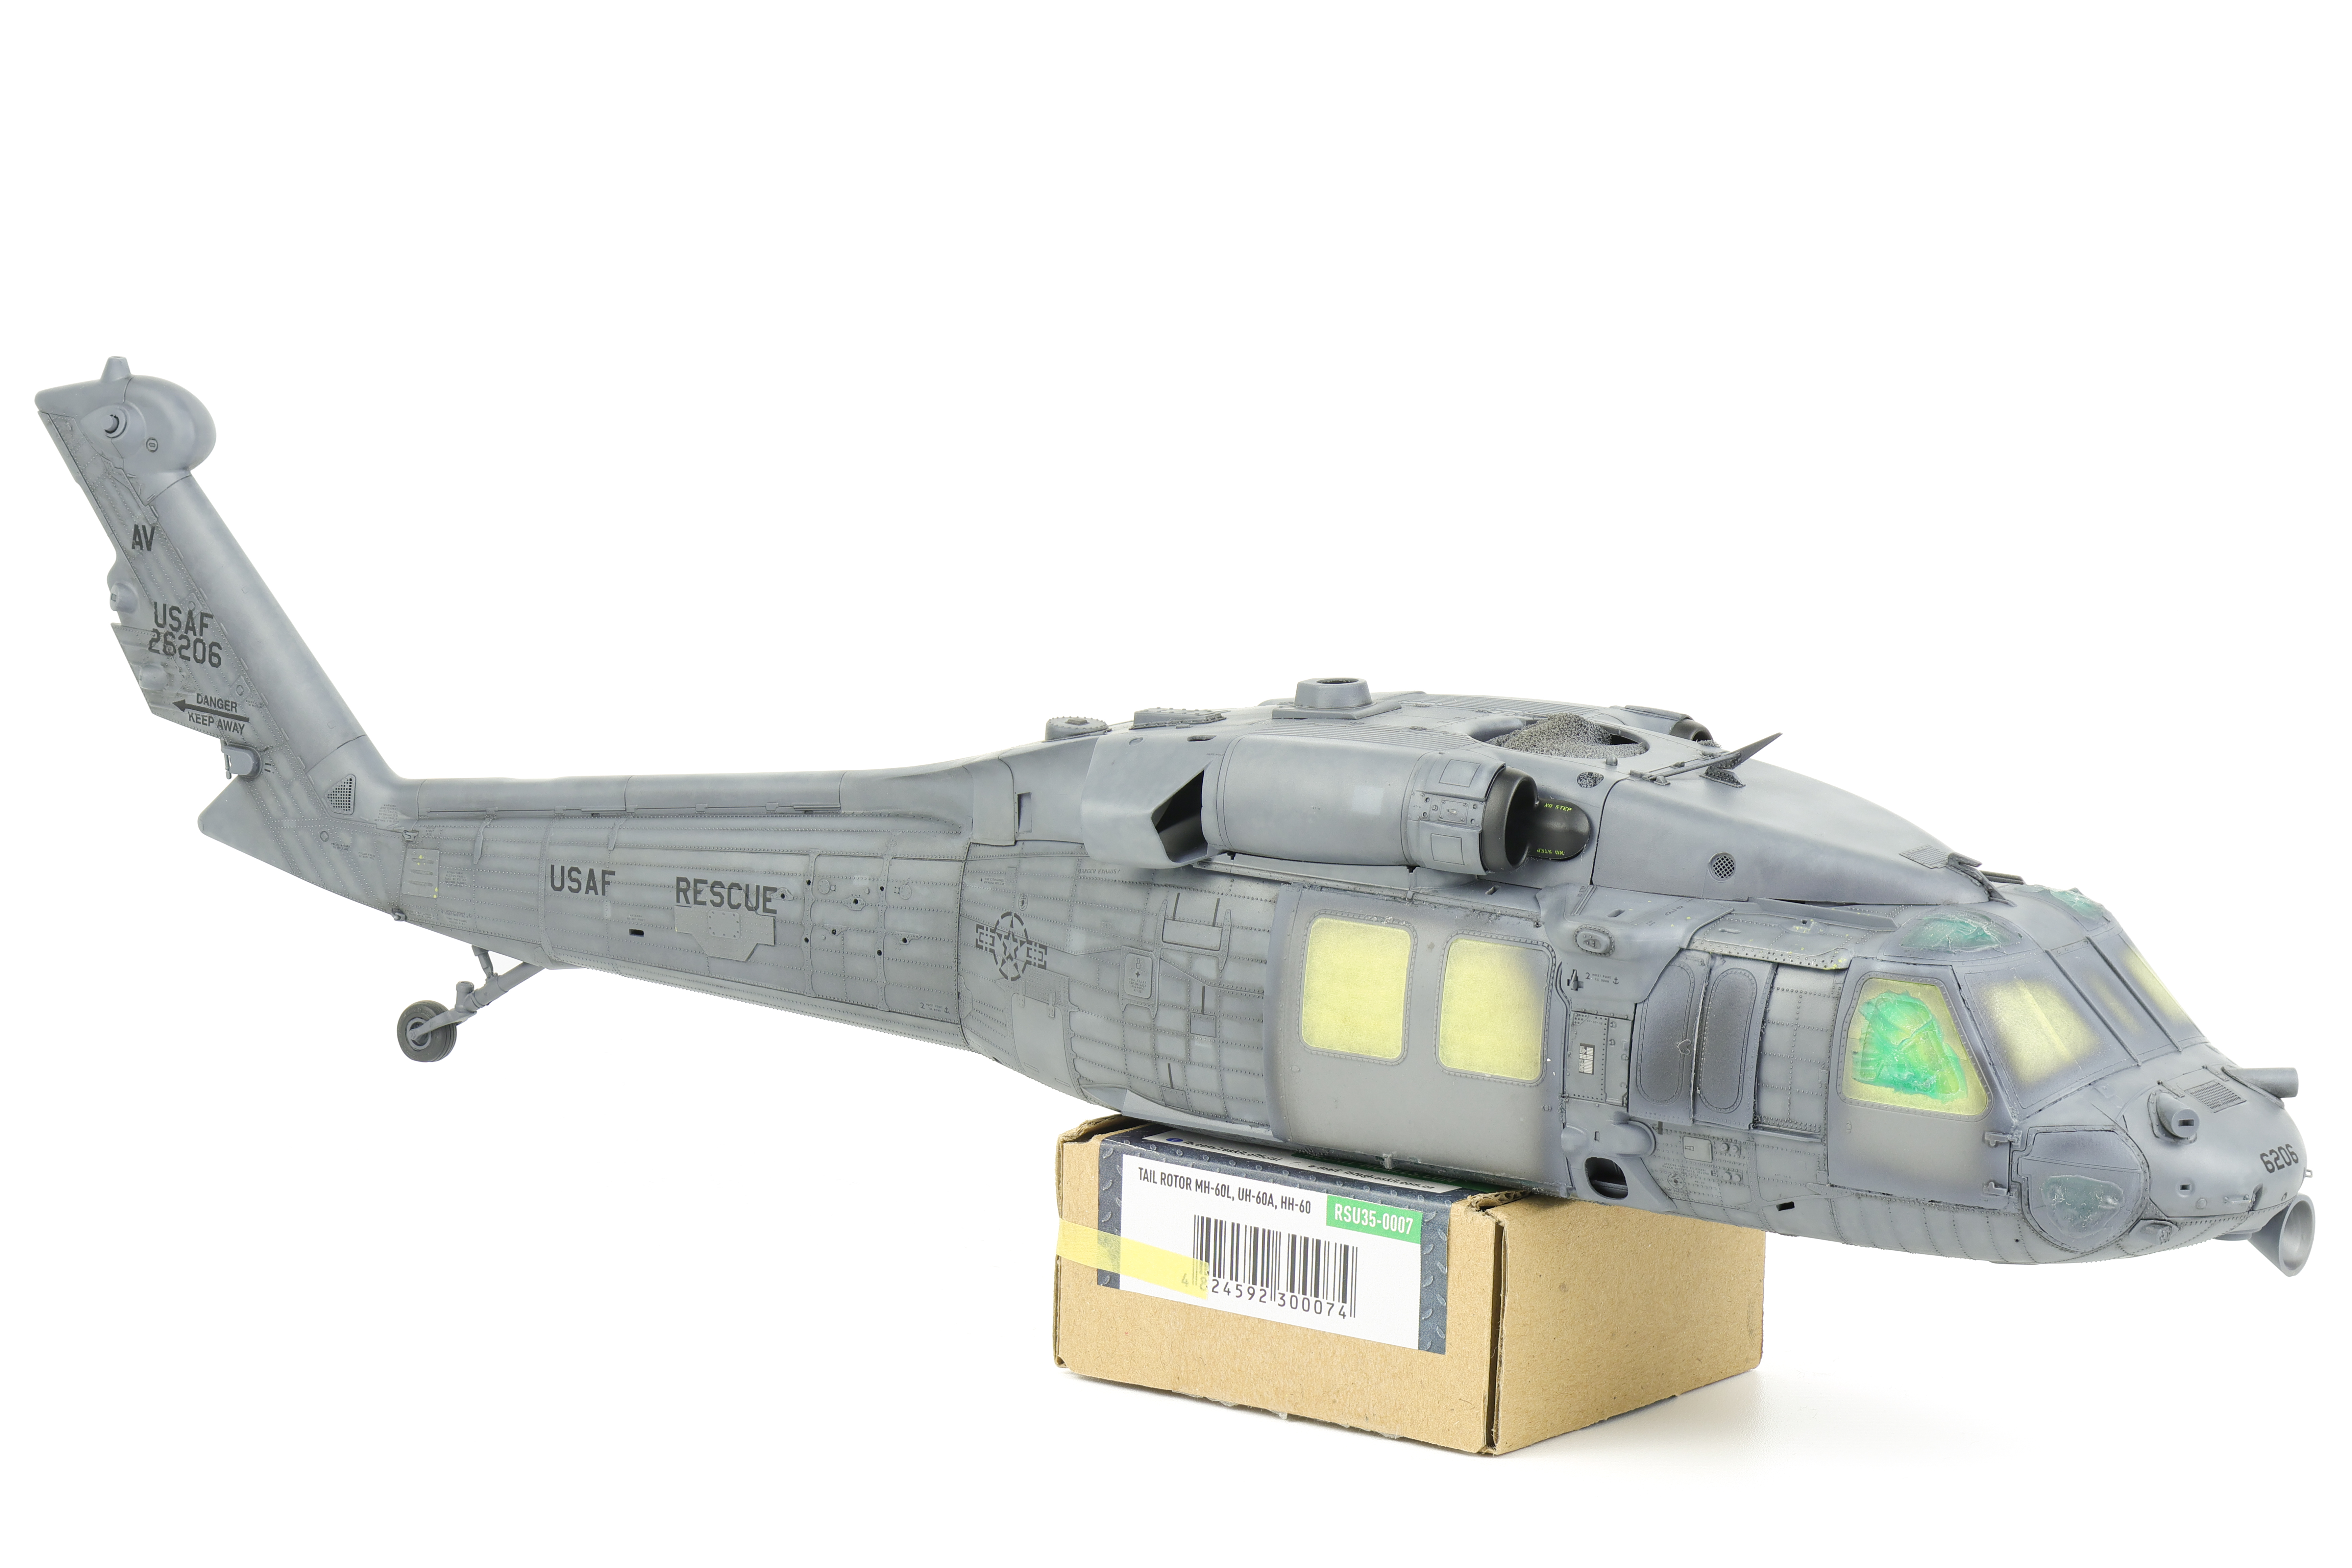
With the construction phase completed on the HH-60G Pavehawk, I could now turn my attention to the paintwork. In looking at my many references for this build, I could tell that these aircraft weathered in interesting ways, with them not appearing as a monolithic grey blob of Gunship Grey. To achieve the look I wanted, I decided that I would use preshading to achieve the colour modulation I was after.


As with many of my models, the build was primed with Mr. Surfacer 1500 Black. Under the primer, I was finally able to get a look at how the rivets looked underneath paint. I was fairly happy with this initial result as I found that they were noticeable but not overpowering. After the initial primer coat, I then moved on to the first marble coat.


Because the final Gunship Grey colour would be fairly dark, It was really important to achieve a very high contrast in the initial marble coat. If a dark blend layer is applied over a dark marble coat, I’ve found that the colour modulation had a hard time showing through (check out my CF-18 project from a few years ago to see me make this mistake). Following the marble coat. I applied the first blend coat to begin to tie everything together. This approach allowed me to slowly build up the opacity of the paint in order to judge at each step what the best course of action was.


Following the first blend coat, I was able to identify some areas of the model where I wanted increased contrast with the surrounding areas. I alternated spraying straigt black with a light grey in order to achieve this isolated contrast effect. Where It was needed, I masked off the surrounding areas to get a hard edge. I also utilized a kitchen scratch pad by spraying the contrast colour through it in order to get some even further variation so that these highlights would not appear too monotonous.


After this final round of colour modulation, I could finally move on to the second and final blend coat. The idea was to very slowly build up the opacity of this layer so that it would cover the modulation work all the while not completely erasing the subtle changes in colour. Like with the earlier blend coat (and with all the other paint layers in the project), I used SMS Lacquers. I’m rapidly becoming a big fan of this brand and the paint laid down beautifully in a very controllable way.


Following this final layer of Gunship Grey, The model could be sealed in a gloss varnish in preparation for decals. The Pavehawk doesn’t have an abundance of markings, so applying everything was a fairly painless process. After the decals were applied, I added a dark grey oil wash directly over top the decals. I chose to do this because with the general lack of decals in this project, sealing everything up seemed overkill. Either way, I’ve found that oil washes are unlikely to seriously damage decals when not soaked in thinner.


After the wash was removed, I could now seal my work in a satin varnish which provided a good basis for future weathering effects. I also took the time to apply some very limited chipping as indicated by references (primarily around high wear areas and maintenance panels).


Leave a Reply