I managed to pick this Tamiya 1/48 Mosquito for around $45 CAD and despite the kit’s age I’m very happy with the purchase. I’ve never built a Mosquito (or any British fighter before) and made the safe choice to go with Tamiya. Initial impressions are pretty favorable, with crisp styrene and minimal flash present. It comes with three unique variants including a electric blue option.
Kit features: 12/20
Tamiya’s offering is pretty bare bones when it comes to kit features, offering not a lot more than decals and clear parts. One benefit of the kit is allowing the option to model the PR Mk.IV reconnaissance version of the Mosquito in addition to the standard Mk.IV version. In terms of armament, the kit not only includes bombs but also rockets, should the modeler choose to include them. The kit however looses points for no photoetch parts or other accessories. This disadvantage is somewhat mitigated however due to the fact that at the time of the kit’s 1999 release inclusion of photoetched parts wasn’t super typical and not expected at the kit’s pricepoint.
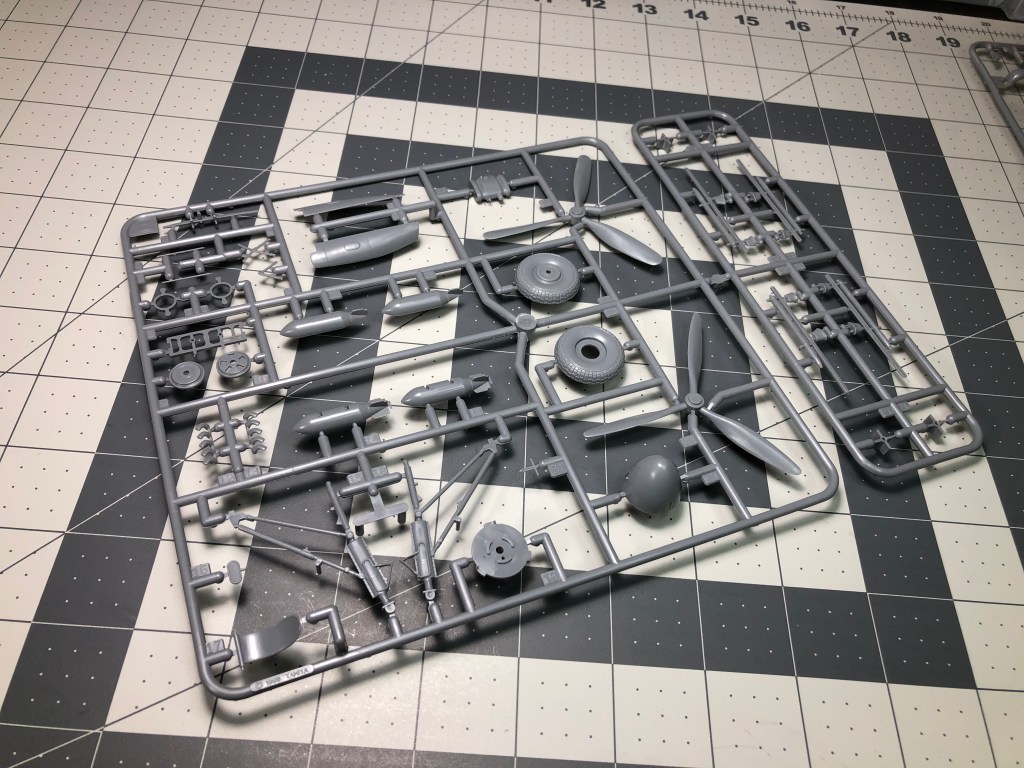
Quality of Molding: 35/50
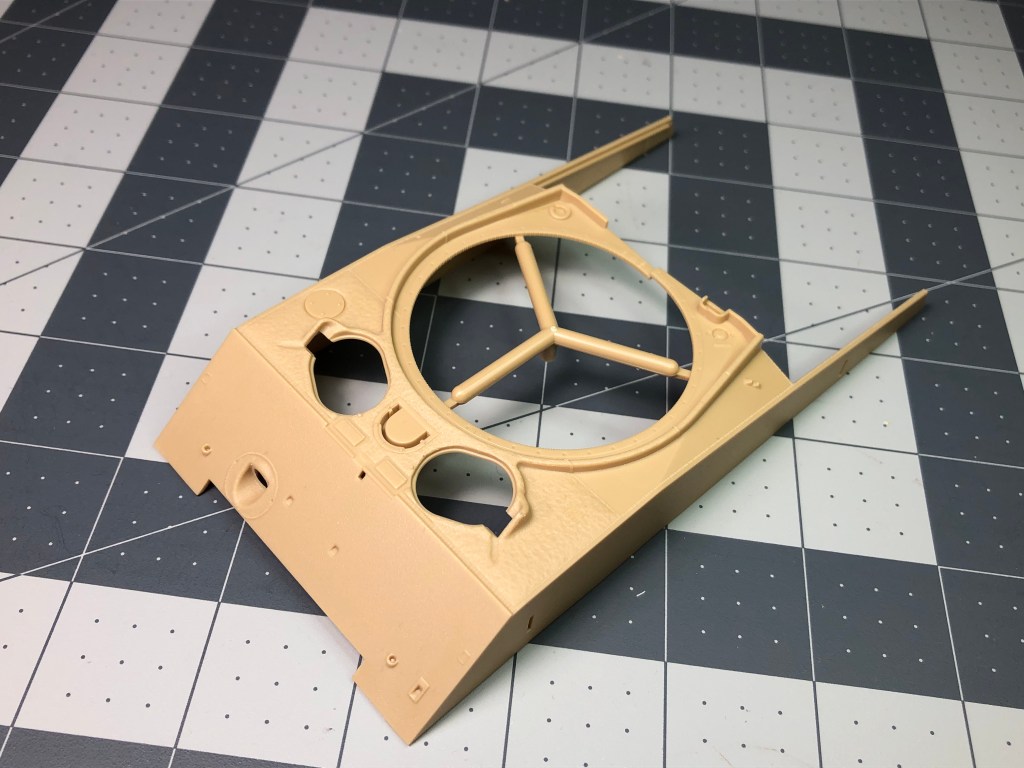
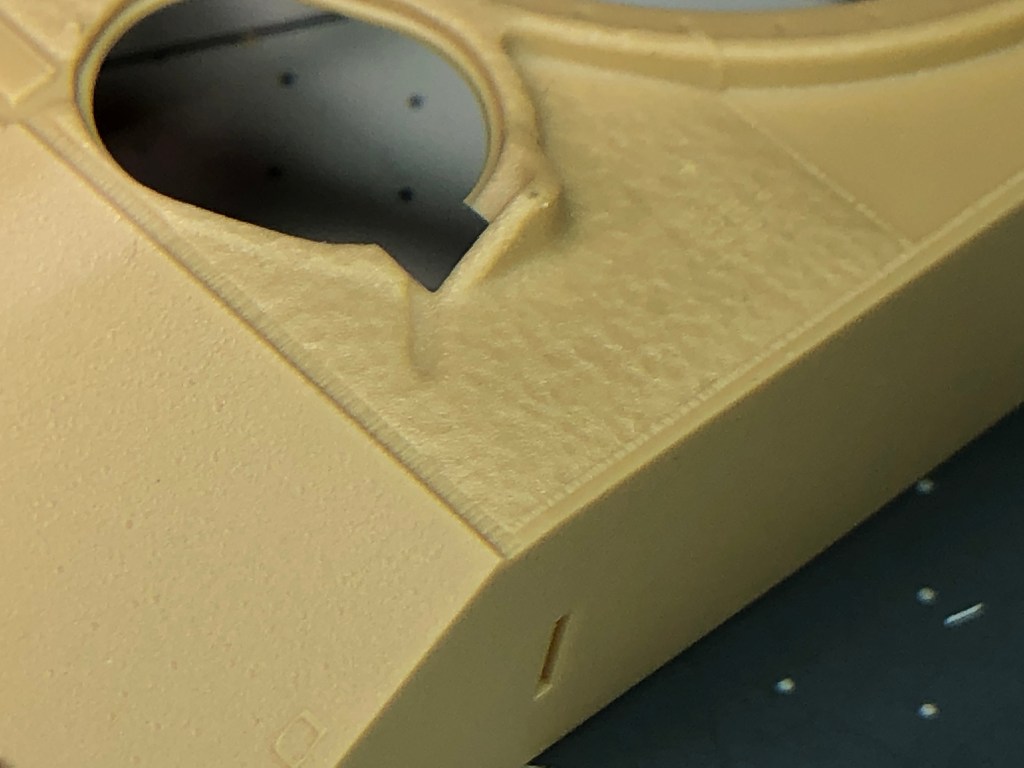
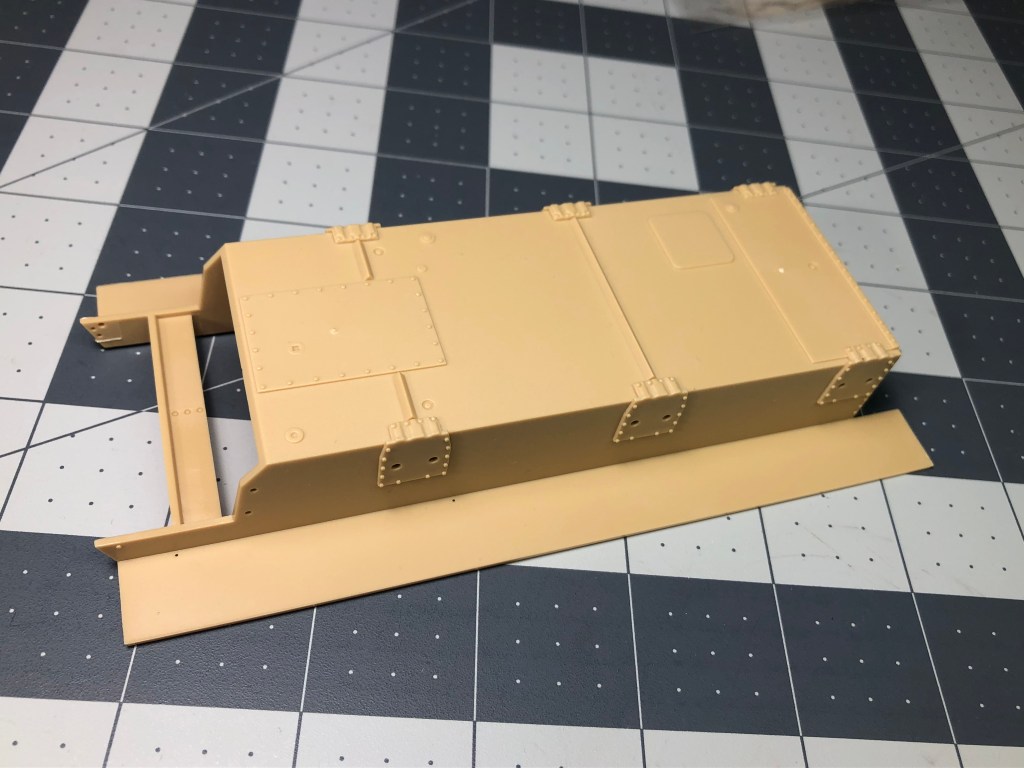
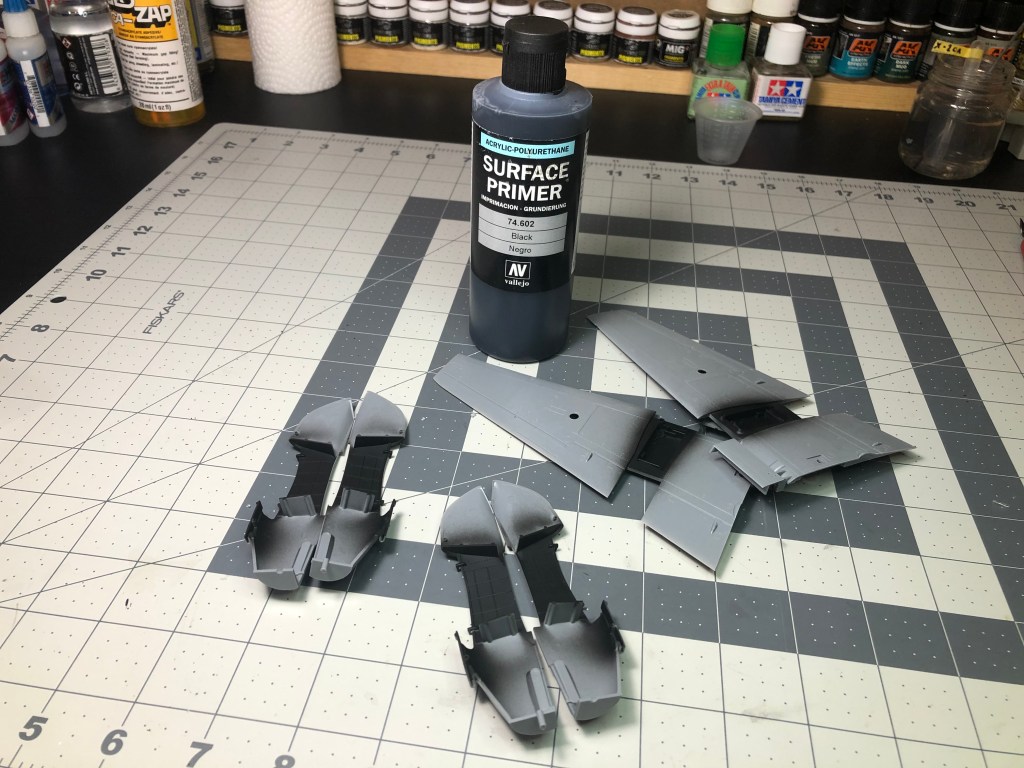
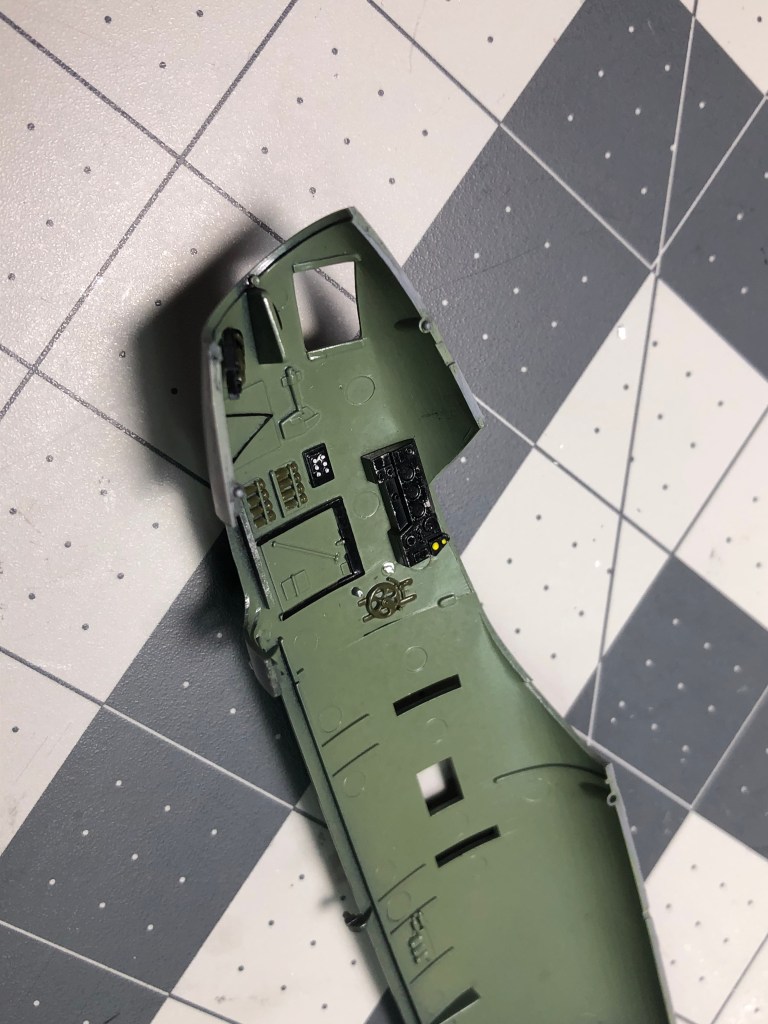
The Mosquito features nice recessed panel lines and rivet details as well as passable cockpit details. When compared to modern releases however, the kit doesn’t reach the same levels of detail. Again however this must be expected due to the kit’s age. The kit gains back some points due to the fact that the detail is adequate and fully capable of building a nice looking model. Detail is really only omitted in hard to find areas such as the gear bay. In terms of molding quality no flash can be found, requiring little cleanup.


Instructions: 11/20
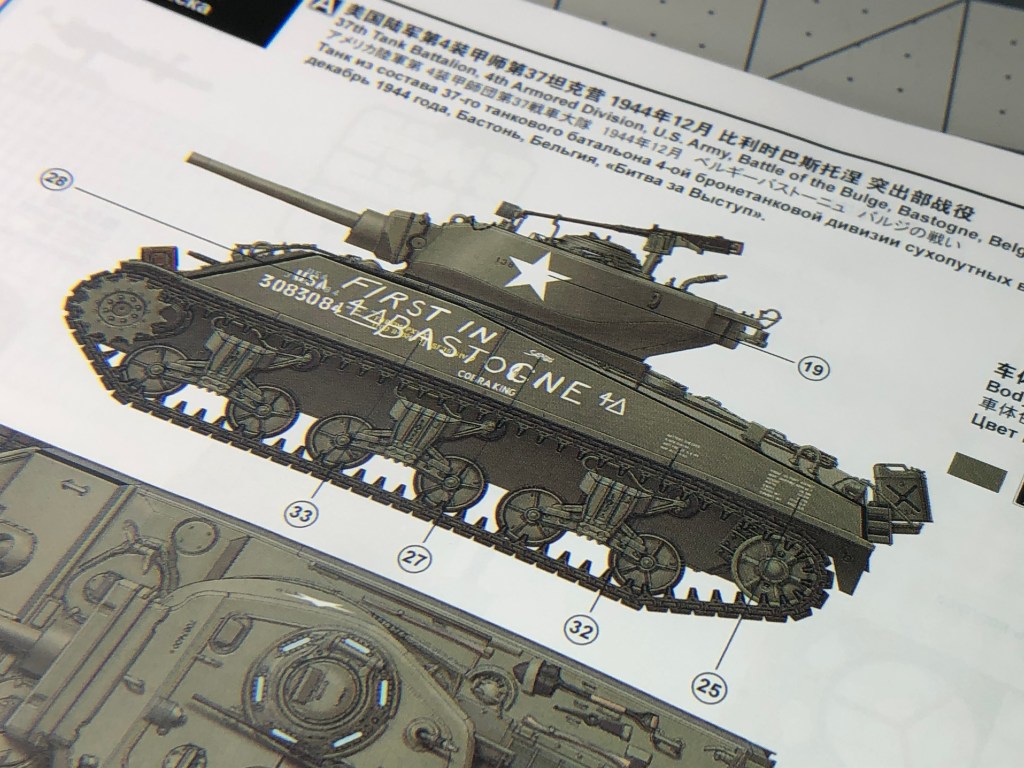
The instructions are the real weak part of the kit and don’t offer a whole lot more than the bare minimum. Tamiya’s instructions include a large camouflage profile which should help during painting. The instructions are in typical Tamiya style, folded out paper with no coloring. The downside of the instructions are very clear when compared to the instructions found in Meng’s E2 which was also reviewed on this site. The instructions however, are quite clear and easy to understand – the only real requirement for a kit’s instructions.


Miscellaneous: 7/10
Three different finishing options and two different variants help the Mosquito’s score in this area and the decal quality looks good considering they were manufactured over 20 years ago.

Total: 65/100
Initial impressions of Tamiya’s Mk.IV Mosquito are good and I have full confidence that the kit will shape up into a good looking model. At $45 CAD the price-to-kit ratio is quite high, and you get a lot of plastic for you money. this kit would be an excellent place to start with resin accessories or even just build OOB.