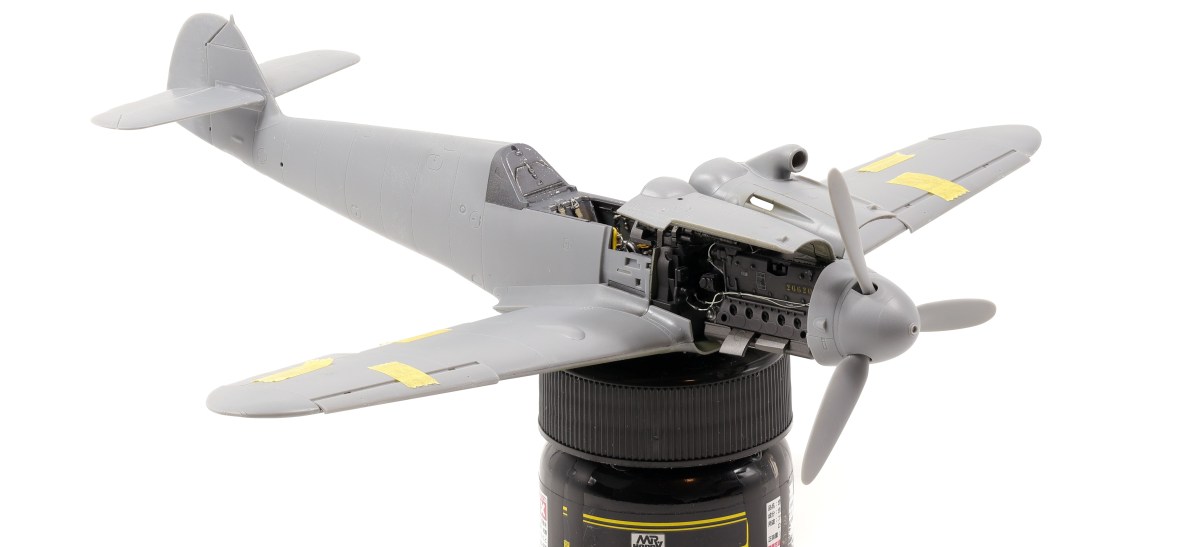
For my next project I wanted to really sink my teeth into one of my most ambitious projects so far, a JASDF RF-4E Phantom II! This build was inspired by the beautiful sea blue phantoms flown by the JASDF up until 2020 when they were retired. For this build I picked the Hasegawa kit as it was the option that the DXM Decal set indicated as suitable.

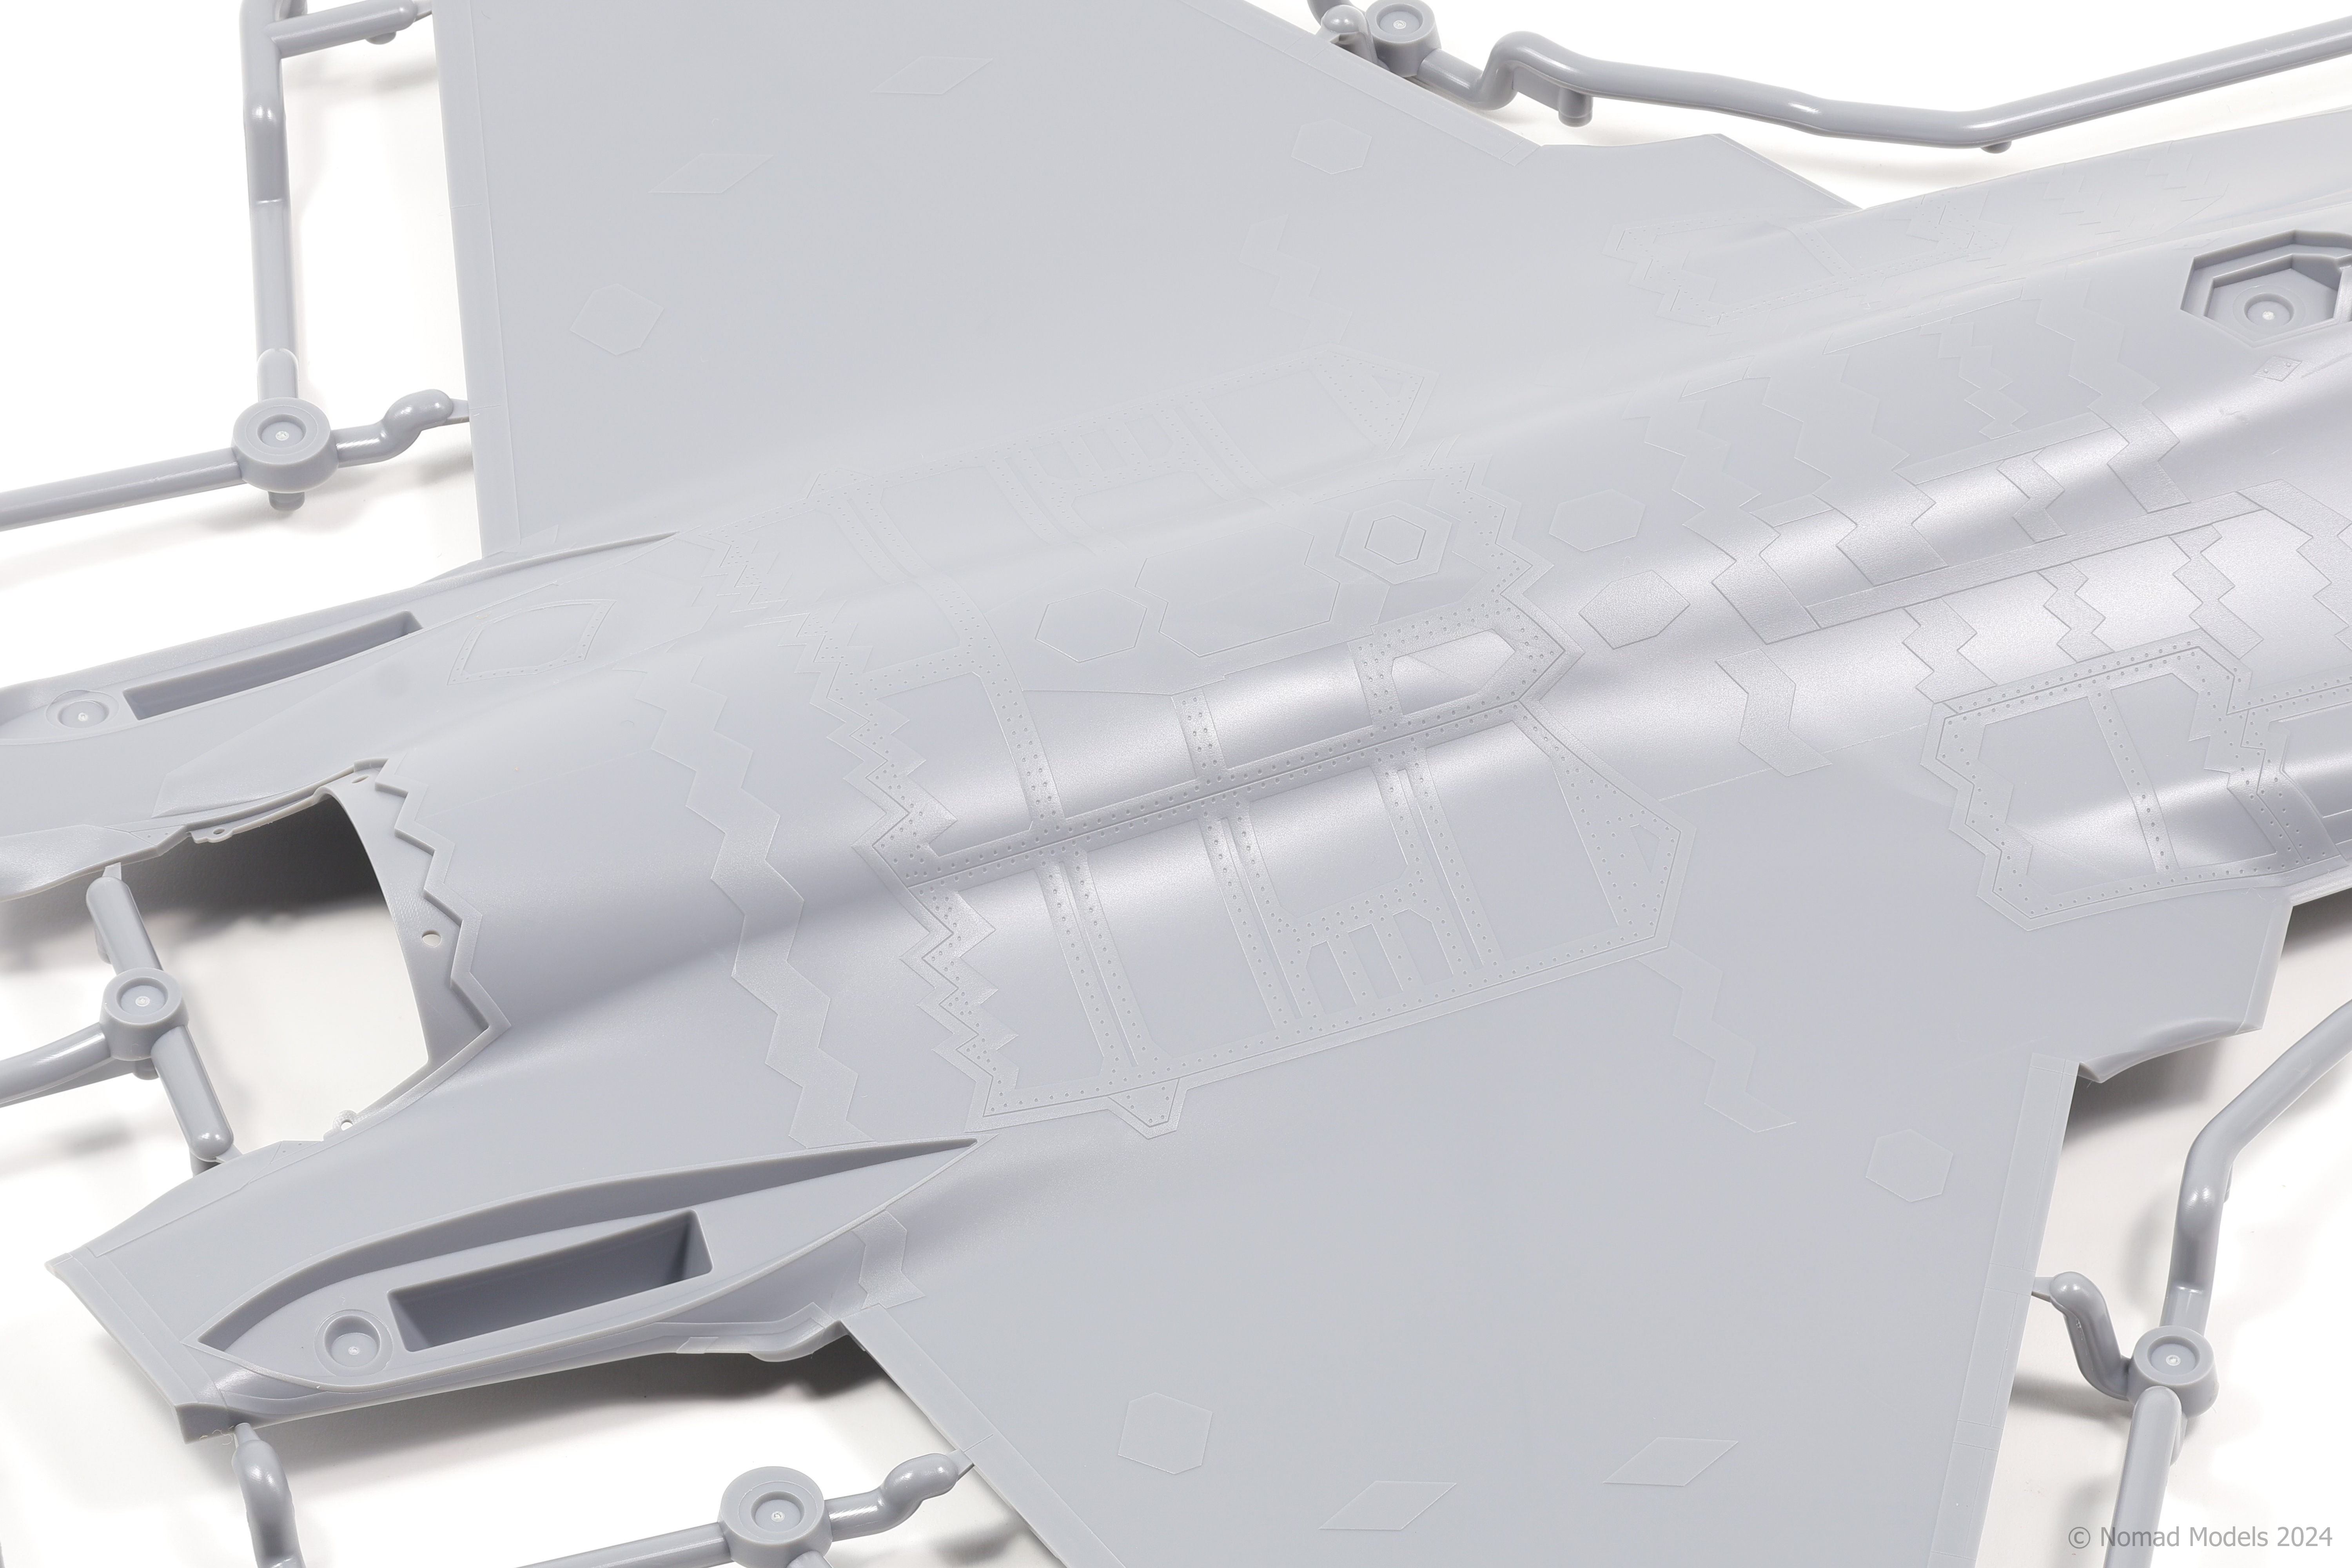
The Hasegawa kit is lacking in a lot of areas and as such I knew that I wanted to incorporate a significant amount of aftermarket accessories in the build. Aftermarket only gets you so far however and considering that this kit was a 2003 release, it’s safe to say a lot of elbow grease was going to go into this build. Of particular note is the presence of very little riveting details in the Hasegawa plastic. Over 90% of the main surface parts do not have any rivet details, only panel lines. I was not happy with this at all and significant rivet work would be required for this build.
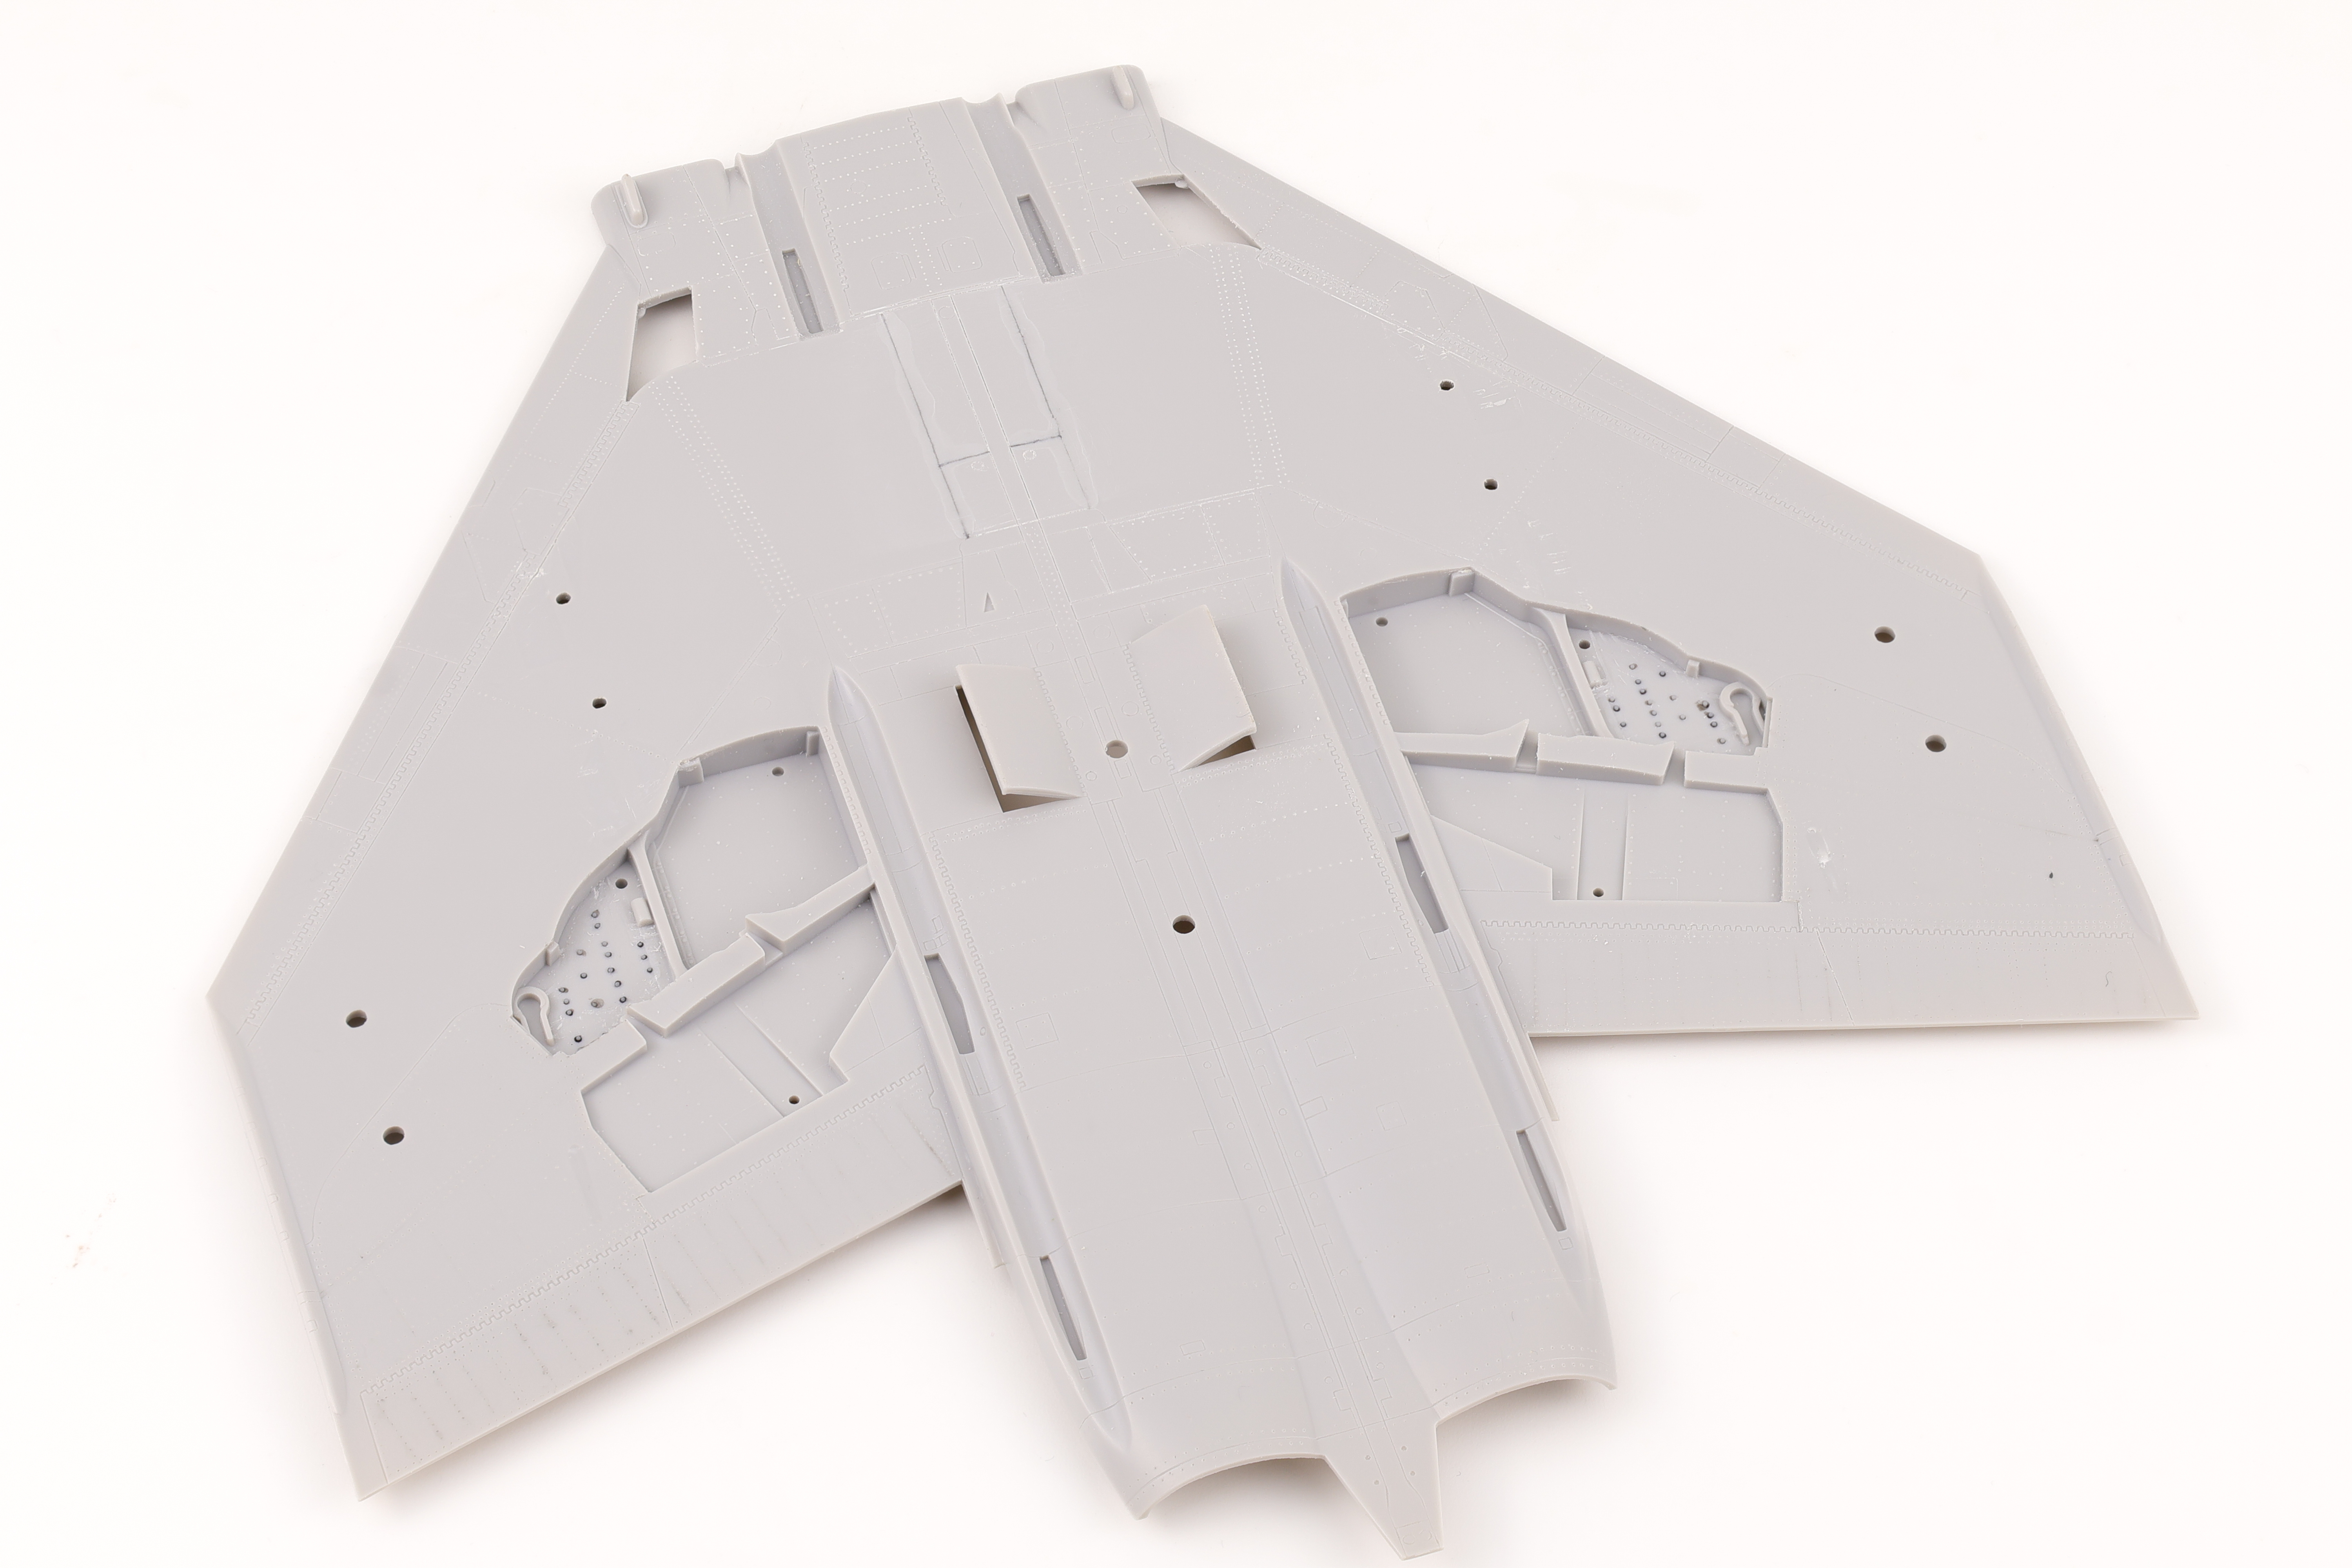
Before I could get started on any kind of assembly, some corrective work was required. There are various parts that need to be removed to depict an accurate RF-4E and several panel lines that need to be filled. The air to air refuelling probe door needs to be deleted along with several other panels molded into the plastic.

To fill in details I used sprue goo, primarily due to the fact that it would be likely that I’d be riveting or scribing over the filled lines. I’ve had bad experiences in the past with putty not taking rivets well and using sprue goo solves this issue, it’s a dream to add missing detail back into.
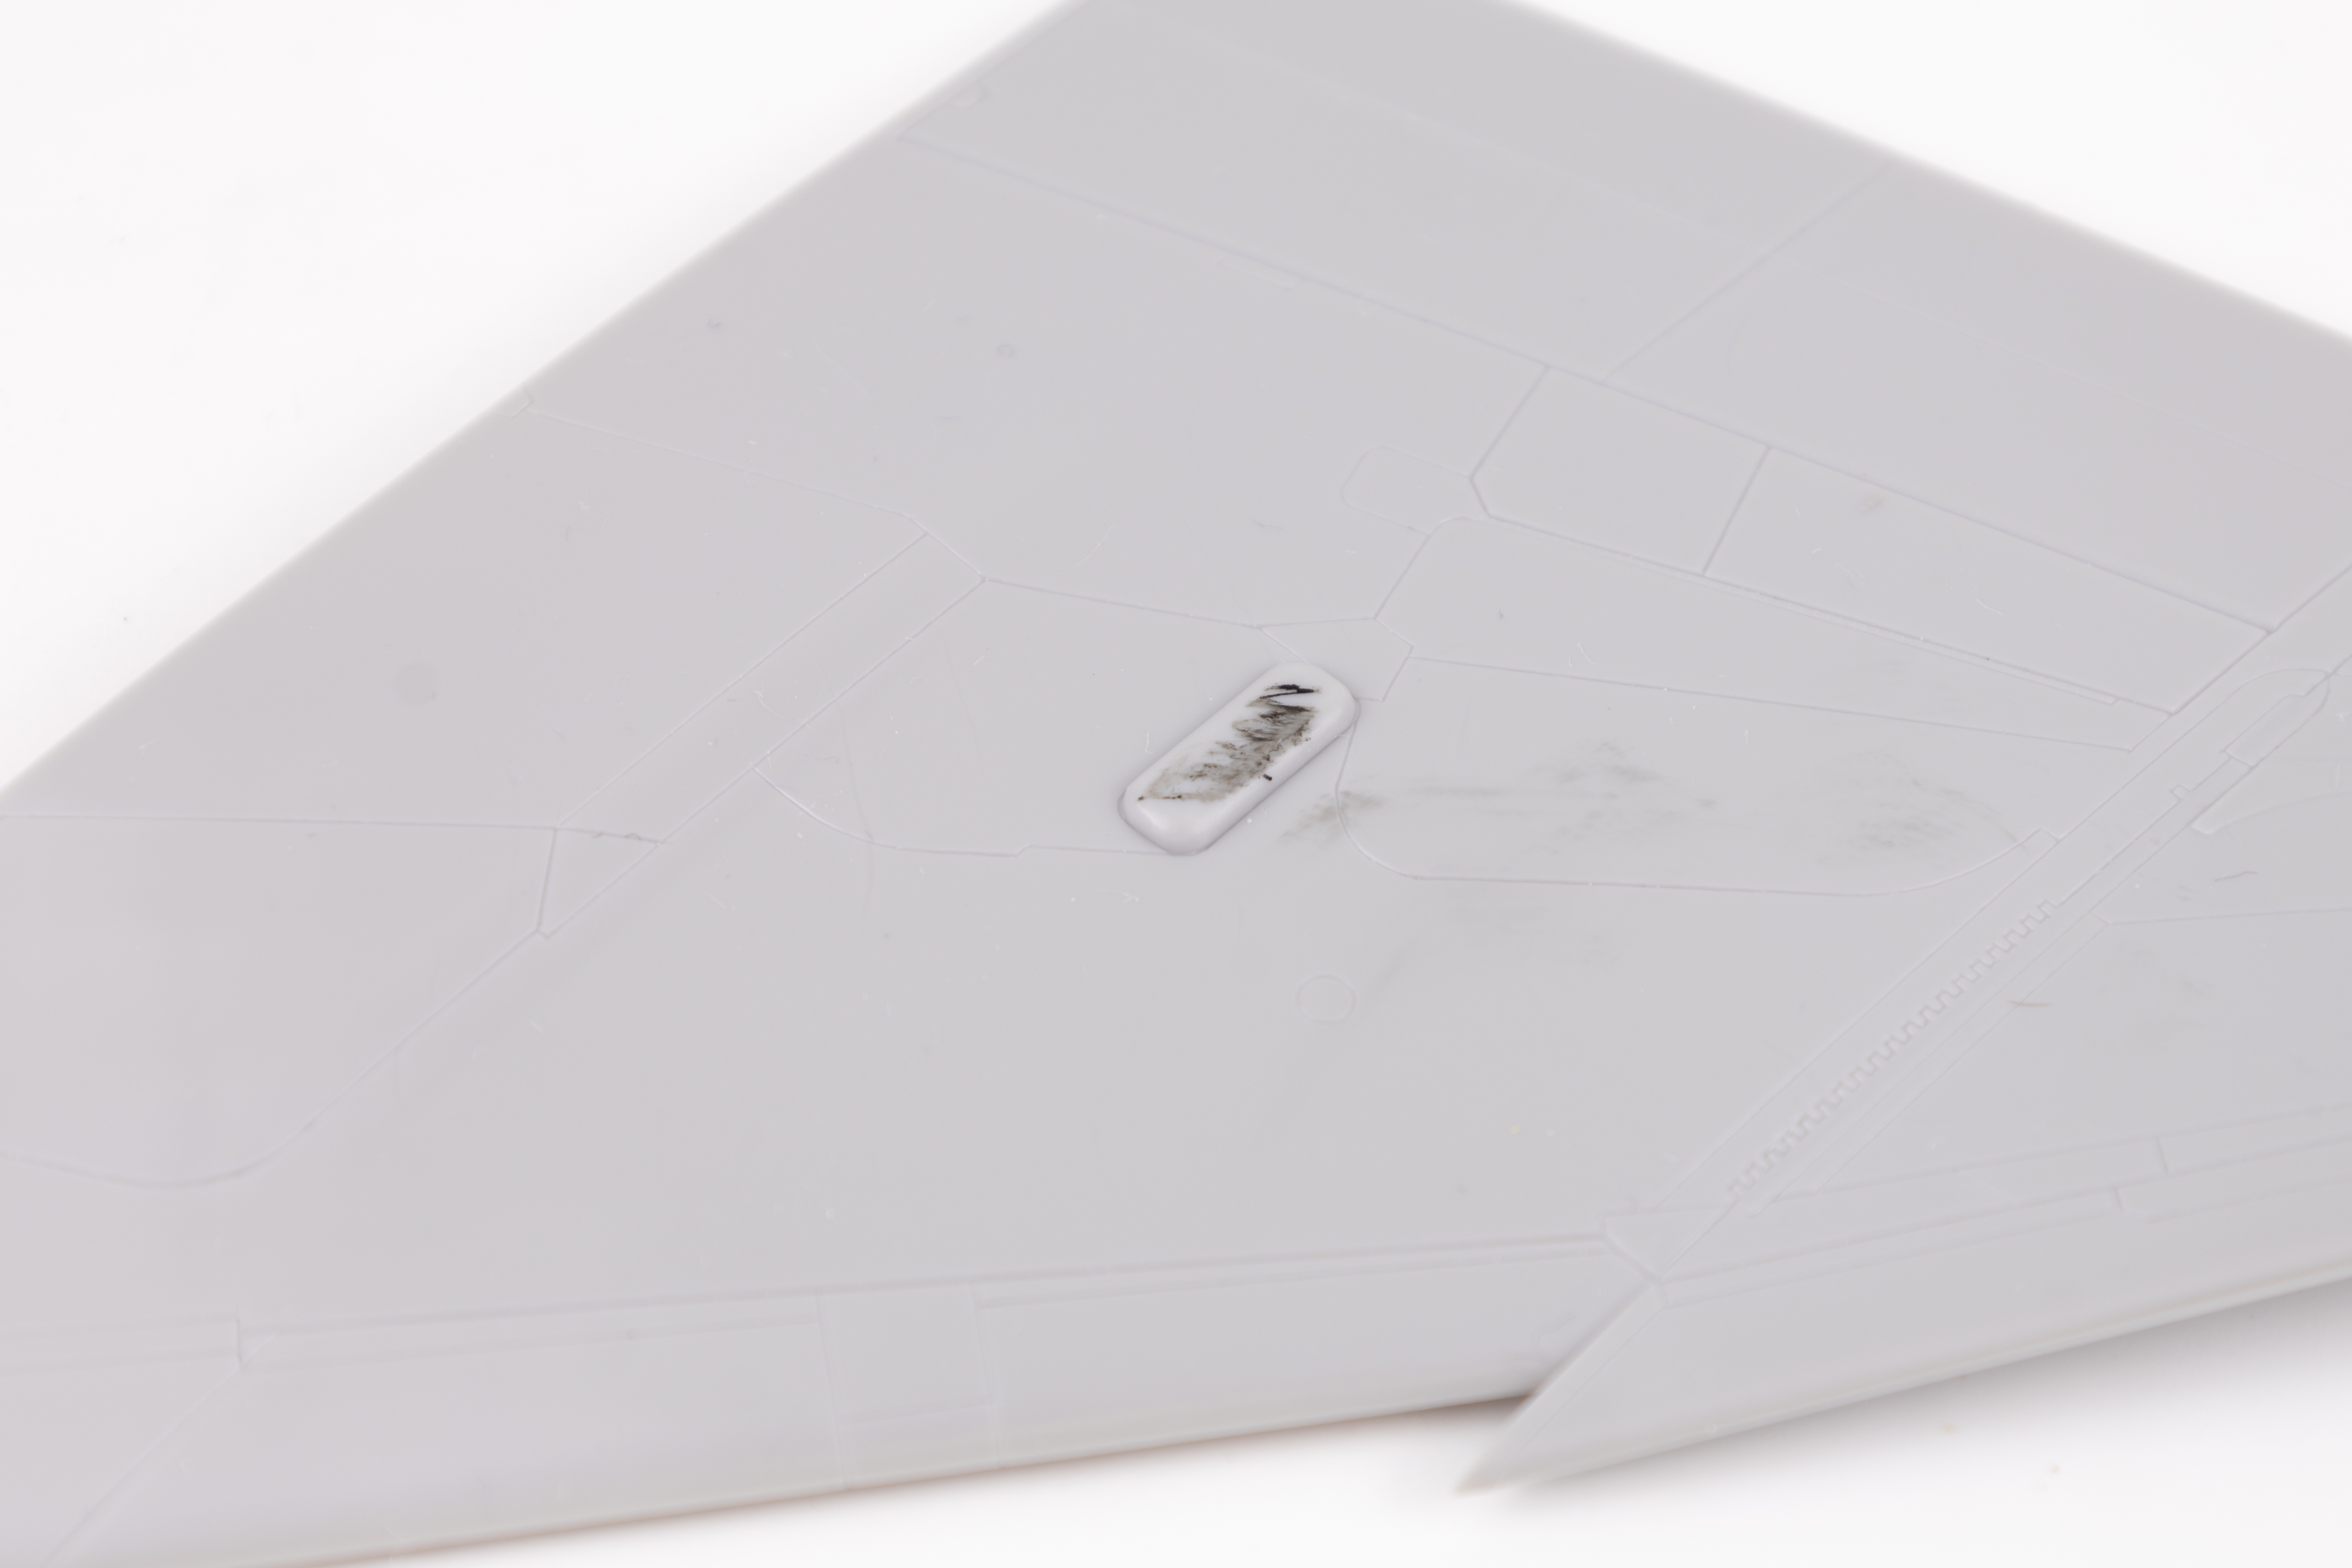

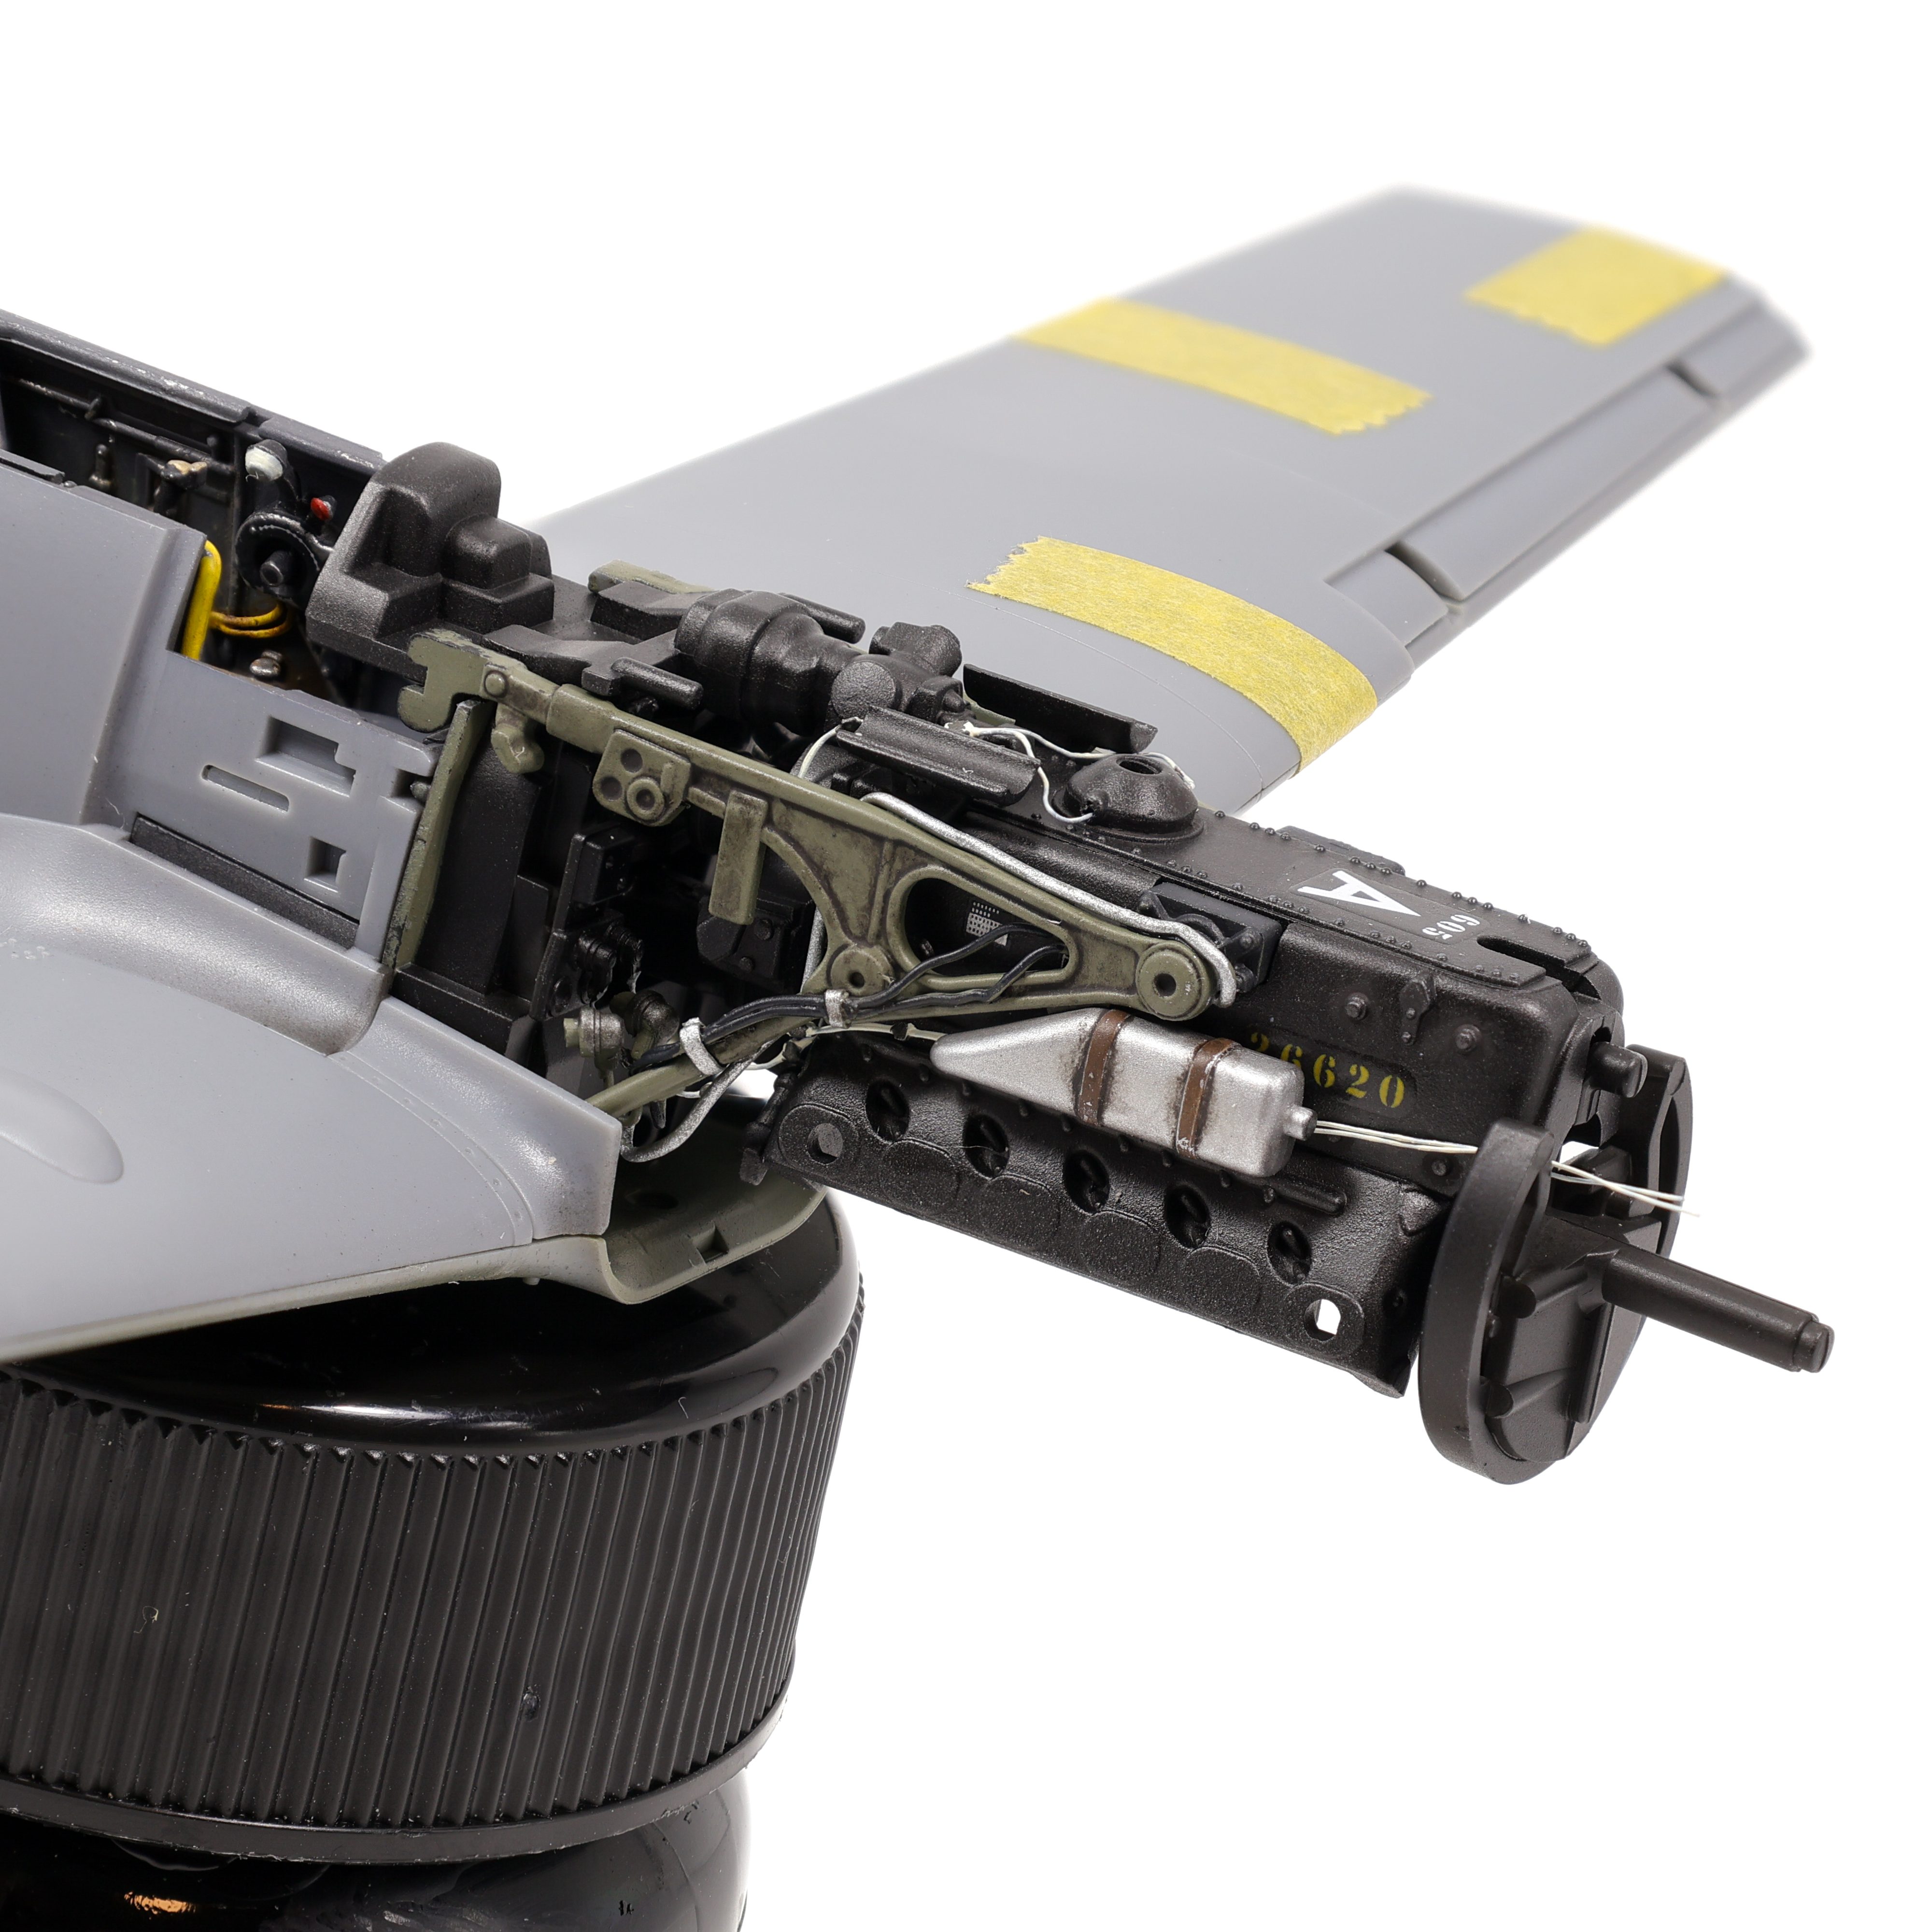
I then had to remove some other details, namely two large nubs on the upper surfaces of the wings. These were quite a bit of pain to remove as it was hard to remove them with a saw or clippers and quite a bit of material needed to be sanded away. I started out with 120 grit sandpaper and taped away perimeter to prevent loss of detail during the sanding process.
With the required lines patched and the additional details removed, I could now start the first main phase of the build, riveting. As I said before, the OOB kit came with virtually no rivet detail which for me just wouldn’t work. I knew out the gate that achieving a 1:1 representation of the Phantom’s rivets would be overly time consuming and probably not look great so I opted instead to simplify areas where the pattern was too complex.
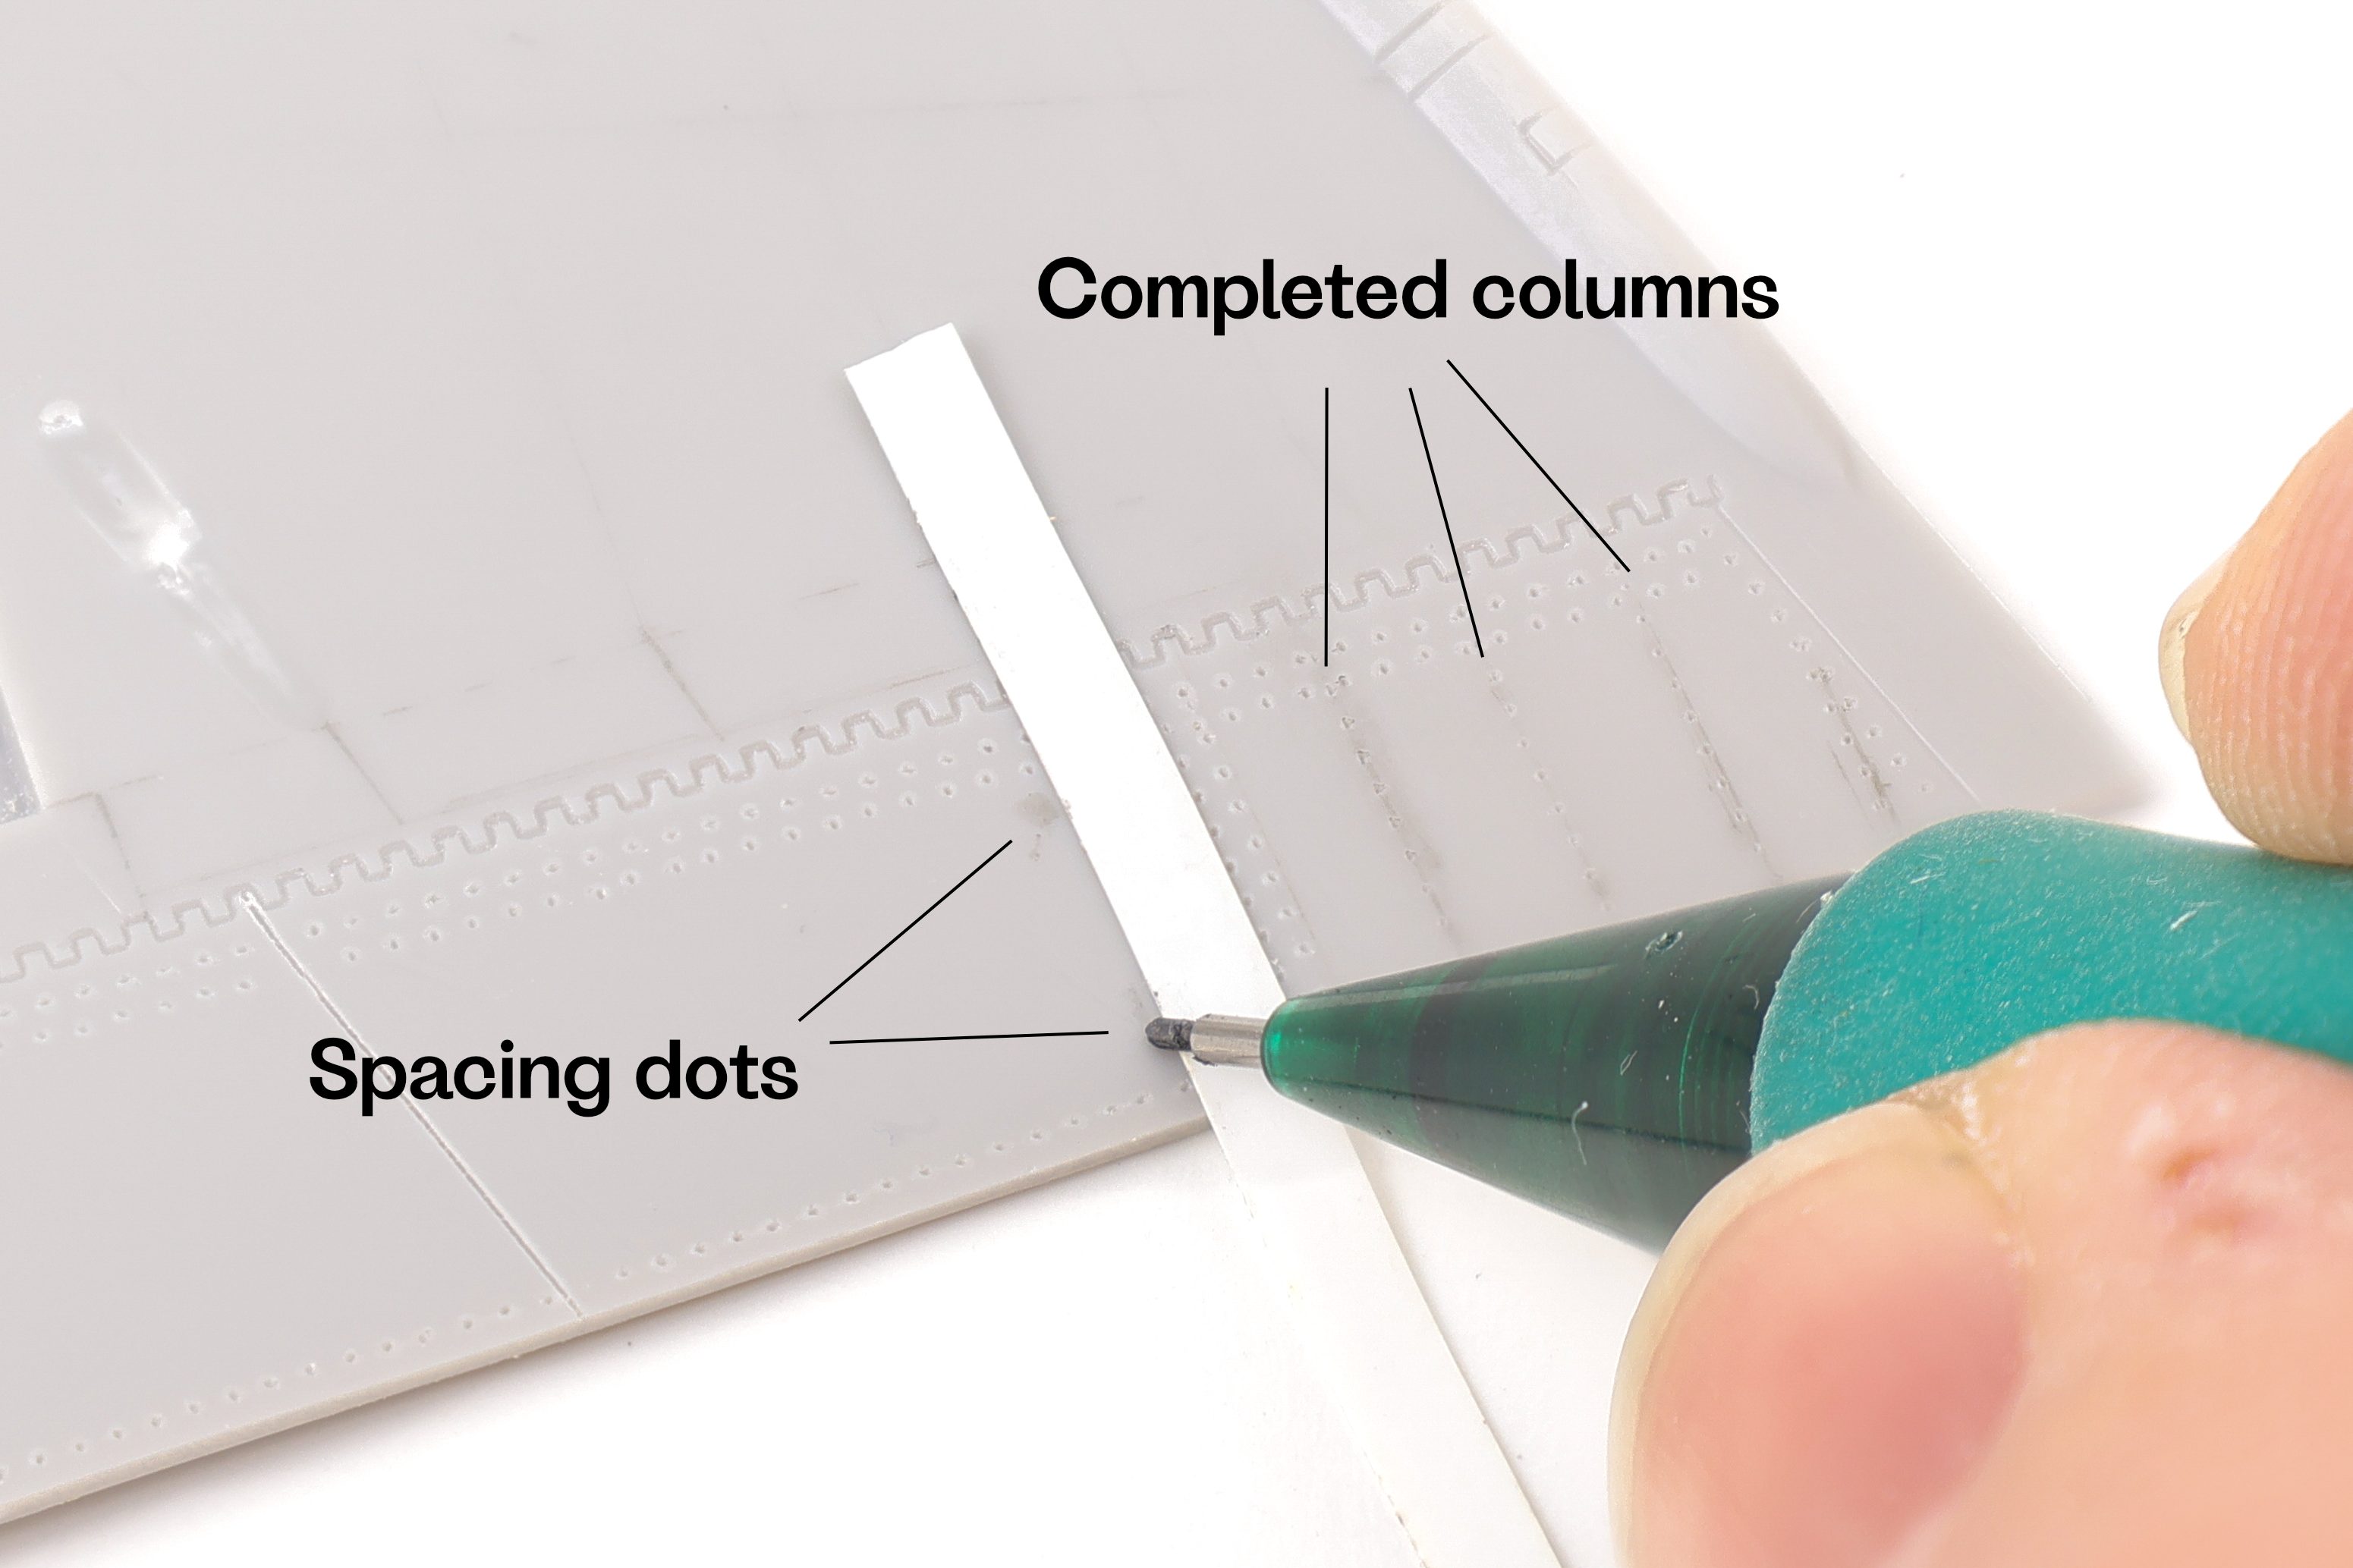
I started work on the underside of the wing, namely because it would allow me to get in a groove while not being overly visible. Right off the bat, I needed a way to ensure that columns of rivets were the equal distance from one another while being perpendicular to the trailing edge of the flaps. To achieve this I would lay down a piece of 3mm Tamiya flexible tape as parallel as possible to the previous column of rivets. I then made two spacing dots with a pencil to ensure that the next row was the correct distance from the previous one.
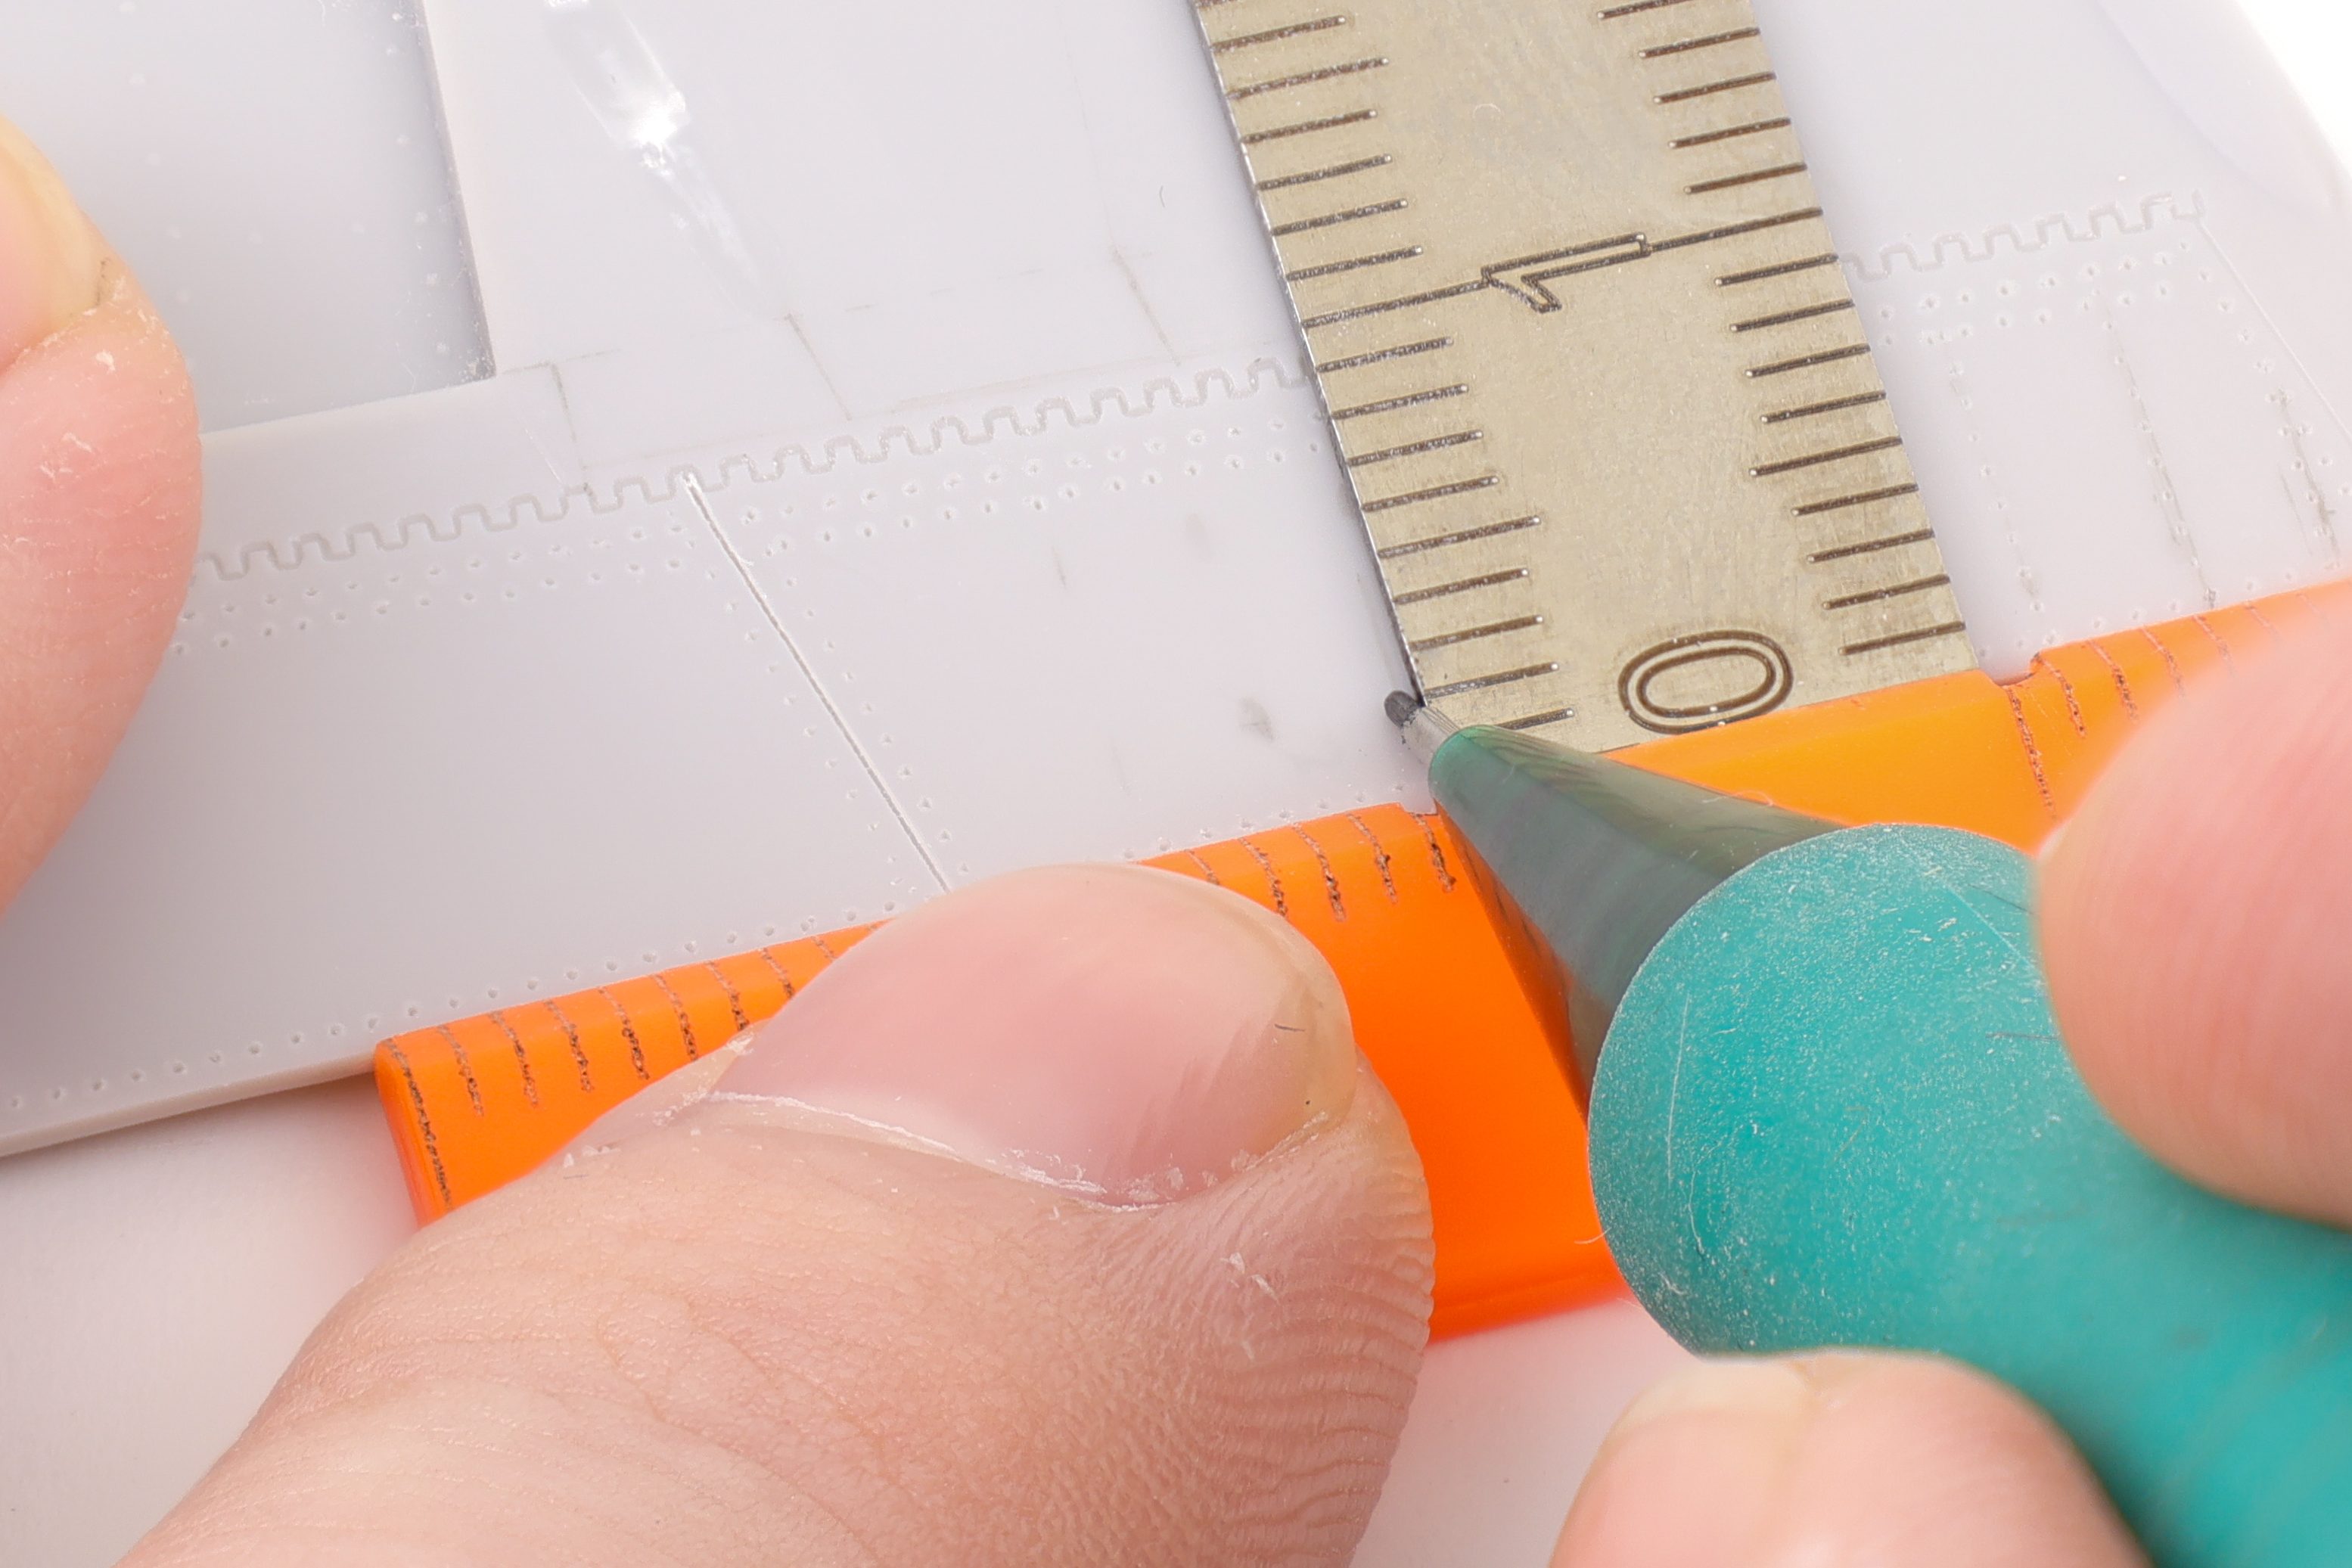
After the spacing dots had been completed, I then used a small modelling T-Square to mark out the actual guide lines for the rivets. I was able to brace the upper part of the square against the edge of the model which created a nice 90 degree angle for the lower portion. This method ensured that the rivets were equal distance from one another and perpendicular to the trailing edge of the wing.

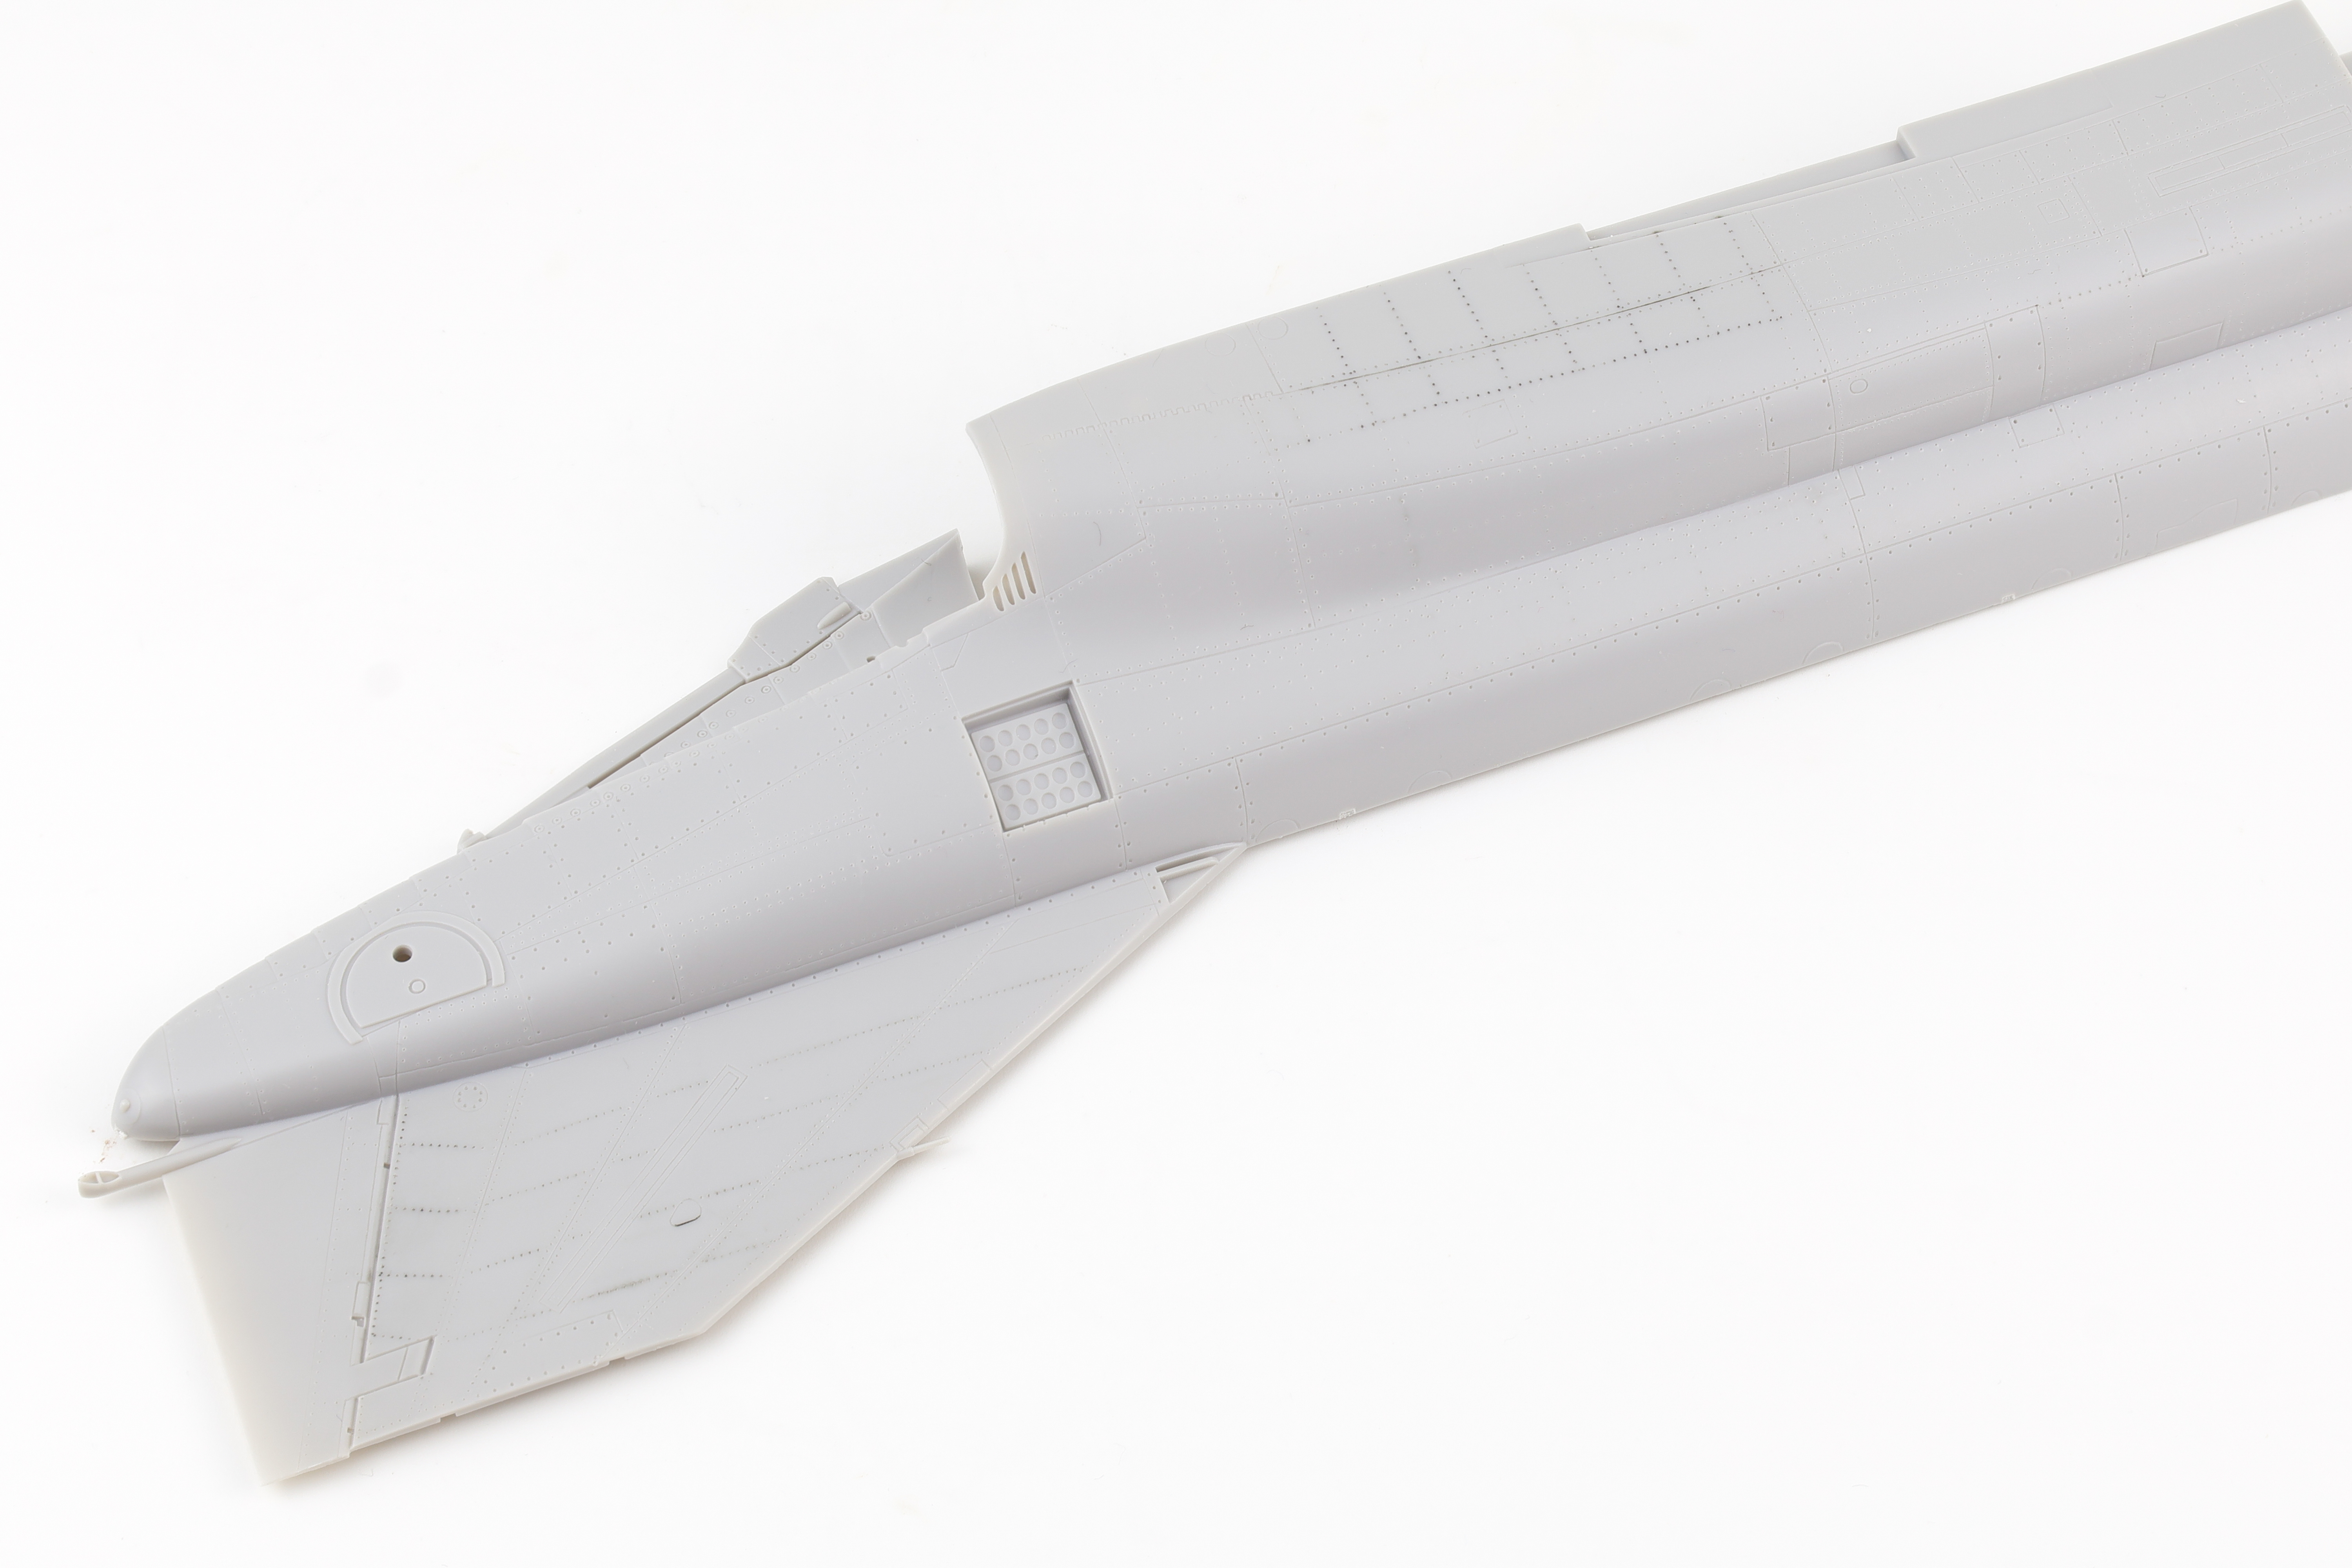
For the rest of the rivets, I largely worked on the lower and rear surfaces first and slowly worked my way further up and forward on the fuselage. A particularly time consuming section was the wing root of the upper fuselage. The Phantom has a LOT of access panels and rivets in this area and it was a bear to complete. In the end however, I’m very glad I did as the added detail looks like it’ll stand out quite nicely under a wash.


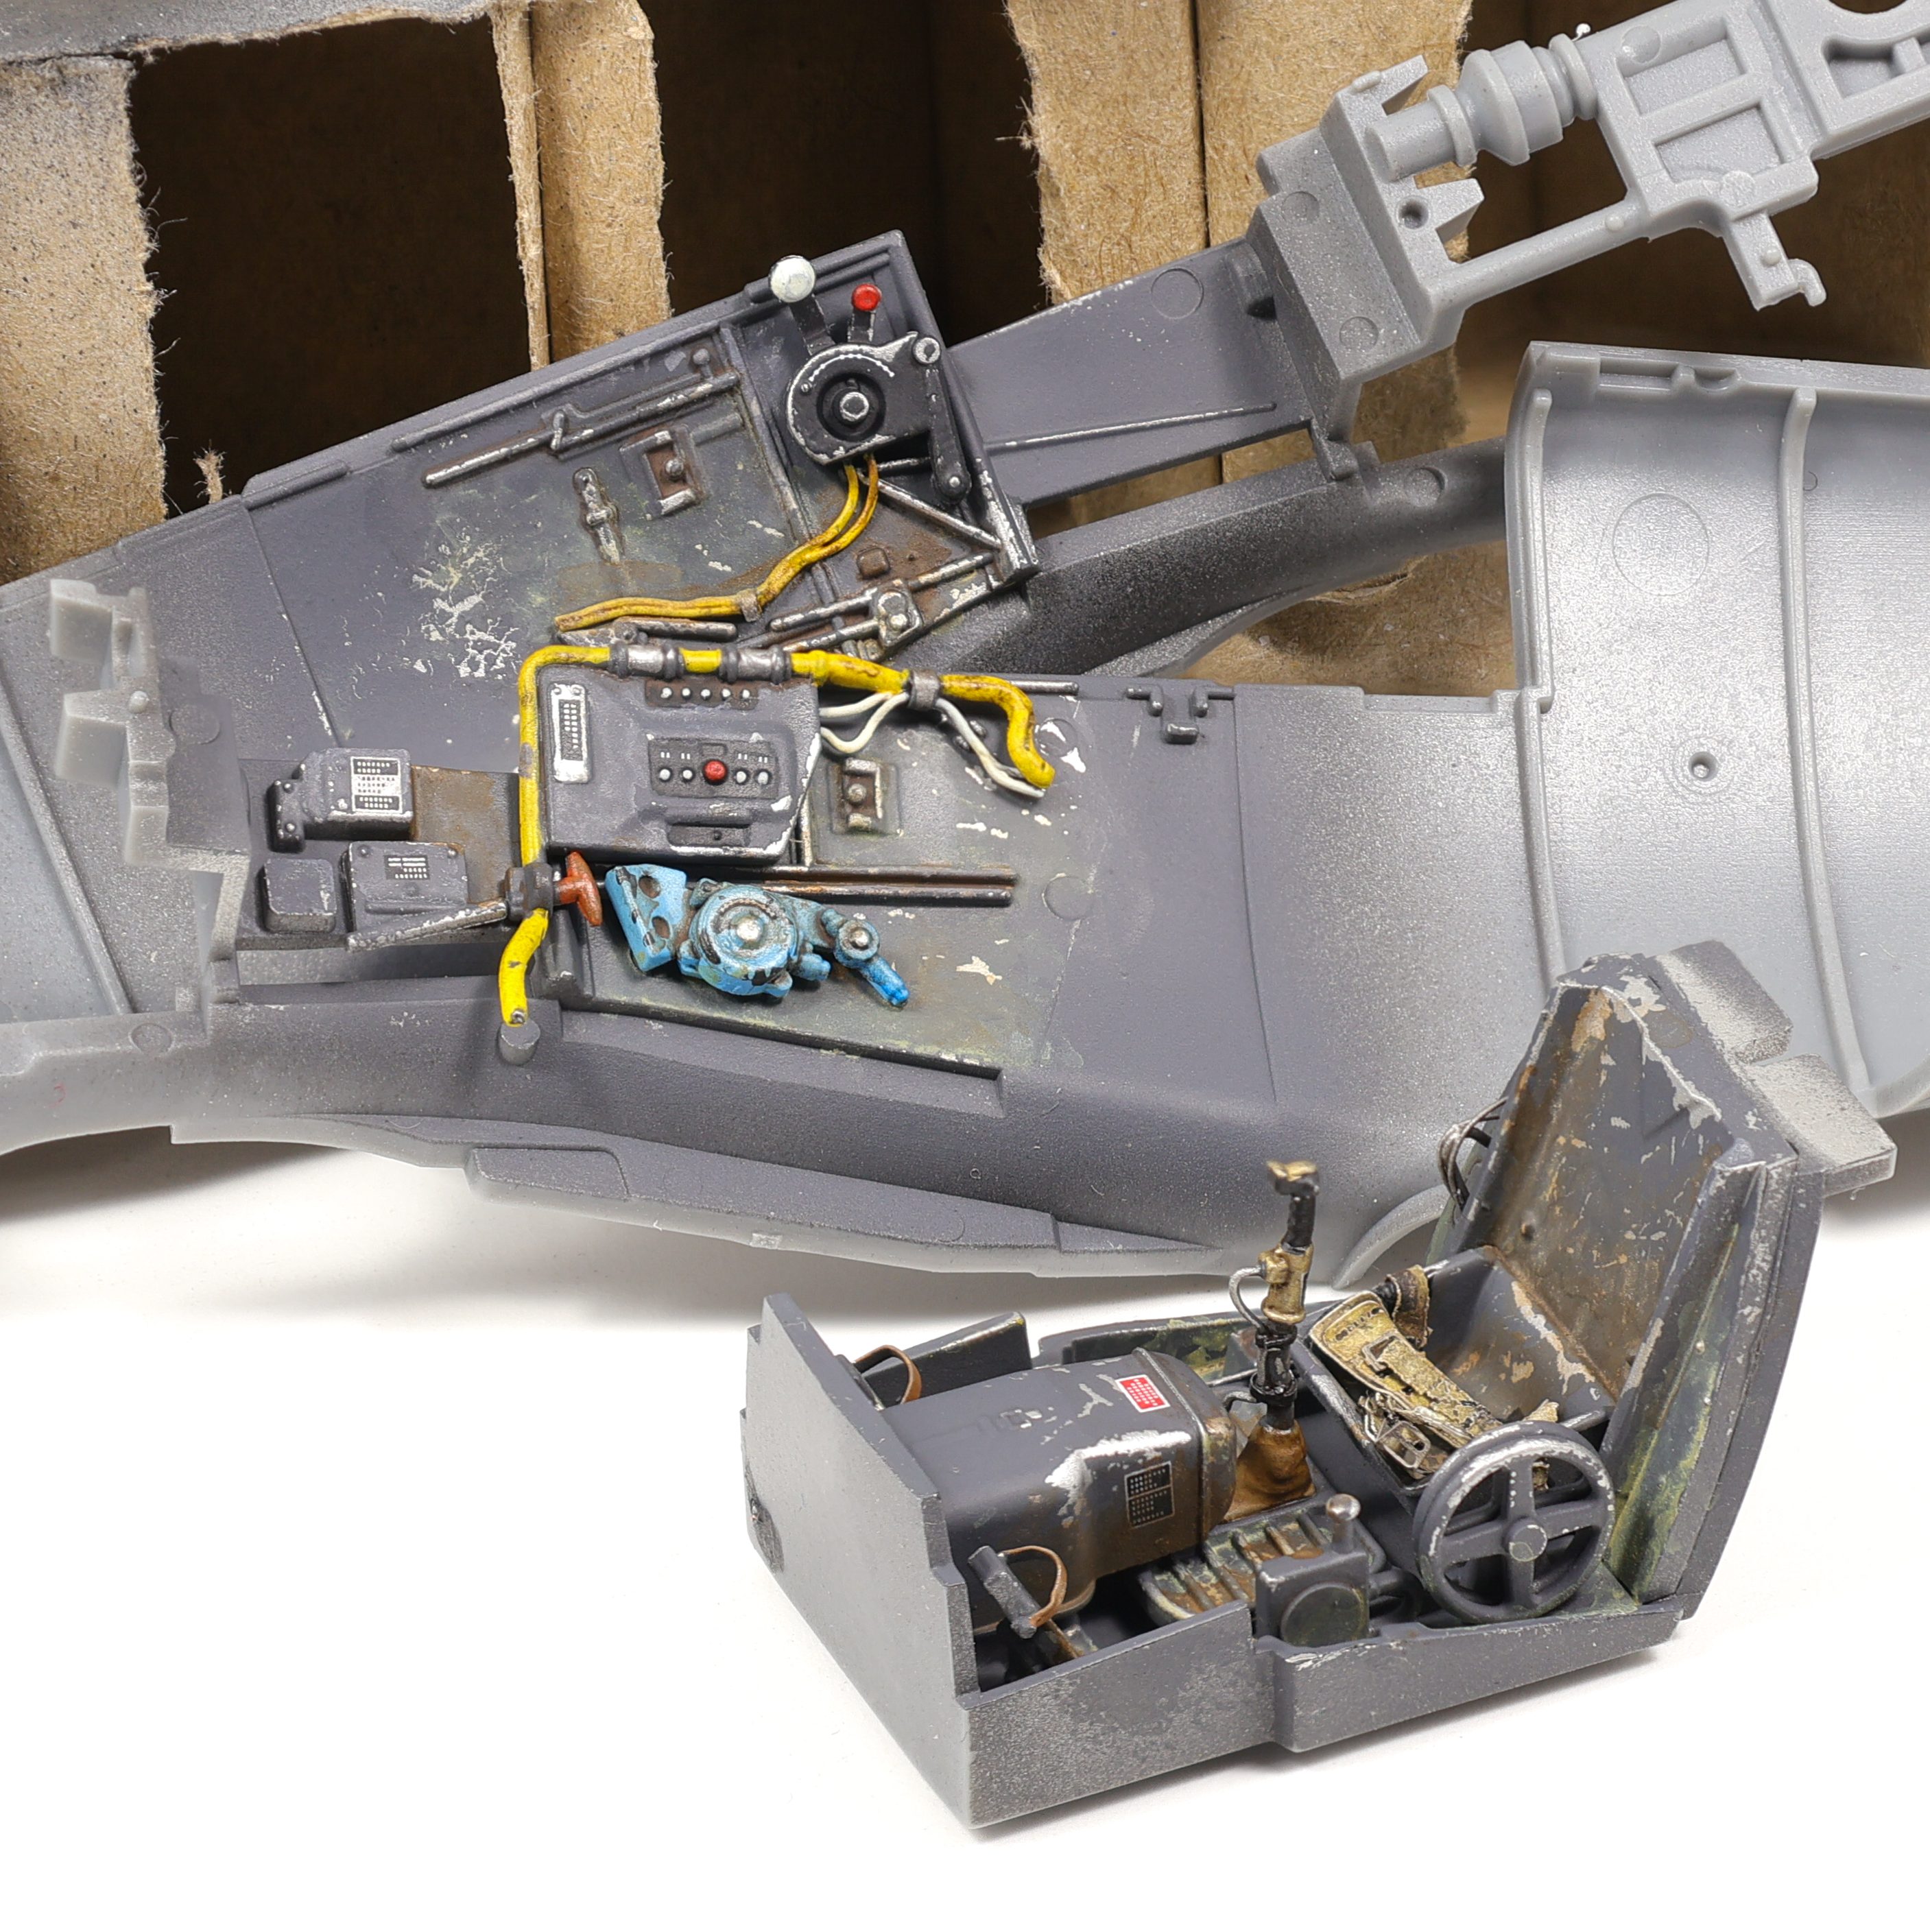
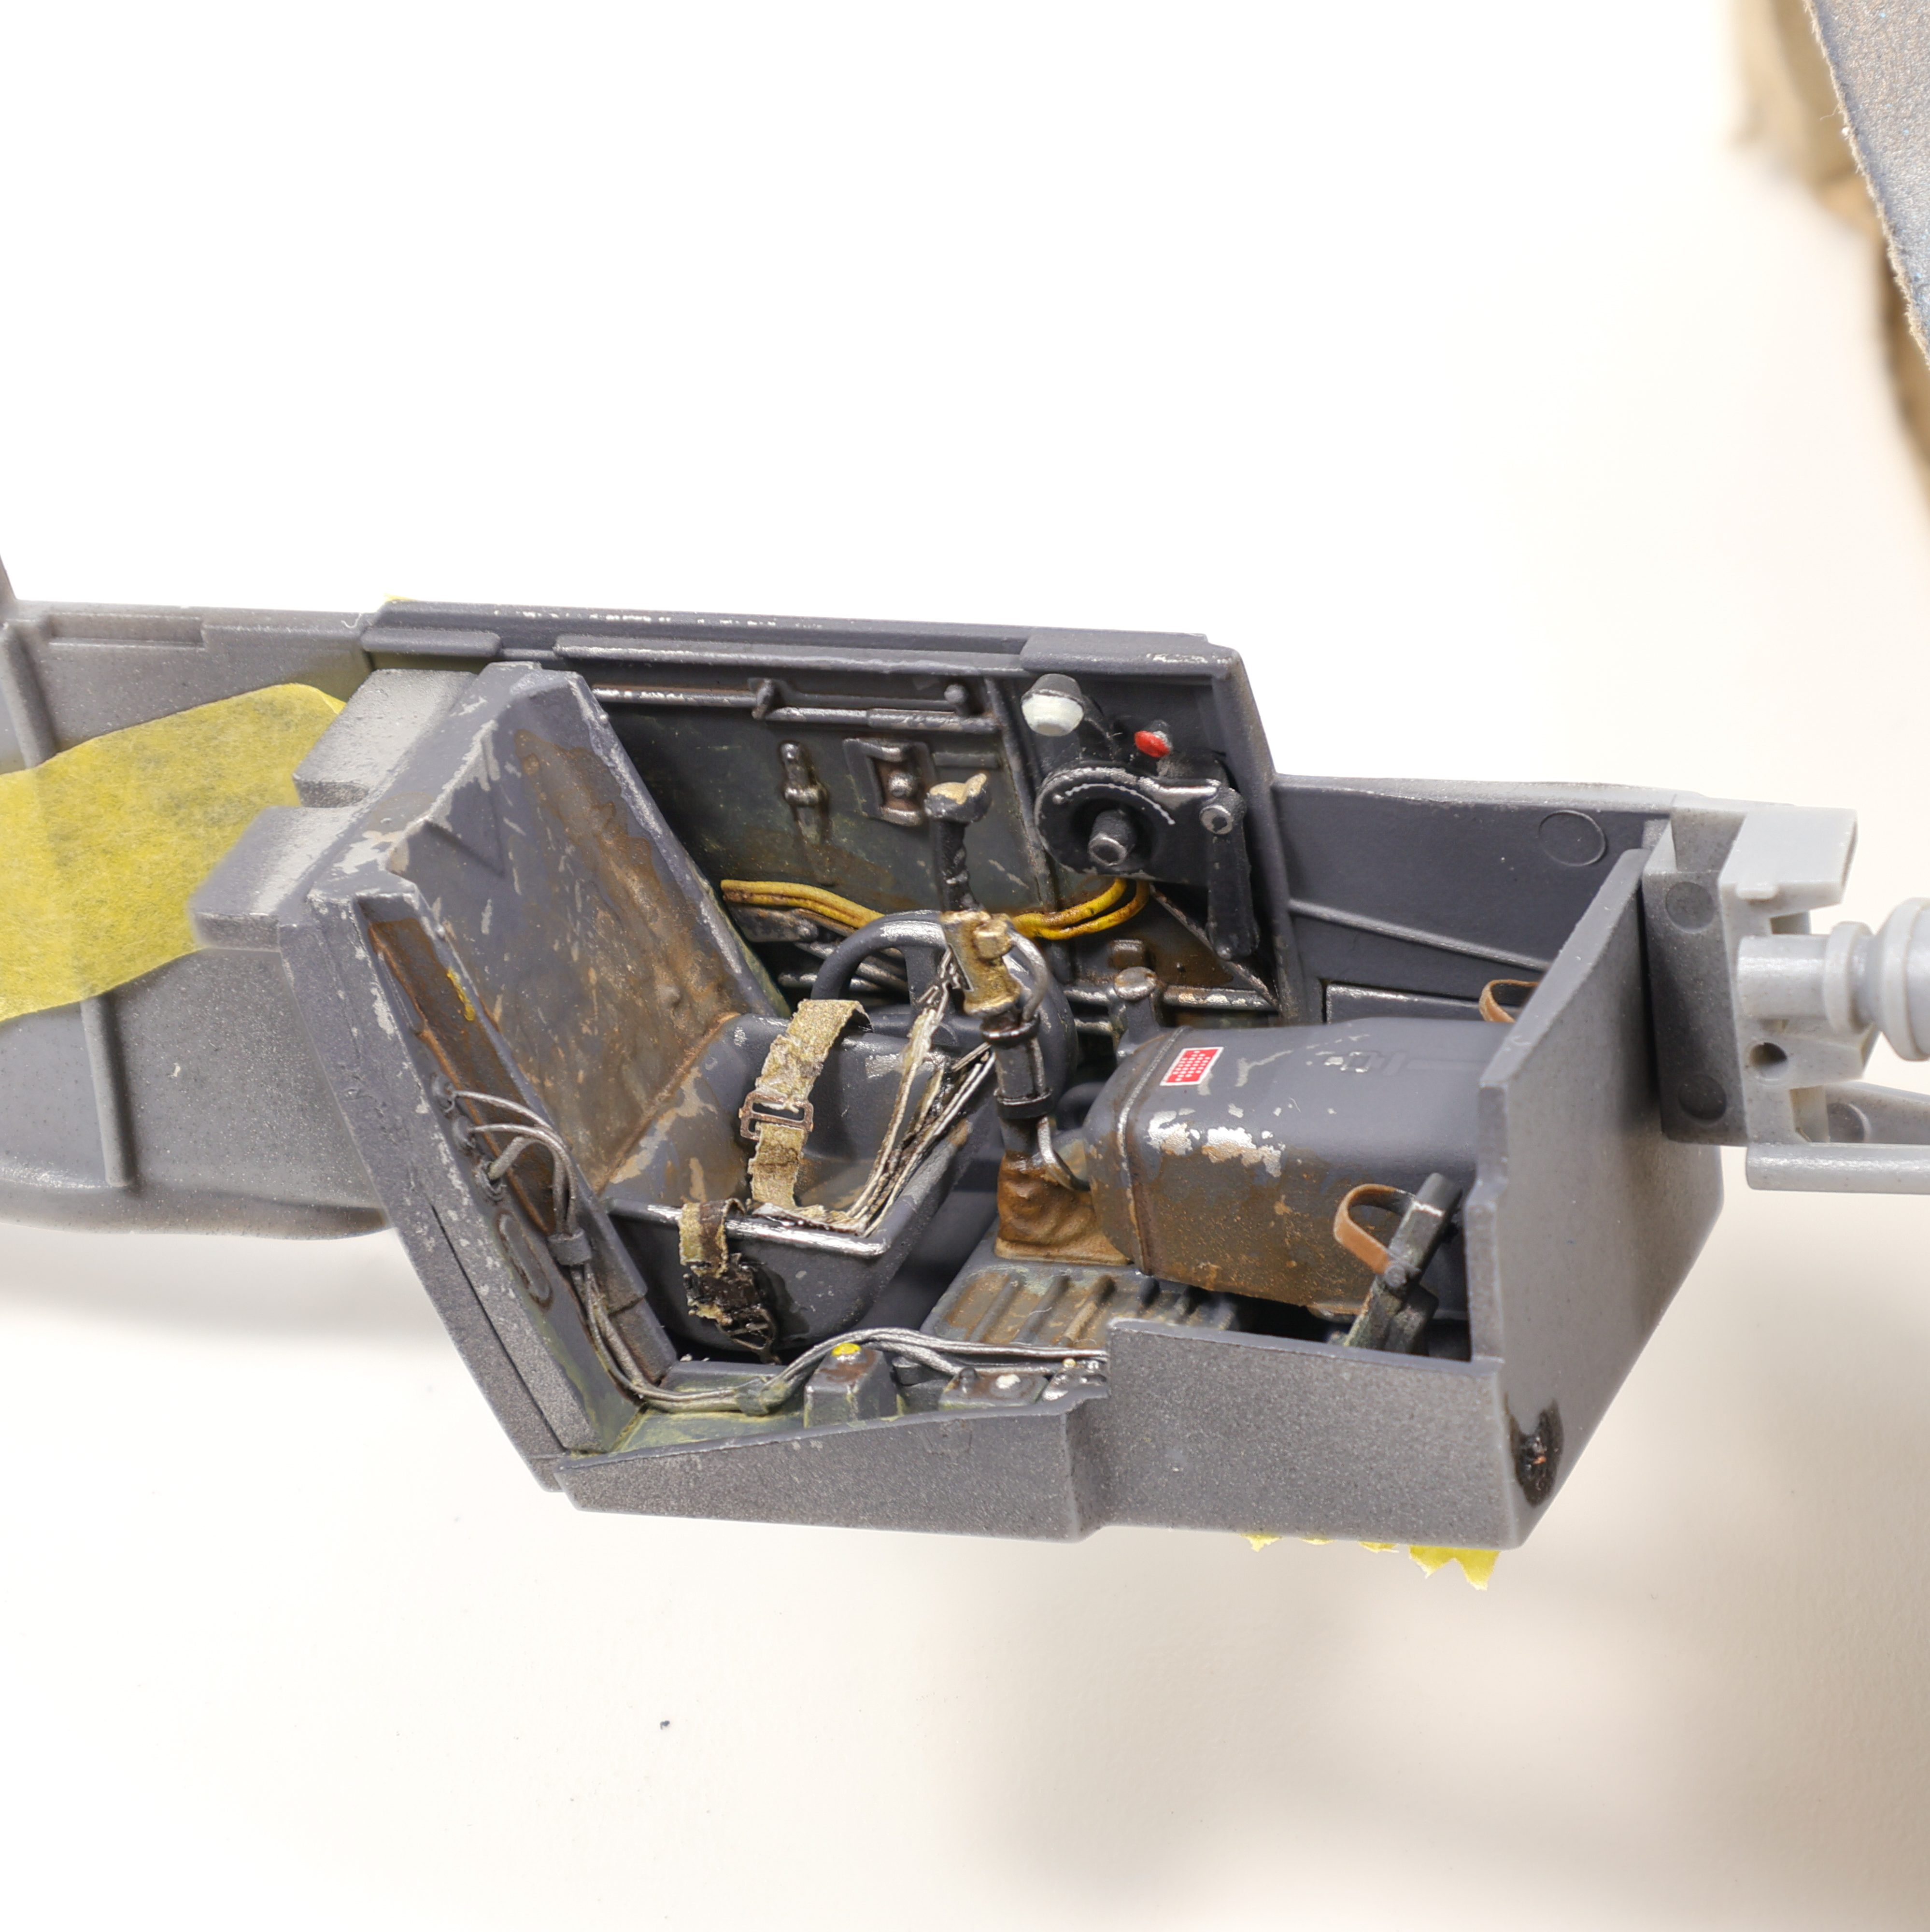
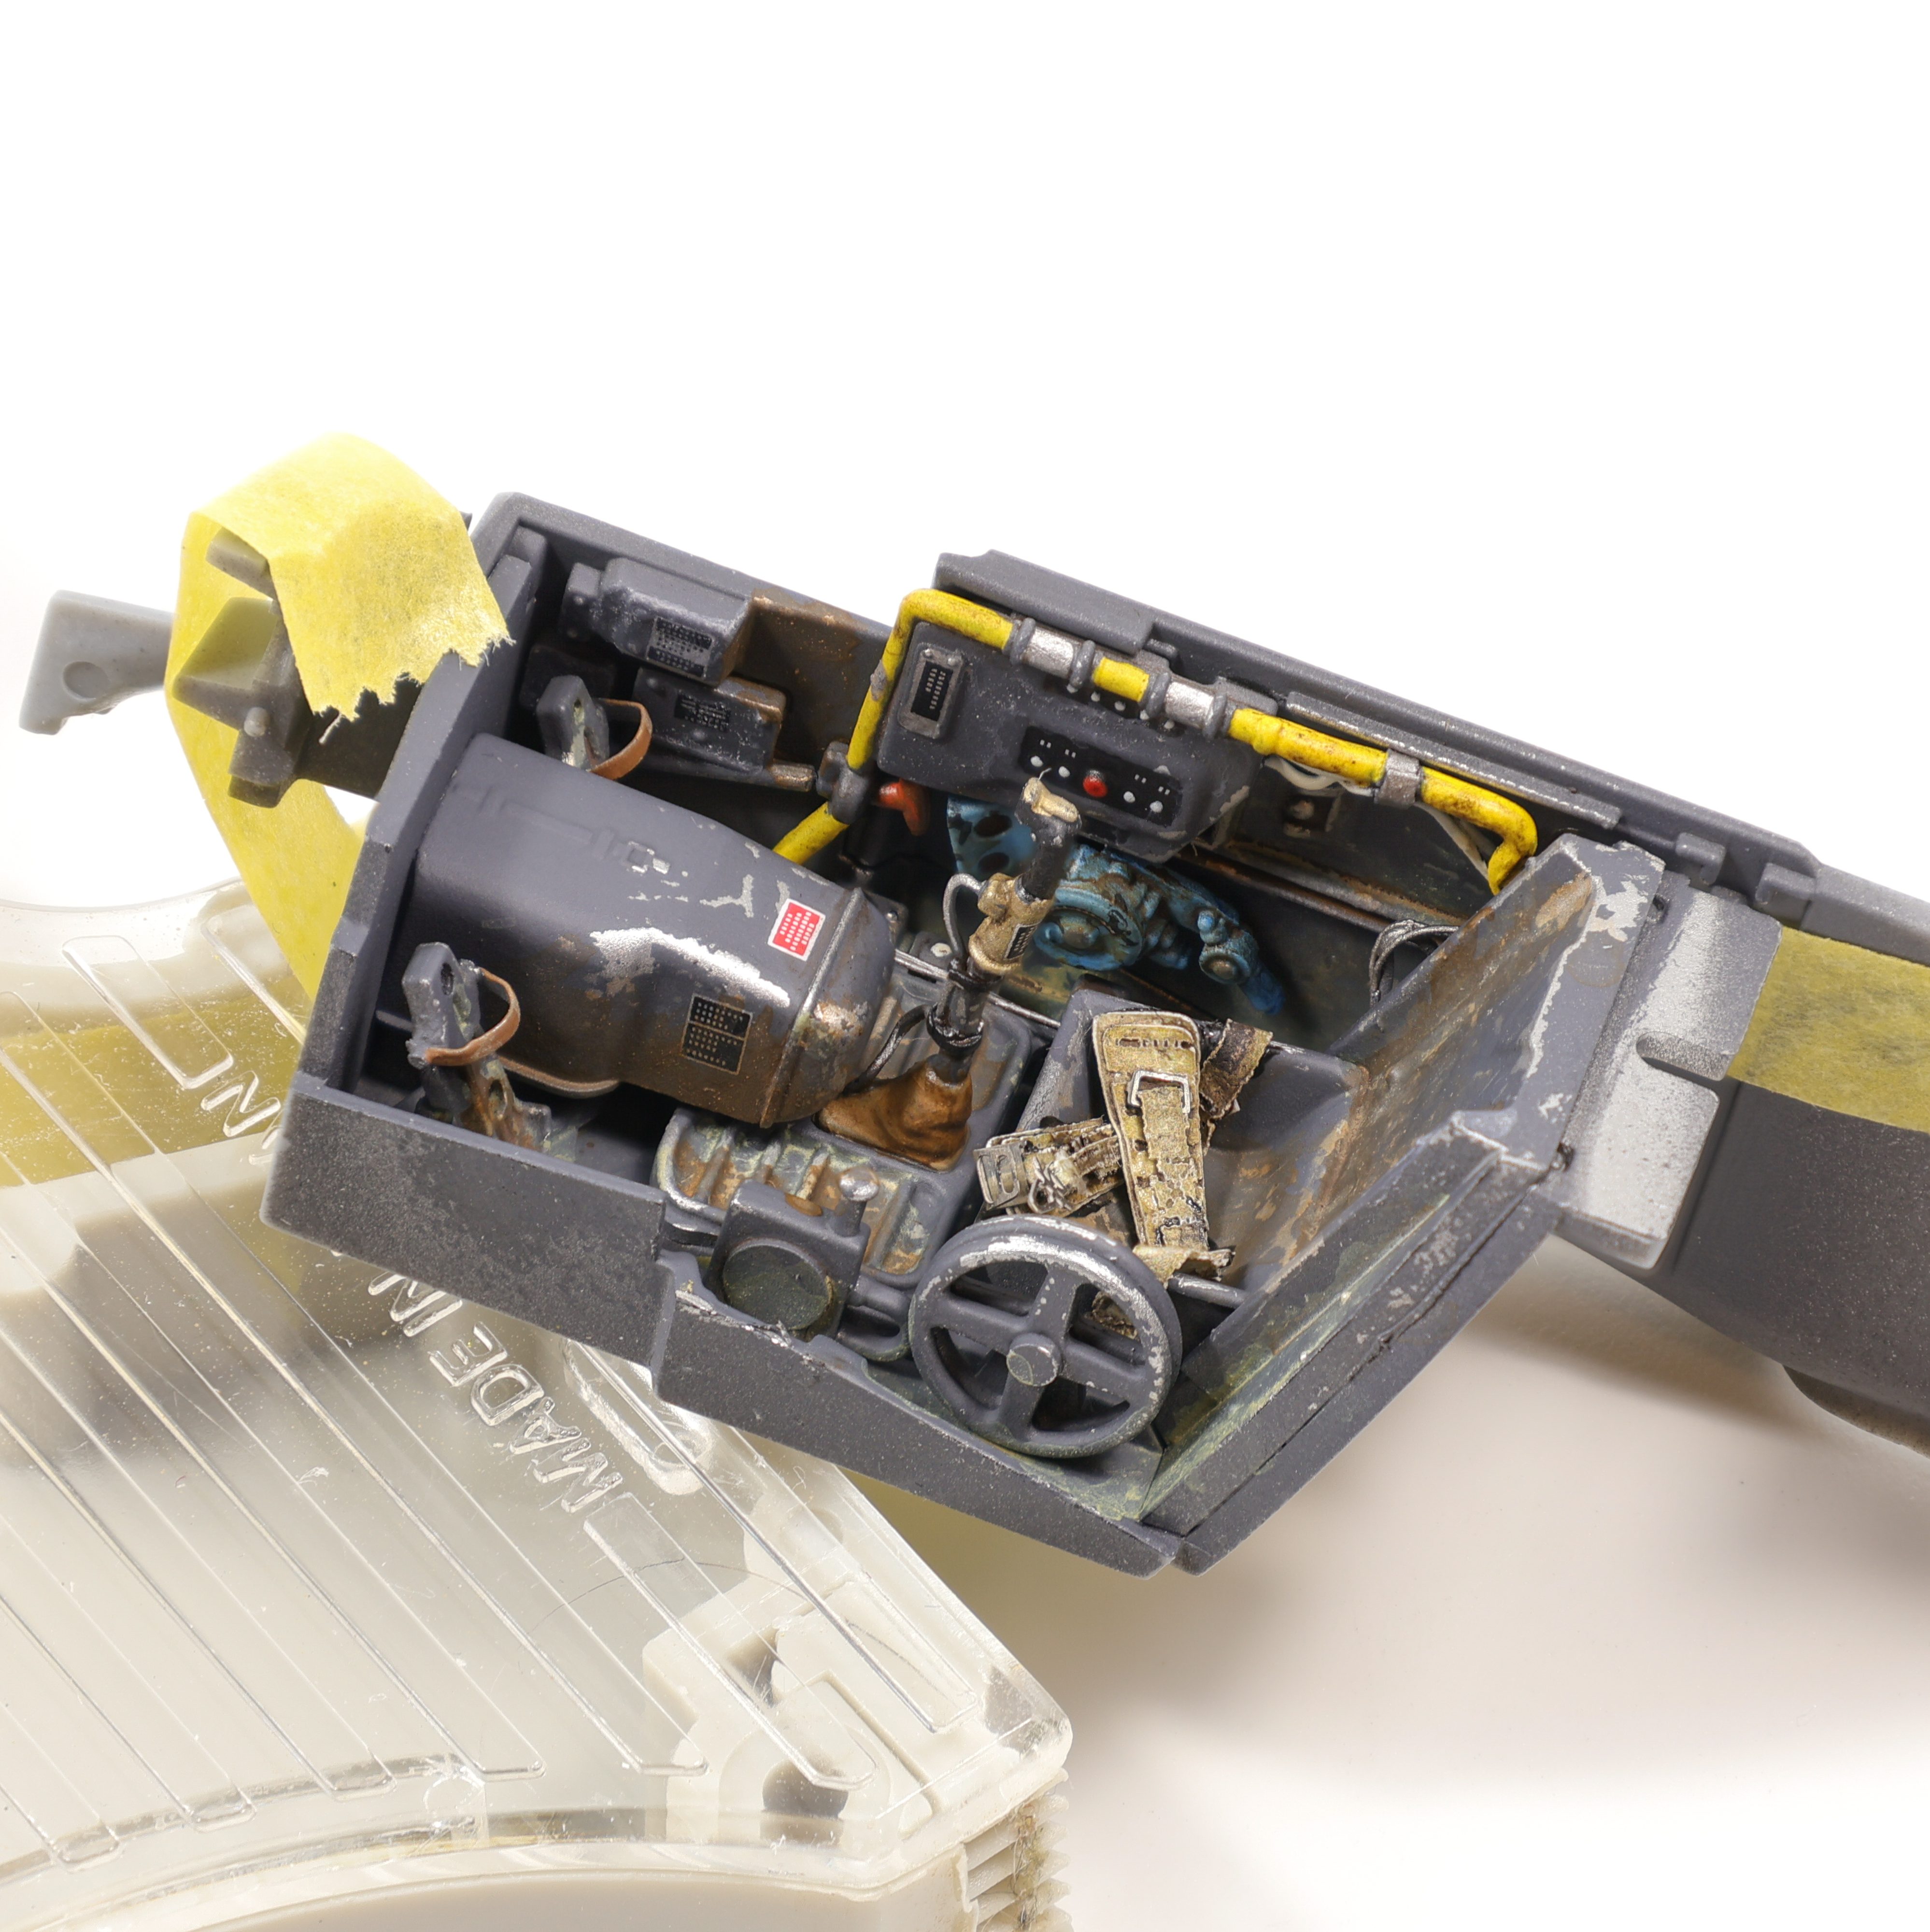
That’ll be all for now, next up work starts on the cockpit!