Category: Aircraft

  • Tamiya He-219 “Uhu” (Part 1)

    Tamiya He-219 “Uhu” (Part 1)

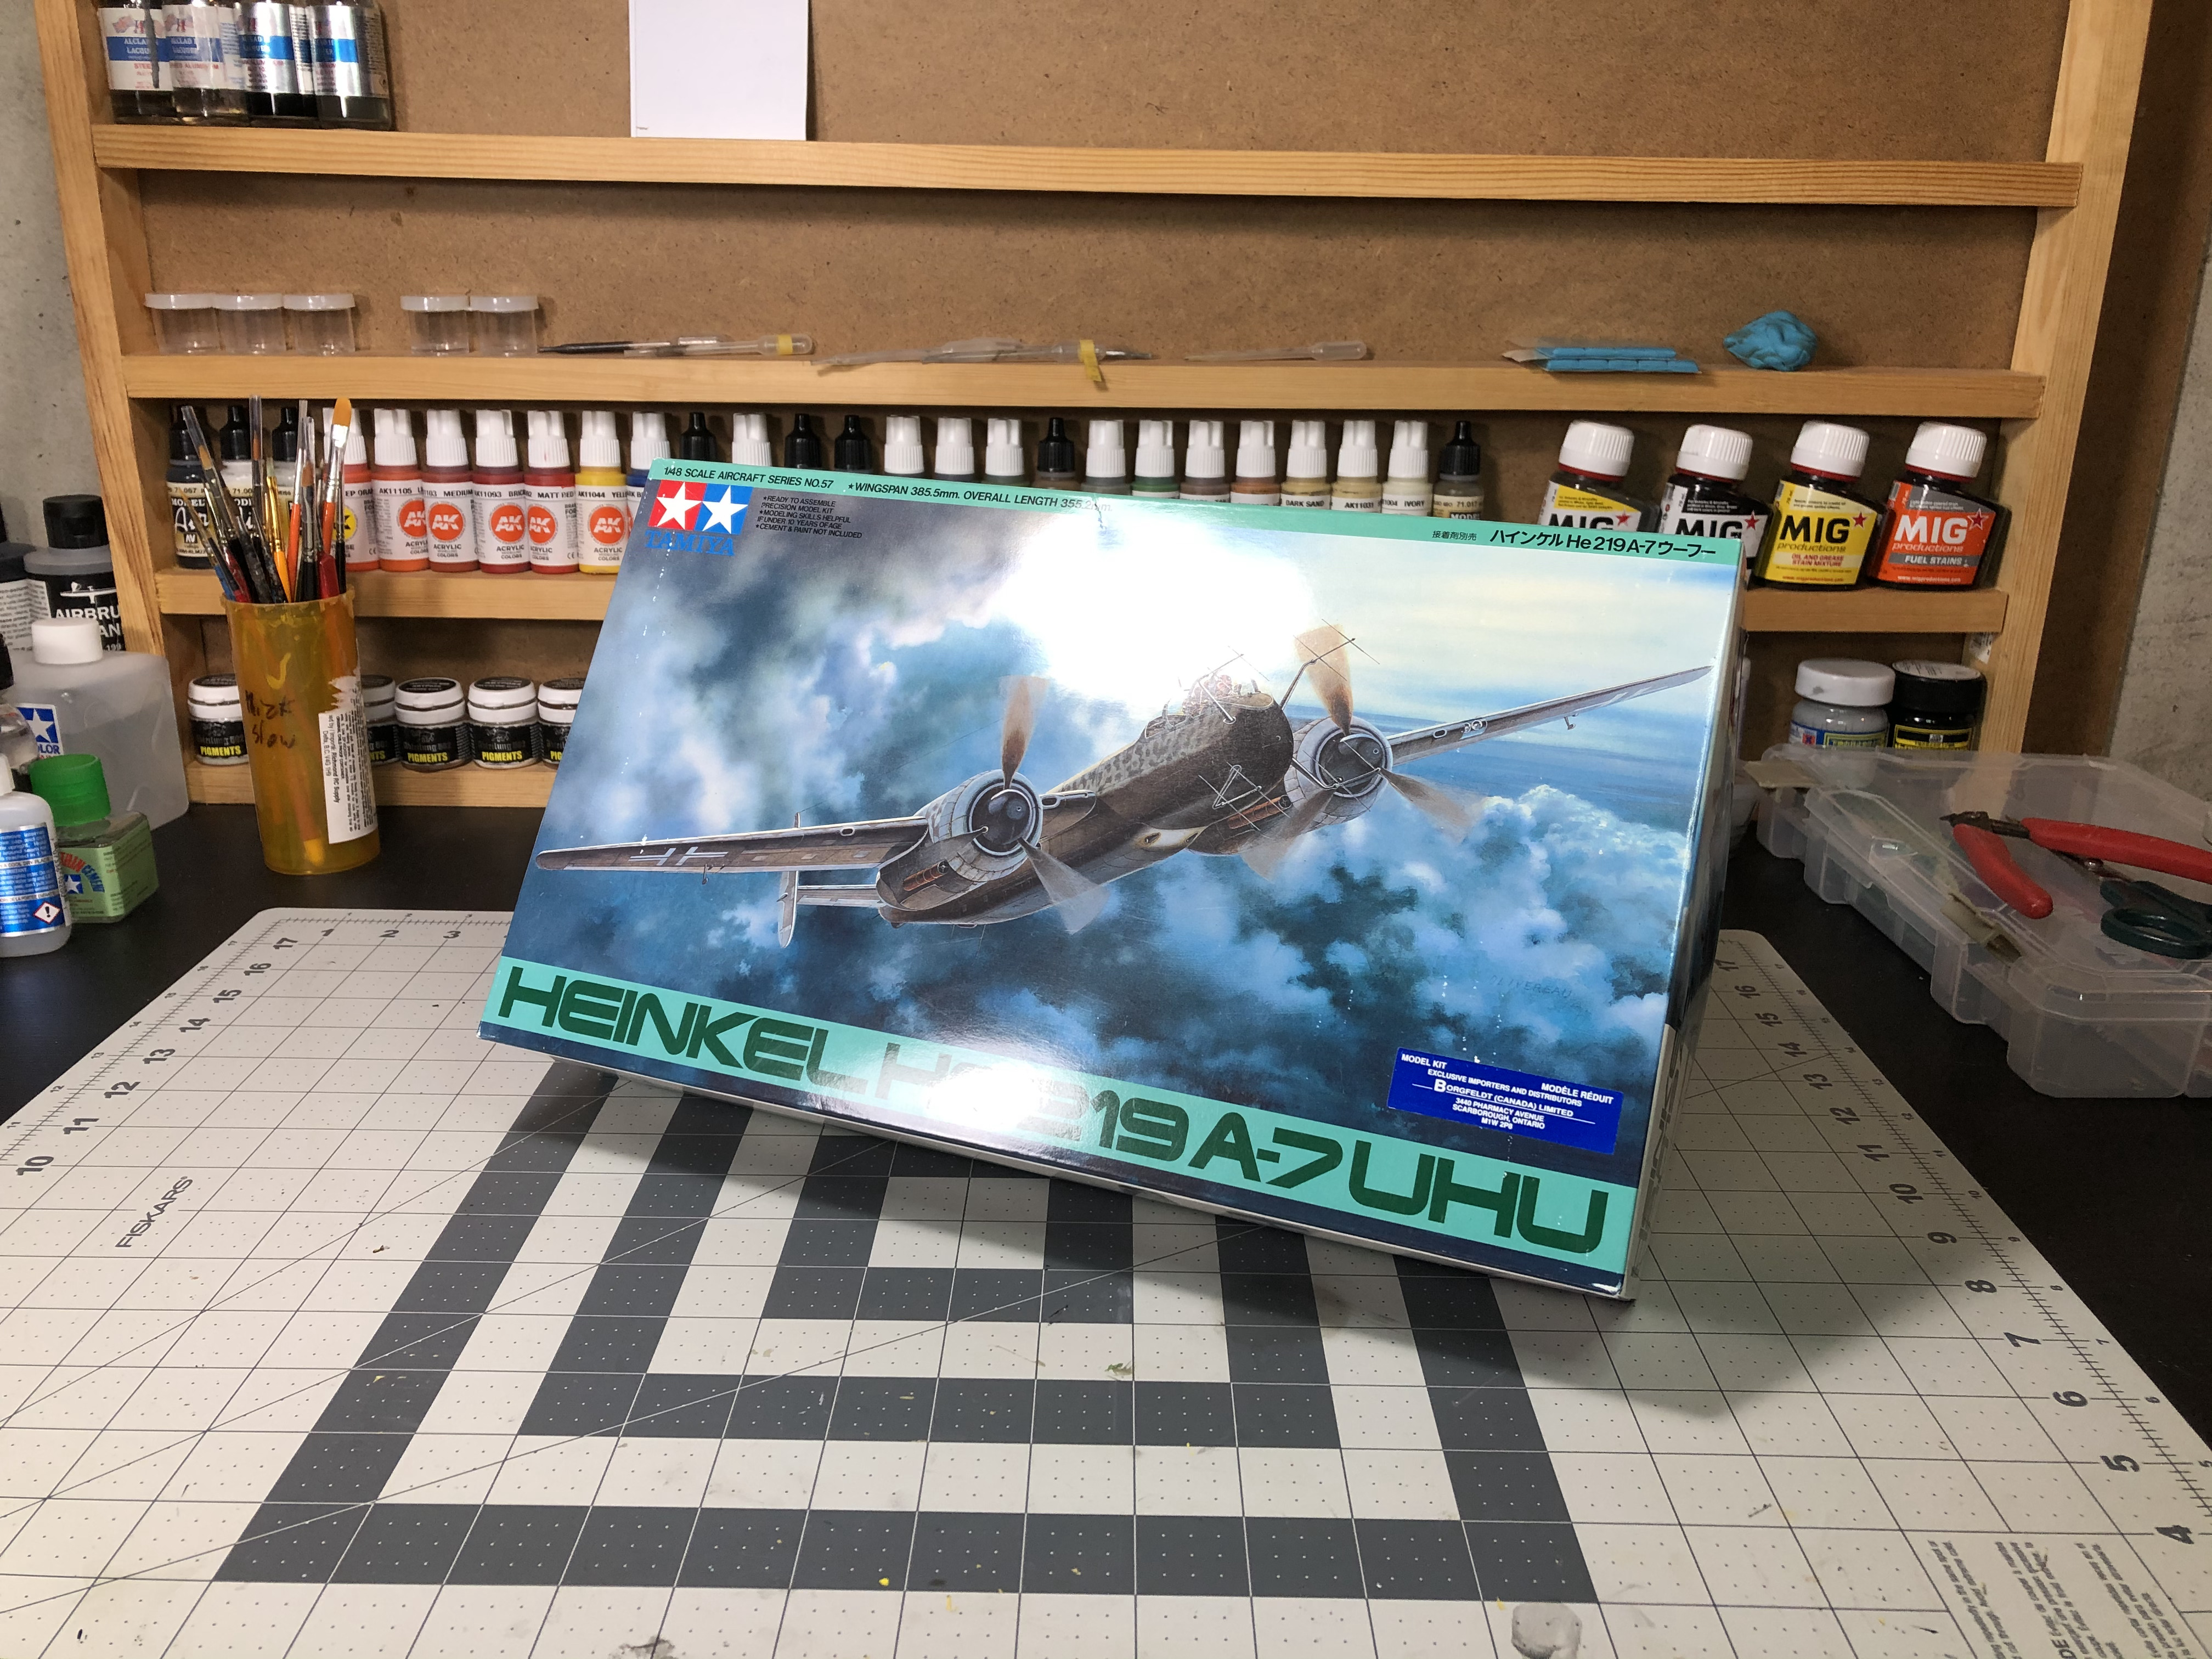
    Next on the Bench was Tamiya’s late war German night fighter the He-219 “Uhu” or “Owl”. Construction started with the cockpit of course and Tamiya was nice enough to supply a metal “tub” for all the major cockpit components, this should be pretty helpful to keep the nose down. After putting a couple of nights at the bench in I have to say, I’m already quite disappointed with the kit. Not the typical Tamiya fit as it seems as I had some issues joining the wings together.

    I am however quite happy with the level of detail so far, especially on the radio operator’s station! really looking forward to detailing the cockpit up. I’ve also opted to get a aftermarket Fug 220 radar set which, after applied on the nose of the aircraft, will really stand out. I also picked up a set of resin wheels from Eduard. I’ll be posting comparison pictures a little later on in the build.

    For the priming I’m trying out Mr. Finishing Surfacer 1500 Black. I found the Vallejo Black primer I used on the Mossie peeled way, way too easily. I found while using the new primer I was still getting a overly rough surface texture even after thinning with leveling thinner. I think I’ll have to look more into what I might be doing wrong airbrushing wise. I suspect the paint is drying before reaching the model, but more investigation is needed.

    That’s all for now, For this build I really want to get consistent bench time in. I’m aiming to have it all completed within a Month!

    follow the build page on Scalemates.com! https://www.scalemates.com/profiles/mate.php?id=93444&p=projects&project=95754

  • Tamiya Mosquito B Mk.IV/PR Mk.IV

    After wayyyyyy to long on the workbench Tamiya’s gem of a 1999 kit has finally vacated the table. In all honestly it’s been a slog finishing the Mossie. Not because of any issue with the build itself, but more so the lacking motivation to finish. I used Vallejo acrylics for the finish and tried out color modulation for the first time. A dark wash was applied over top a gloss coat as well as some various fuel and oil streaking effects from Mig.

    Now on to the Uhu!

  • Tamiya Mosquito B Mk.IV/PR Mk.IV In Box Review

    Tamiya Mosquito B Mk.IV/PR Mk.IV In Box Review

    I managed to pick this Tamiya 1/48 Mosquito for around $45 CAD and despite the kit’s age I’m very happy with the purchase. I’ve never built a Mosquito (or any British fighter before) and made the safe choice to go with Tamiya. Initial impressions are pretty favorable, with crisp styrene and minimal flash present. It comes with three unique variants including a electric blue option.

    Kit features: 12/20

    Tamiya’s offering is pretty bare bones when it comes to kit features, offering not a lot more than decals and clear parts. One benefit of the kit is allowing the option to model the PR Mk.IV reconnaissance version of the Mosquito in addition to the standard Mk.IV version. In terms of armament, the kit not only includes bombs but also rockets, should the modeler choose to include them. The kit however looses points for no photoetch parts or other accessories. This disadvantage is somewhat mitigated however due to the fact that at the time of the kit’s 1999 release inclusion of photoetched parts wasn’t super typical and not expected at the kit’s pricepoint.

    Quality of Molding: 35/50

    The Mosquito features nice recessed panel lines and rivet details as well as passable cockpit details. When compared to modern releases however, the kit doesn’t reach the same levels of detail. Again however this must be expected due to the kit’s age. The kit gains back some points due to the fact that the detail is adequate and fully capable of building a nice looking model. Detail is really only omitted in hard to find areas such as the gear bay. In terms of molding quality no flash can be found, requiring little cleanup.

    Instructions: 11/20

    The instructions are the real weak part of the kit and don’t offer a whole lot more than the bare minimum. Tamiya’s instructions include a large camouflage profile which should help during painting. The instructions are in typical Tamiya style, folded out paper with no coloring. The downside of the instructions are very clear when compared to the instructions found in Meng’s E2 which was also reviewed on this site. The instructions however, are quite clear and easy to understand – the only real requirement for a kit’s instructions.

    Miscellaneous: 7/10

    Three different finishing options and two different variants help the Mosquito’s score in this area and the decal quality looks good considering they were manufactured over 20 years ago.

    Total: 65/100

    Initial impressions of Tamiya’s Mk.IV Mosquito are good and I have full confidence that the kit will shape up into a good looking model. At $45 CAD the price-to-kit ratio is quite high, and you get a lot of plastic for you money. this kit would be an excellent place to start with resin accessories or even just build OOB.

  • Tamiya Mosquito B.MkIV (Part 1)

    Tamiya Mosquito B.MkIV (Part 1)

    For my next project I wanted to go with something slightly large to gain more experience airbrushing. Seeing as I could get Tamiya’s 1999 Mk.IV Mosquito for a good price I decided to pull the trigger on it. I also wanted to use this kit as a “testbed” of sorts as I’ve also got Tamiya’s 1/48 He-219 “Uhu” on deck afterwards so I’ll need to have mastered the Sotar 20/20 by then to complete the Uhu’s complex camouflage pattern.

    In terms of the build, It’s been on the bench for about a week now and I;m happy with how it’s going. I appreciate the fit and design of the Tamiya kit after completing Miniart’s Bantam. I took the liberty of filling out the exhaust holes however found that they cannot be easily seen after final engine assembly.

    Most of the early construction has to do with building up the wings and cockpit as to be expected. I painted the interior parts with a mix of AK Grey Green and Intermediate Green with a single drop of Mr. Color leveling thinner. Paint was thinned in a rough 50/50 ratio with water. Thinned with Tamiya TS-13

  • Tamiya P-51K “Mrs.  Bonnie”

    Tamiya P-51K “Mrs. Bonnie”

    After starting in February, Tamiya’s 1/32 P-51K is finally complete. Aftermarket accessories include Eduard resin wheels and Aeroscale 1/32 instrument decals. The kit was a dream to build, highly recommended. The only problem that I had with the kit were the decals. even with aggressive setting solution they would not conform to panel lines and rivet detail. they were the only letdown of the kit. It was painted with various shades of Alclad, as well as Tamiya acrylics. This was my first time painting a NMF finish, so there are a few mistakes painting wise.

    I would absolutely recommend this kit to someone who wants to try their first 1/32 kit or even for someone who is highly experienced in the scale. Due to the high part count and complex assemblies it is not the best kit for first time model builders however.