Categories
1:35 Armor In Box Reviews

Tamiya M1A2 Abrams “Operation Iraqi Freedom” In Box Review

I received this kit as a gift this holiday season and as I’ve been meaning to build a Abrams for a while now, a perfect one at that! Tamiya’s M1A2 retails between $50-$60 CAD, and is definitely a bit cheaper than some of the other Abrams on the market (Meng, RFM) In this review I’ll try to find out how Tamiya’s Abrams fits into the 1/35 lineup.

Kit Features: 13/20

When I saw that Tamiya M1A2 was released back in 2003, I have to admit I wasn’t expecting a whole lot. In terms of the features included however, I was pleasantly surprised. For a kit that is now over 20 years old, it is well furnished even by the standards of today. One notable omission is the absence of photo-etched parts but considering the kit’s history and Tamiya’s tendency to not include a lot of photo-etch, this is hardly a major omission. The kit also includes a plethora of stowage options, figures and one very good boy, something that isn’t really seen even in modern armor releases. I also like the wide variety of possible vehicle variants the kit offers. The differences between a U.S Army, Marines, and NATO vehicle are all slight but are still represented and extra parts are included to build those specific variants. The Abrams does well in this category because it includes those extra options that Tamiya didn’t have to include. I initially scored the kit features higher, around 15/16 but upon reflection a score closer to the average is warranted. The features of this kit are good and better than expected but not class beating.

Quality of Molding: 37/50

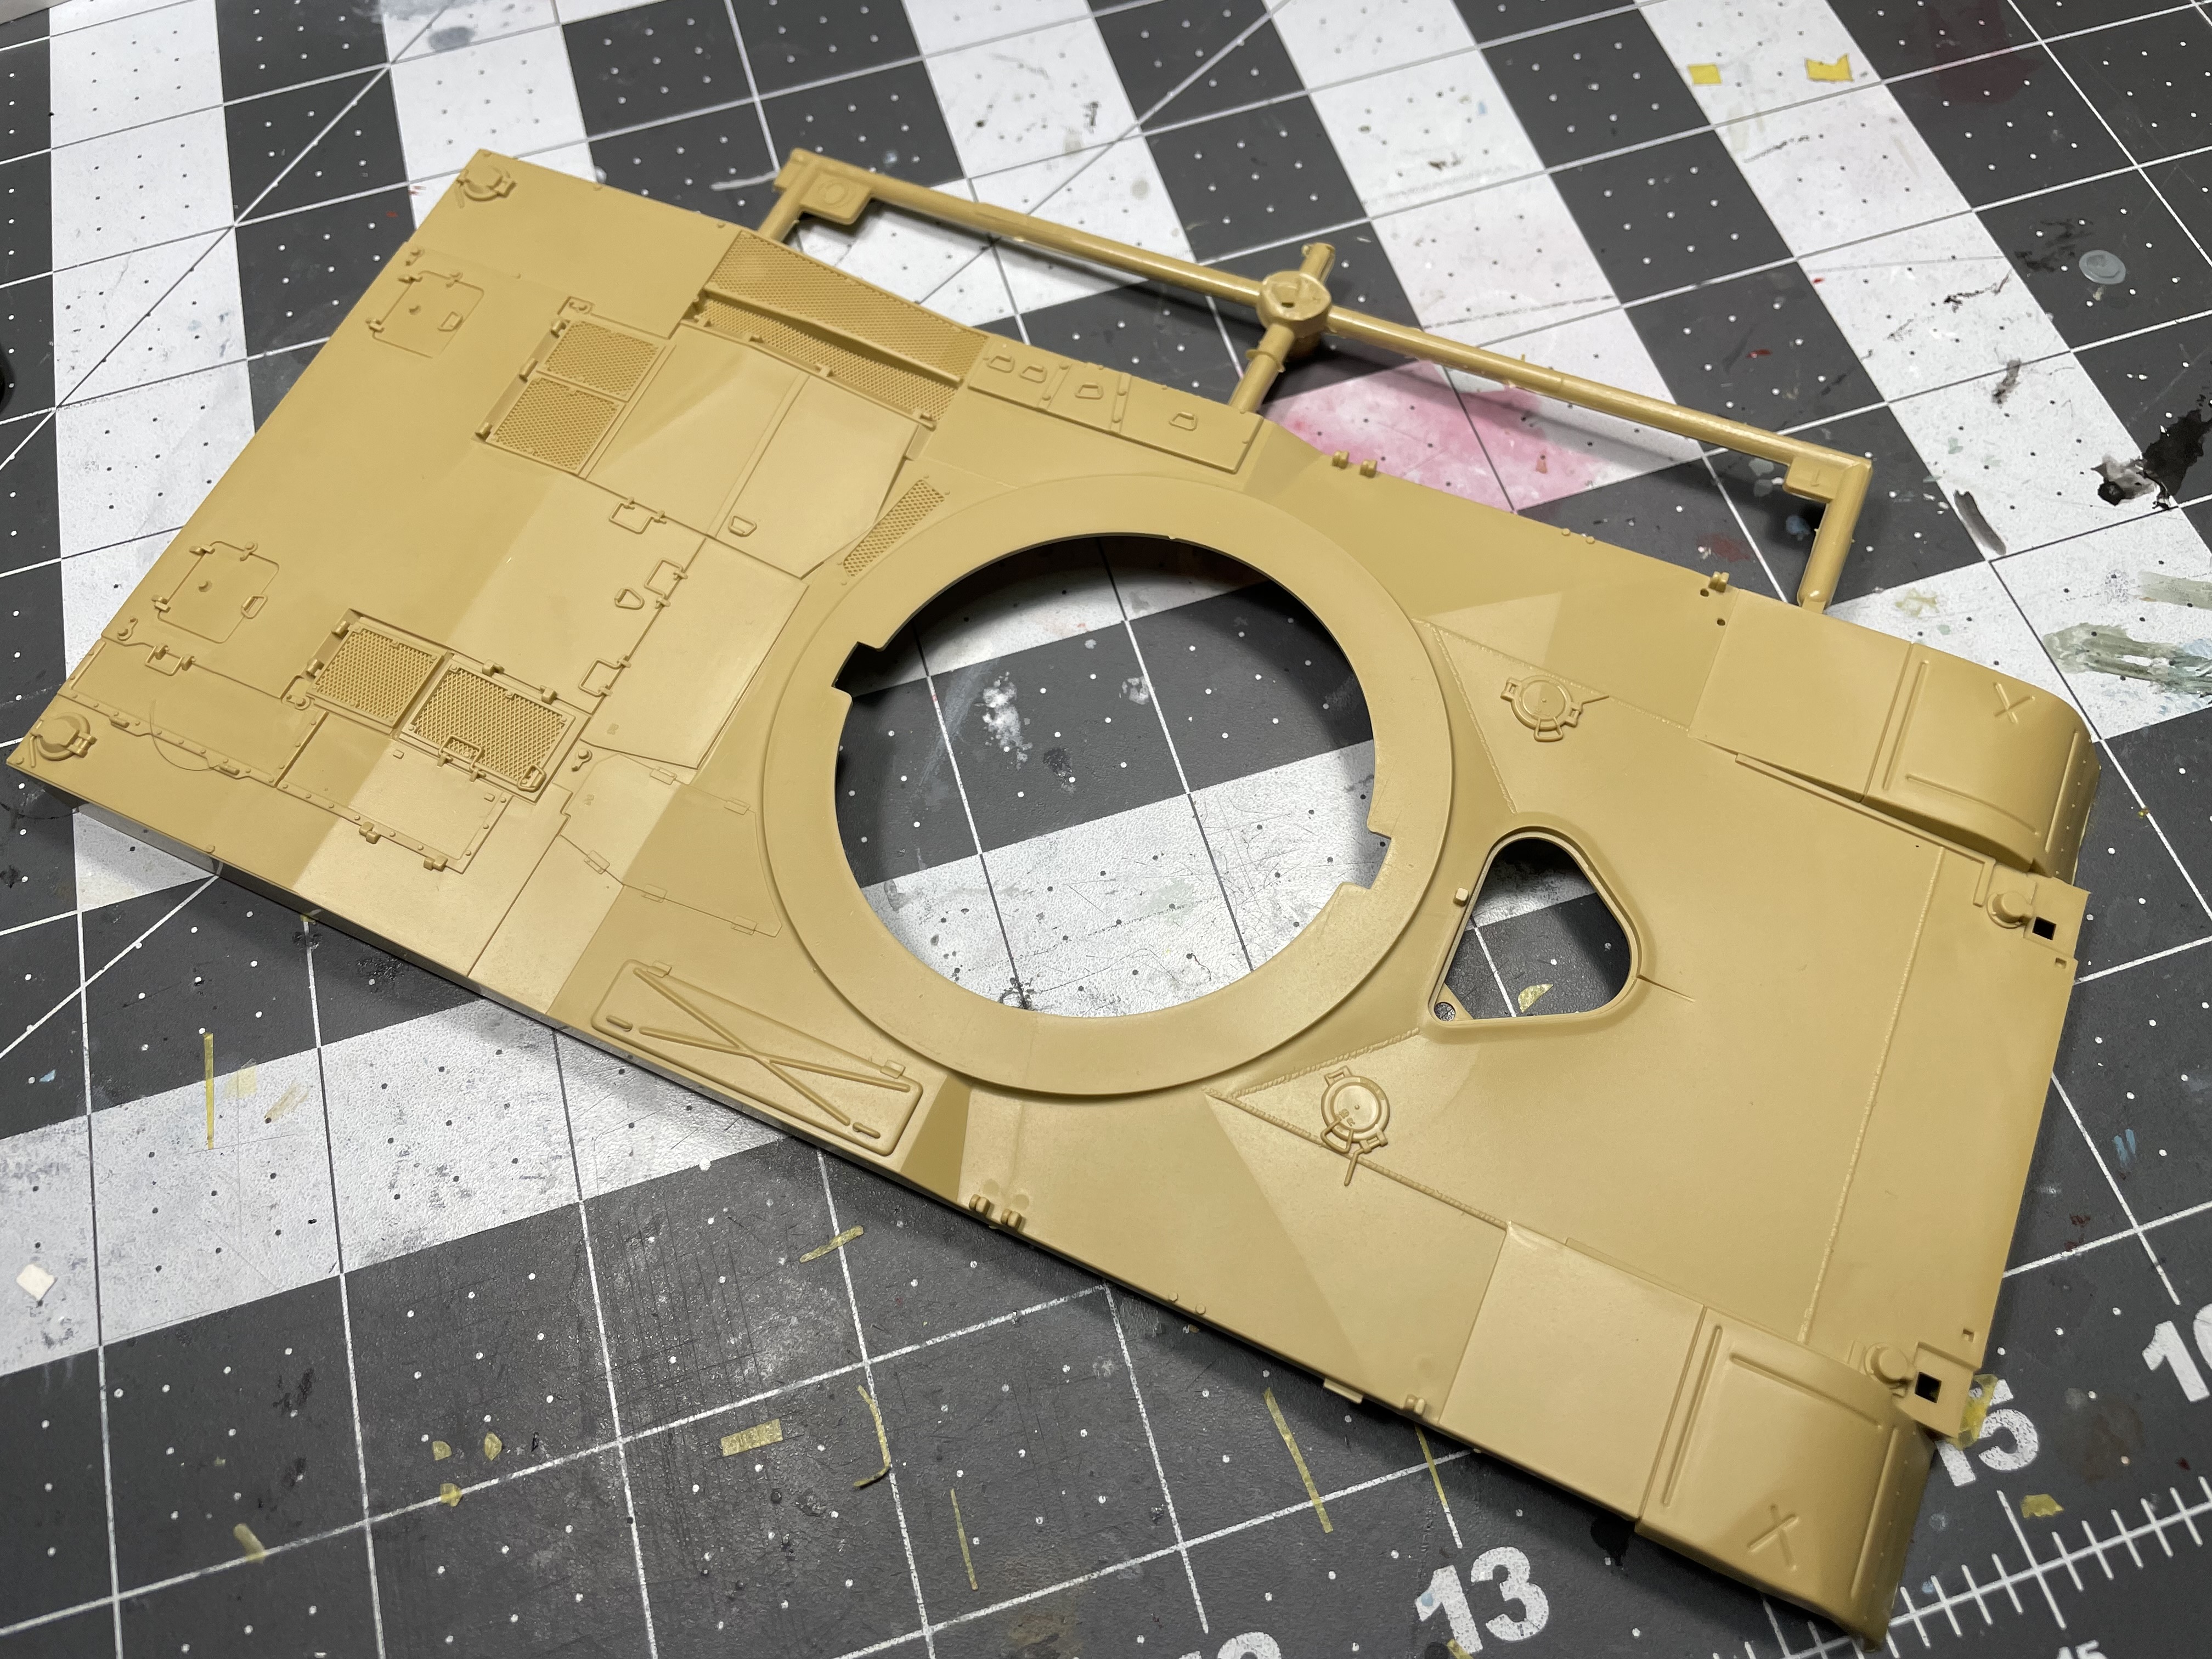
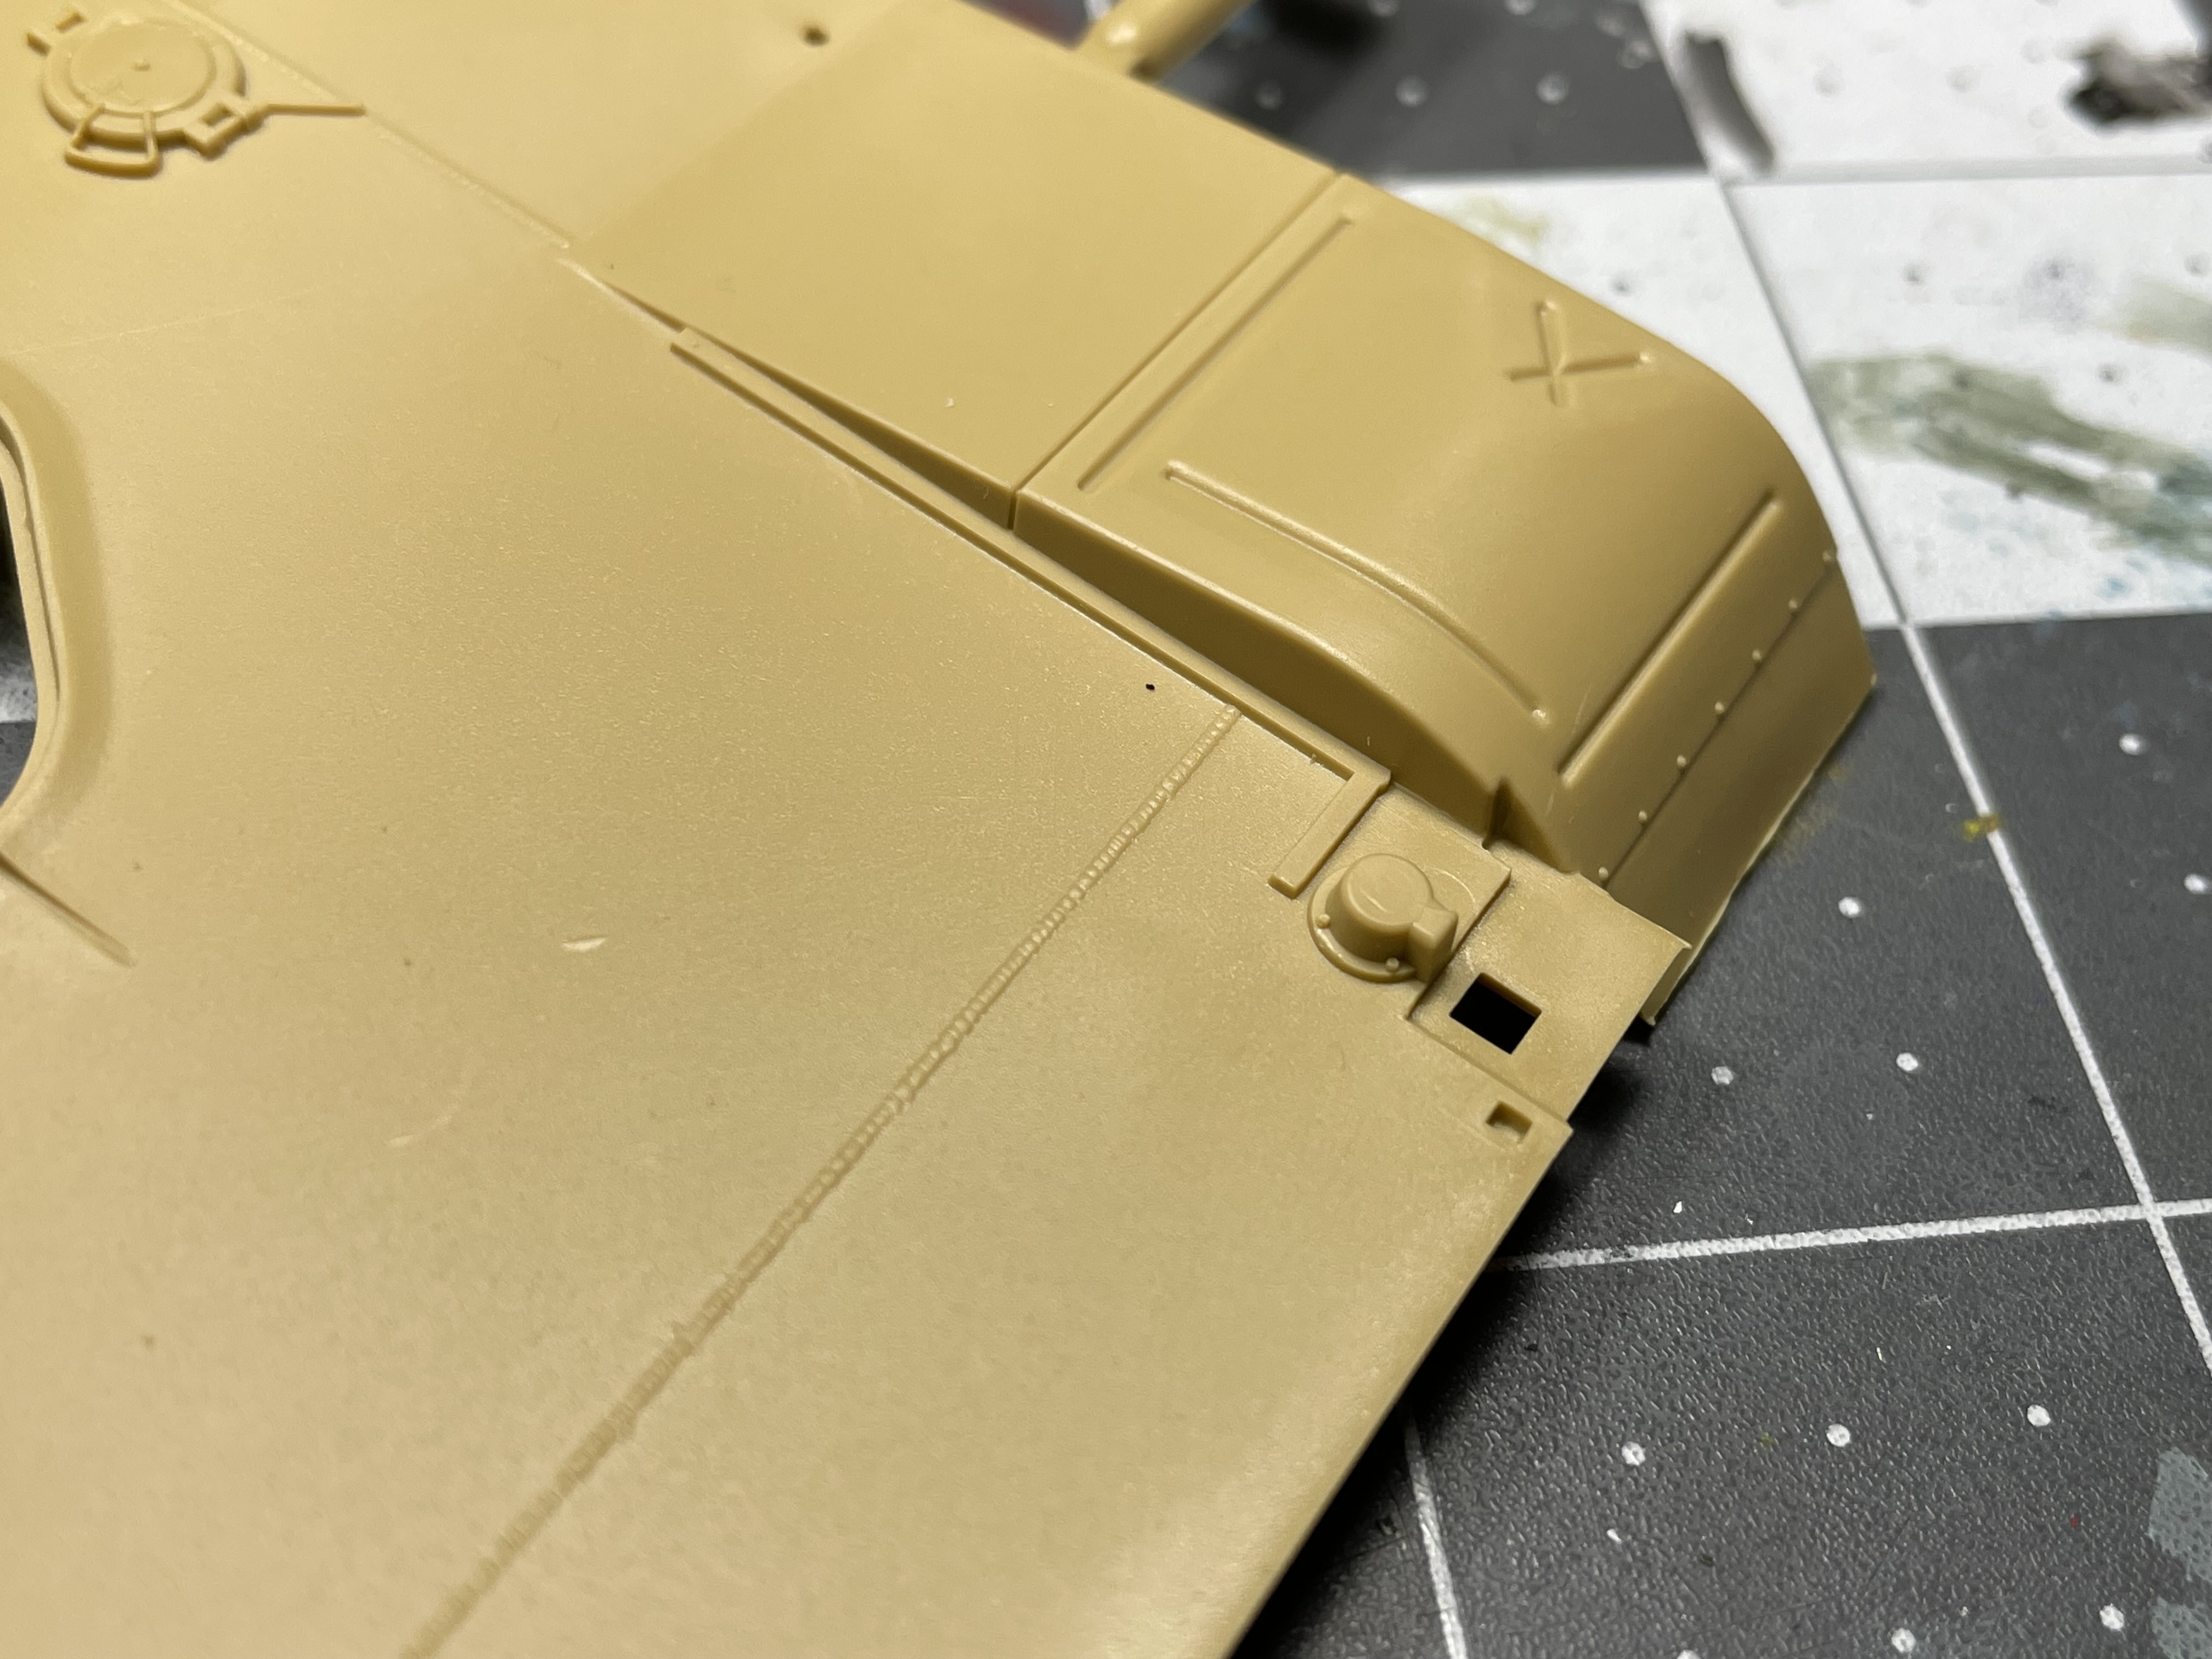
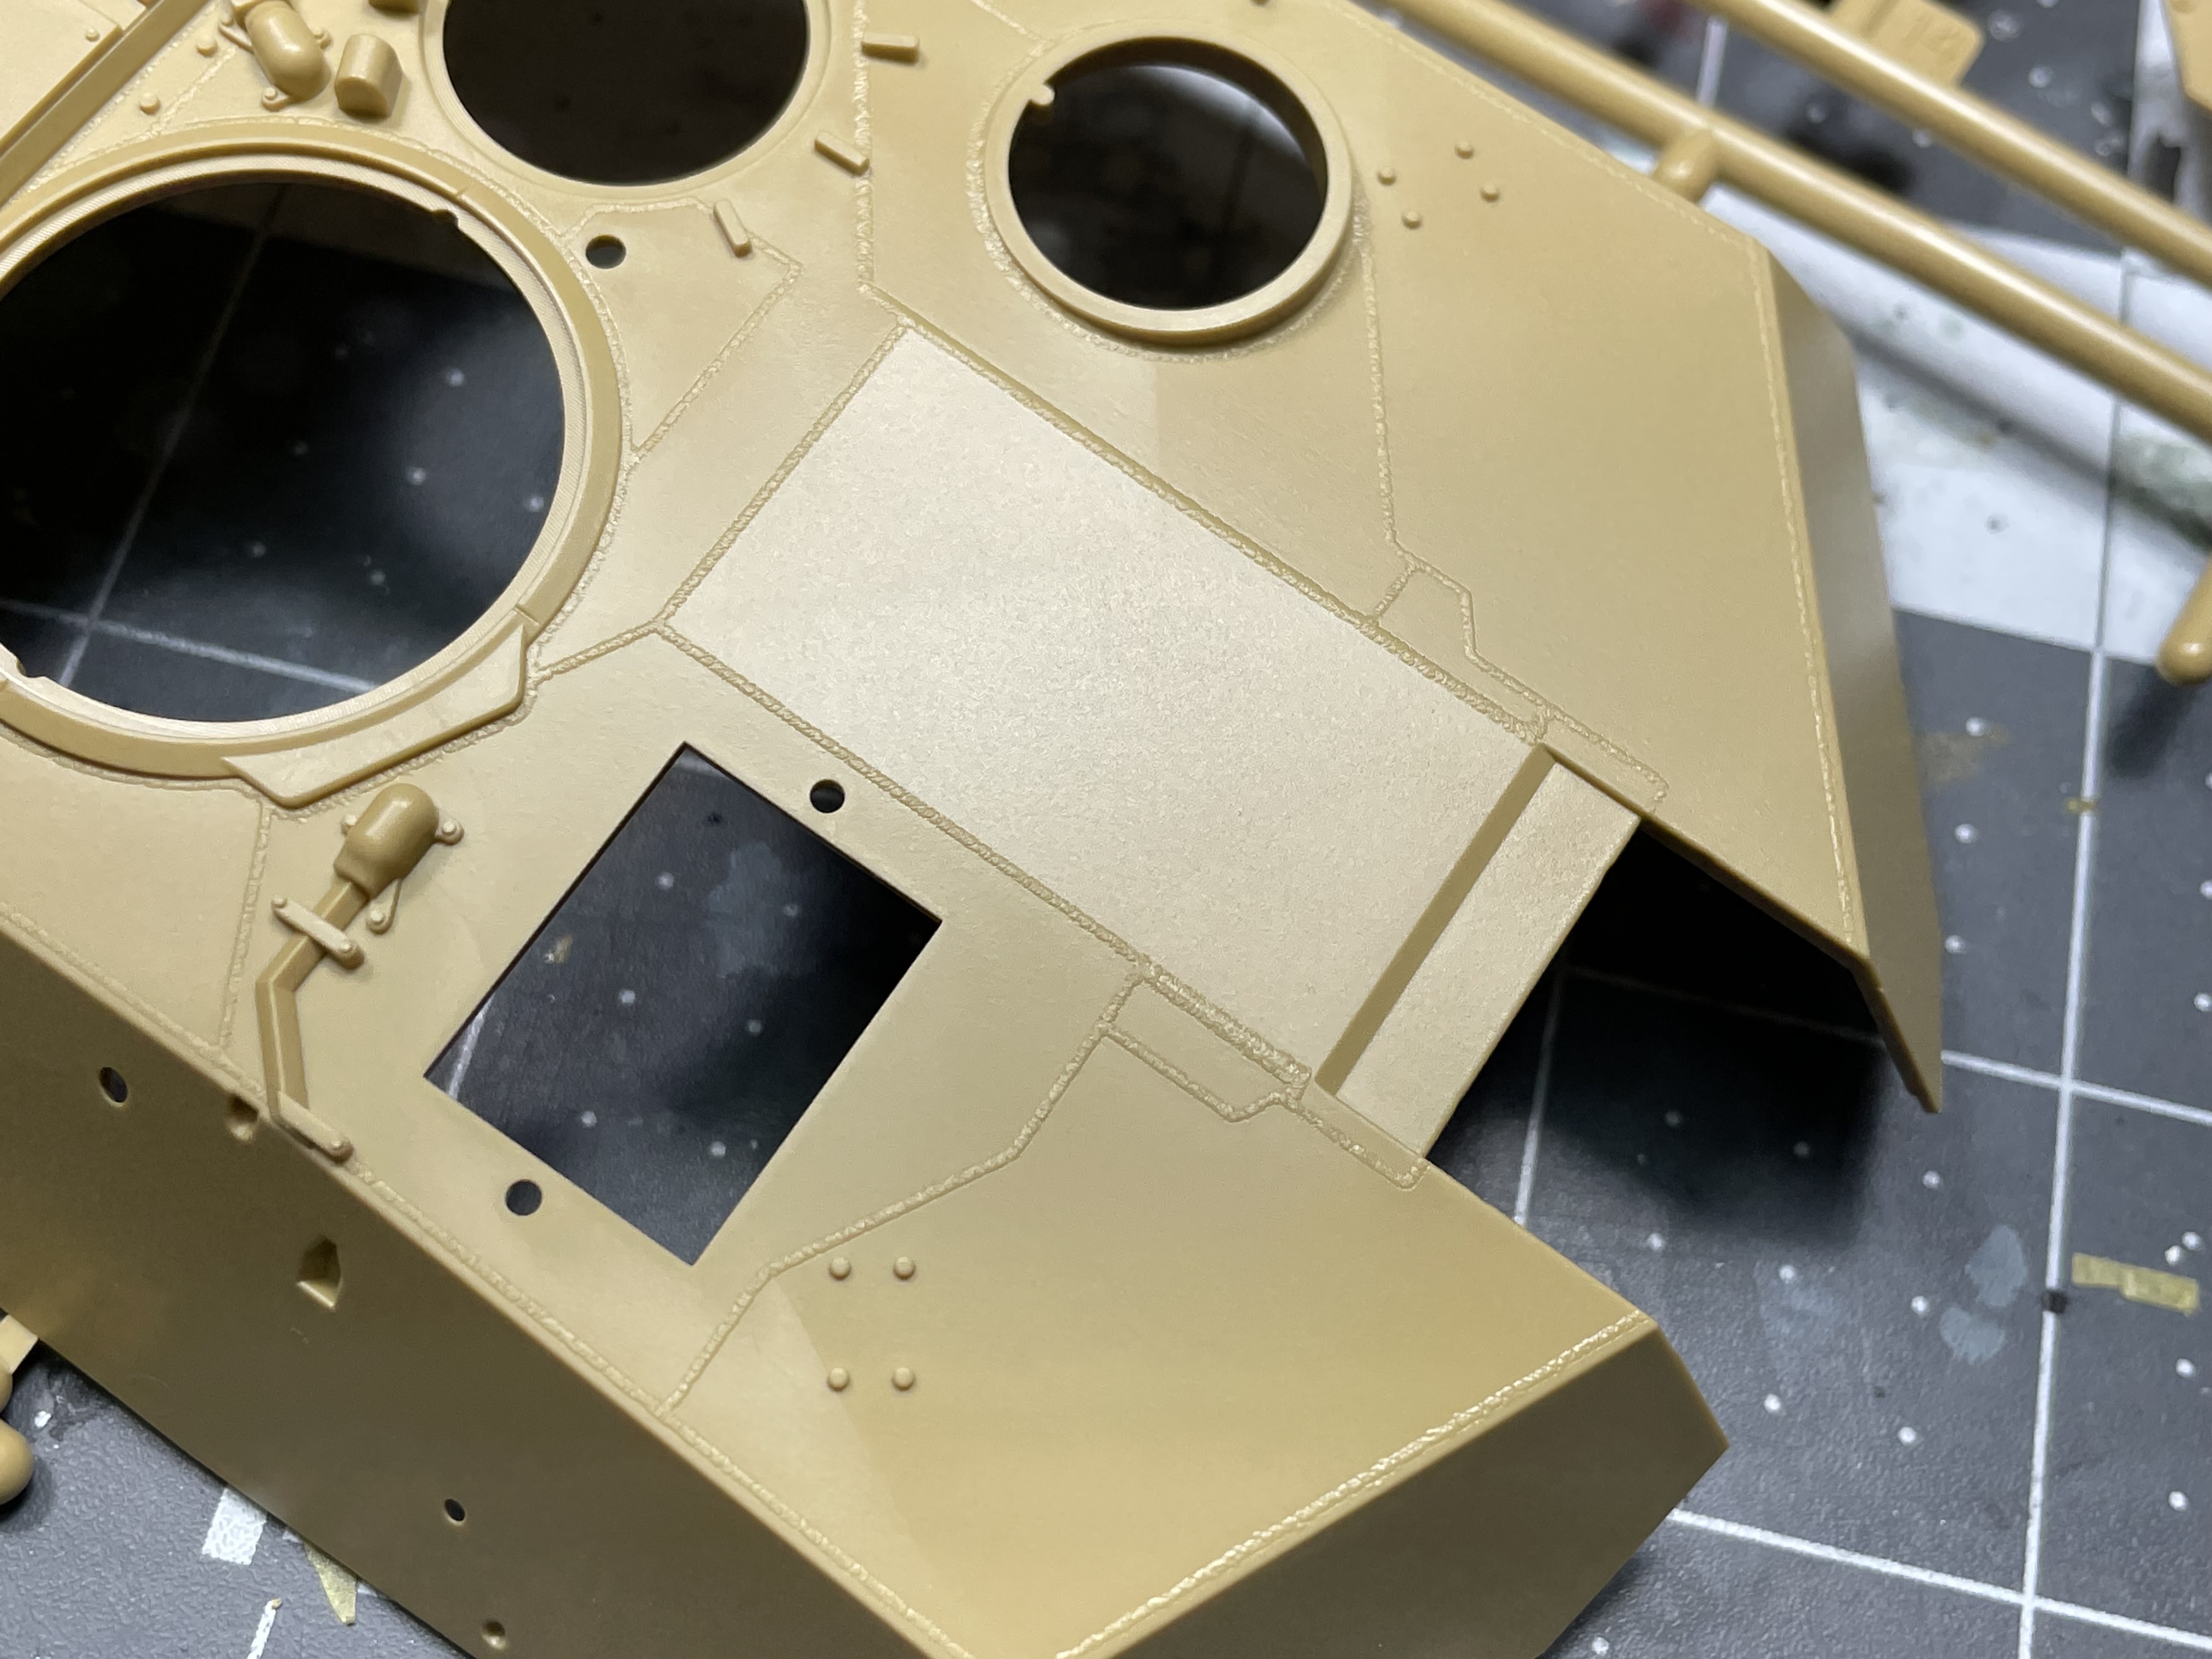
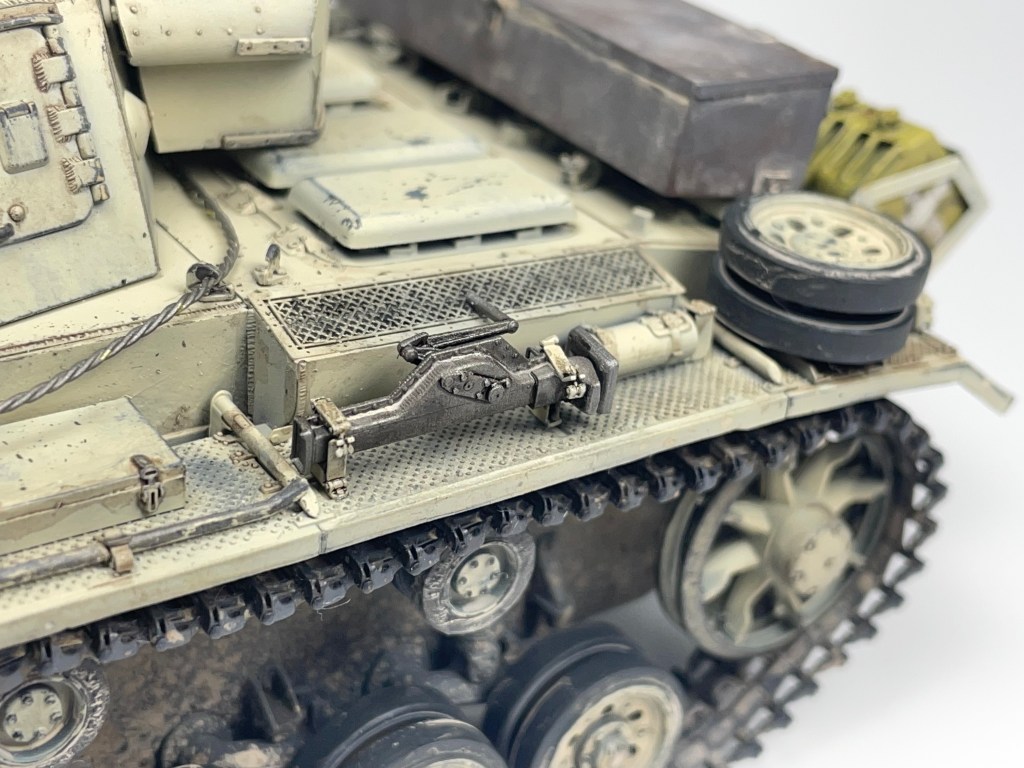
As with the included features, this kit’s molding detail was a surprise. The weld details are of particular note and very finely molded. Again, despite this being an older kit I really don’t feel like I’ll need to go over these with custom welds. In fact I think that this is an advantage this kit has, it’s straightforward and simple to build with detail where it’s needed. This is in contrast to a more modern Abrams kit that, while it may have more detail, will take twice as long to build. The Tamiya Abrams perfectly balances detail and part count as a “baseline” armor model. The grill detail on the engine deck also looks good and with a wash will look fantastic. Also of note are the M2 machine guns that are included (of which there are several) which are superbly detailed for injection molded parts. Overall it is very hard to find flaws in the molding of this kit. One potential issue is that while there is an abundance of weld details, I am not sure if the detail will be deep enough to hold a wash.

Instructions: 12/20

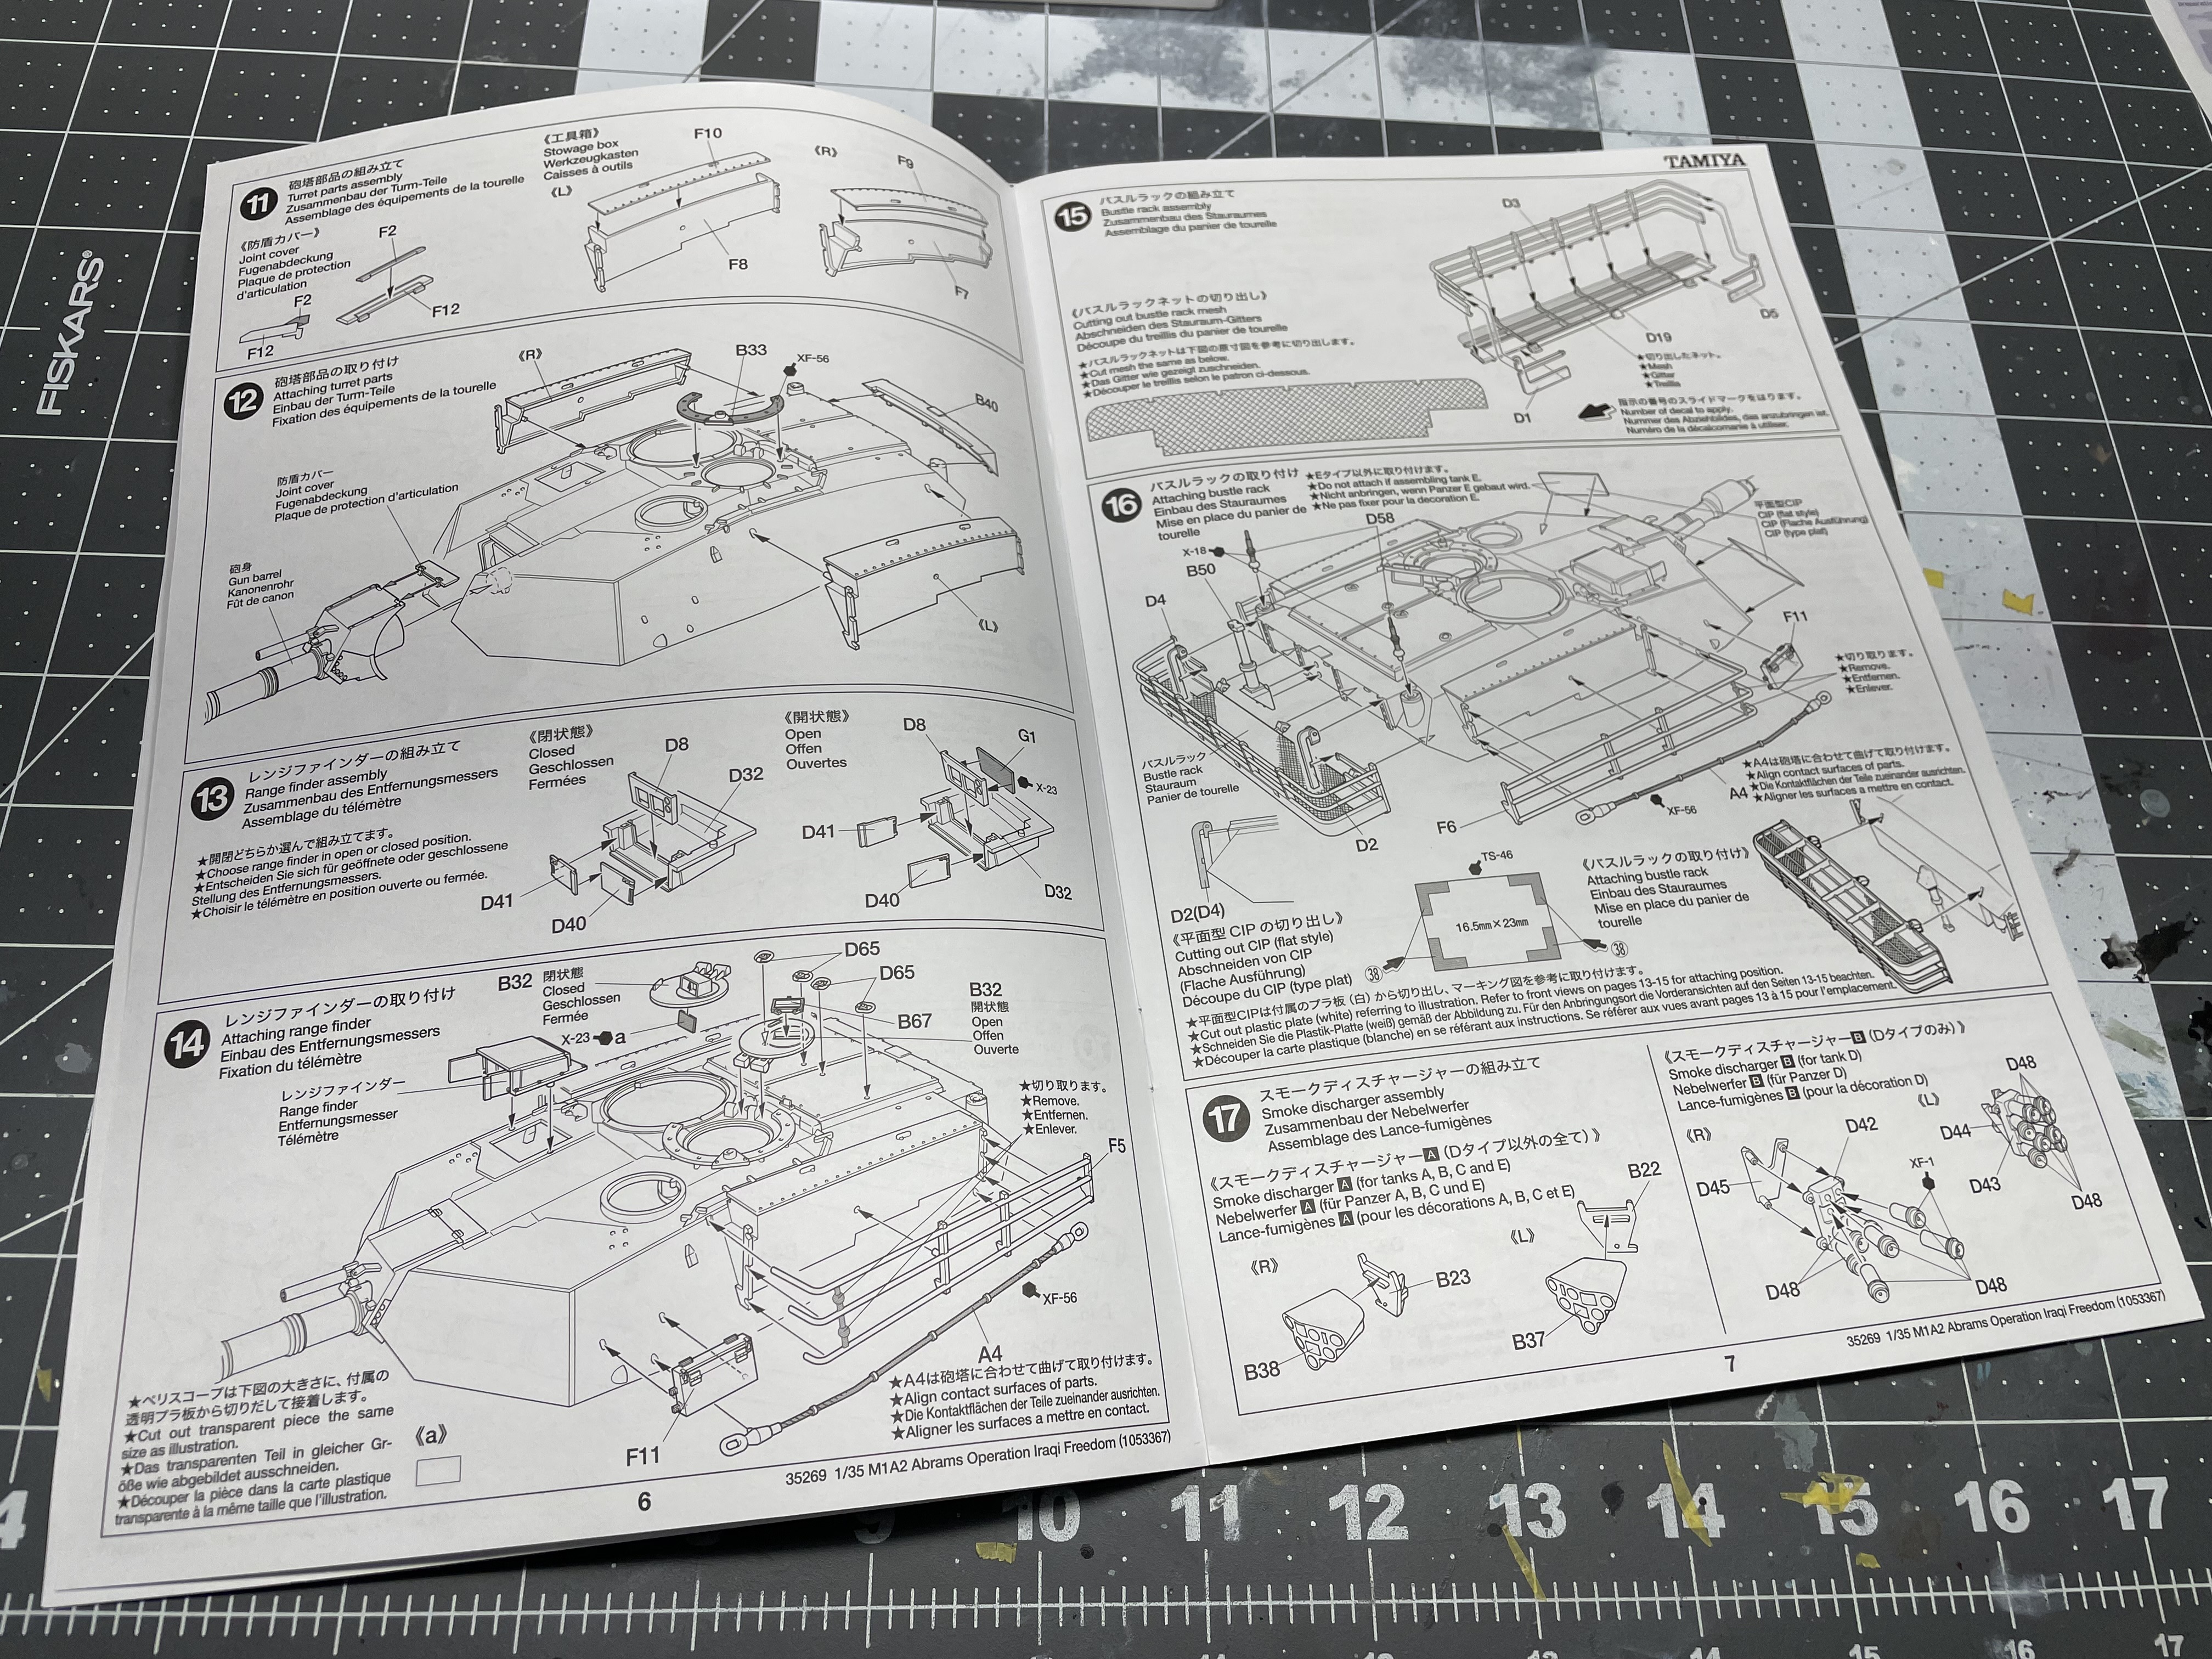
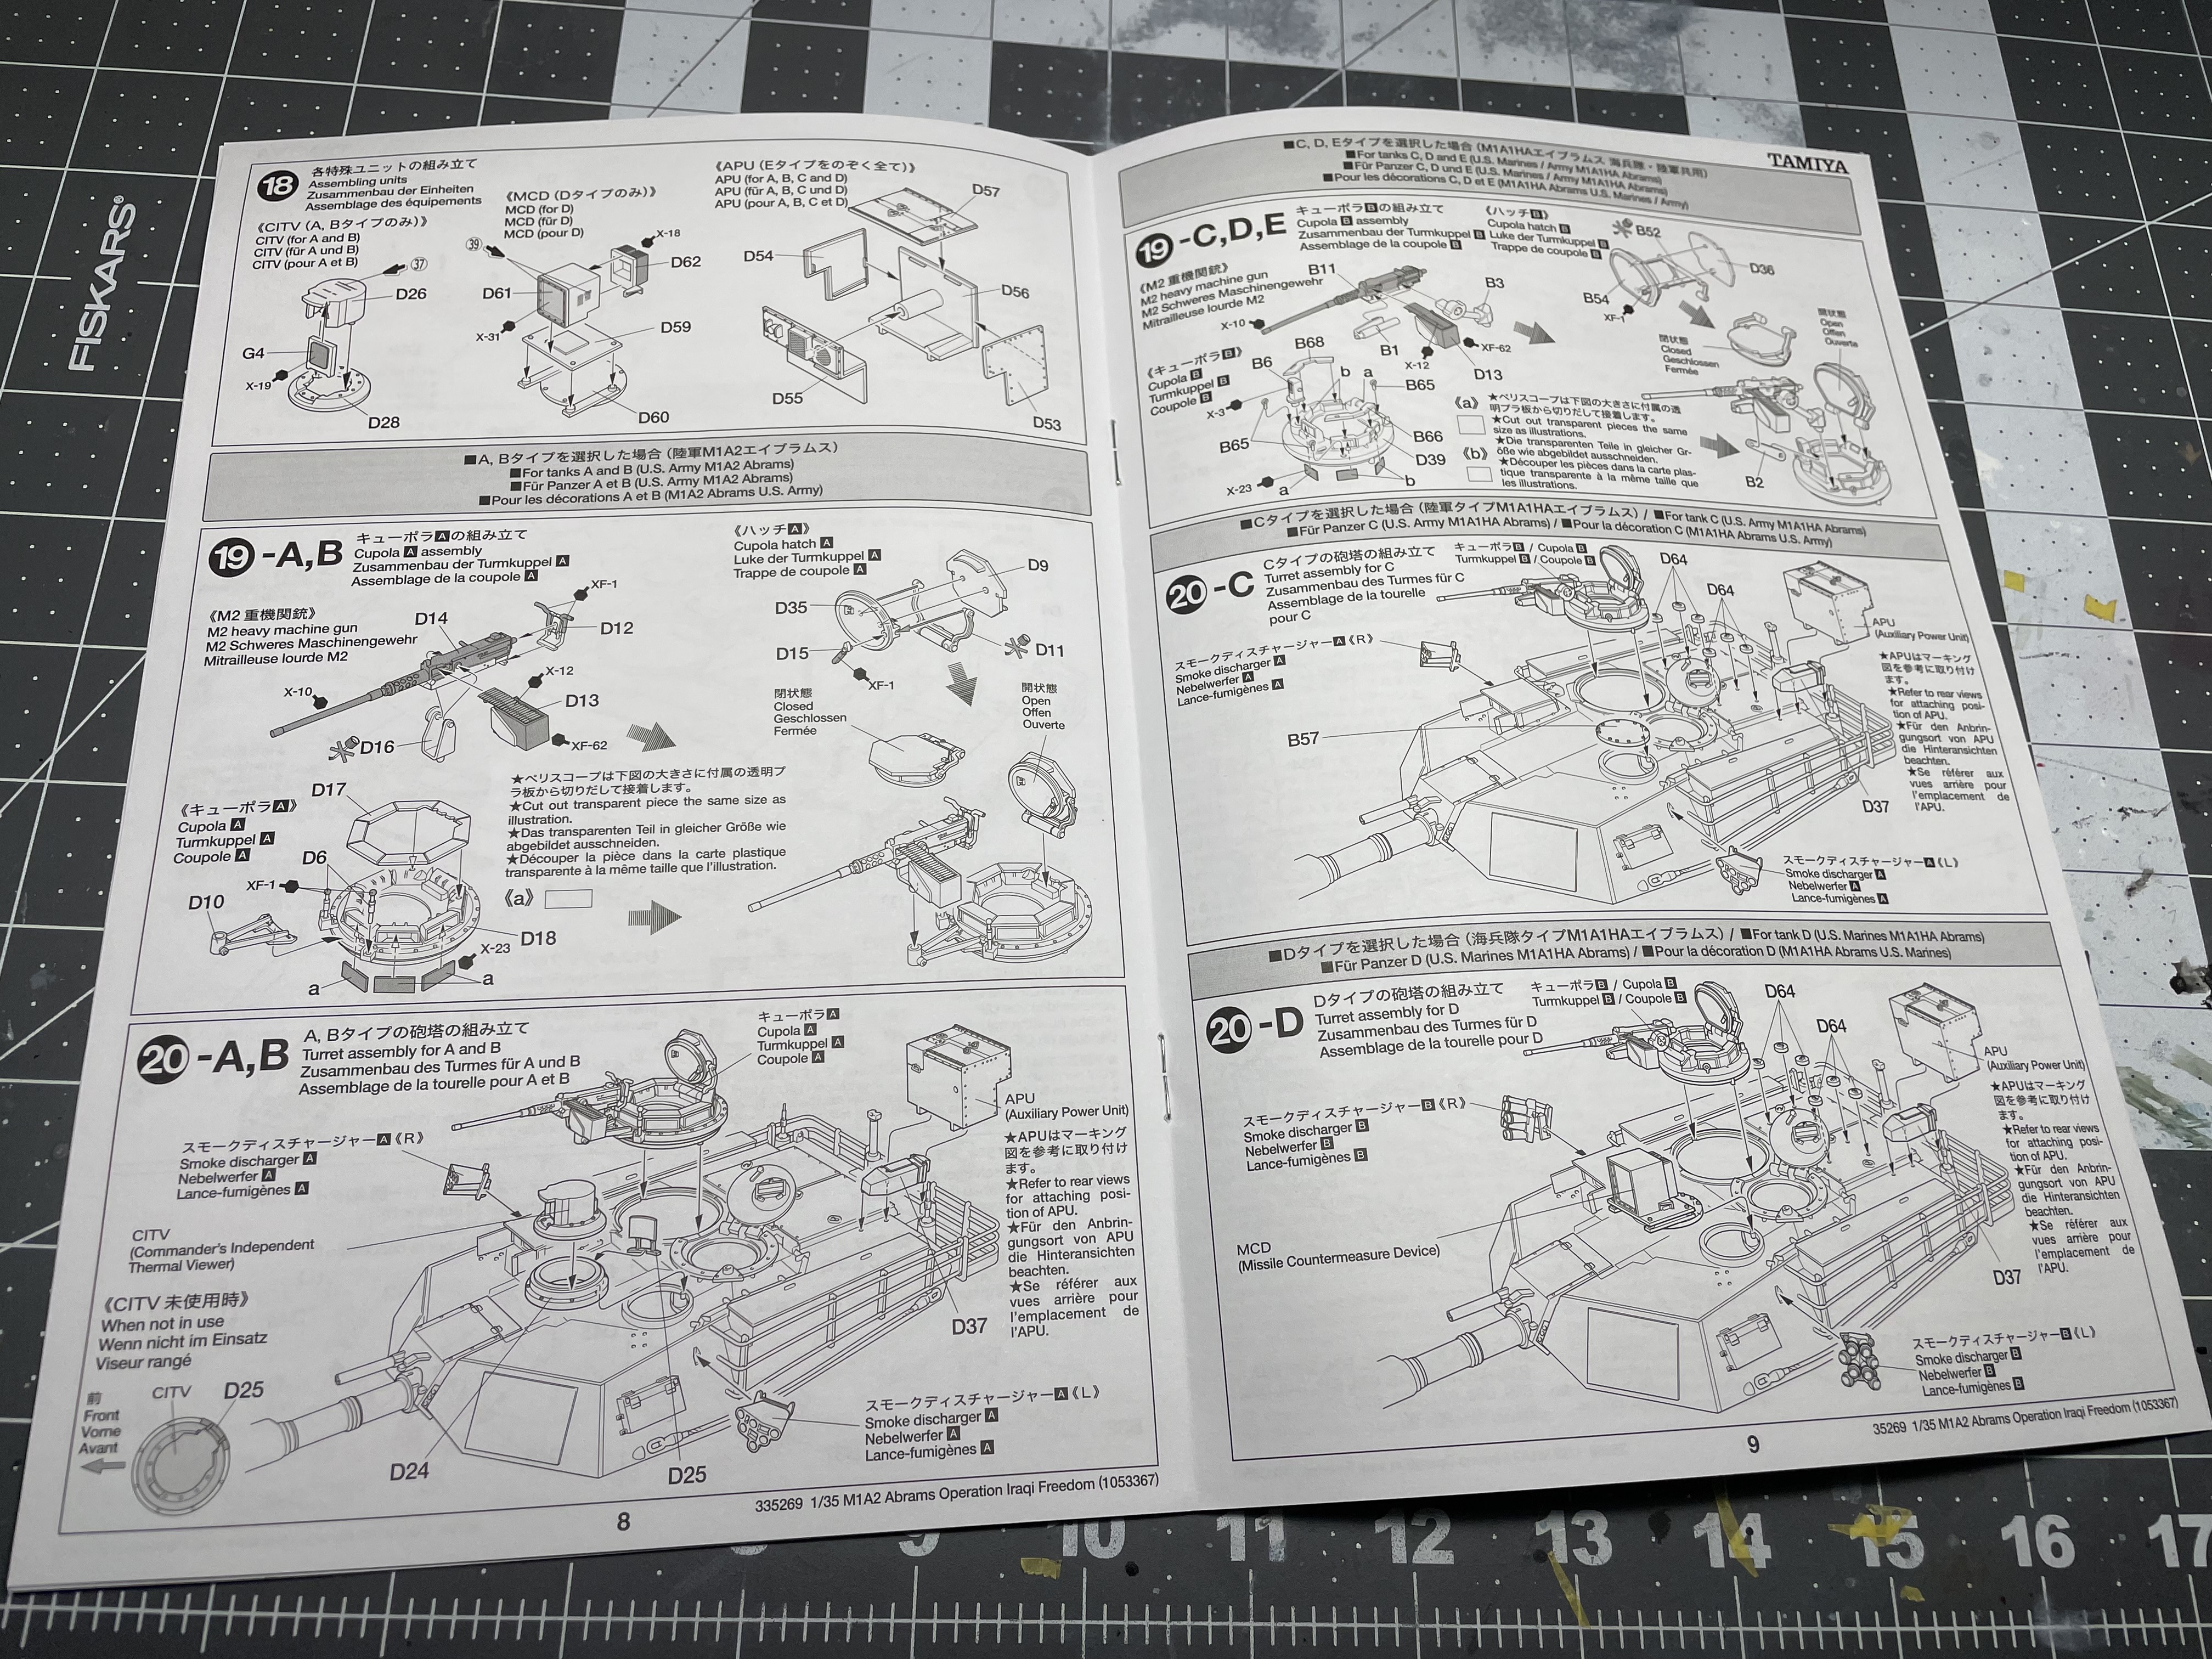
Tamiya’s instructions are as usual perfectly workable. They are deceptively long as on pages 8 and 9 the builder is only meant to follow one of the steps illustrated corresponding to the specific variant they have chosen to build. I actually quite like how much real estate Tamiya gave to the variant specific instructions as typically instructions give little more than “use this part G56 instead of G23 for option B” Tamiya aides the modeller by including full line drawings for each variant. No full colour profiles are included.

Miscellaneous: 8/10

Tamiya included a whopping 5 different markings for this vehicle and went further than just Iraqi Freedom vehicles by also including a KFOR vehicle based in Kosovo. Tamiya kits sometime have a problem where they offer 2-3 different marking options but in reality there’s only one option (see my G-6 review for an example of this). I wouldn’t say there are a lot of options provided but when it comes to the Abrams (I hope you like desert tan or woodland) Tamiya has covered the bases and then some with the Kosovo addition. I’m quite looking forward to building up a dusty woodland schemed Abrams.

Total: 70/100

If there was a kit that could be described as a “Value Stock” I’d be comfortable saying Tamiya’s M1A2 is it. There is not a whole lot to *not* like about this kit. It’s priced pretty reasonably $50-$60 CAD from what I’ve seen and offers a good amount of detail and options for a new to intermediate builder. If you’re looking for a challenge then the Meng or RFM options are well suited to those types of builders. I’d argue that Tamiya’s Abrams is even better positioned on the market, capturing both beginners and a portion of the intermediate skill level builders as well as people who want a build a Abrams, but not spend more than two months with it on the bench.

Categories
1:35 Armor

RFM Pz.III Ausf. J

Want to see my review of this kit? Click here: nomadmodels.wordpress.com/2021/04/04/rfm-panzer-iii-ausf-j-in-box-review/

Returning to armour, this past summer I completed RFM’s excellent Pz.III Ausf J in a North African Scheme. I had been meaning to do a DAK scheme for a while now as I find it’s a very interesting look and difficult to pull off effectively. Construction started smoothly and I had the pleasure of using quite a few accessories for the built that I’ve collected over time. As is normally the case, construction started with the lower hull and then moved on to the fenders. I used Eduard PRINT tools and ROCHM jacks for the first time and was very pleased with how they came together.

Construction progressed very smoothly after that, with the minor exception of how the fenders interacted with the top part of the hull.

RFM has you attach the fenders separately from the lower hull and then attach the upper hull on top of the fenders. This was fiddly to complete and the only downside of the kit worth mentioning. I added Accessories from Panzer Art, DEF Model and RFM’s own set for detailing the model.

Of particular note are the tracks by T-Rex. They are by far and away the best tracks I’ve worked with. They are very well detailed and extremely easy to put together. If T-Rex offers a set for a subject I’m building, I’m using them from now own.

Painting came next, I attempted to mottle my chosen colour for the kit over a panzer grey base but found that it didn’t work quite right IMO. I used an unconventional colour, Sail (for ships) by Mr. Color’s aqueous line. I wanted a very faded colour and not something that just looked like lighter dunkelgelb. In this regard I think it did go a bit too far and for my next DAK subject I’ll darken it ever so slightly I think.

For weathering the standard dark brown oil wash was used. For chipping I took a slightly new approach, and used the technique shown in the book “Tank Art 1” (which is fantastic btw). While I thought my attempts at chipping using lacquer thinner (which tends to melt the paint instead of chipping it) were passable, I do feel like I need more practice in this area. I also used various streaking effects and pigments on the lower surfaces to really sell the fact that this was a desert vehicle and was exposed to harsh elements.

All in all this build took a little over a month to complete and I quite like how my first DAK vehicle came out! This won’t be the last I complete.

Categories
1:35 Armor In Box Reviews

RFM Panzer III Ausf. J In Box Review

Want to see my build of this kit? Click here: https://nomadmodels.wordpress.com/2023/10/03/rfm-pz-iii-ausf-j/

One of my first ever “mainstream” kits I’ve built was Tamiya’s Panzer III Ausf. L. Ever since then, I’ve been a huge sucker for the tank. In my opinion the Panzer III was the most over looked tank of the second world war and as such, it’s got a soft spot in my heart. Funnily enough, I didn’t intend to pick this kit up. I originally wanted to give Tamiya’s new Marder III a go, however it wasn’t in stock at my LHS. Bought for $70 CAD, This kit is a little steep price wise for what you’re getting. The Pz. III isn’t a huge tank and I was pretty surprised by how few sprues there were in the box. Anyway, let’s get into it, here’s my inbox review for Rye Field Model’s Panzer III Ausf. J.

Kit Features: 16/20

The kit certainly isn’t lacking for specialty features. It includes individual length tracks, a generous amount of photo etch, and a few other goodies. One thing I was particularly happy to see was the ability to open and close lots of different hatches. RFM also gives the builder the option of a workable suspension if they desire, a increasingly common addition to kits these days. The “Figures” included in the kit are interesting to say the least, essentially just geometric shapes, they are only useful as a nice novelty and not something most builders would want to include in their build. The figures are a bit of a catch-22, odds are if you’re the kind of builder who stages figures in your model, you do it because you want some additional realism/life into the scene. The problem is that they are inherently unrealistic and don’t fit well in the build. If anything you can use them as painting dummies in the future to practice your figure painting skills. Besides that though, the kit really provides you with some nice accessories to play with. Of particular note are the tracks, which, don’t have any injector pin marks and will require little cleanup.

Quality of Molding: 45/50

The molding of the kit is definitely the best part of this build, the details are crisp and it’s obvious RFM put a lot of effort into this area. Small details are well defined and clearly visible. Of particular note are the weld seams molded into the plastic. In my opinion these are some of the best injection molded seams found today. Another specific area of note is the detail found in the running gear. The “Continental” branding on the tire can clearly be made out, furthermore, patches of weld beads can be seen on the inside of the wheels. With typical kits, the bottom of the tank will often consist of a “tub” that the suspension can be attached to before closing the top. In this kit however RFM has opted to split up this construction method, allowing for greater detail in individual pieces. Seeing as this is a 2020 release, this kind of detail is expected and the kit absolutely delivers. Points are only lost due to the absence of any texture in the molding.

Instructions: 19/20

I was pretty happy with the instructions upon my first impression. Printed on a large booklet they feature 3d colour CAD illustrations of various build processes to aid with part placement. The instructions also indicate where on parts glue should be applied, this is particularly helpful with the track construction. The only issue I think may be a problem is that they seem quite busy. They may be hard to follow for some builders.

Miscellaneous: 8/10

The kit gives the modeller a pretty wide selection of markings to choose from, all of which fit pretty neatly on a small sheet of decals. While these specific options aren’t my cup of tea, I have to say RFM did a good job providing options. The only issue I have with the markings is that they don’t indicate unit or location on the color plates. For $70 this is a pretty healthy kit feature wise.

Total: 88/100

There’s no other way to say it, this is a really capable kit at a reasonable price. This kit is leaps and bounds better than the other J variants on the market. I have no doubt it’ll build up to be a good looking Panzer III. It comes with a good helping of accessories and is loaded with detail. Definitely try to pick this one up.