Out of all the random vehicles I’ve been meaning to build, a Sd.Kfz.251/22 or “Pakwagen” has been randomly near the top of my list for a while now. I’m not really sure why, it looks well proportioned I guess and was one of the more useful late war vehicles the Germans came up with. This is the first AFV Club kit I’ve picked up and got it for $70 CAD. Let’s see how it shapes up!
Kit Features: 18/20


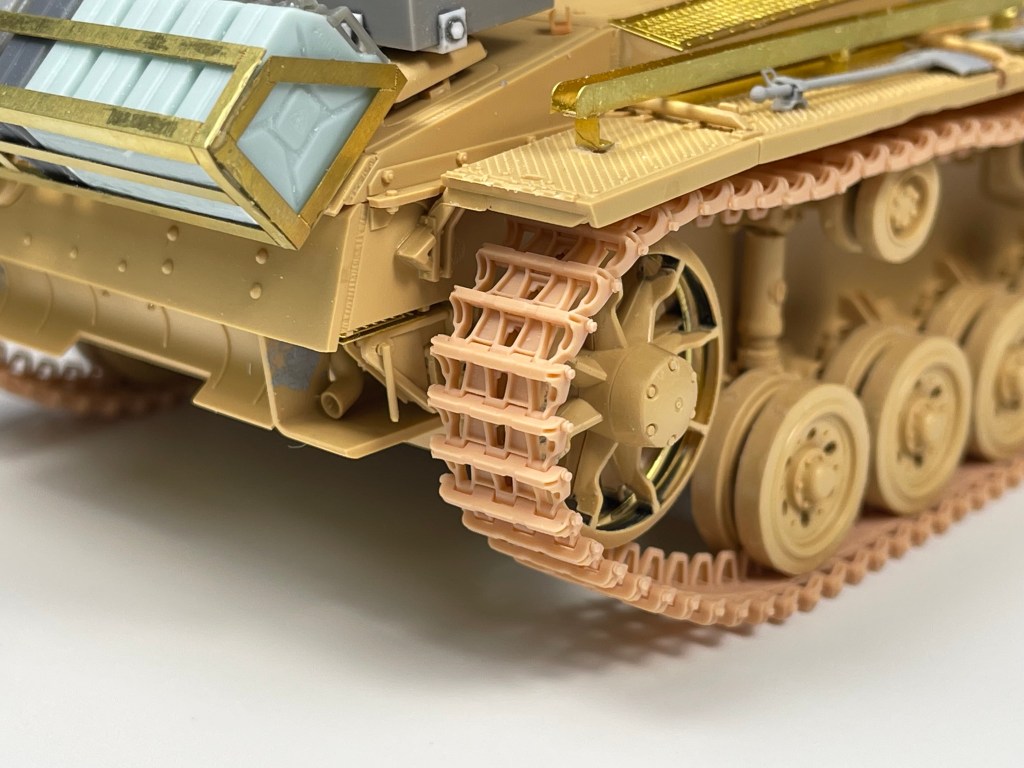
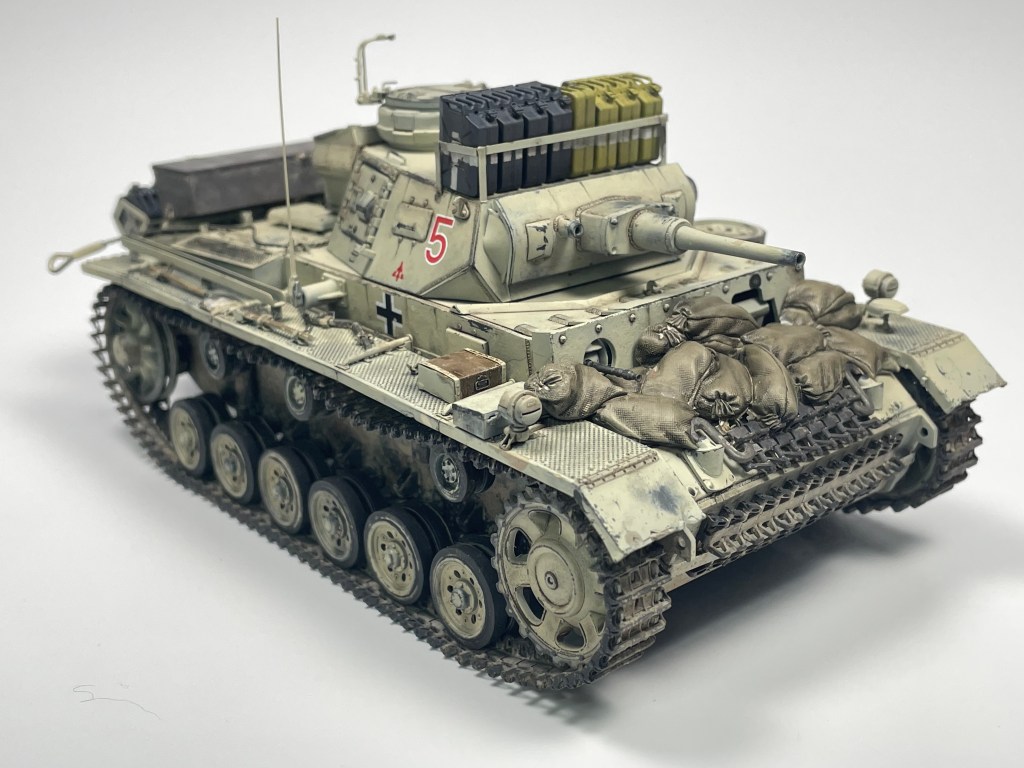
AFV Club kits have a reputation for being detailed and this one includes a lot for the builder. Included is a small fret of photo-etch, a brass gun shield and a metal barrel as well. Also included is a generous amount of small arms (4x Kar98K, MG34, MG42 and a MP40) along with personal equipment that would have been owned by the vehicle’s crew. Rubber tracks are included but I will say that these tracks are the best rubber tracks I’ve seen and very well detailed. I also like that it includes the vehicle tools molded *without* clamps, a very welcome addition. Only points missed out on is the absence of any kind of figures but otherwise This kit is off to a good start.
Quality of Molding: 41/50
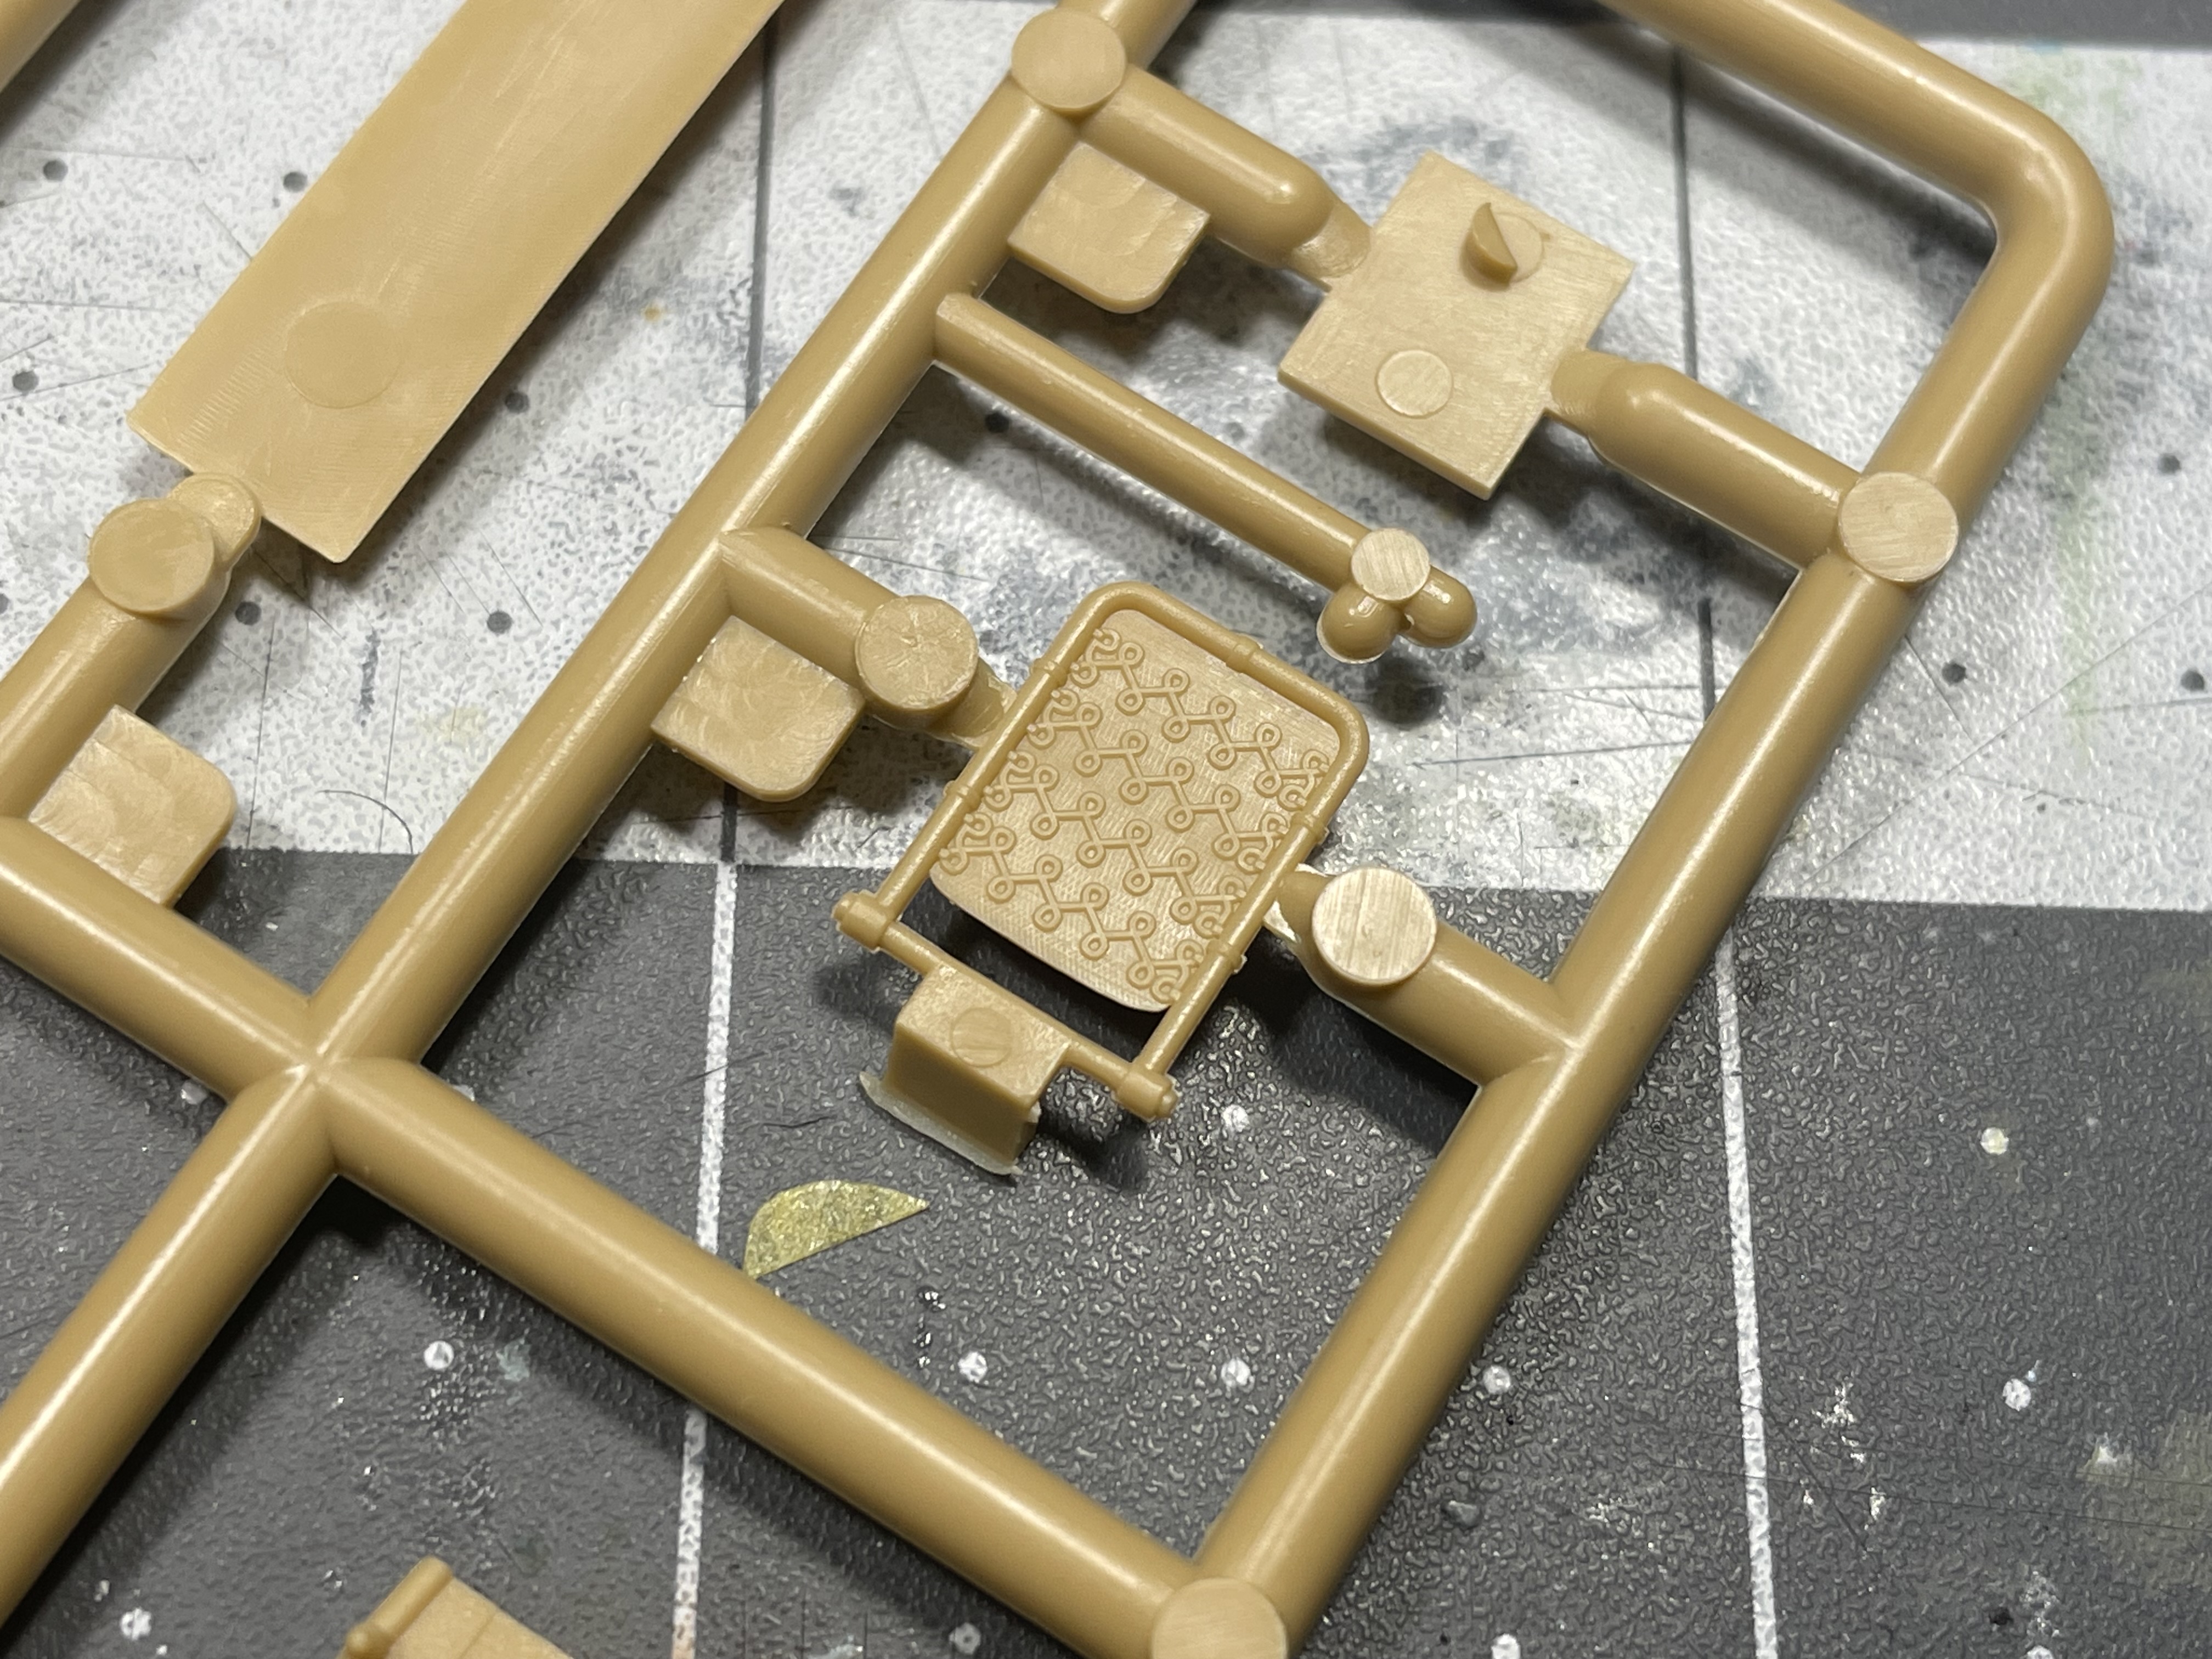


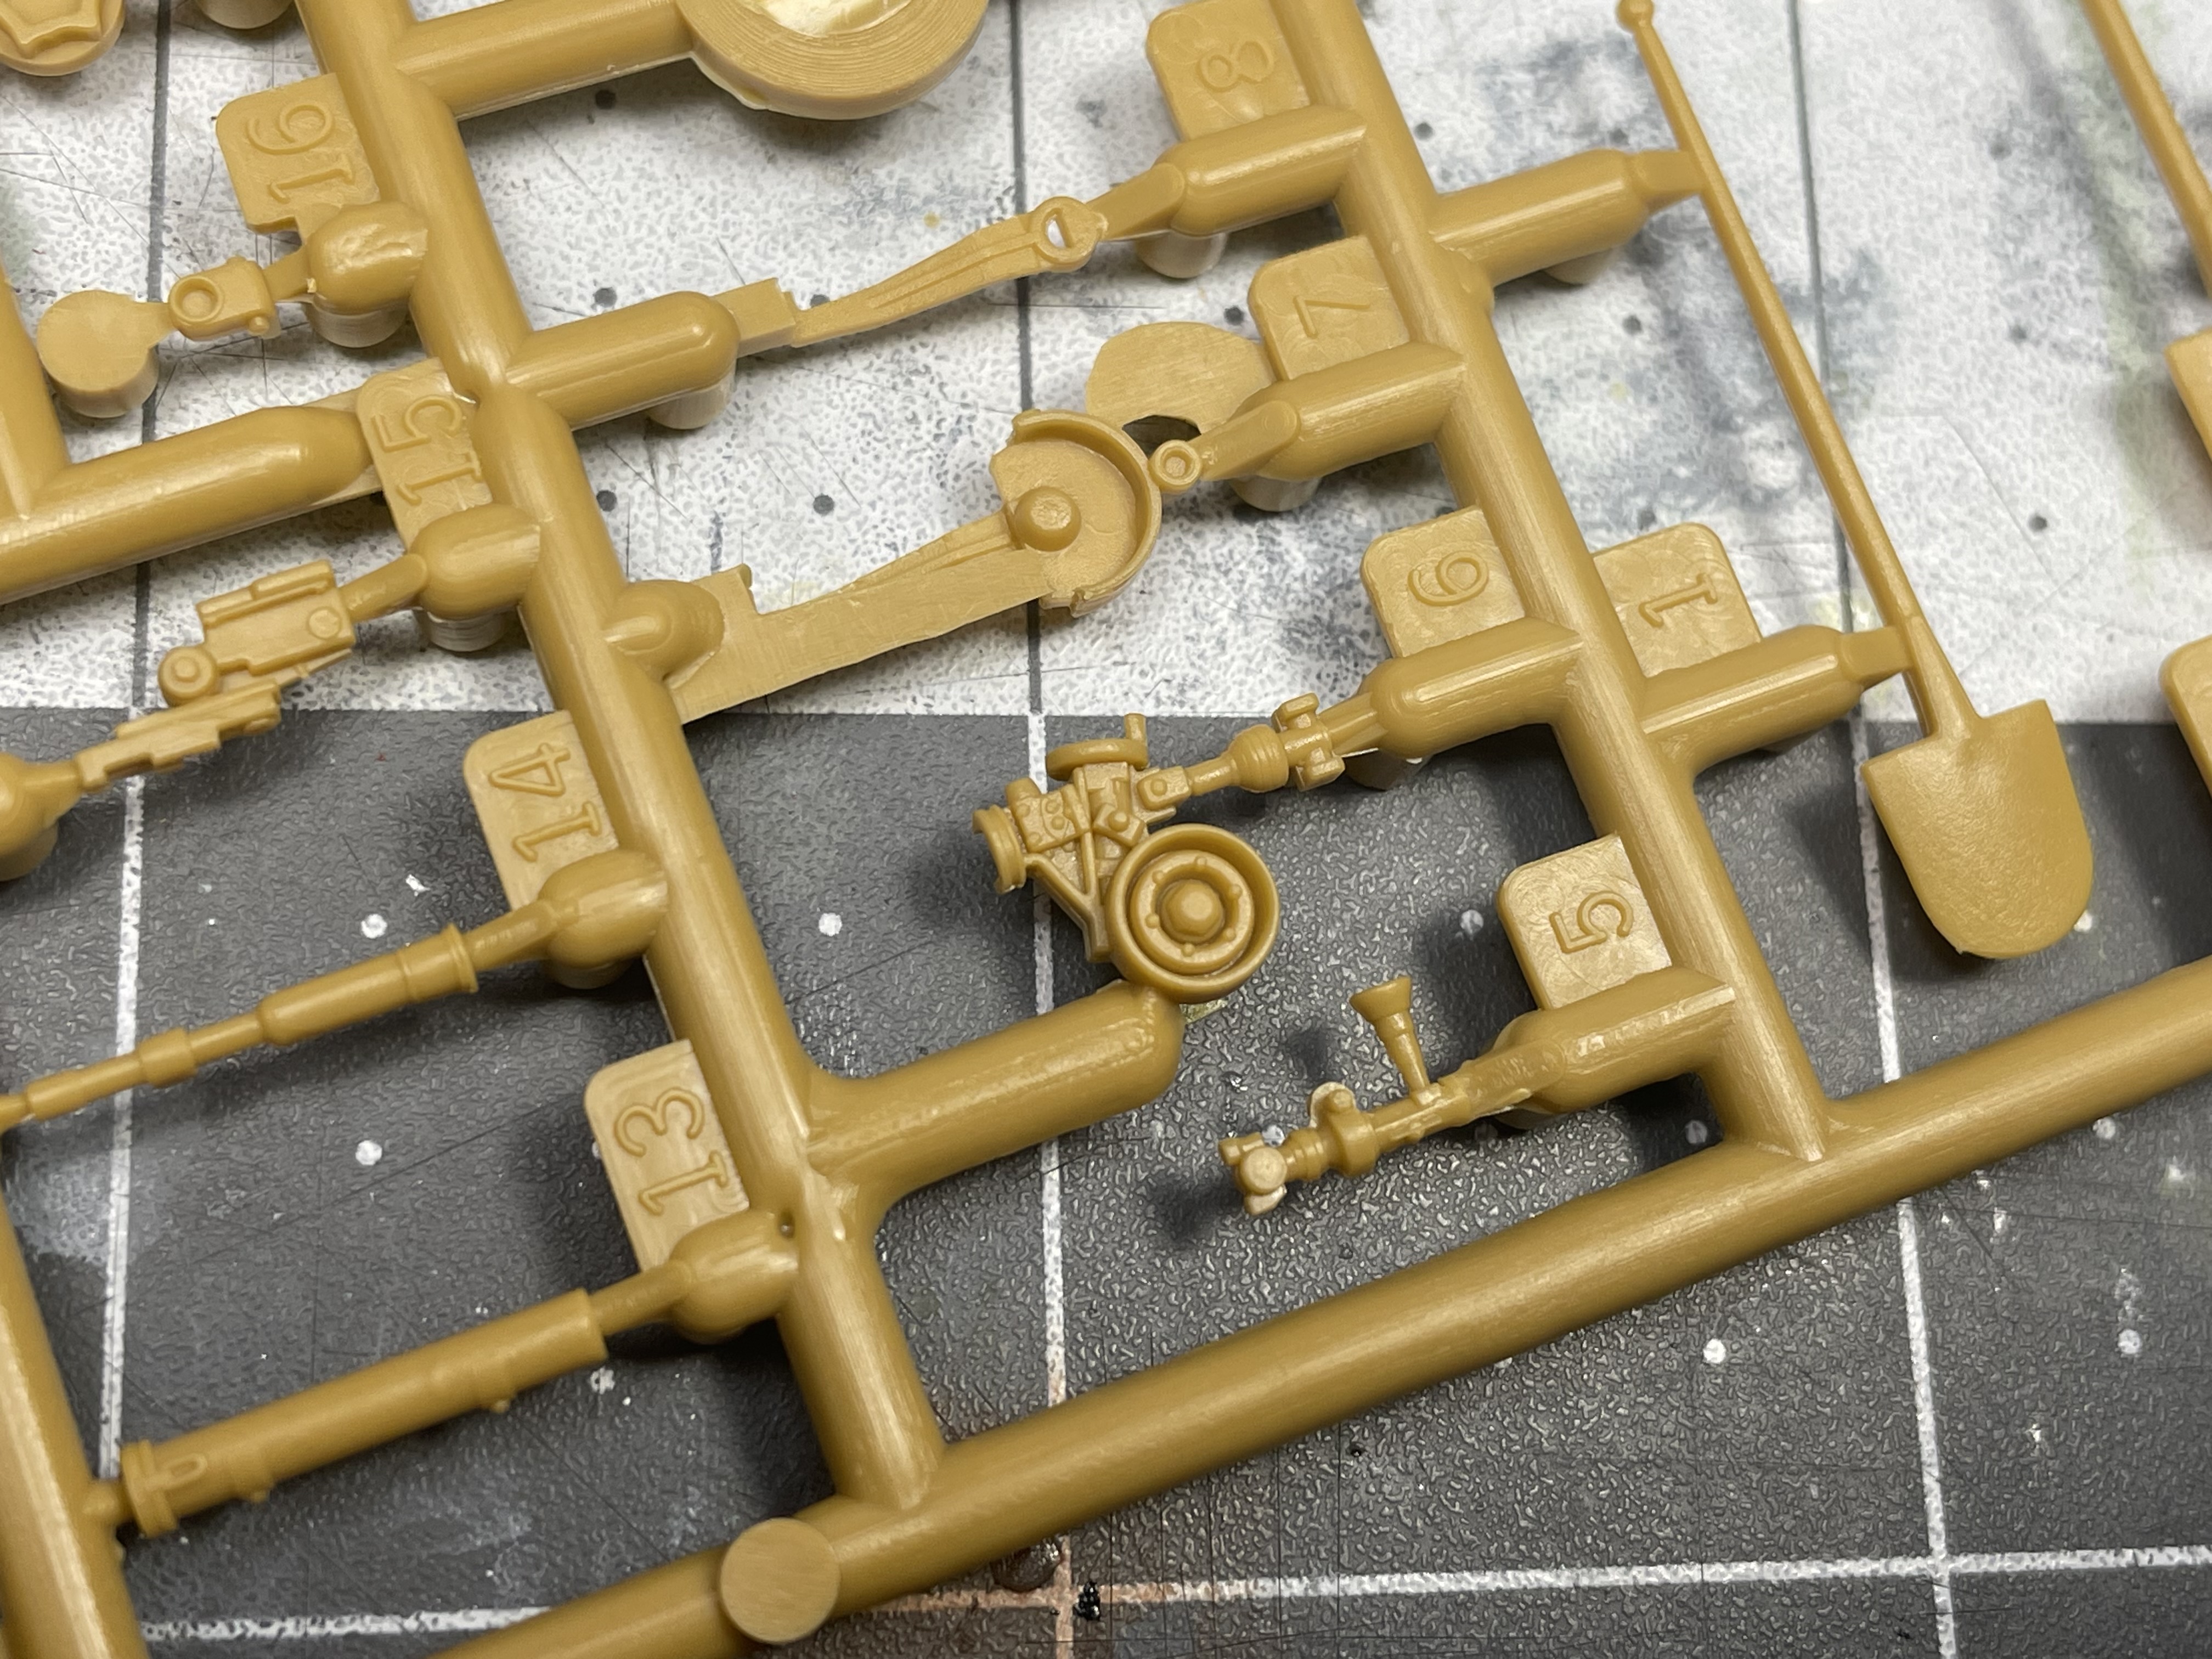


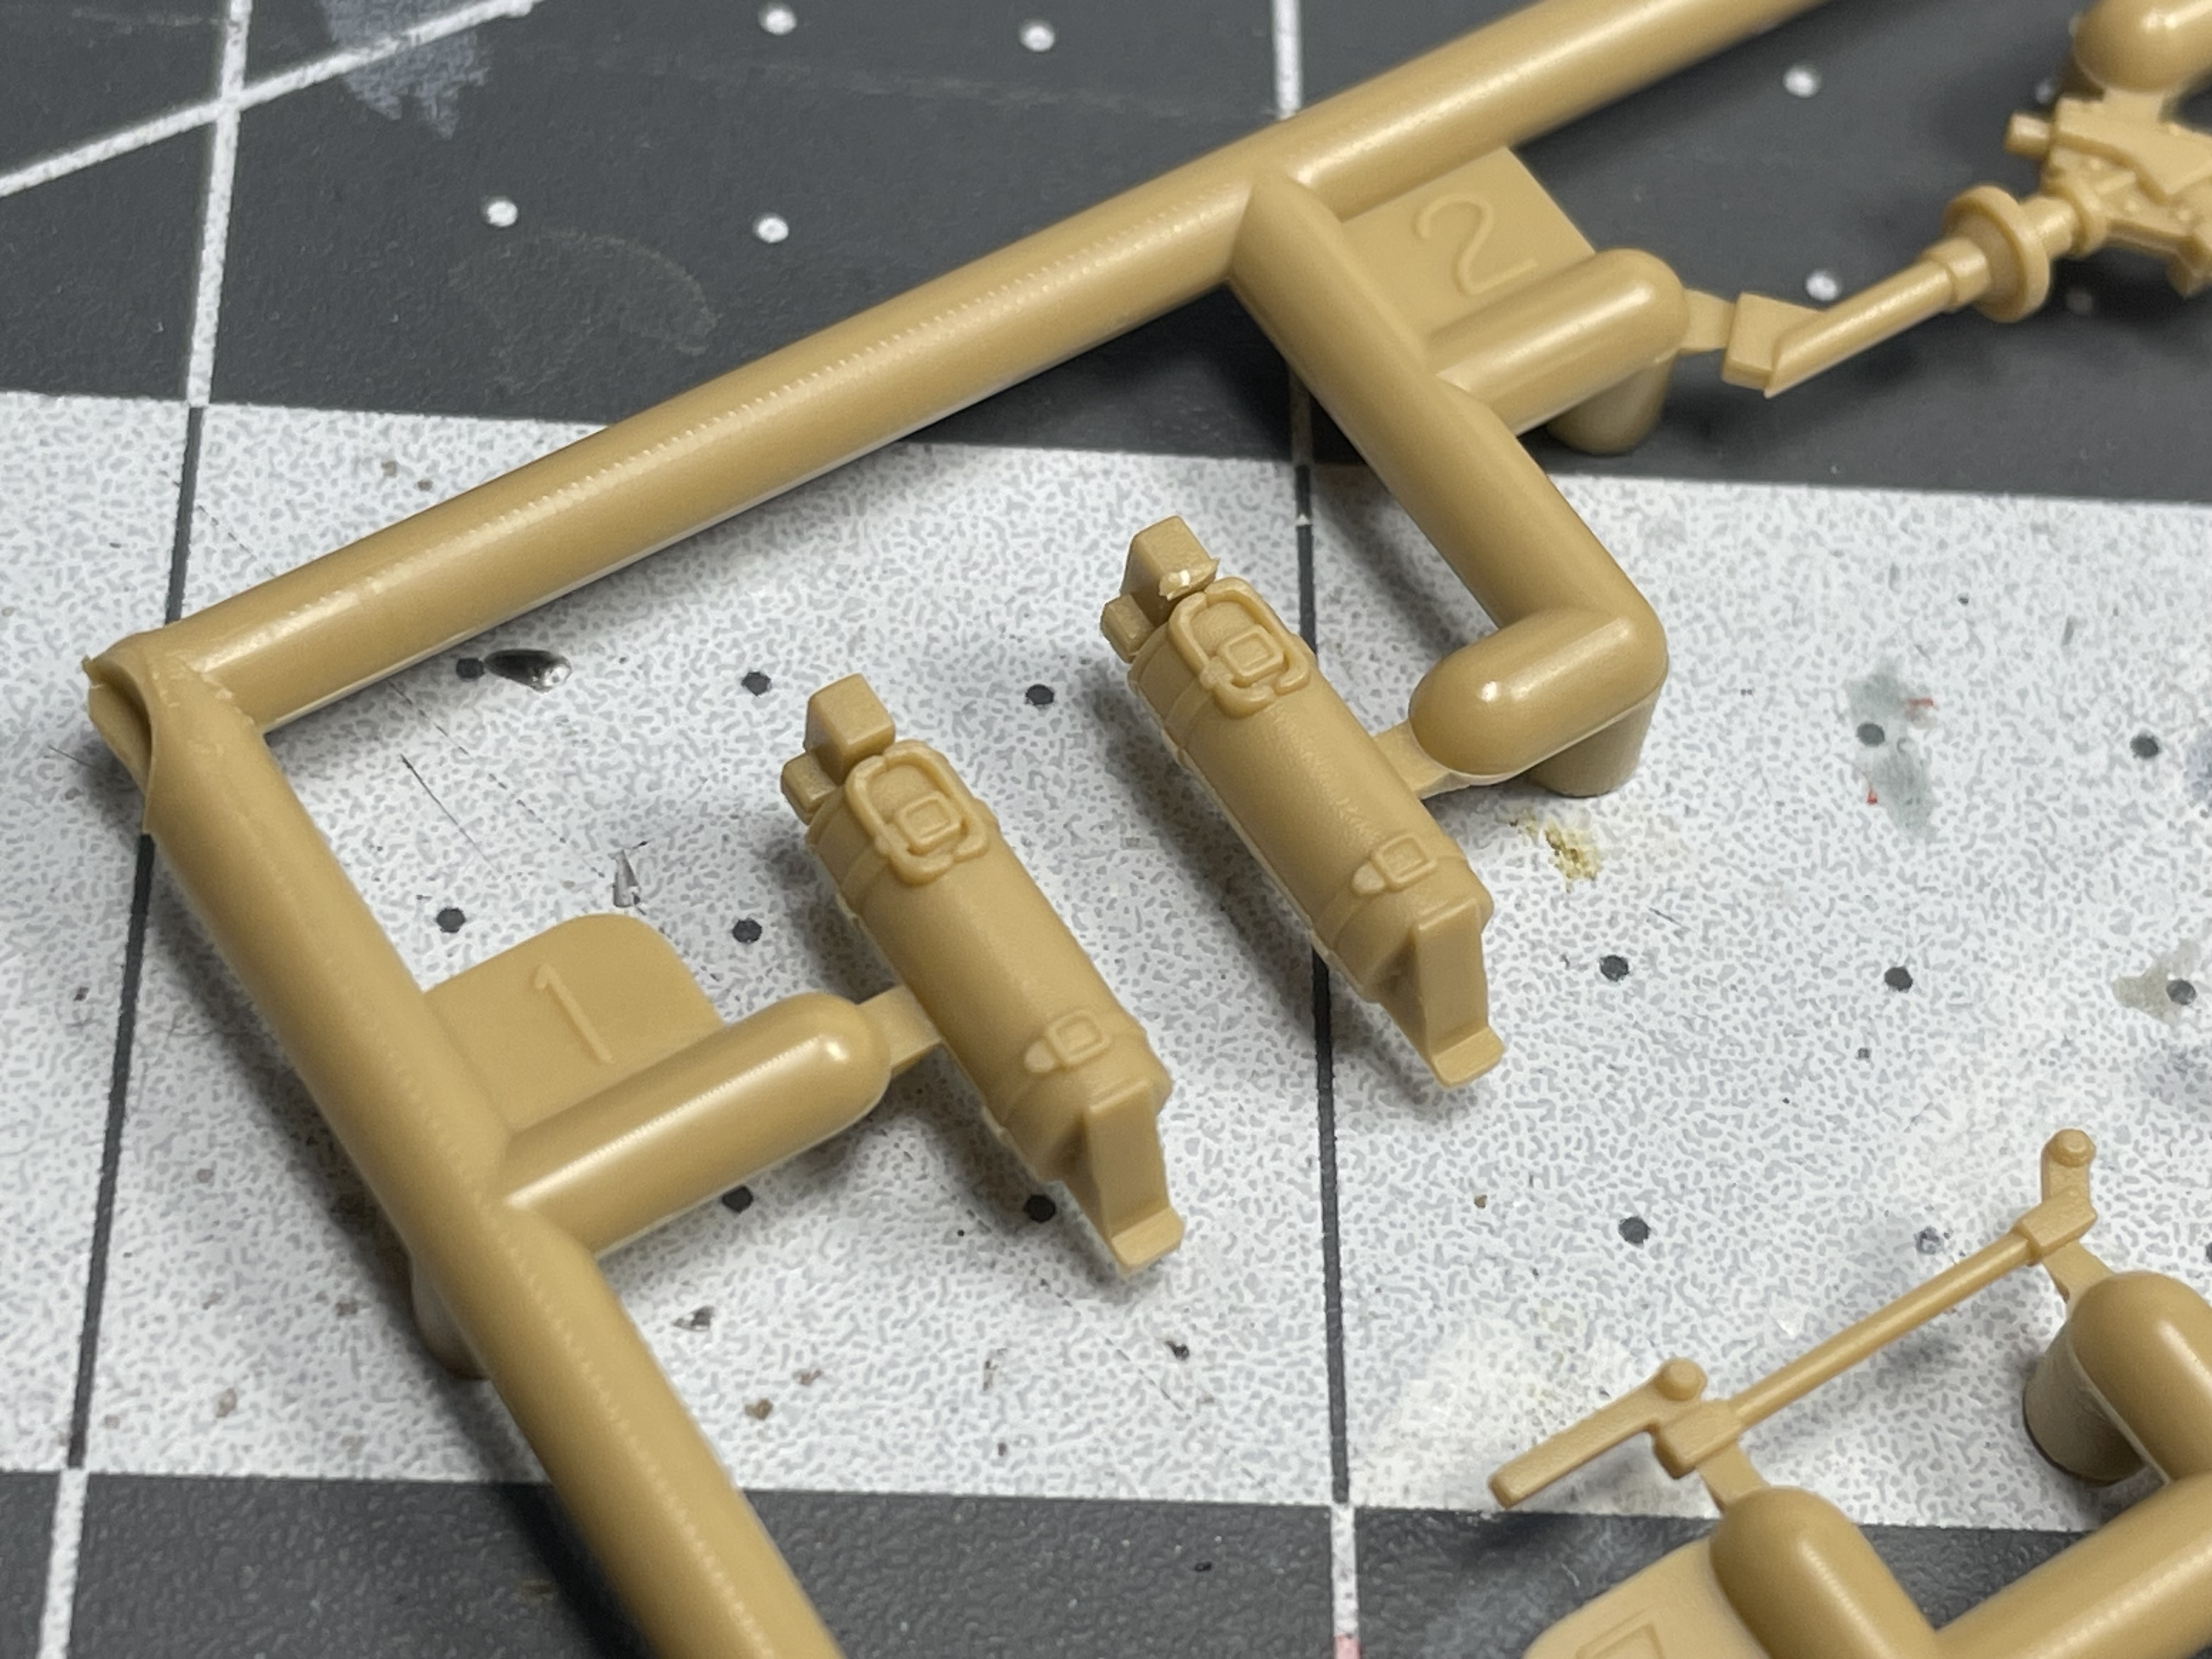


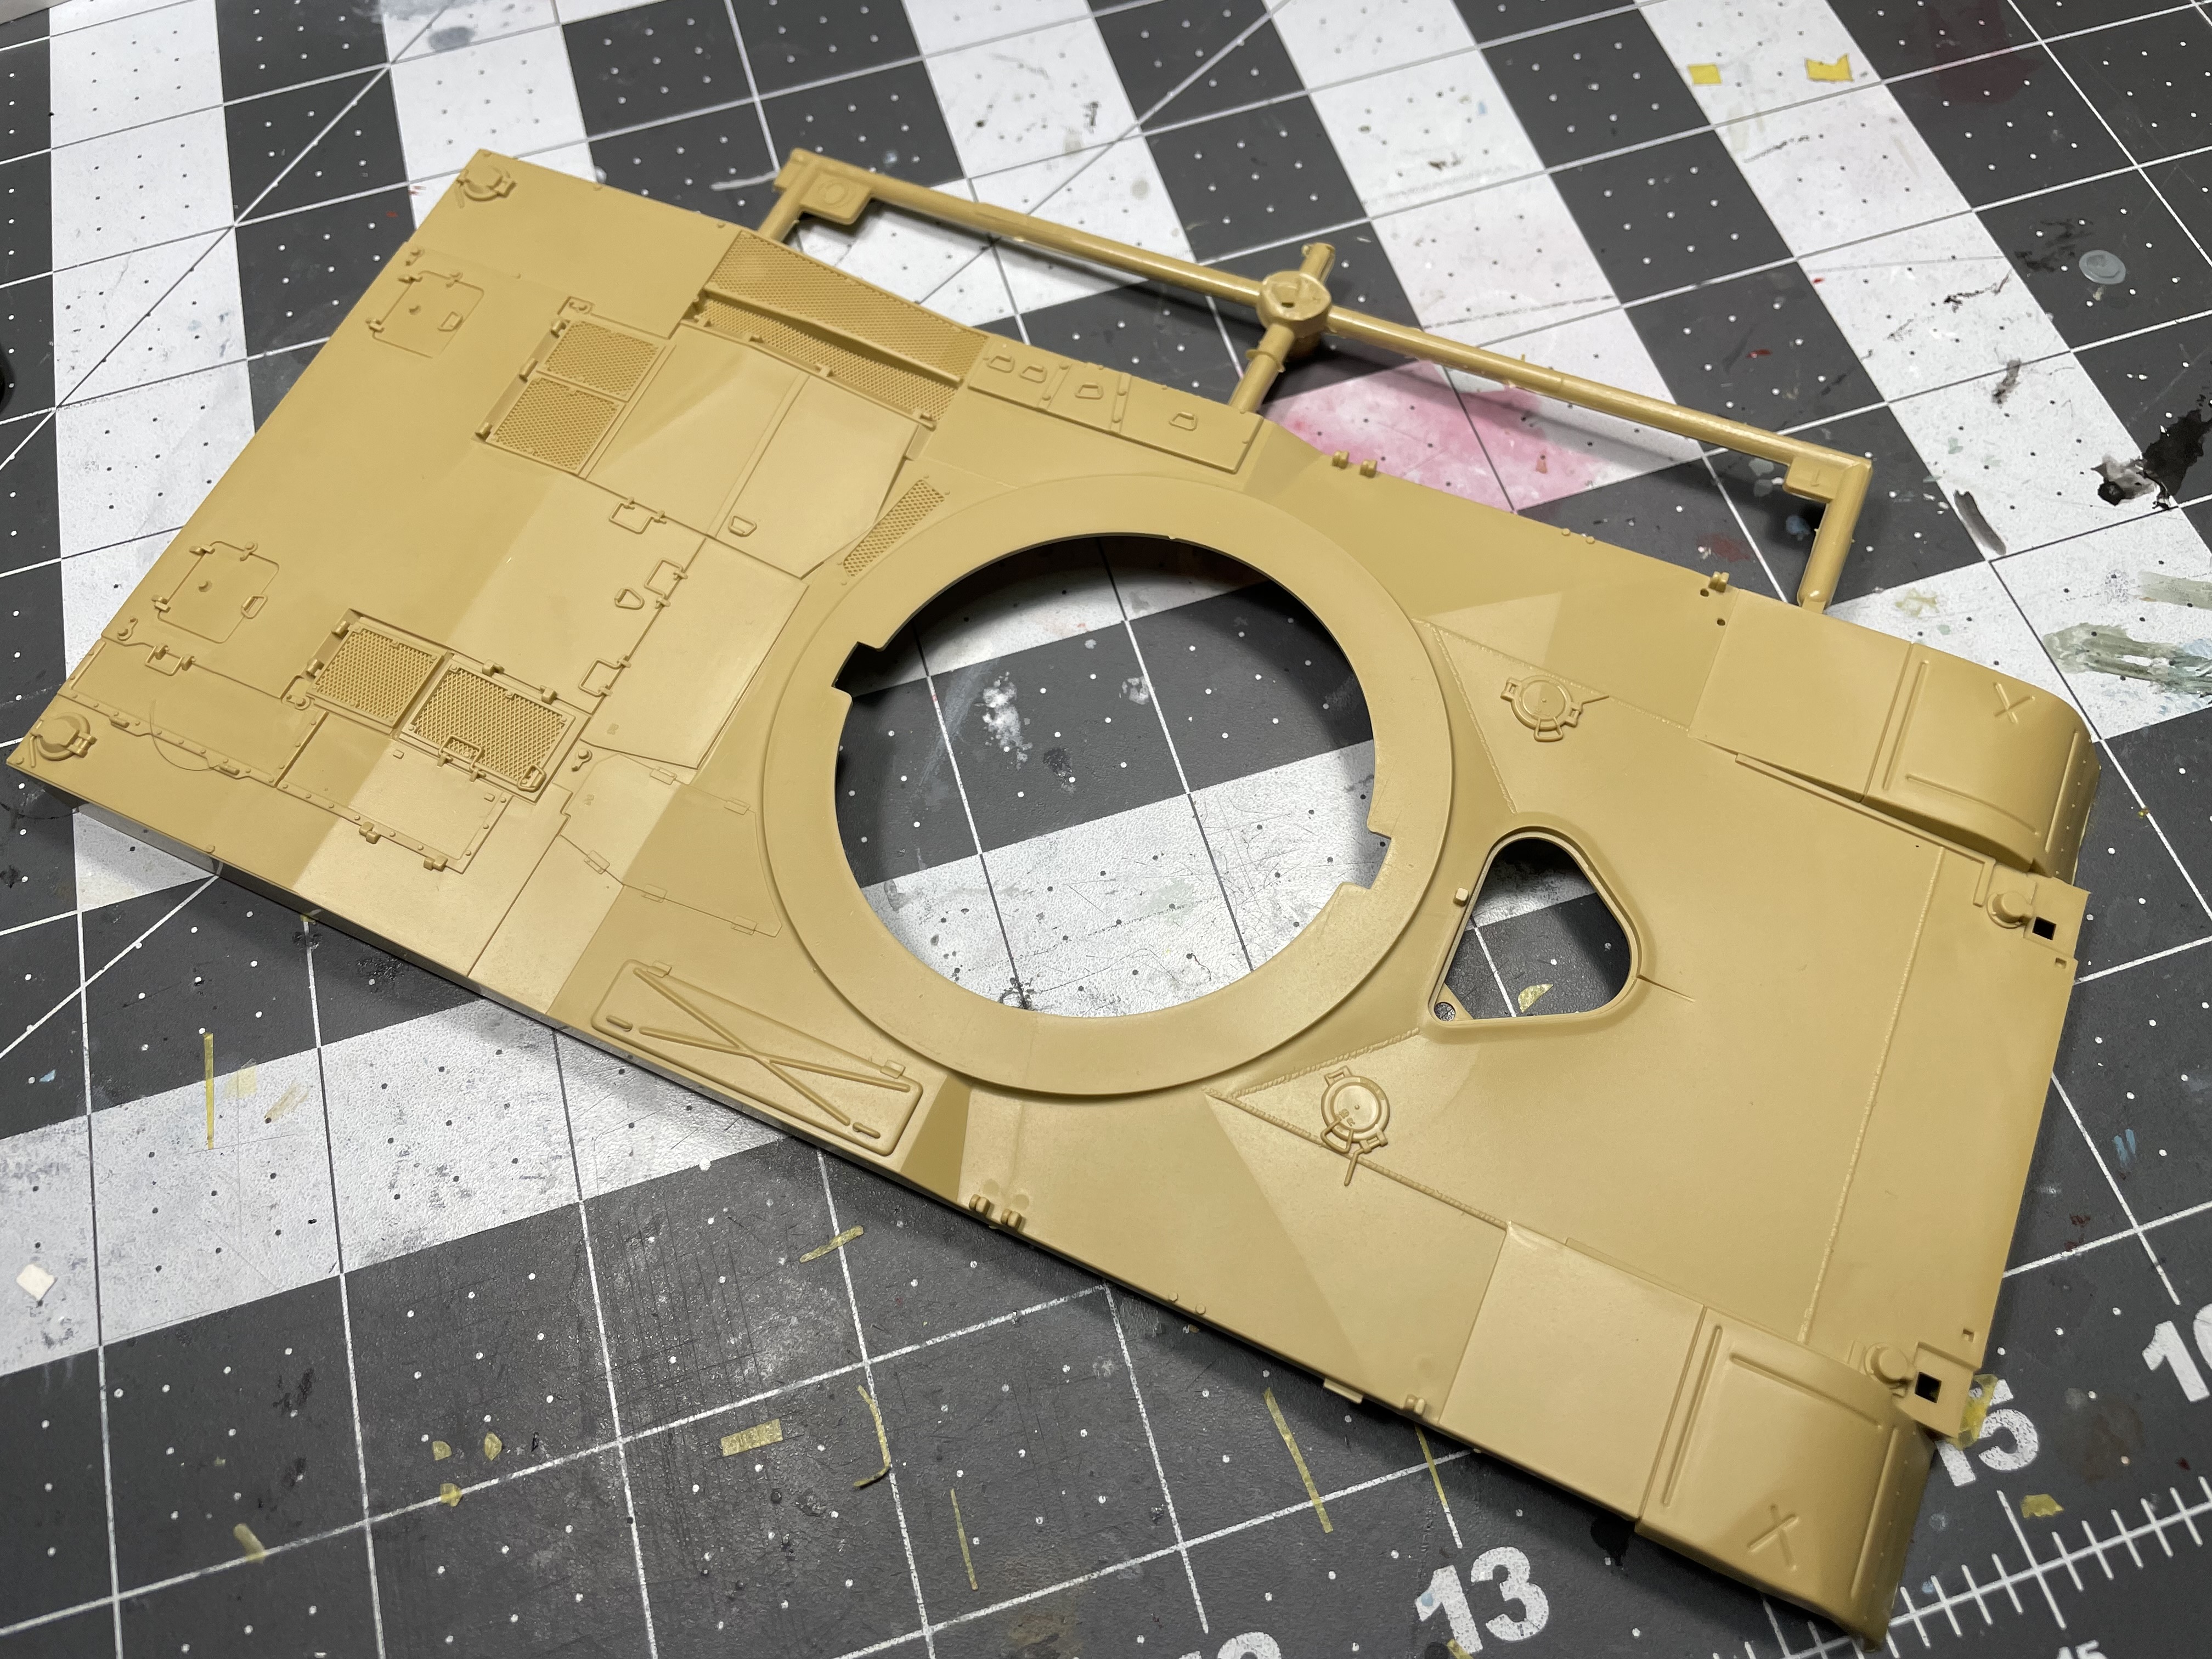
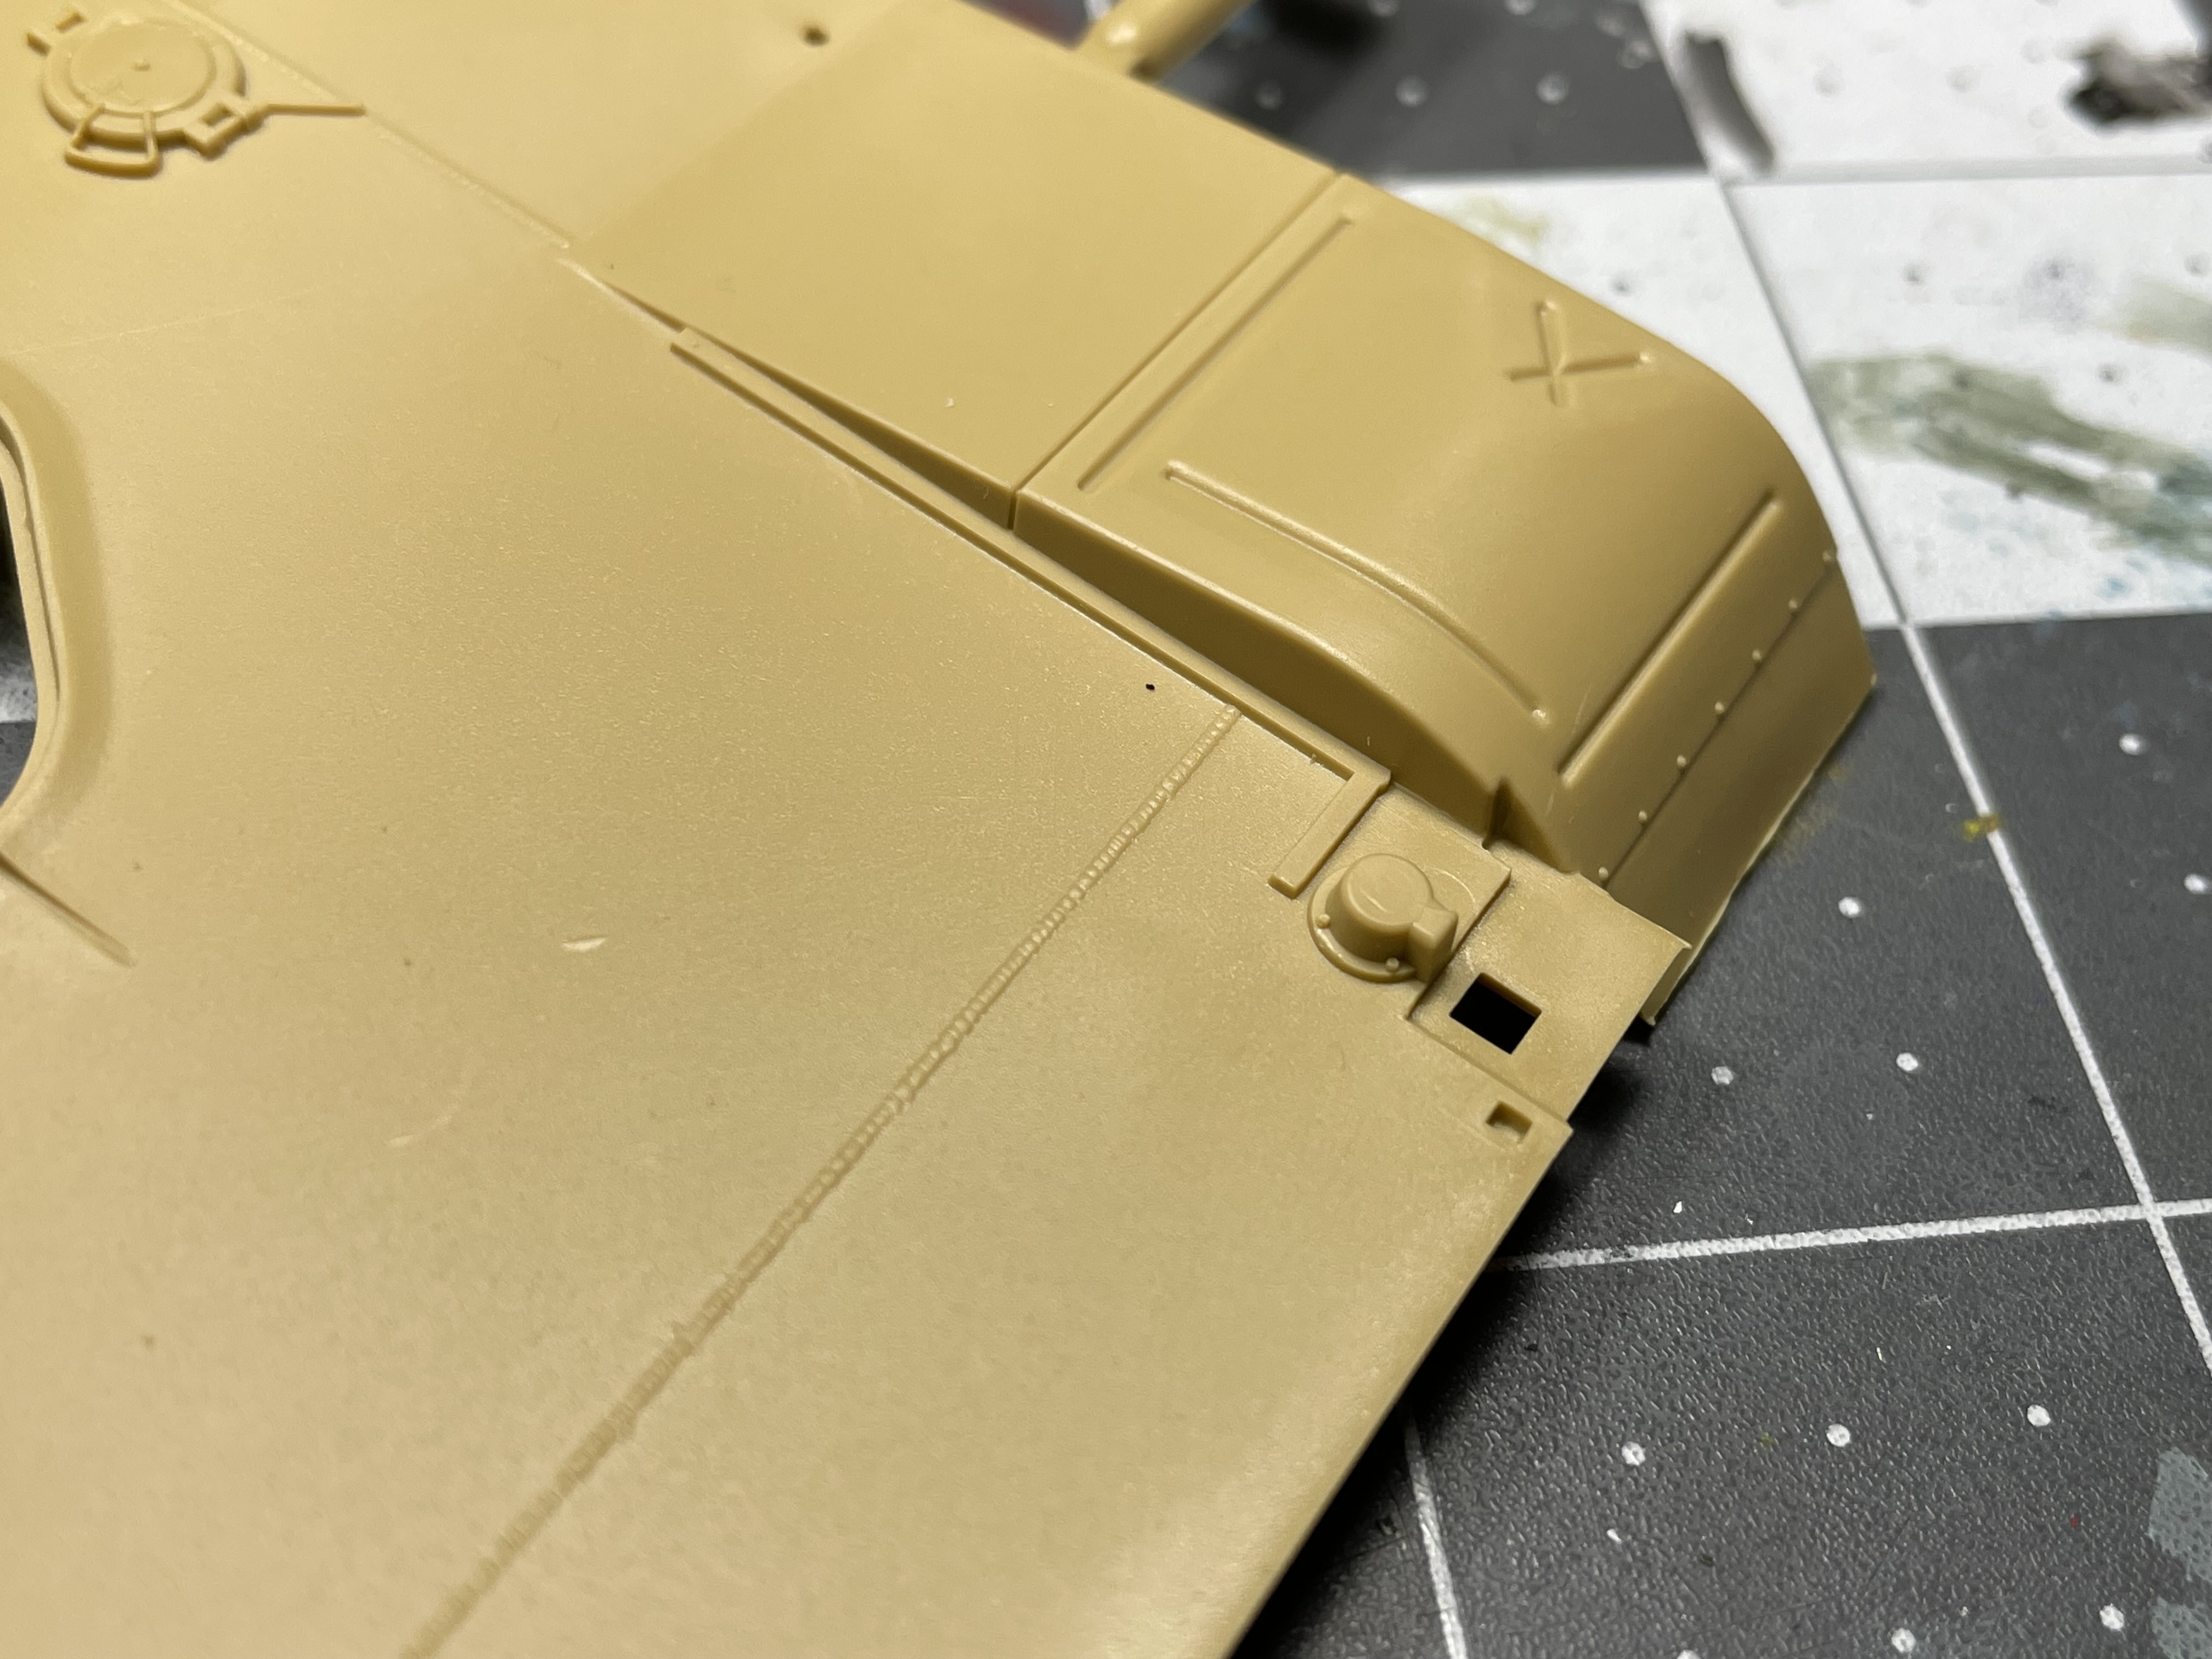
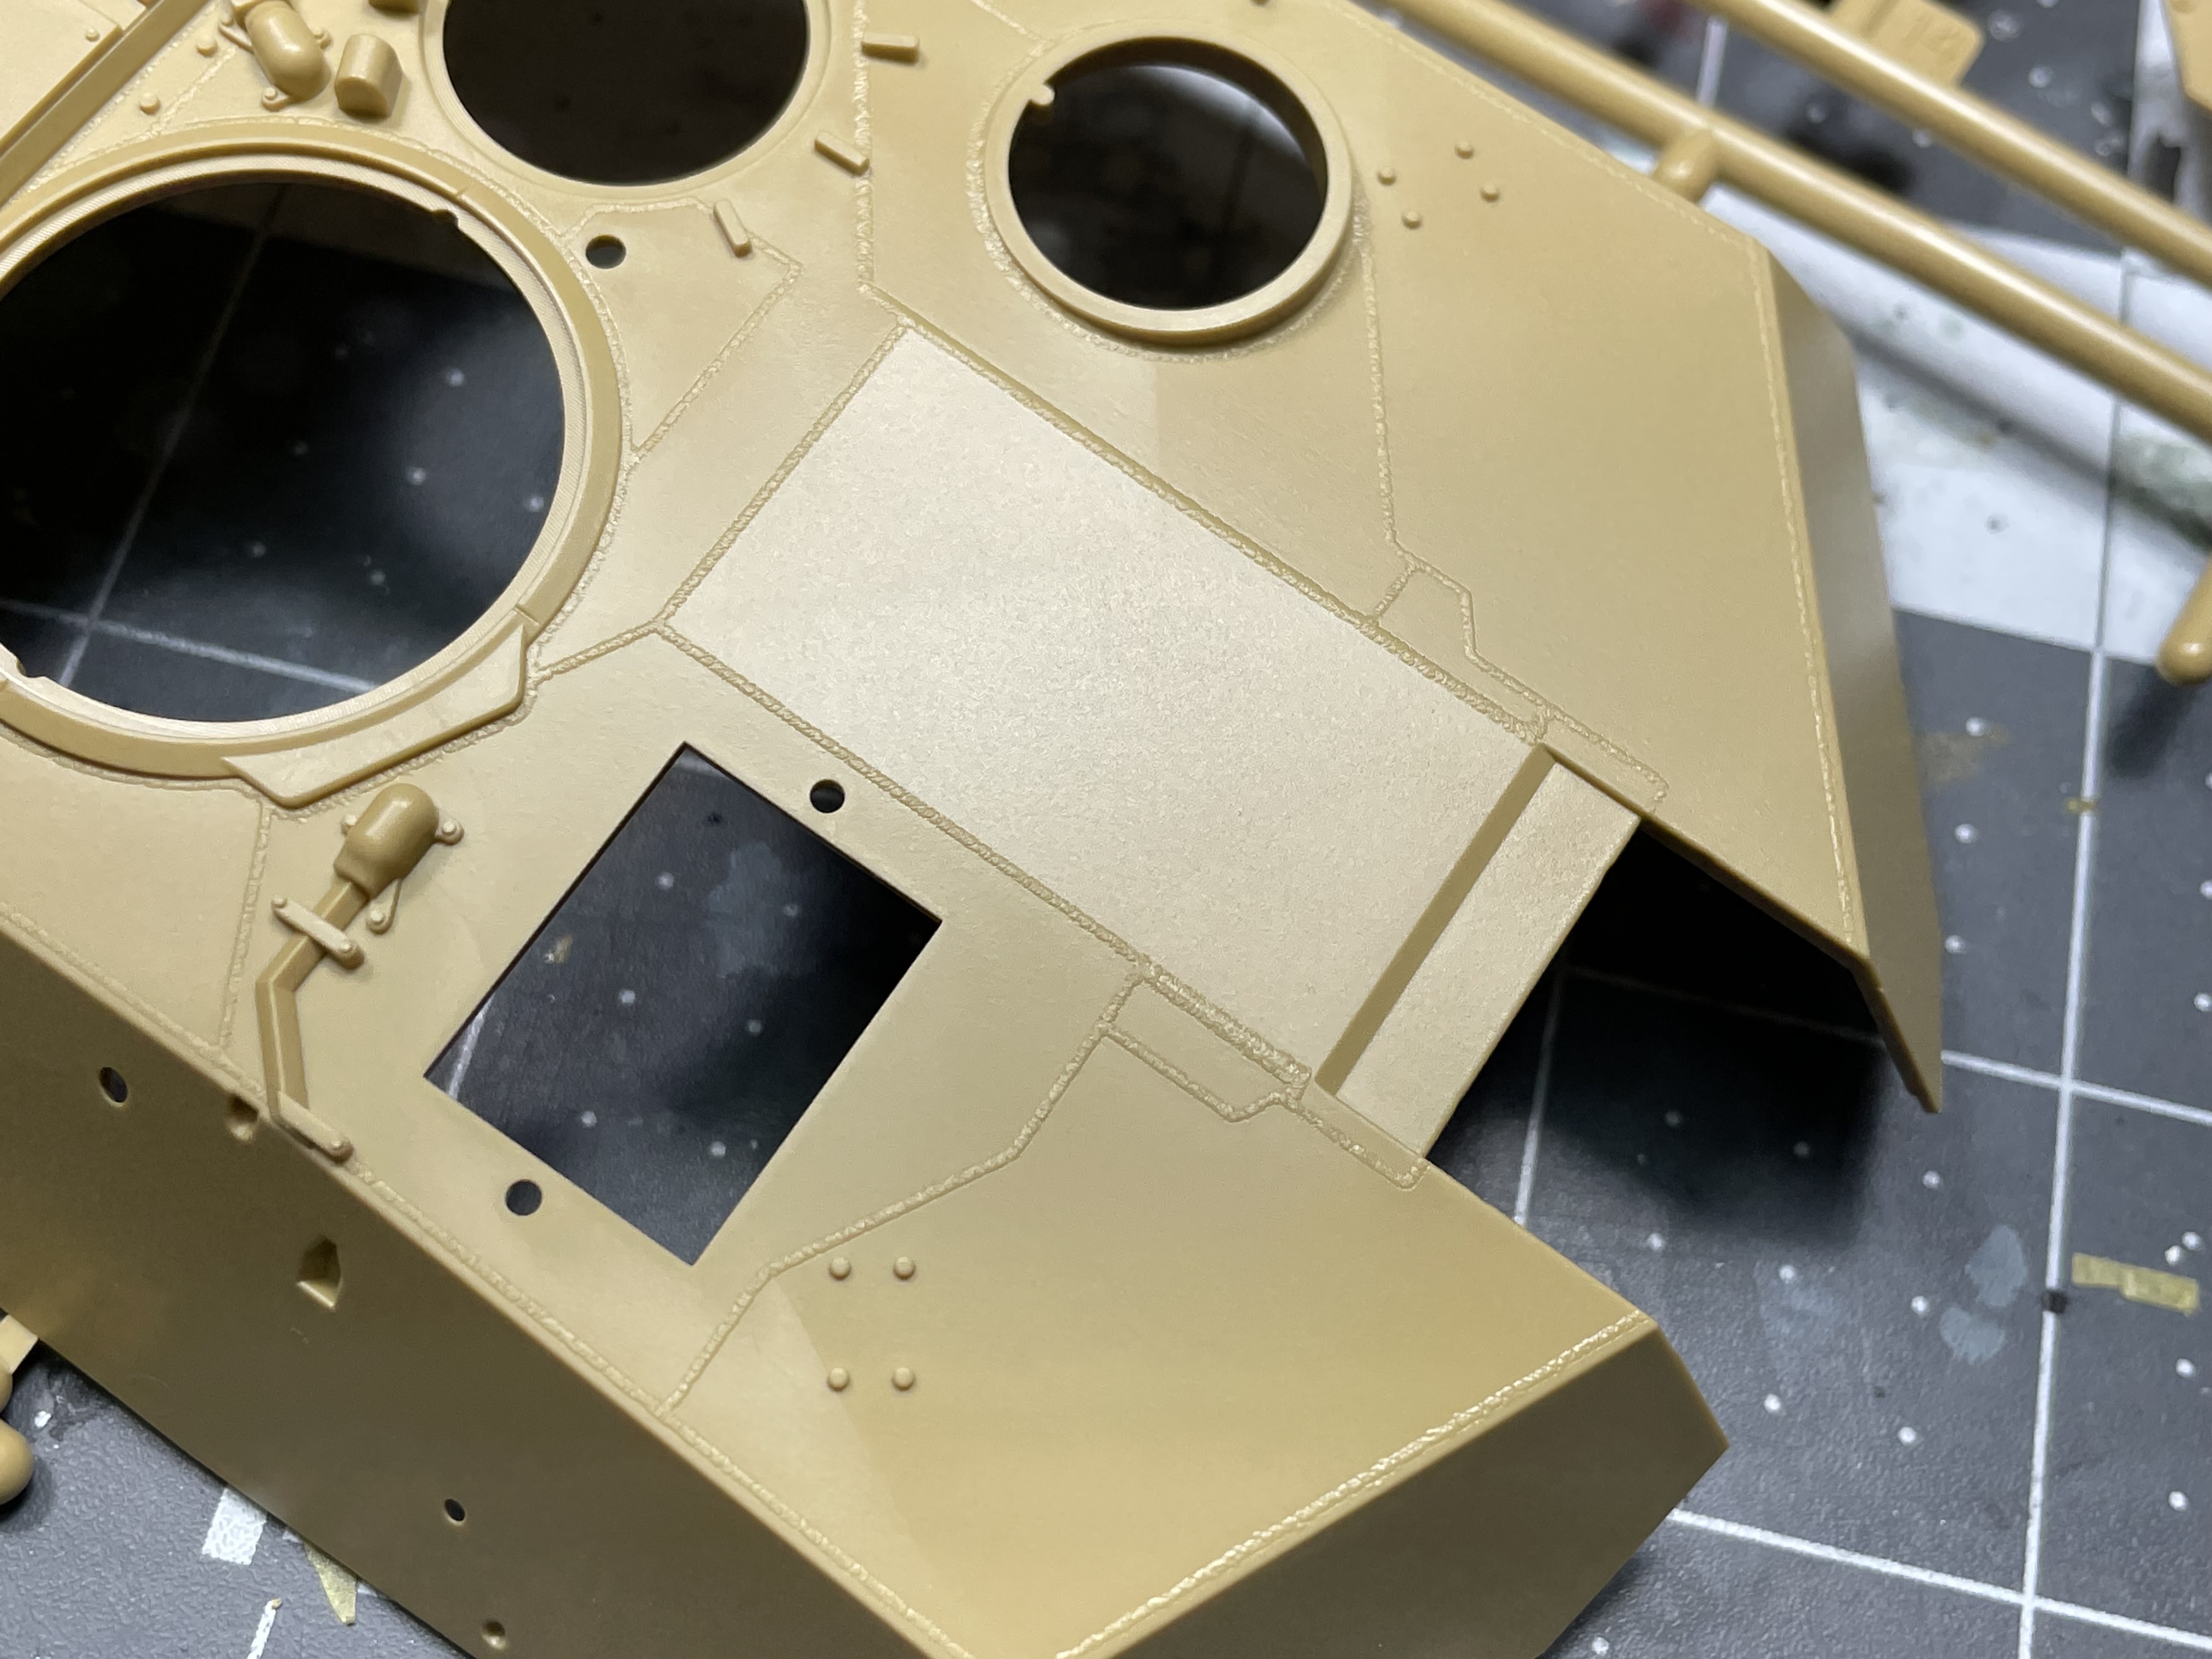
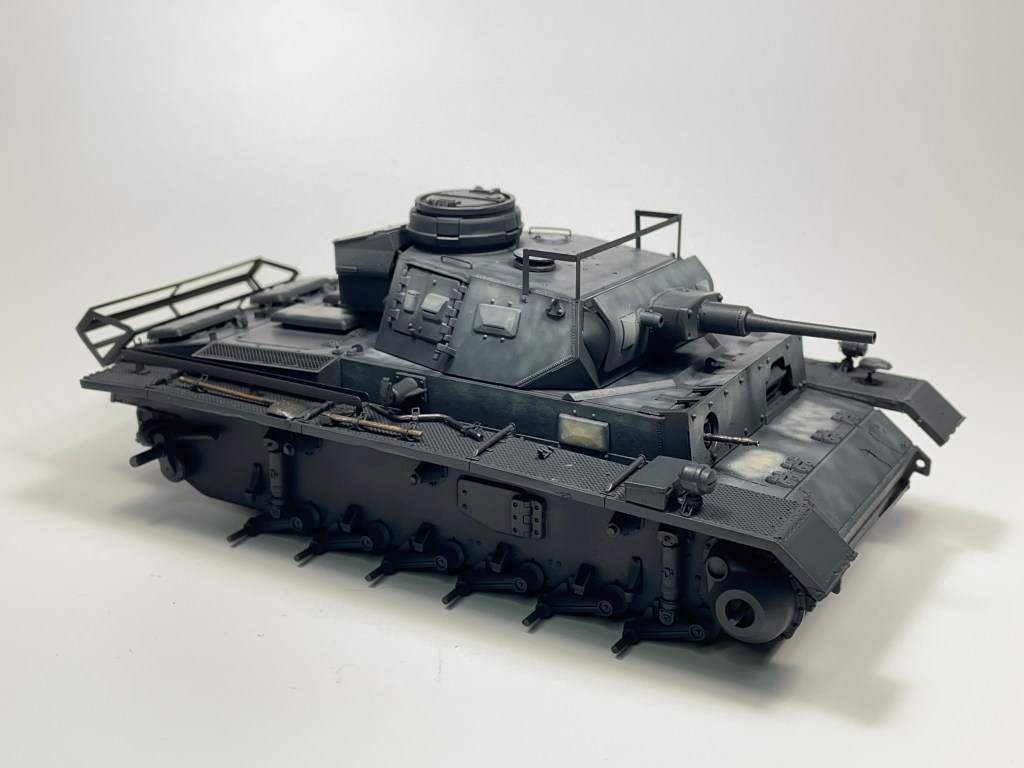
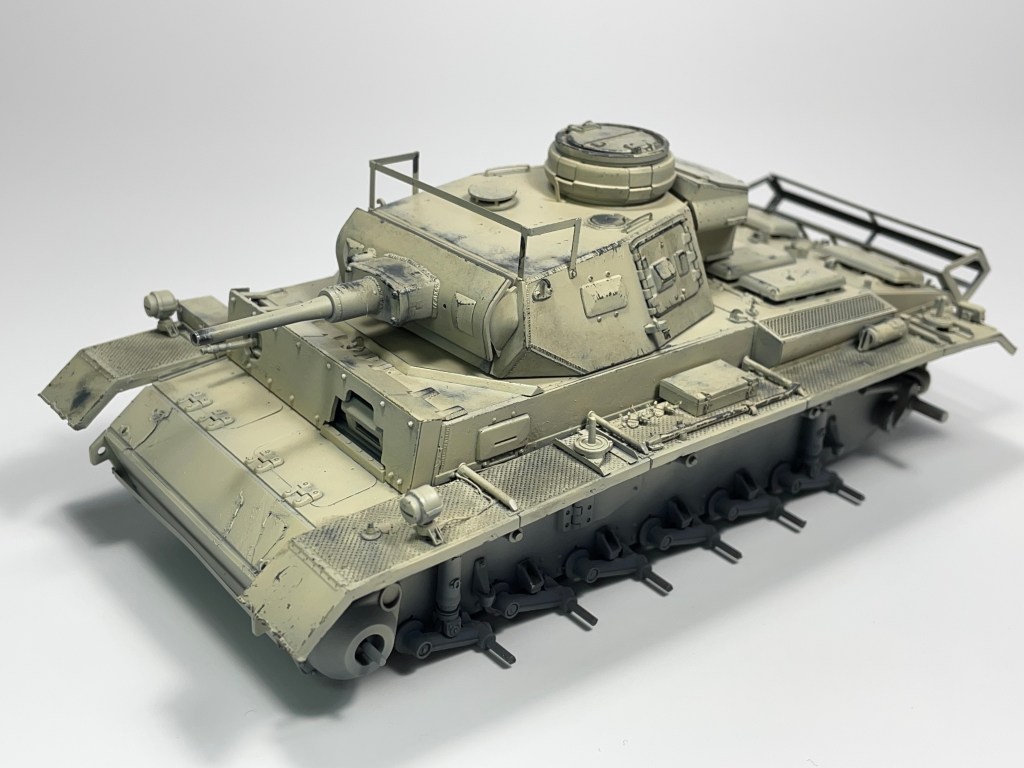
As expected, AFV Club’s Pakwagen has a high quality of molding with one exception. In looking over the spues the detail is quite high, with the stand outs being the driver’s seat and crew bench (molded with leather texture), the crew weapons, the gun cradle with all the rivet details and the exterior locker details. While these areas are the standouts the entire kit really is very well detailed and very intricate that an intermediate to experienced builder will be able to flesh out. The only exception to this is the welding detail. The stock welds look extremely faint in some areas and will need to be re-done, no question. All in all however I’d say that I’m not disappointed by the detail present in this kit and considering the comparatively low price of the kit compared to some 2024 releases the welds are not the worst thing in the world and I’d still say the Pakwagen has high detail.
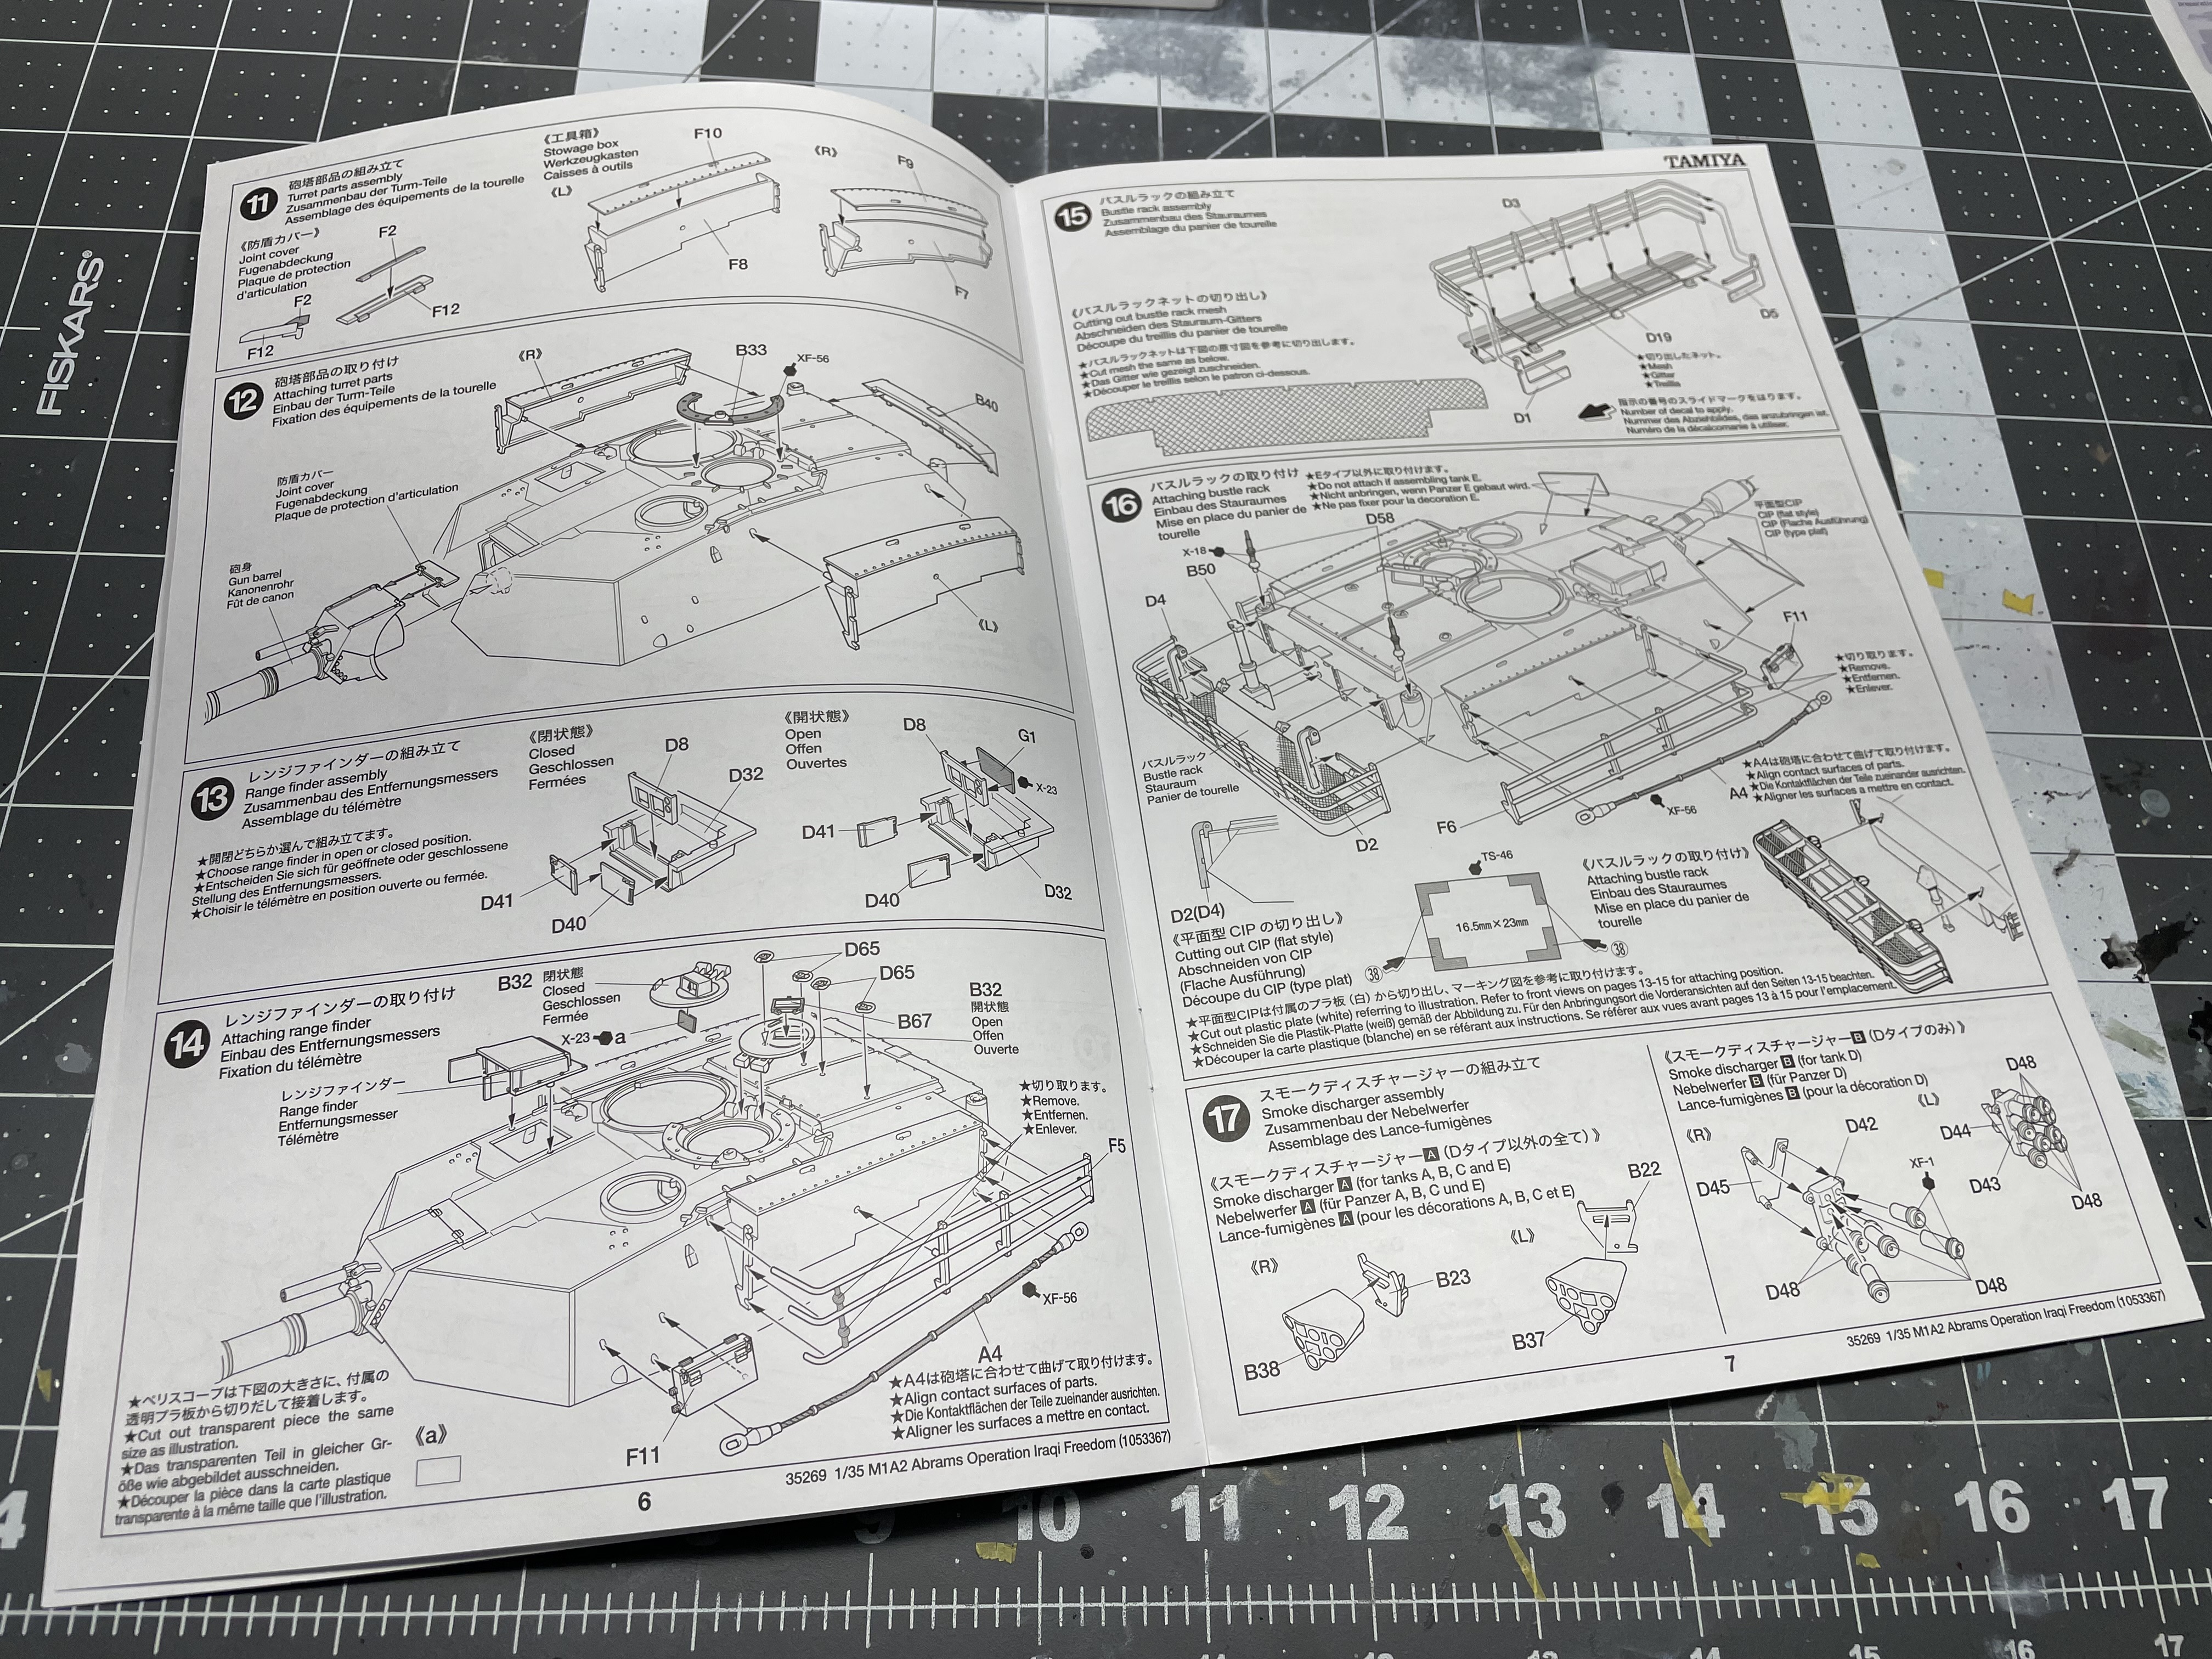
Instructions: 8/20


The instructions definitely are where AFV Club opted to save some money in the fact that they really are nothing special. A short blurb on the front about the history of the vehicle and standard line drawings, nothing special. No colour at all and the profiles included really are nothing special, In fact I’d say the profiles exemplify the “cheapness” of the instructions, no colour callouts (on the profile page) and tiny profiles. Spelling mistakes are also present.
Miscellaneous: 5/10


Included are decals for one vehicle based out of the “western front” which let’s be honest is a huge cop out. The singular saving grace for the markings is that they include division markings and stencils, along with license plate information. I like it when kits include these types of markings because often times vehicles have a lot more organizational markings than just some numbers and a cross/star and adds to the realism of the final subject. In one of my early drafts of this review I initially failed AFV Club’s Pakwagen but thinking about it more now, the inclusion of the division stencils is just enough to warrant a 5/10 score. The quality of the tracks also helped increase this score as they are excellent.
Total: 72/100
AFV Club is shamless for some of the corners it cut while putting together this kit but on some level it’s understandable? I have no doubt this kit will end up looking great, the detail is there and a experienced builder will take advantage of it. Experienced builders put research into the vehicles they build and because of this AFV Club was clearly ok with not putting as much information behind the markings they chose for this subject. This is in stark contrast with a manufacturer such as Eduard that will not only provide a highly detailed kit but also information about the person who operated the real life vehicle. Add on the fact that this wasn’t a $90 monster and some of the errors are forgivable.