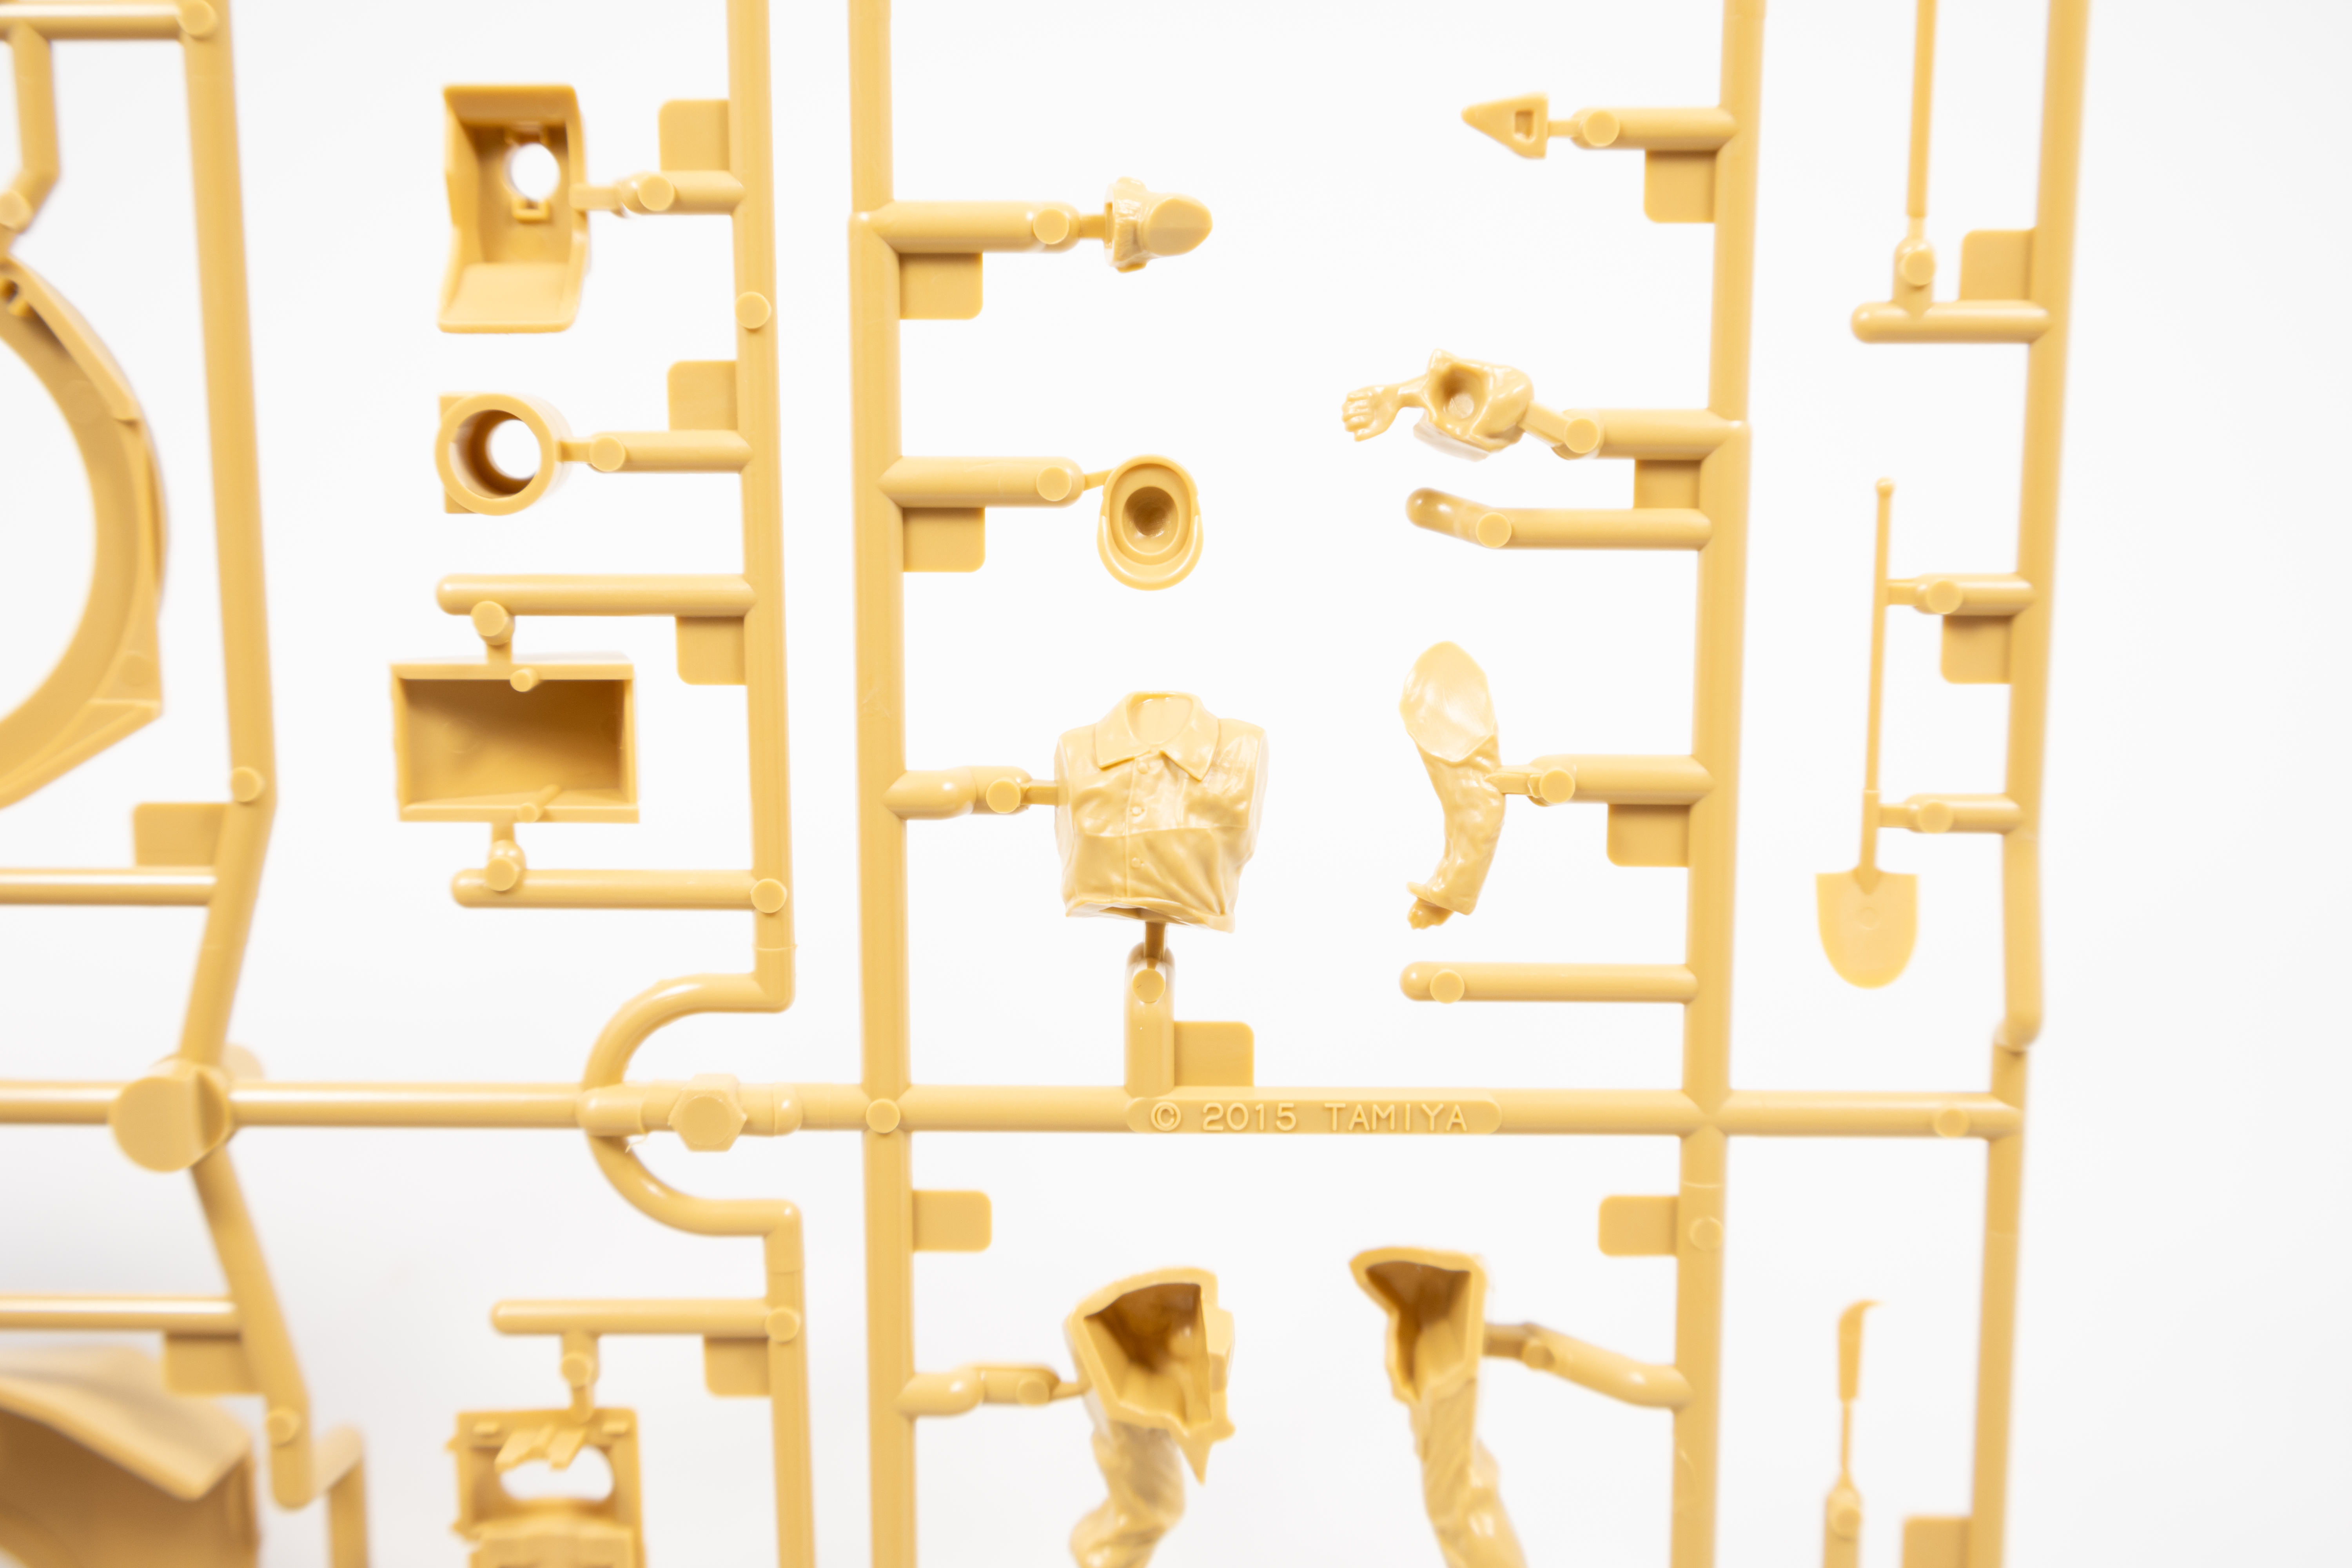
While waiting for some aftermarket parts to arrive for another build, I decided to take up Tamiya’s 1/48 Bf-109 G-6 as a fun little side project. I had heard great things about this kit and the inclusion of a fully detailed engine made this particular offering by Tamiya somewhat interesting. In fact, in 2023 I reviewed this kit and was somewhat pleased with what was included in the box.

Tamiya Bf-109 G-6 In Box Review
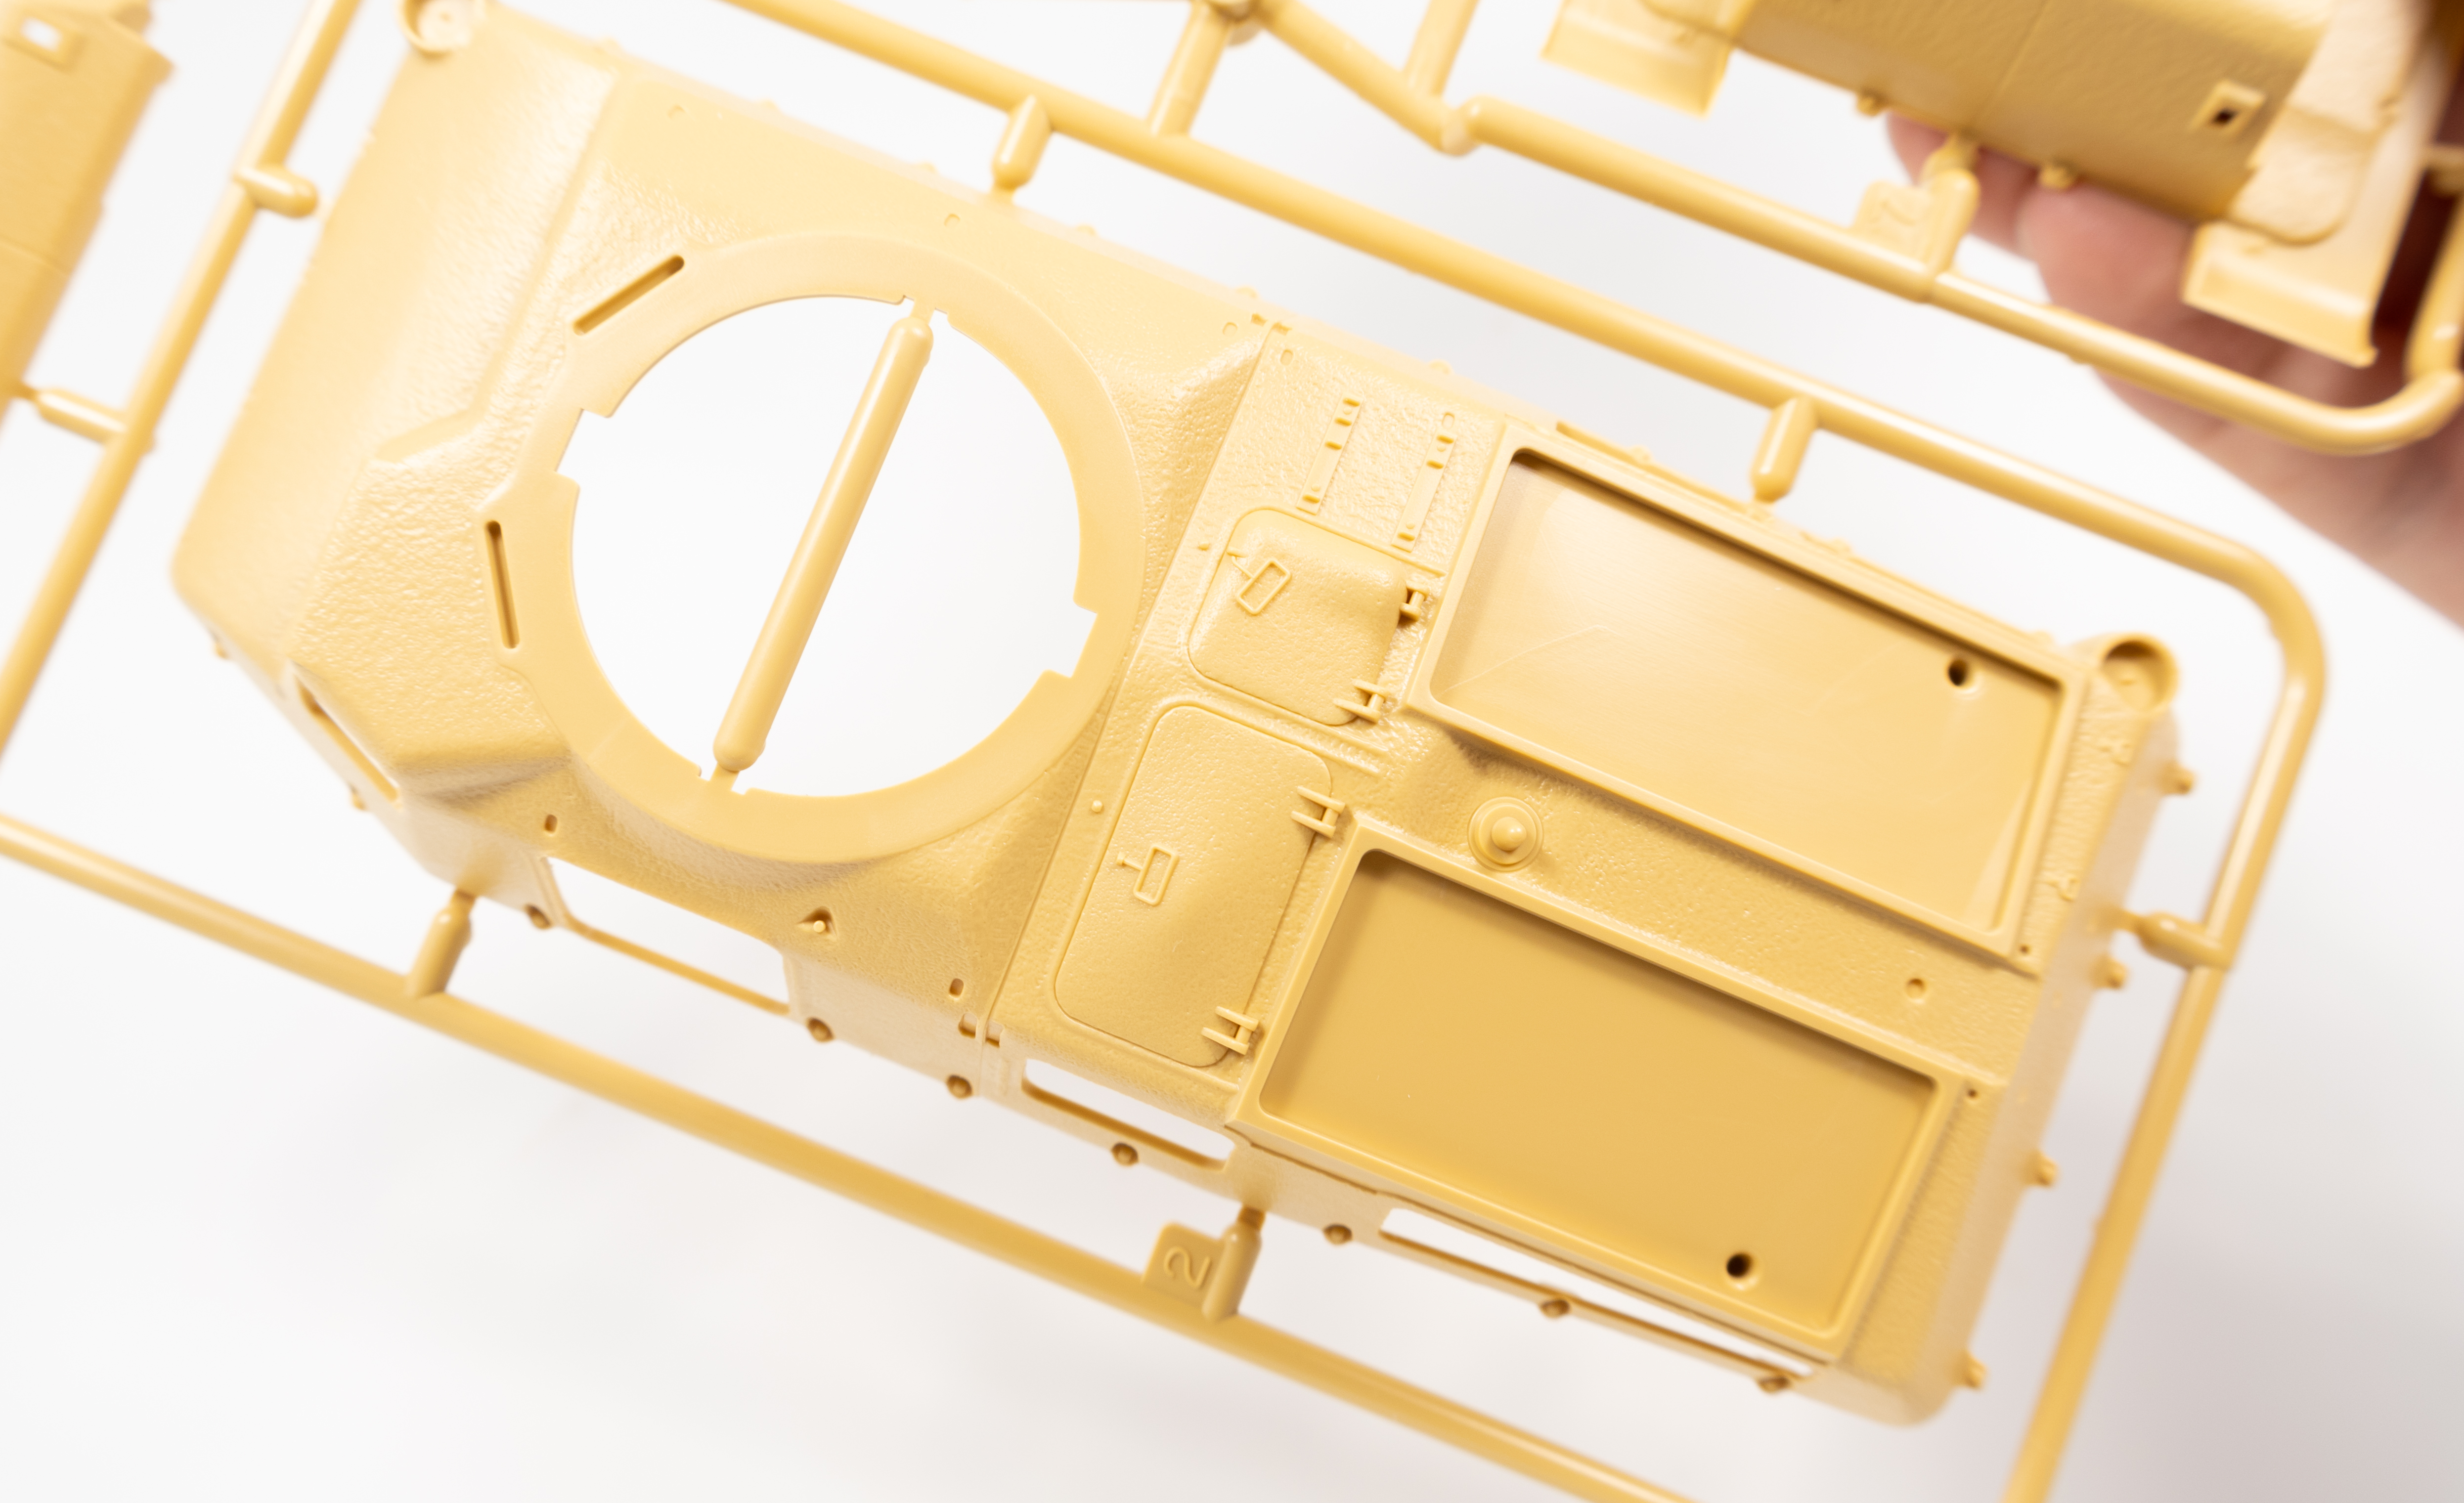
Tamiya’s 2017 G-6 model is a well-stocked kit perfect for both new and experienced modellers, despite lacking features like photo-etched parts. The model has a quality molding, clear instructions, and three standard colour options. While criticized for its minor shortcomings, it’s considered a worthwhile model for…
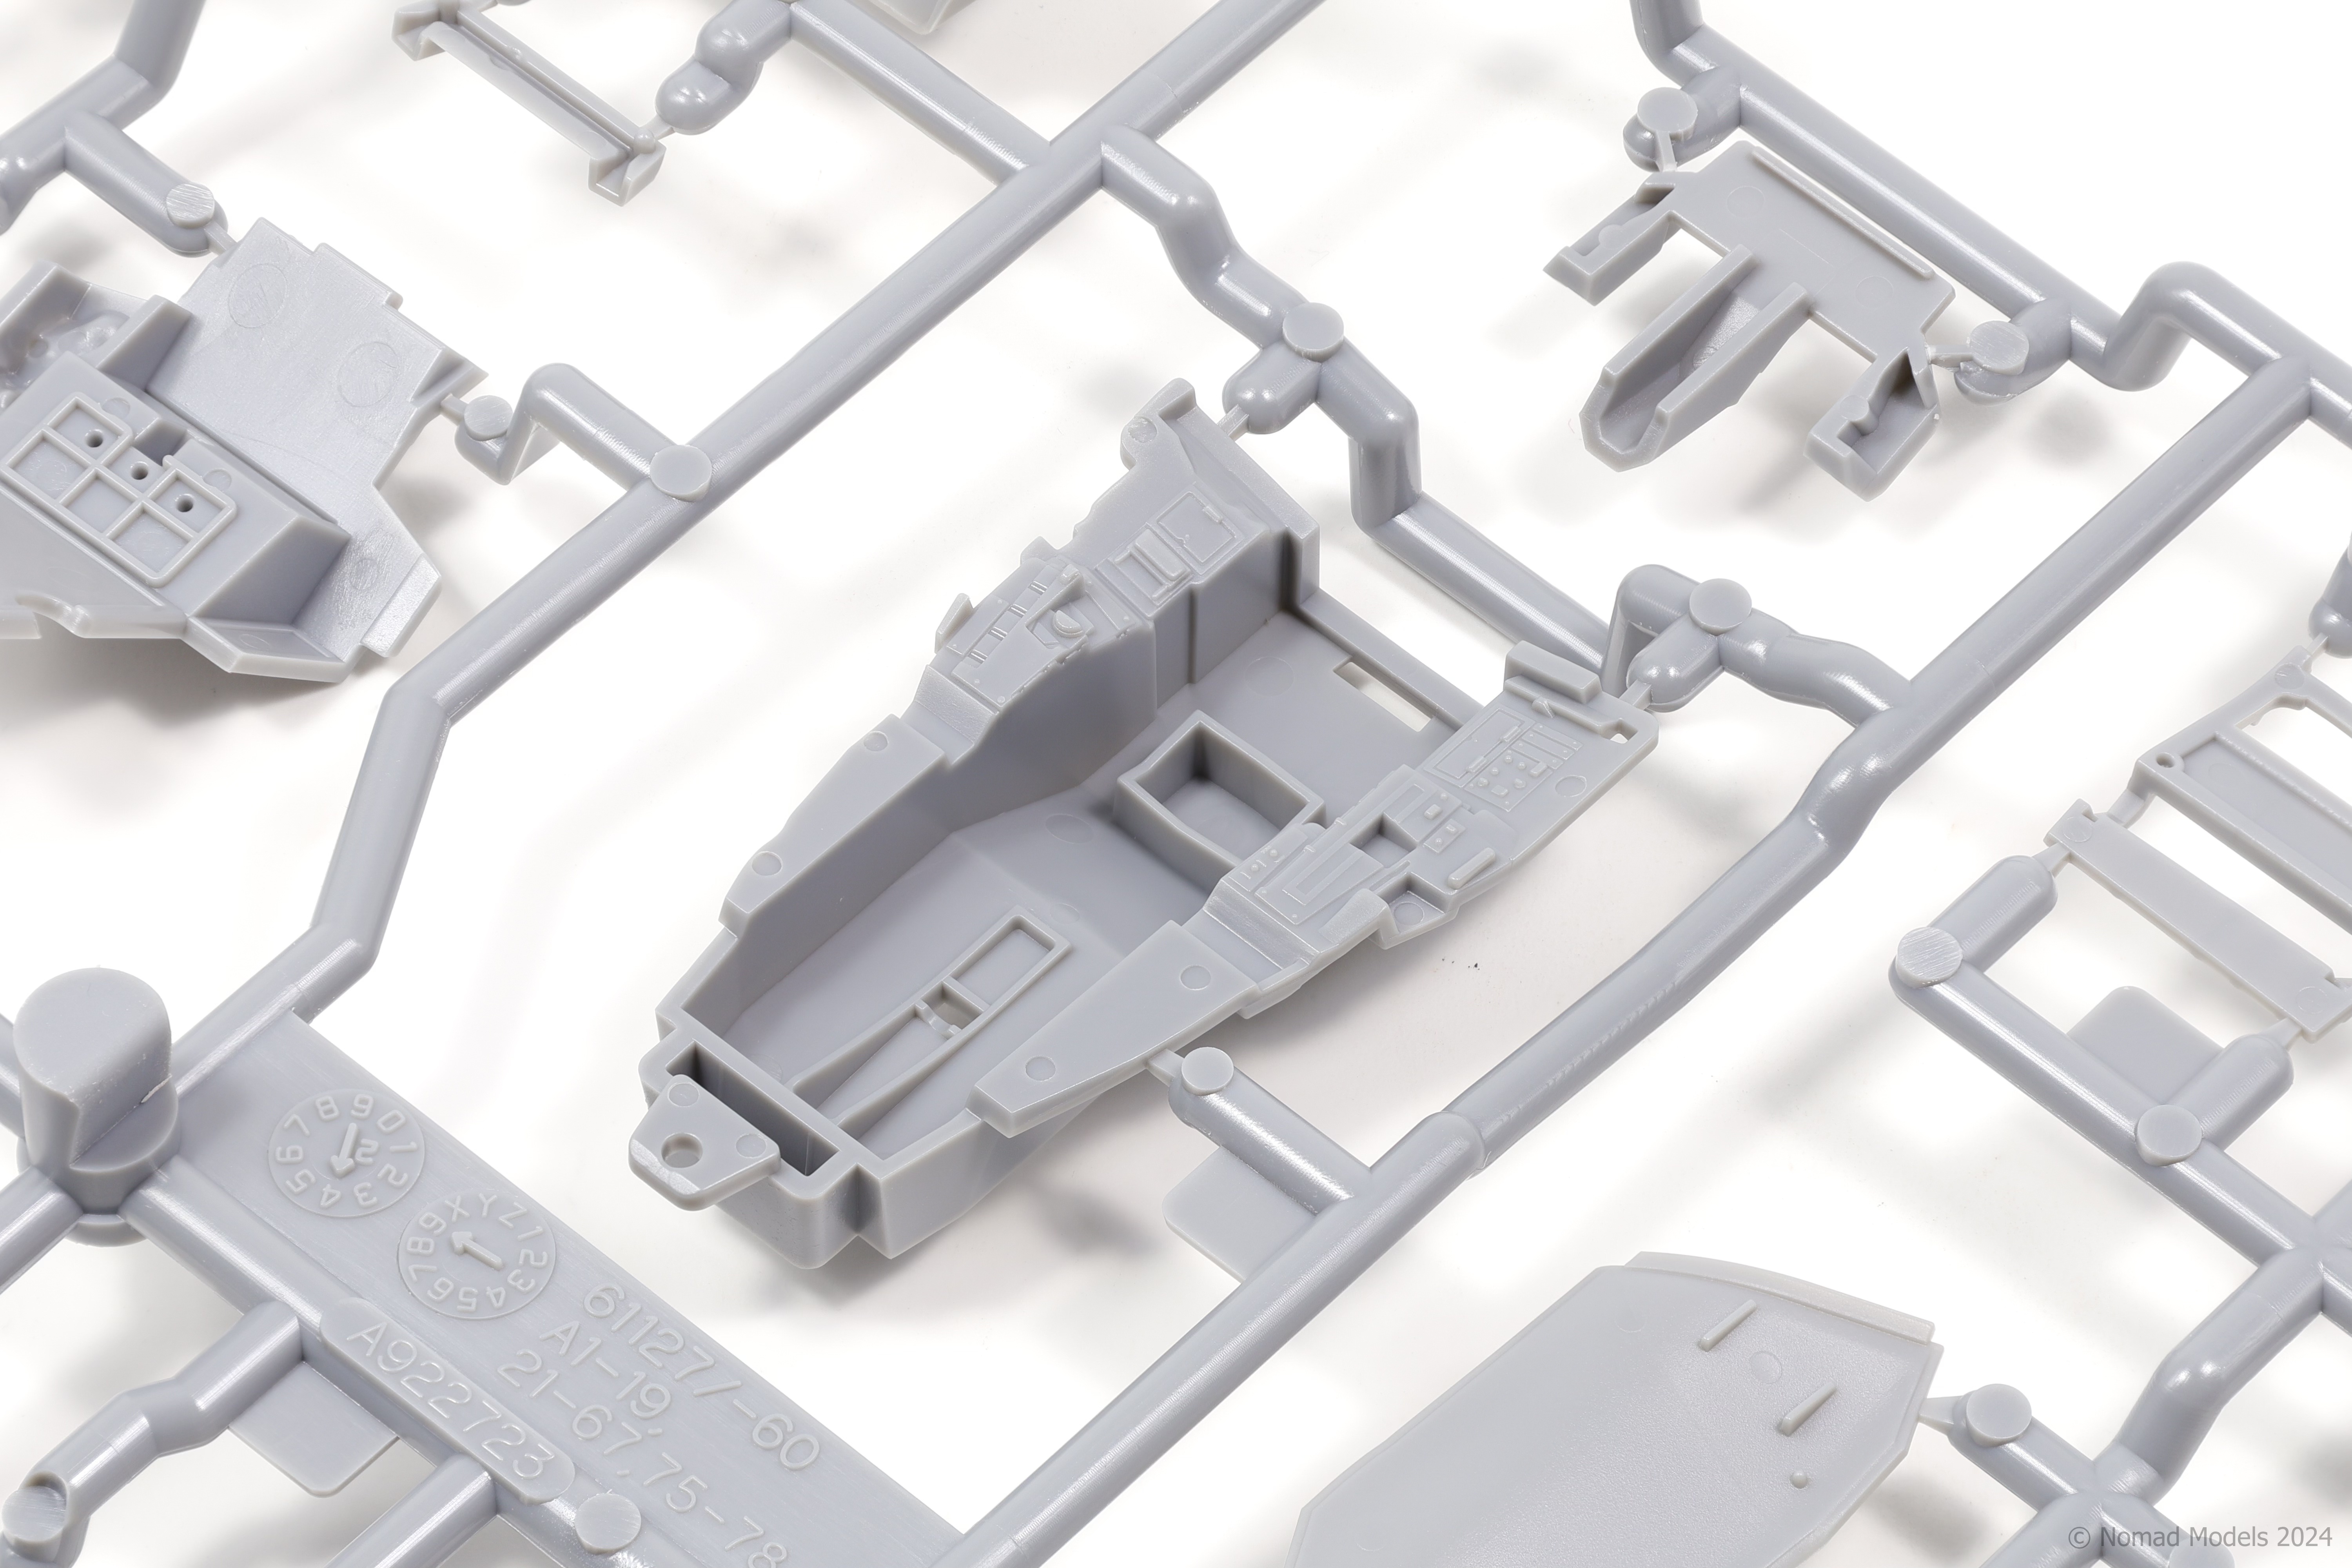
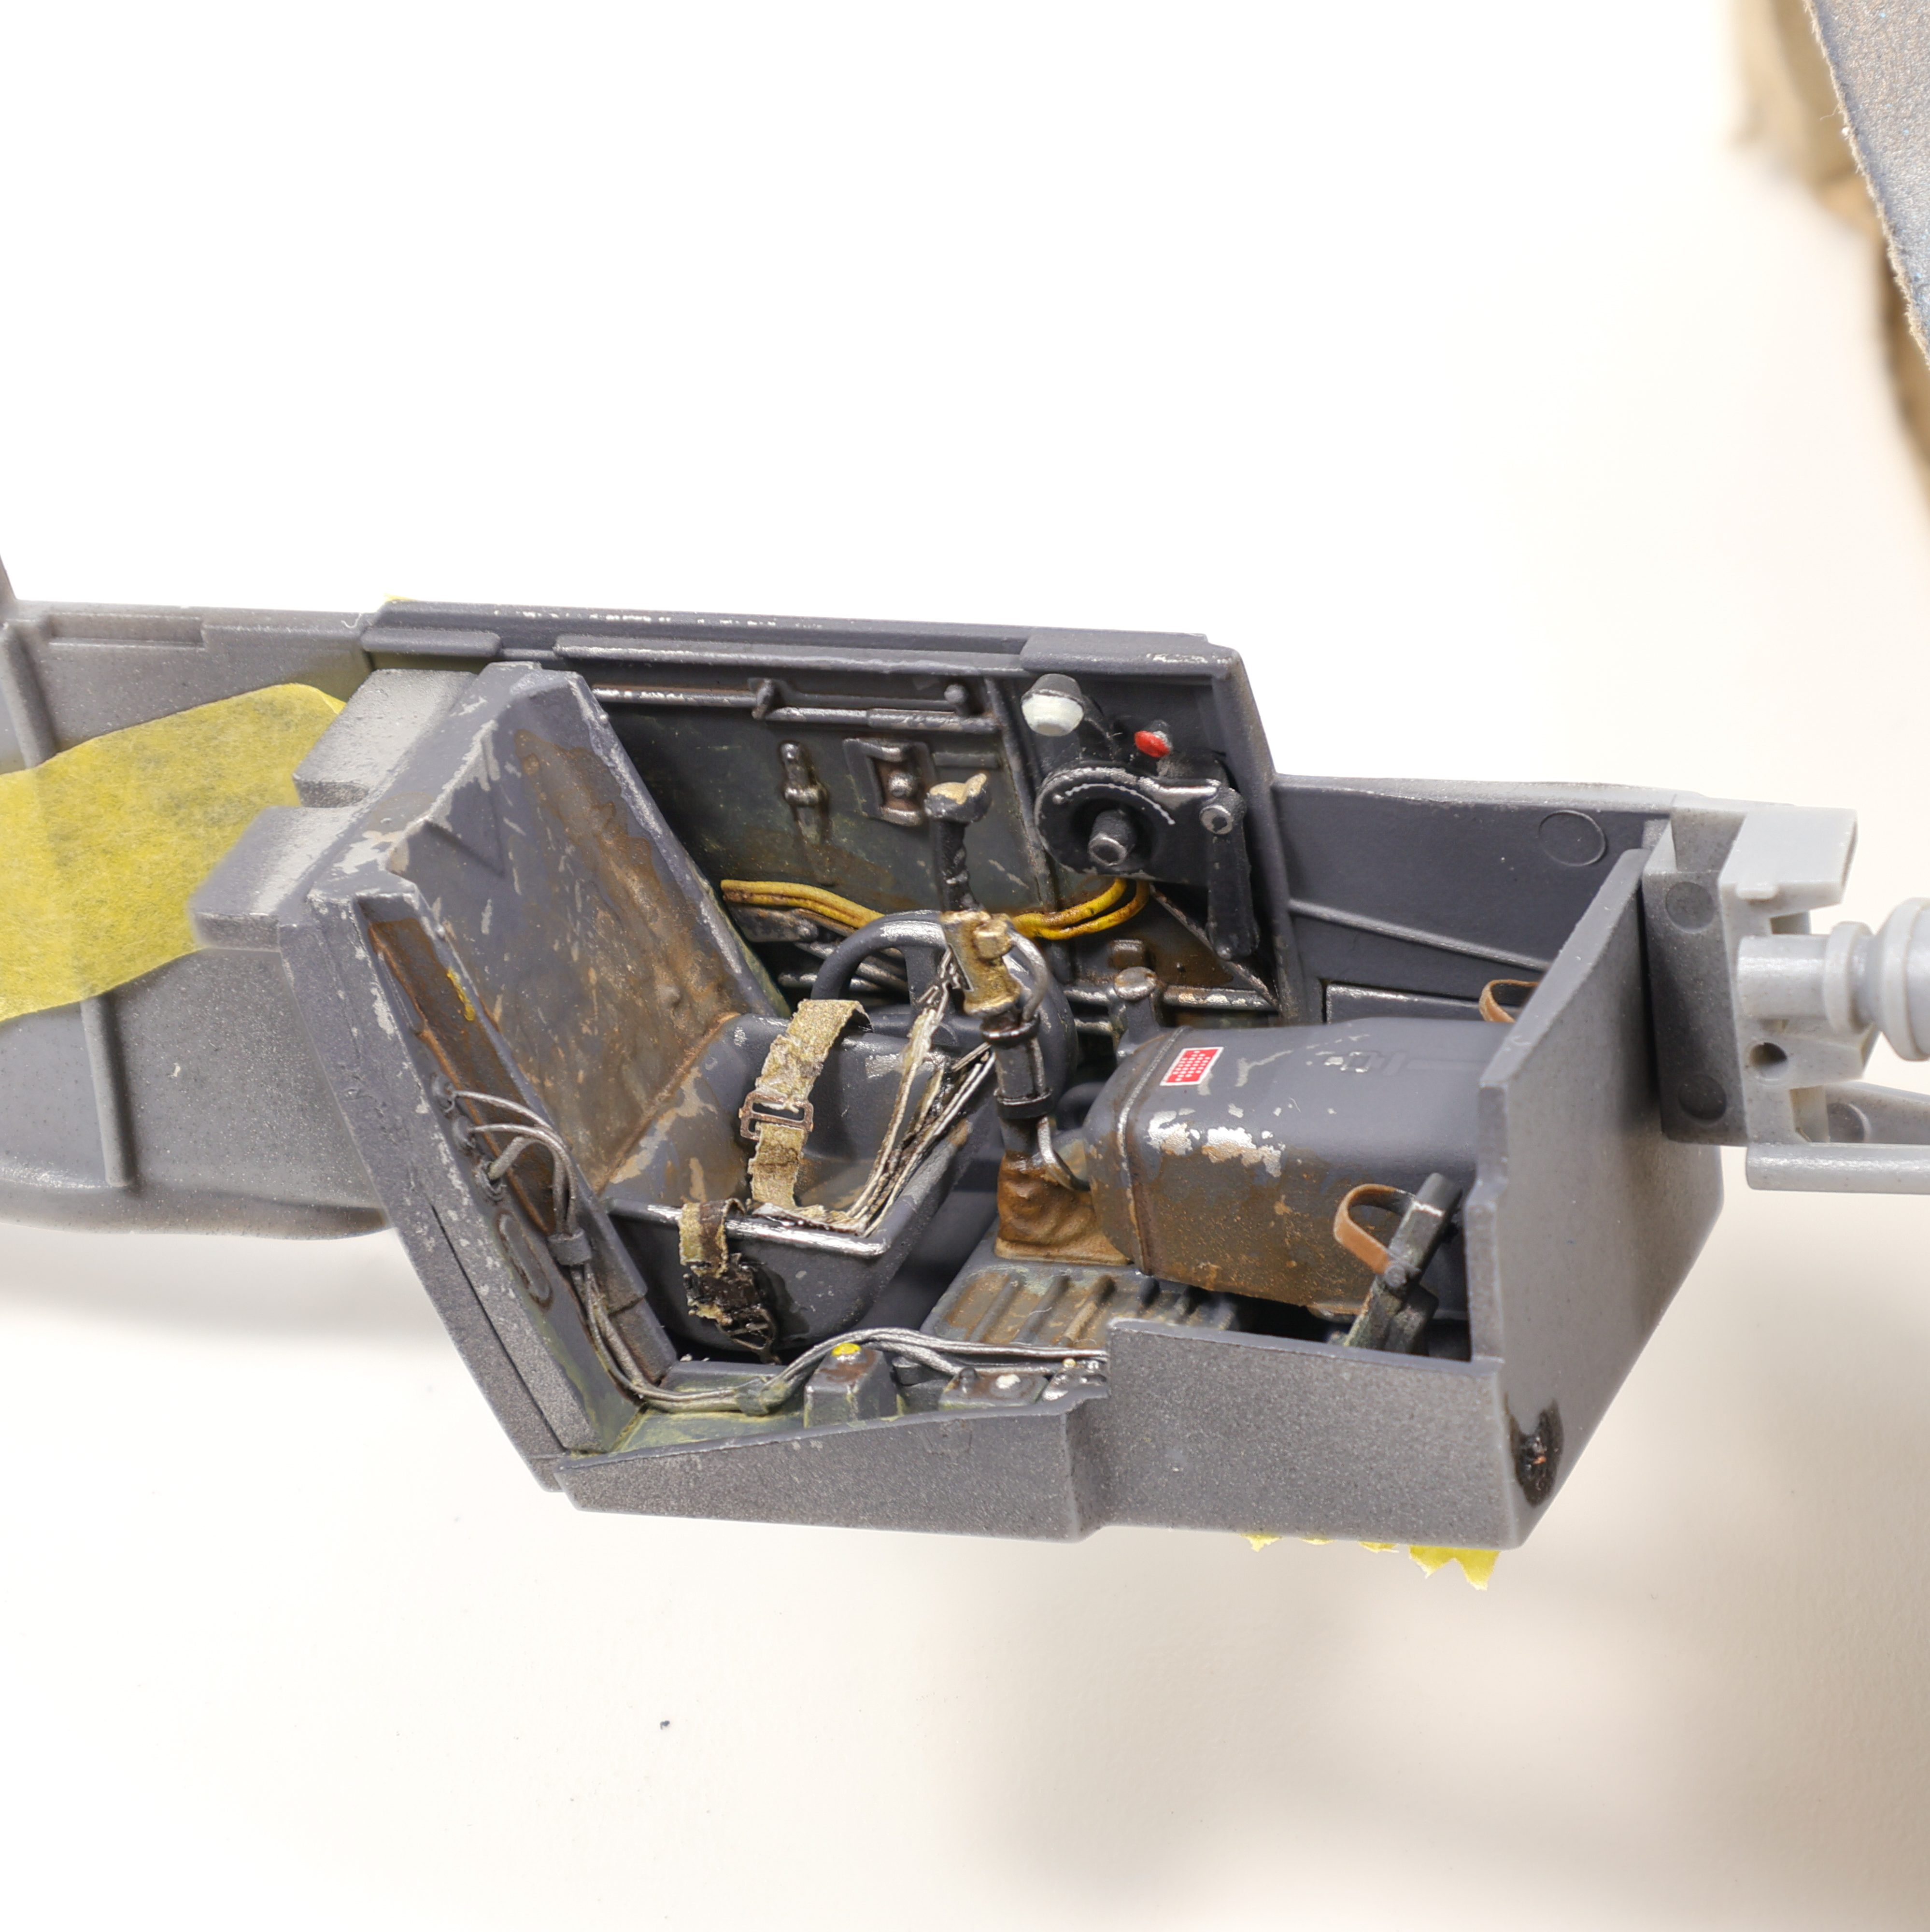
Keep readingConstruction, unsurprisingly, starts with the cockpit. Things went pretty smoothly and it wasn’t long before I was laying some paint. I knew that I wanted to incorporate some chipping effects so after the major construction as done on the cockpit I sprayed down a layer of aluminum to serve as a chipping base.


I also opted to add some additional wiring to the cockpit area as I felt that the detail was a bit sparse. The added detail was particularly noticeable on the control stick:

Next, I whipped up a generic “German aircraft interior grey” after spraying the cockpit pieces with the chipping medium. I wasn’t too specific about getting the exact shade right as most of this work will be hidden in shadow when the fuselage is sealed up. I used Tamiya acrylics at this stage which I’ve found chip very nicely. I primarily used a brush moistened with water, although in some areas I opted to used an old airbrush needle to get more fine, controllable chips. I then move on to painting the various small details in the cockpit. The Bf-109 is a bit unique in that it has a rather colourful cockpit with blue and yellow pieces of equipment present.

The result at this stage is VERY stark although after subsequent weathering and varnishes the colours will be muted somewhat. I was particularly happy with how the control stick turned out as in my reference photos I saw some brass elements that really pop in the grey monotony that is the rest of the cockpit.

I then applied a VMS satin varnish over the entire cockpit in preparation for decals and weathering. For the decals I used several pieces from Anyz to depict cockpit placards and switch lettering. I find that these decals really add a lot if life to the model and look great in a busy cockpit. I chose to use AK’s weathering pencils as the primary medium for weathering as I wanted to experiment a bit further with these after trying them out a bit on my last aircraft build, Eduard’s F6F Hellcat:

F6F-5 Hellcat: Completed Build
A few weeks ago I completed Eduard’s F6F-5 Hellcat and I’m finally getting around to post the photos and compile my thoughts about the build. If you’re just here for the photos check them out below 👇 As for my thoughts, this build was a pretty fun, short project. I really didn’t invest a ton…
Keep readingI feel like these weathering pencils have interesting pros and cons. For depicting built up levels of dust, dirt and grime they are great. In a confined area like a cockpit however, I’m not sure they are the right choice with the kind of results I’m after. They do give off a VERY stylistic result however and while some people might love the result I managed to get here I wouldn’t be surprised if some people hated it too. As for me I’m a bit in the middle, I do like what I achieved here but I think I want to go back to oils and enamels for my next project.
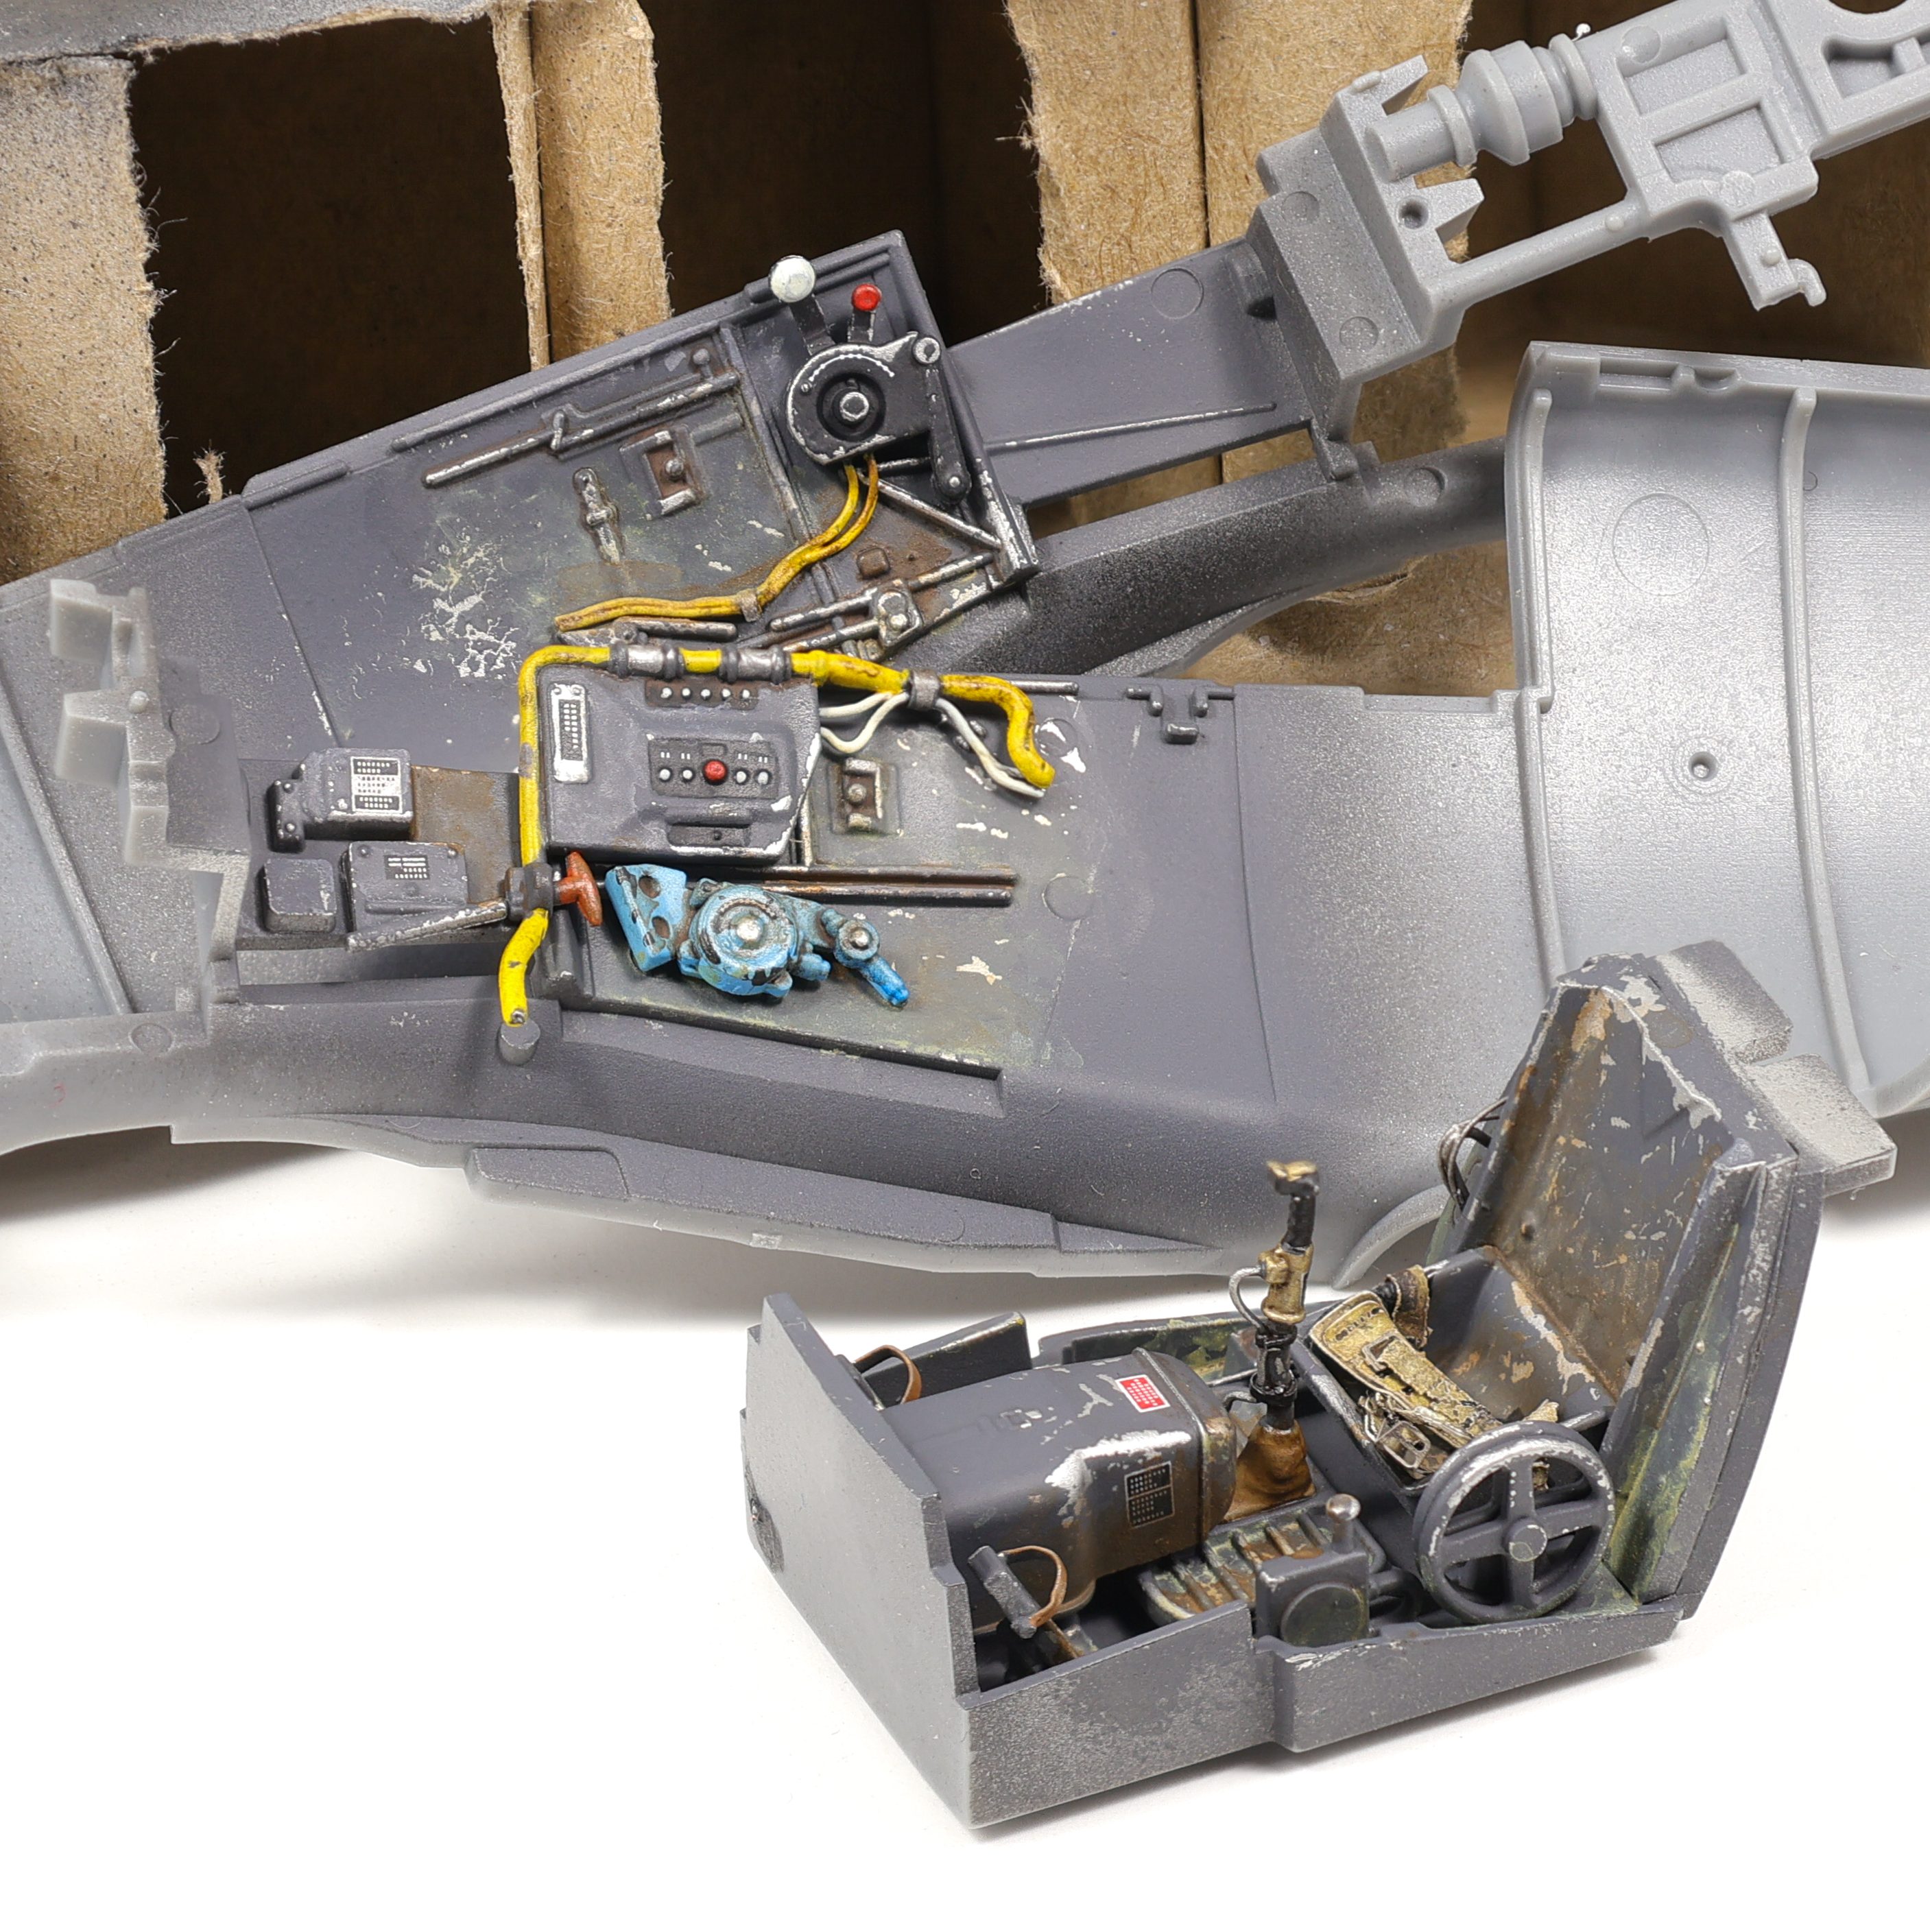
I definitely achieved the dirty/dusty look that I was going after but I feel like this is still pretty stark result. More refinement and practice will be needed to get my cockpits where I want them however. I will say though, when all the pieces are added together the result isn’t half bad:
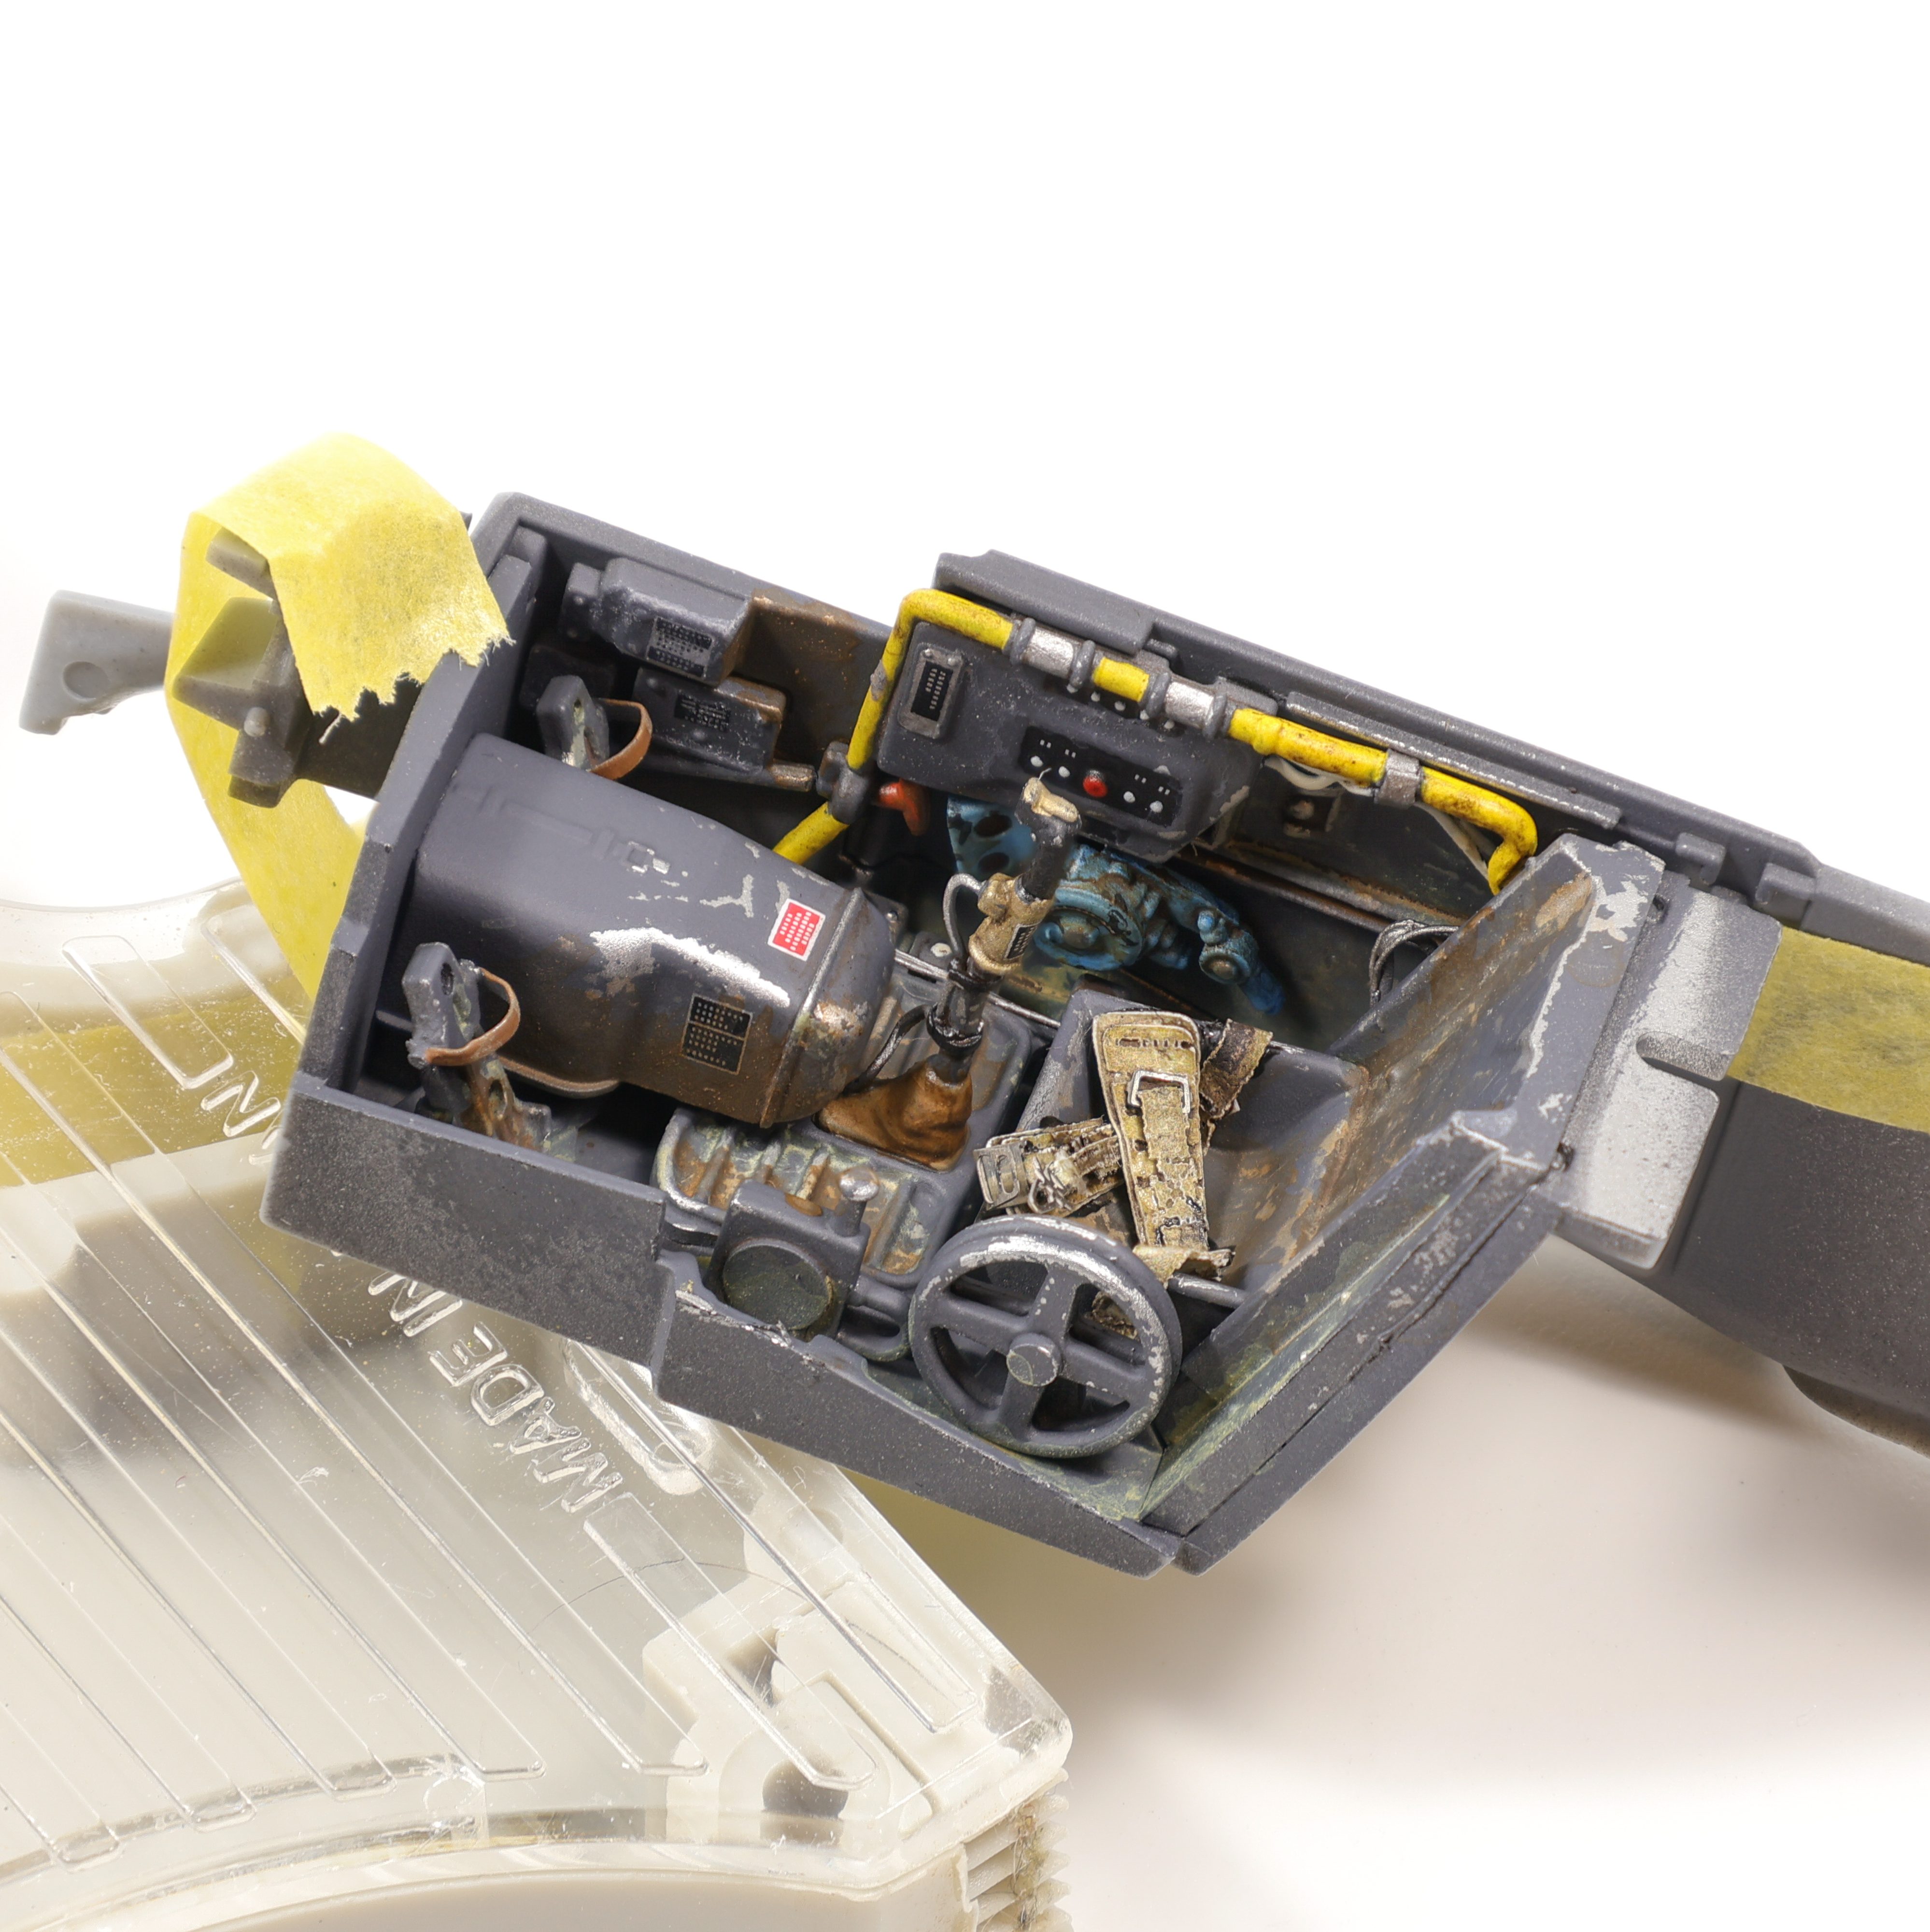
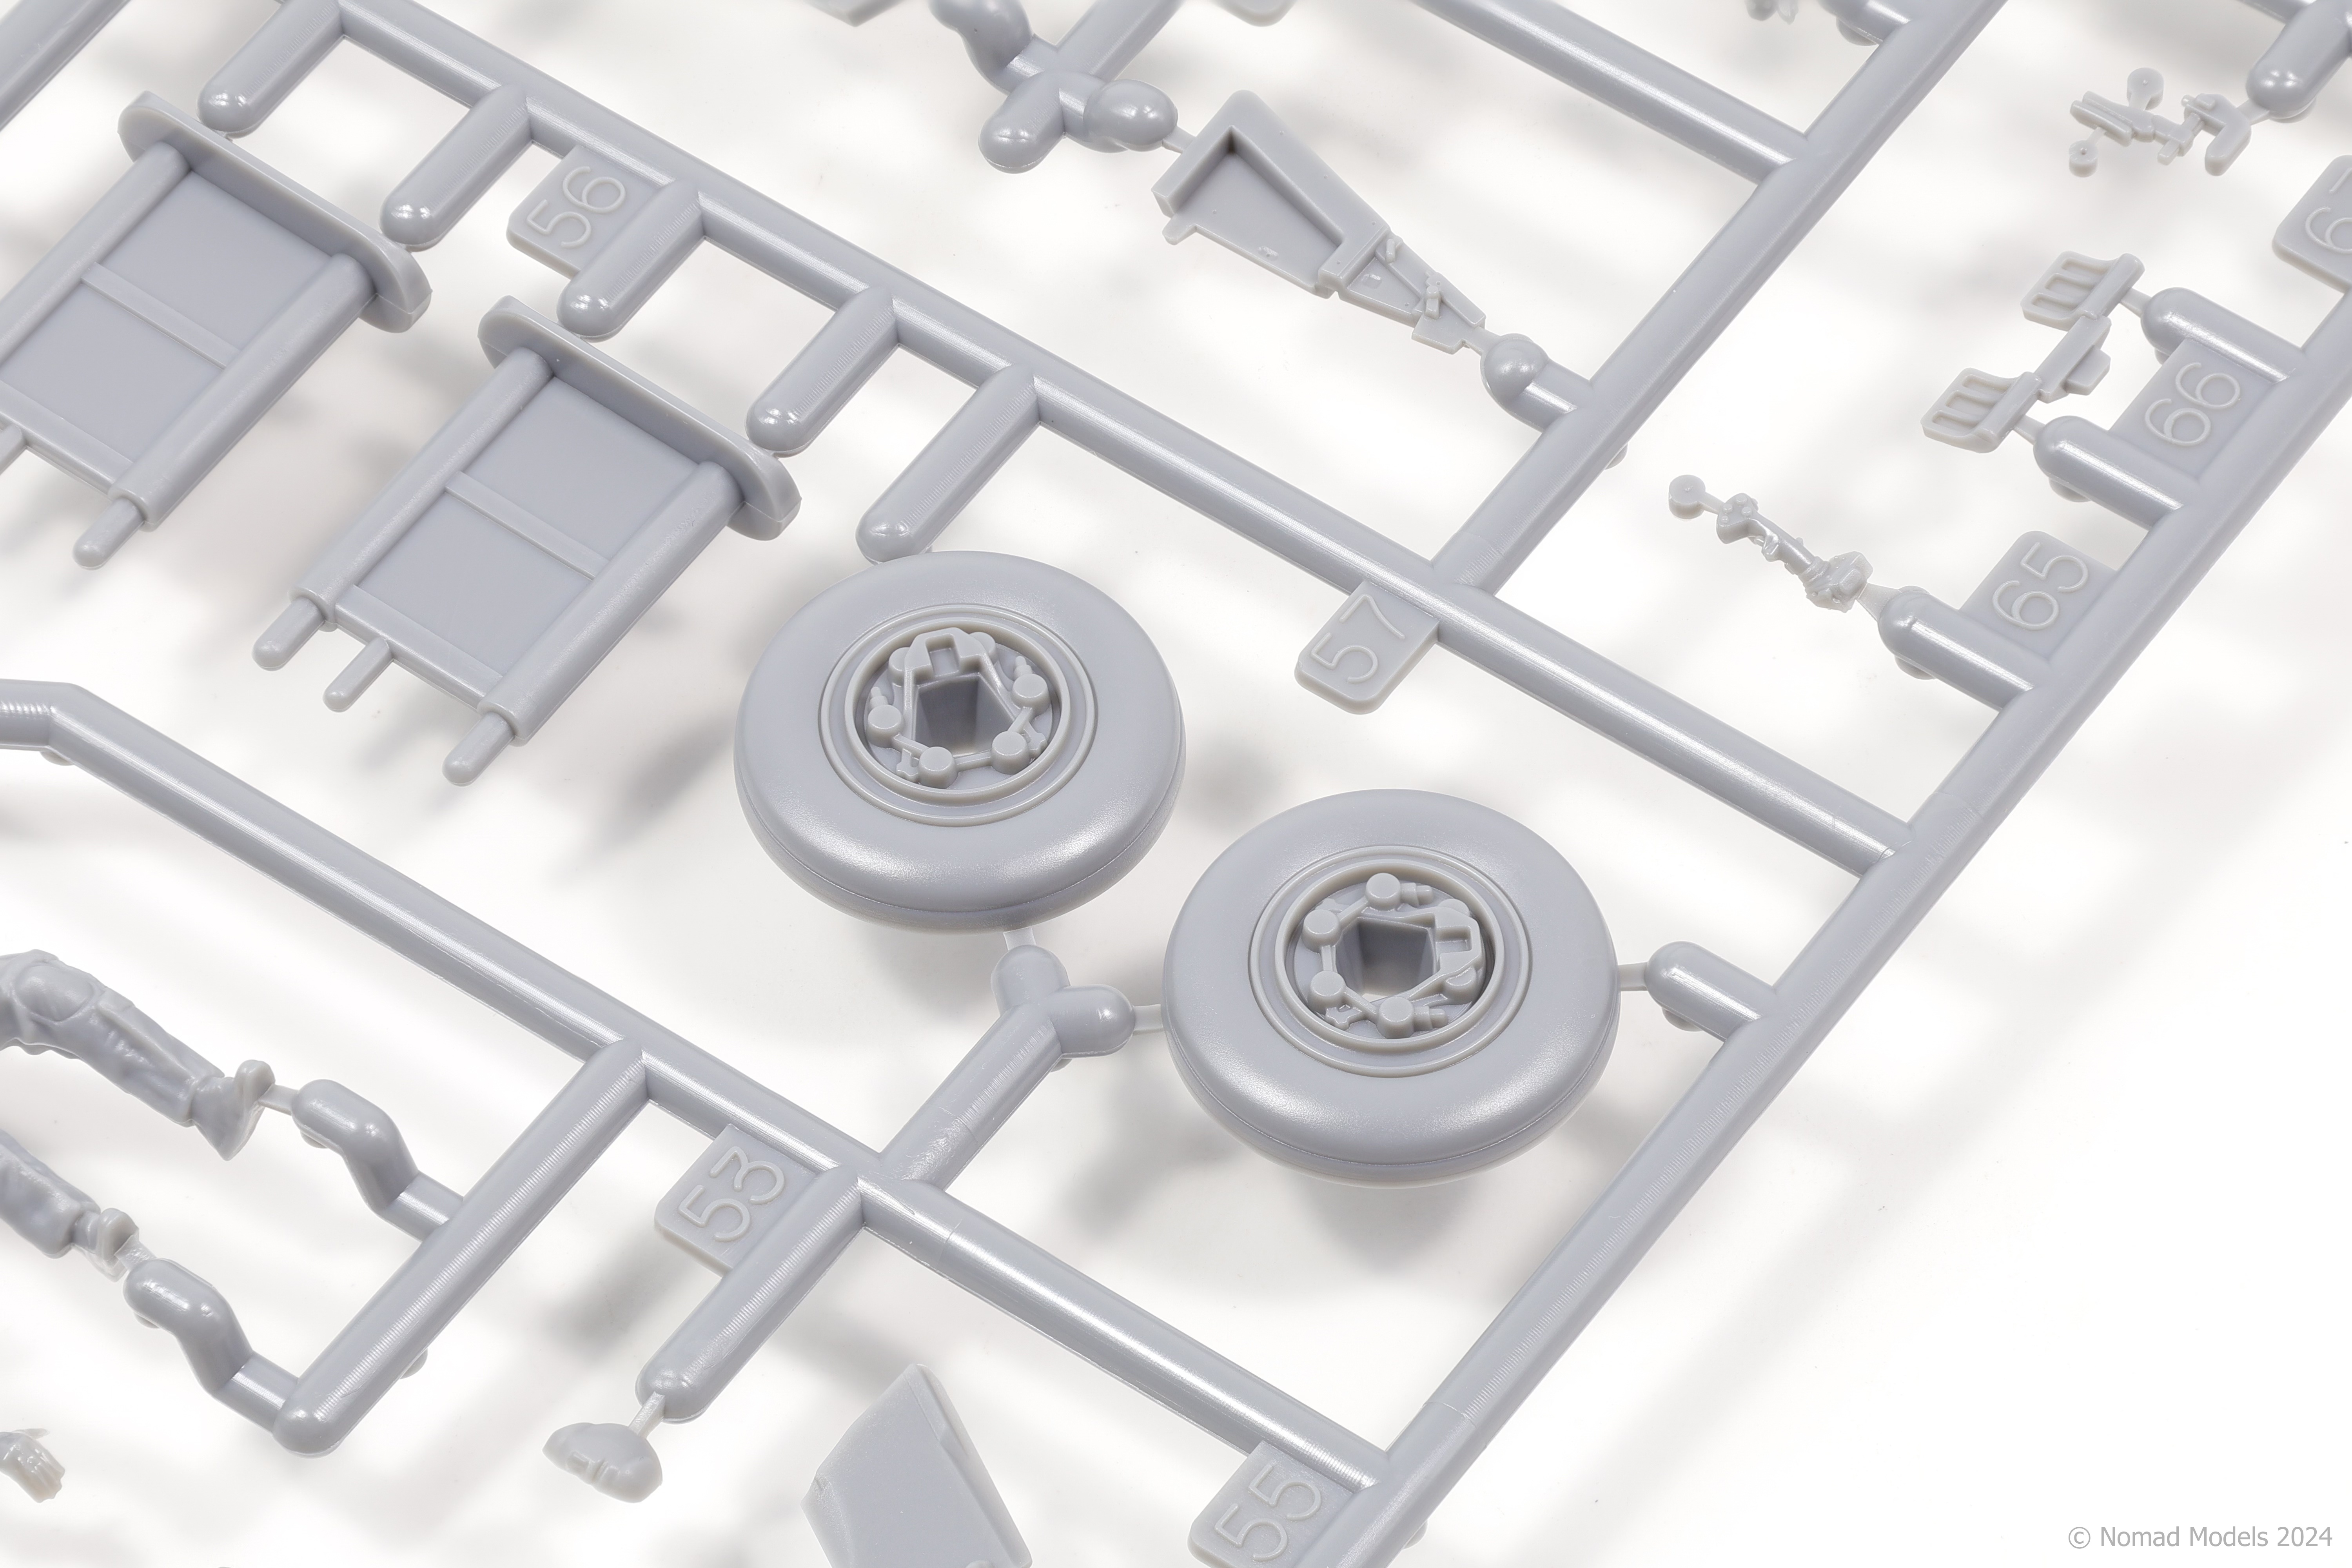
Some might notice the HGW belts in the above photos and in addition to the belts, I’m also planning on using HGW rivets in this build. For all the pros the Tamiya kit offers it still doesn’t include a fully riveted model like Eduard does. To rectify this and to experiment with a new product I picked up a full rivet set to see if this is a product I’ll consider purchasing in the future. Although this build is meant to be a fun side project to keep me occupied, it’s also a test bed for future builds.
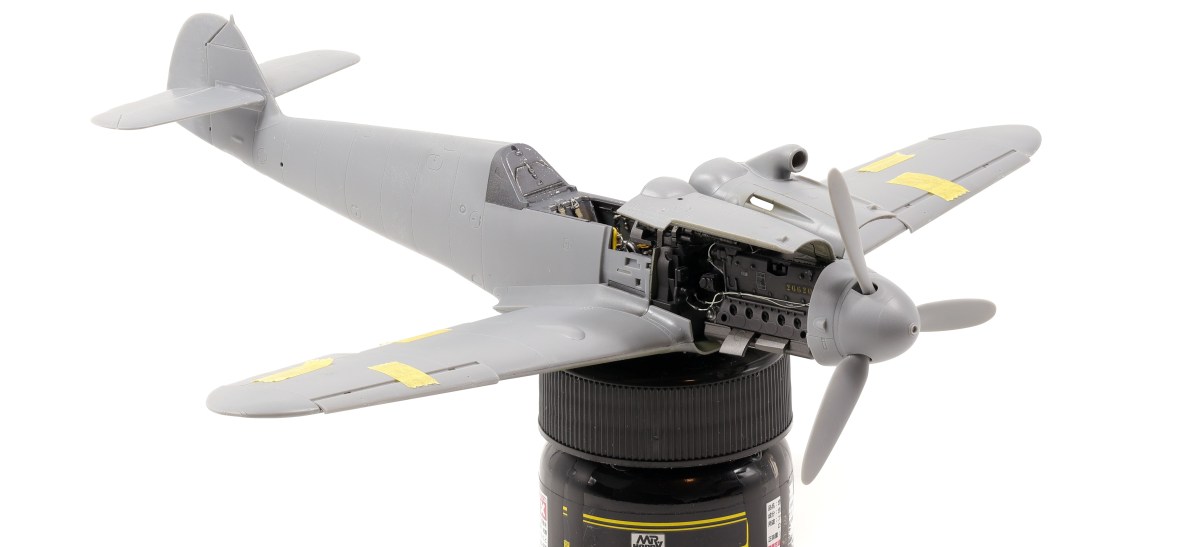
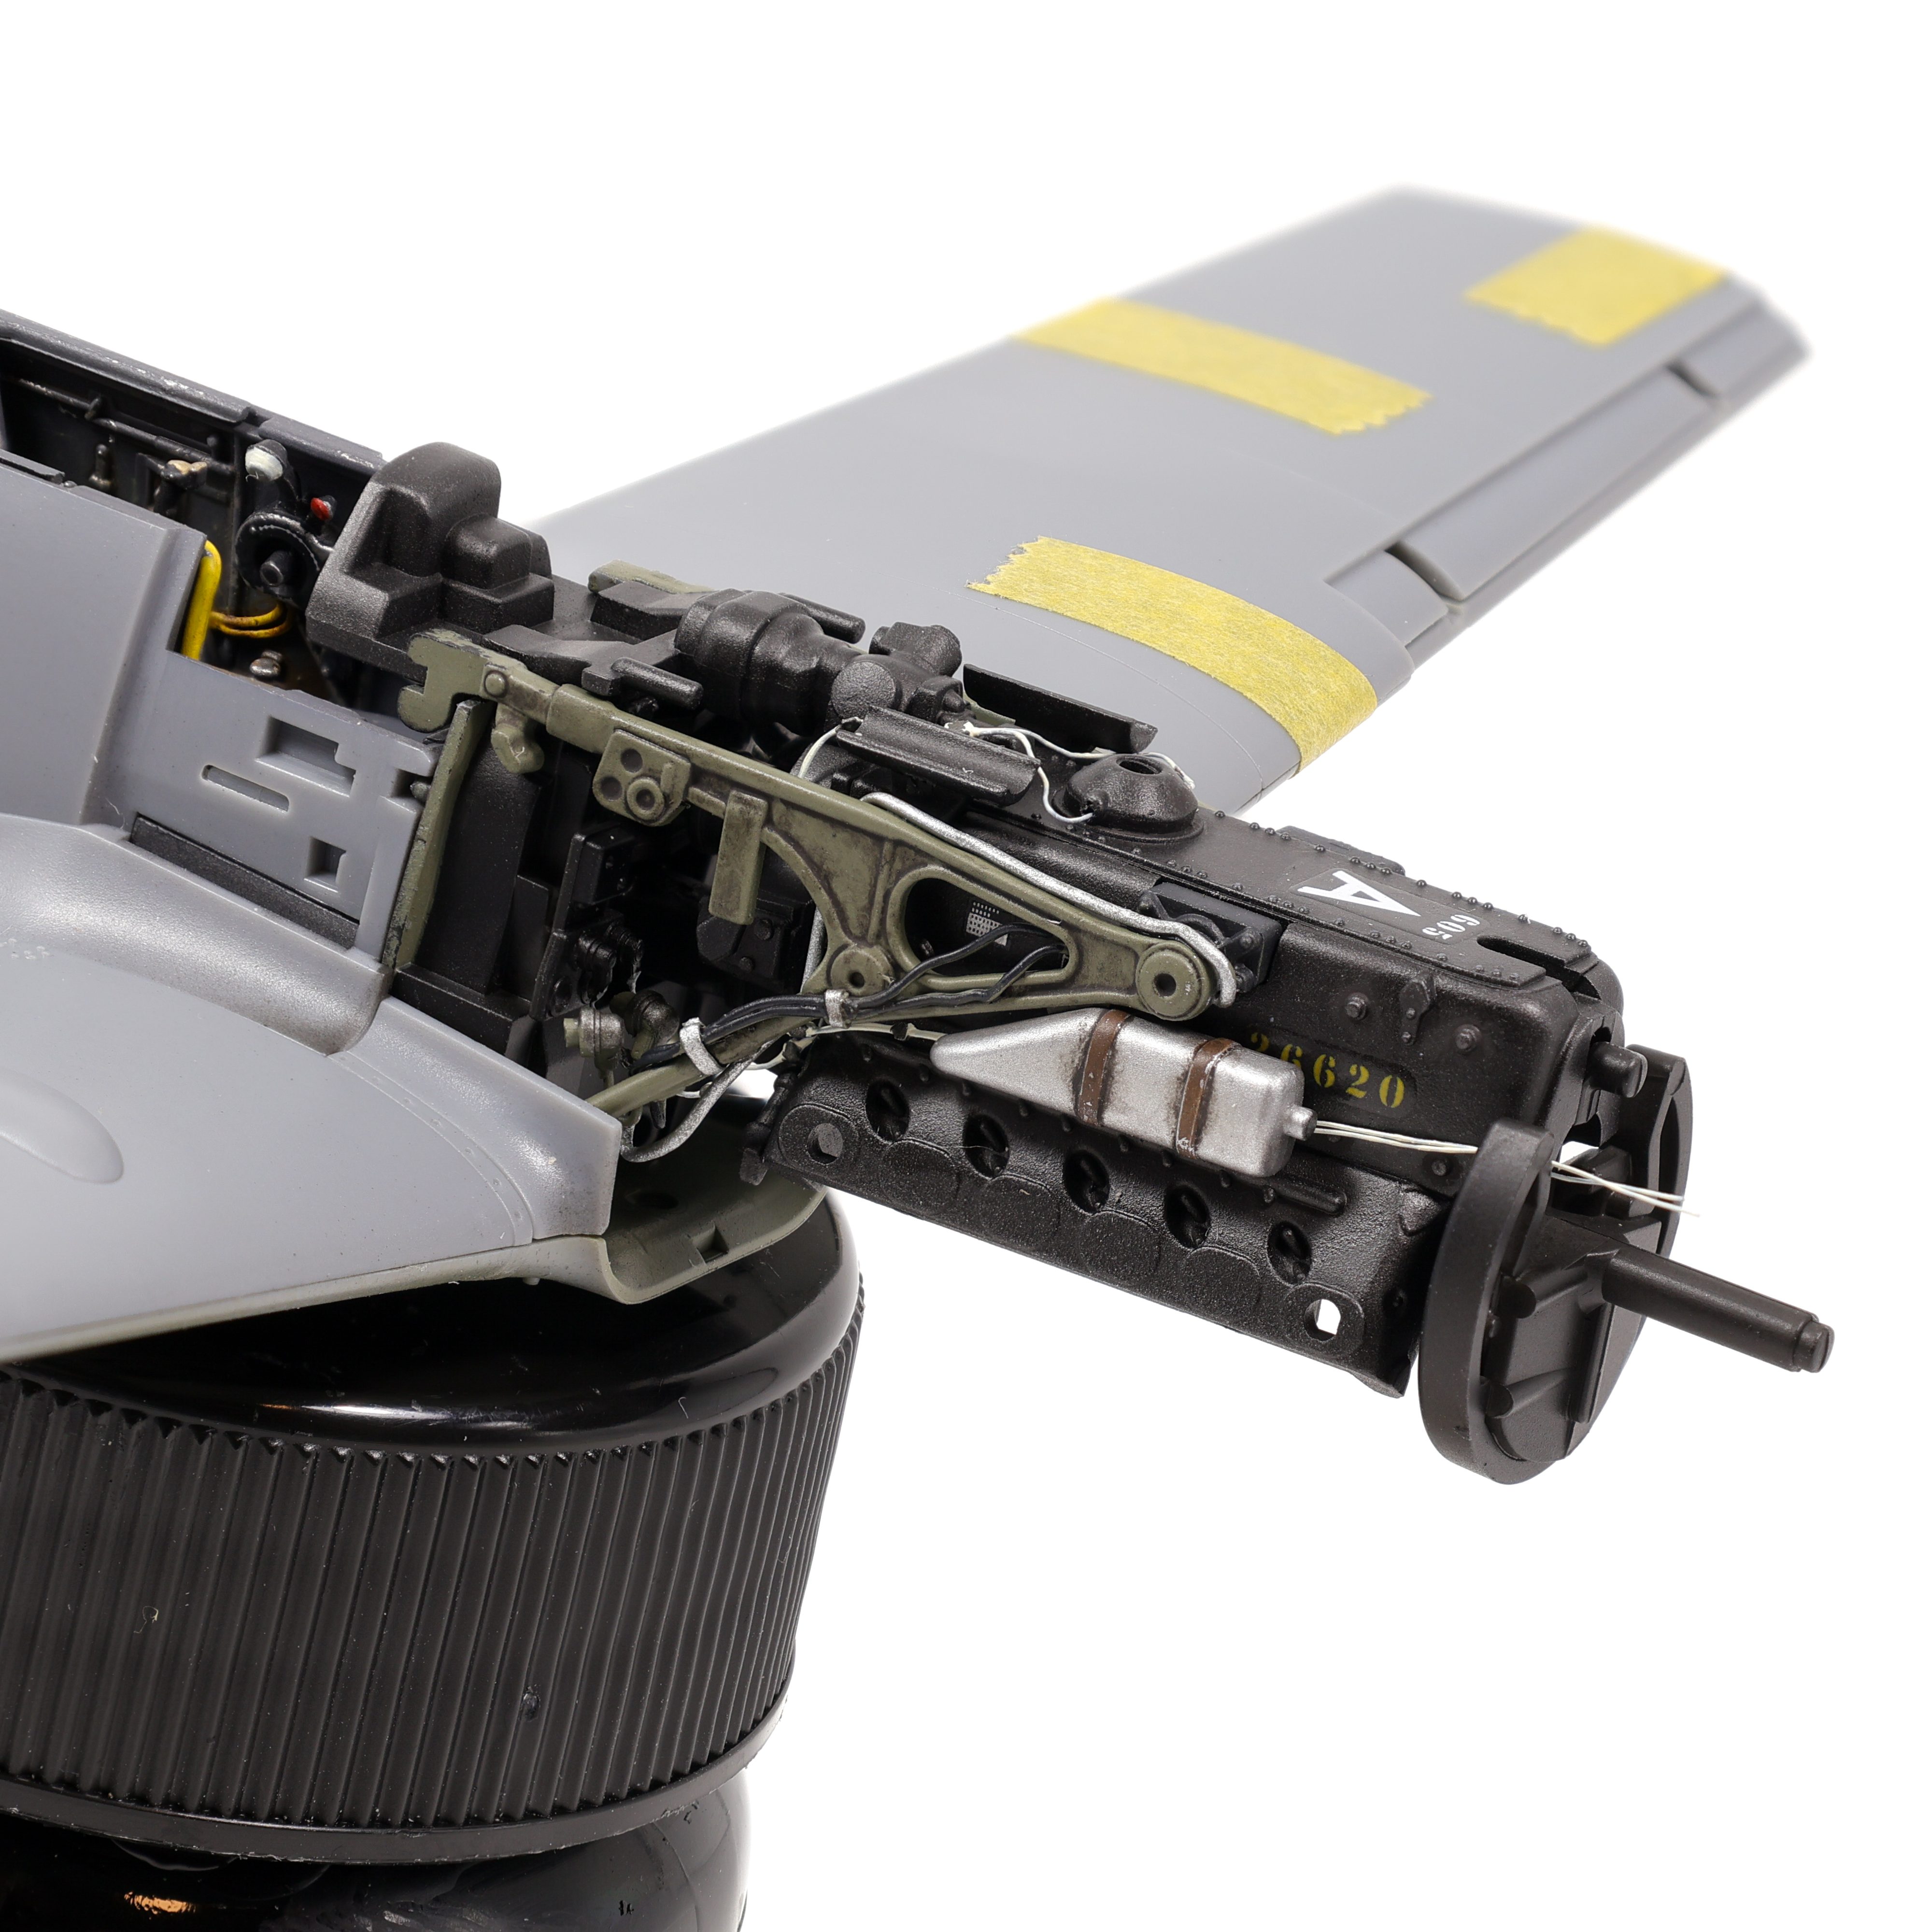
After major assembly was completed on the cockpit I sealed the cockpit halves and moved on to the engine assembly. The DB 605 engine is really nicely molded however I felt it was lacking some wiring detail. To rectify this I added a combination of 0.1mm copper wire and 0.2mm lead wire in various places to busy it up a bit. Although it’s not period specific, I used some avionic connectors from Anyz instead of having them go straight into the plastic.

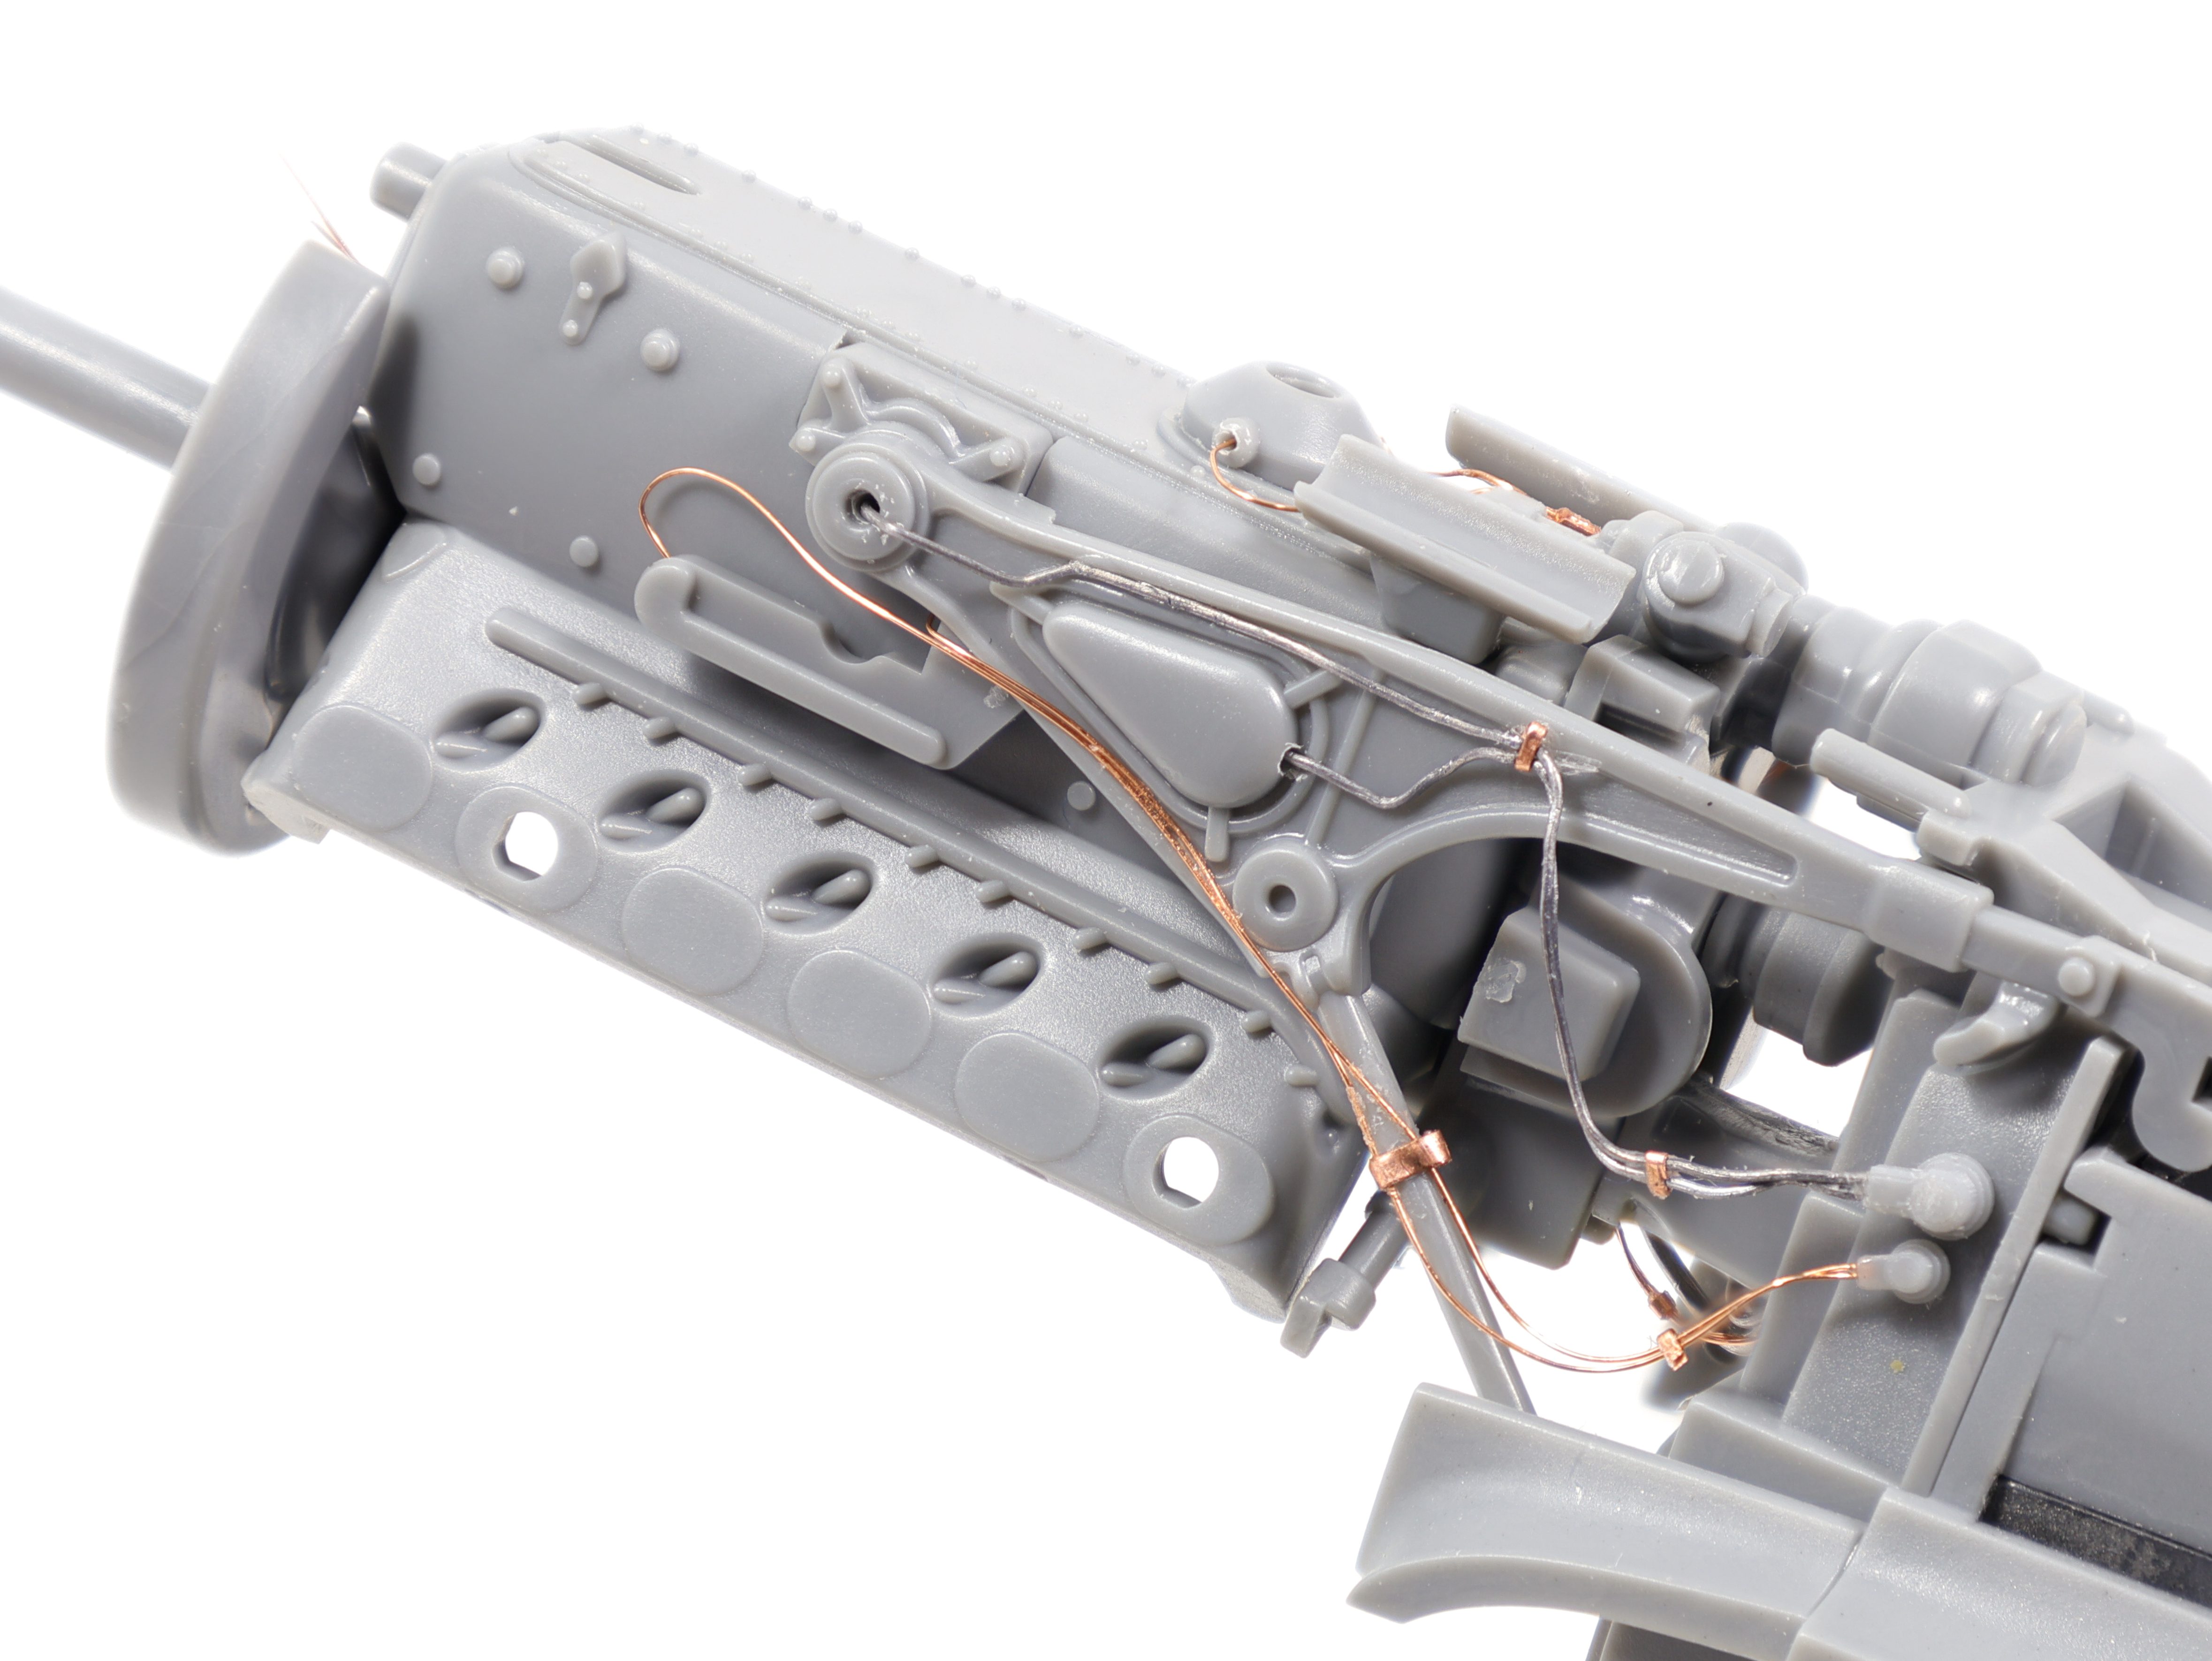
Because the engine had various different elements all in different colours I keep things detached to allow for easy painting. To start, I painted the engine block in MC214 “Dark Iron” These Mr. Metal Colours are really nice because they are bluffable and have a really nice sheen when polished. The “Dark Iron” shade was exactly what I was looking for and finishes as a very dark, almost black, grey.

I painted the engine mounting arms with RLM 02 and after adding a few accents of aluminum it was time to bring everything together for a mockup:
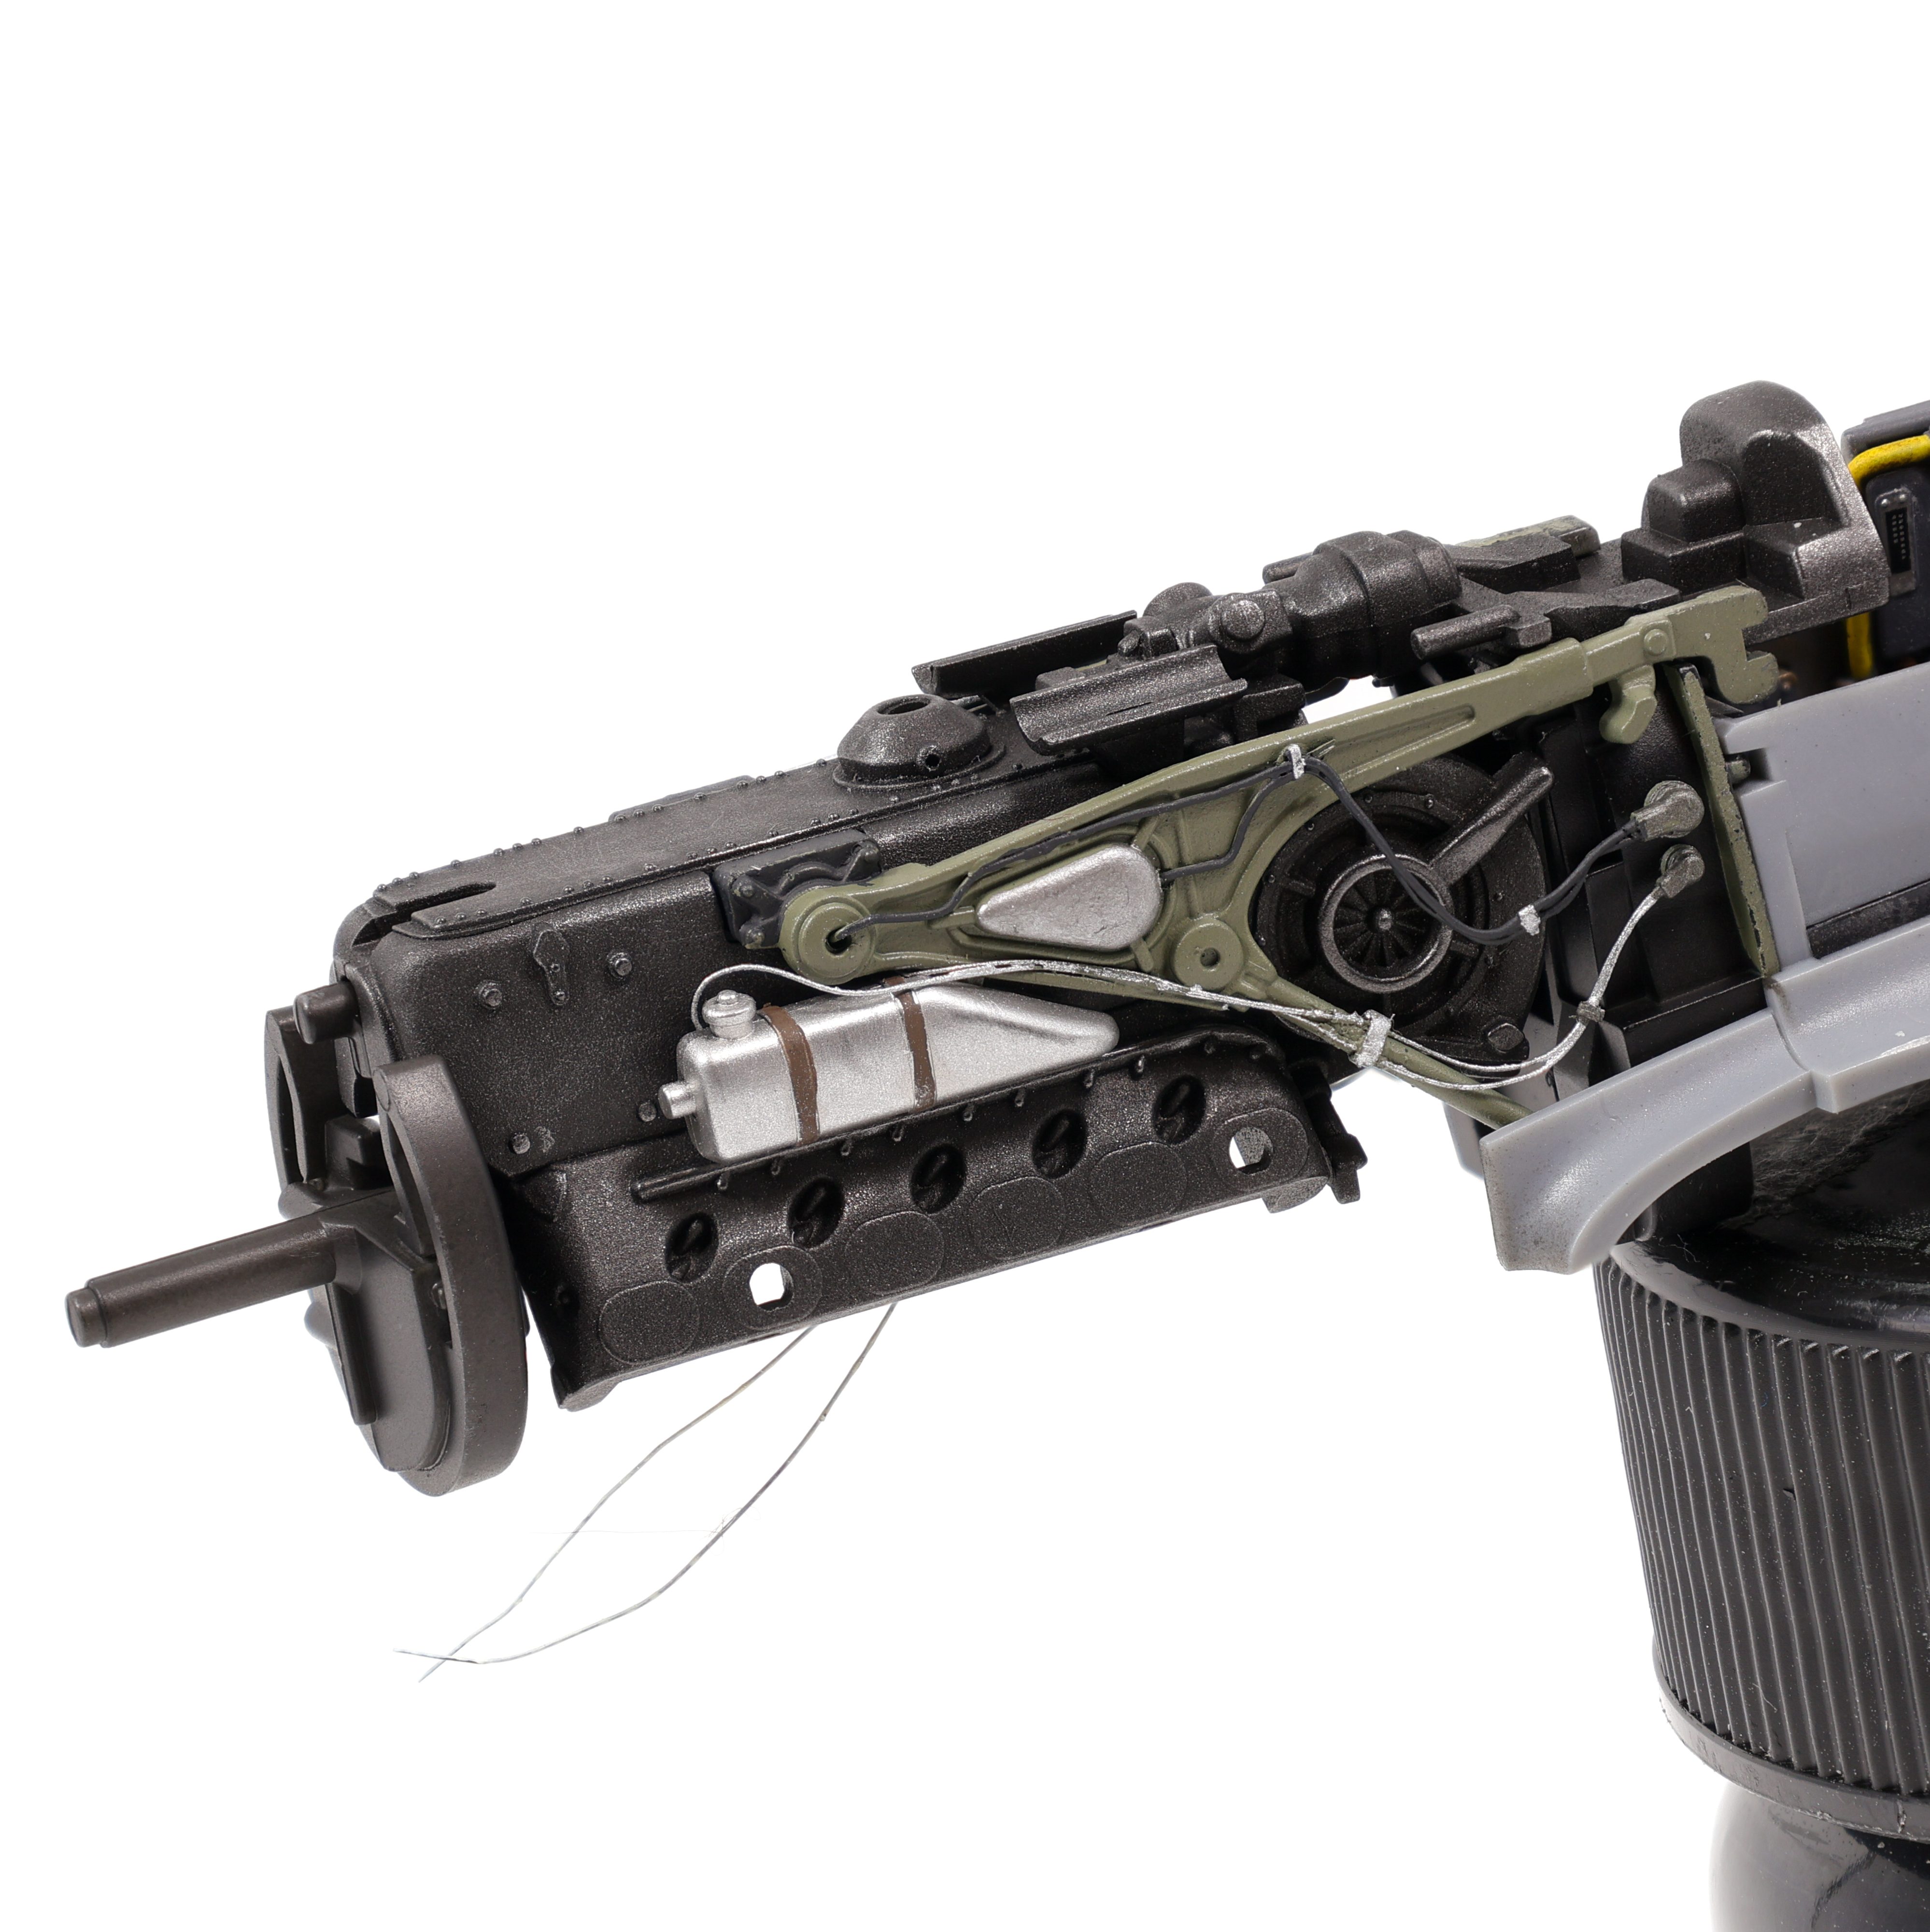
I have to admit the DB 605 builds up to a pretty nice looking engine! After the painting was completed I hit the engine section with another coat of VMS Satin varnish for the decals and weathering. For the decals I did opt to used some of the kit supplied decals as there are some specific markings that need to be added for the engine to be accurate. Along with the kit decals, I also added some Anyz placards although the majority of them ended up not being visible in the final product. After decals I opted to revert back to oils for the weathering and used some Abteilung 502 “Bitume” mixed with straight black for a very dark grime wash. I left the weathering at that as I wanted a dirty, yet restrained, look to the weathering on the engine section. After applying a final flat coat to seal everything together I dry brushed some graphite powder over the engine block to represent wear on the edges and give a nice metallic look.


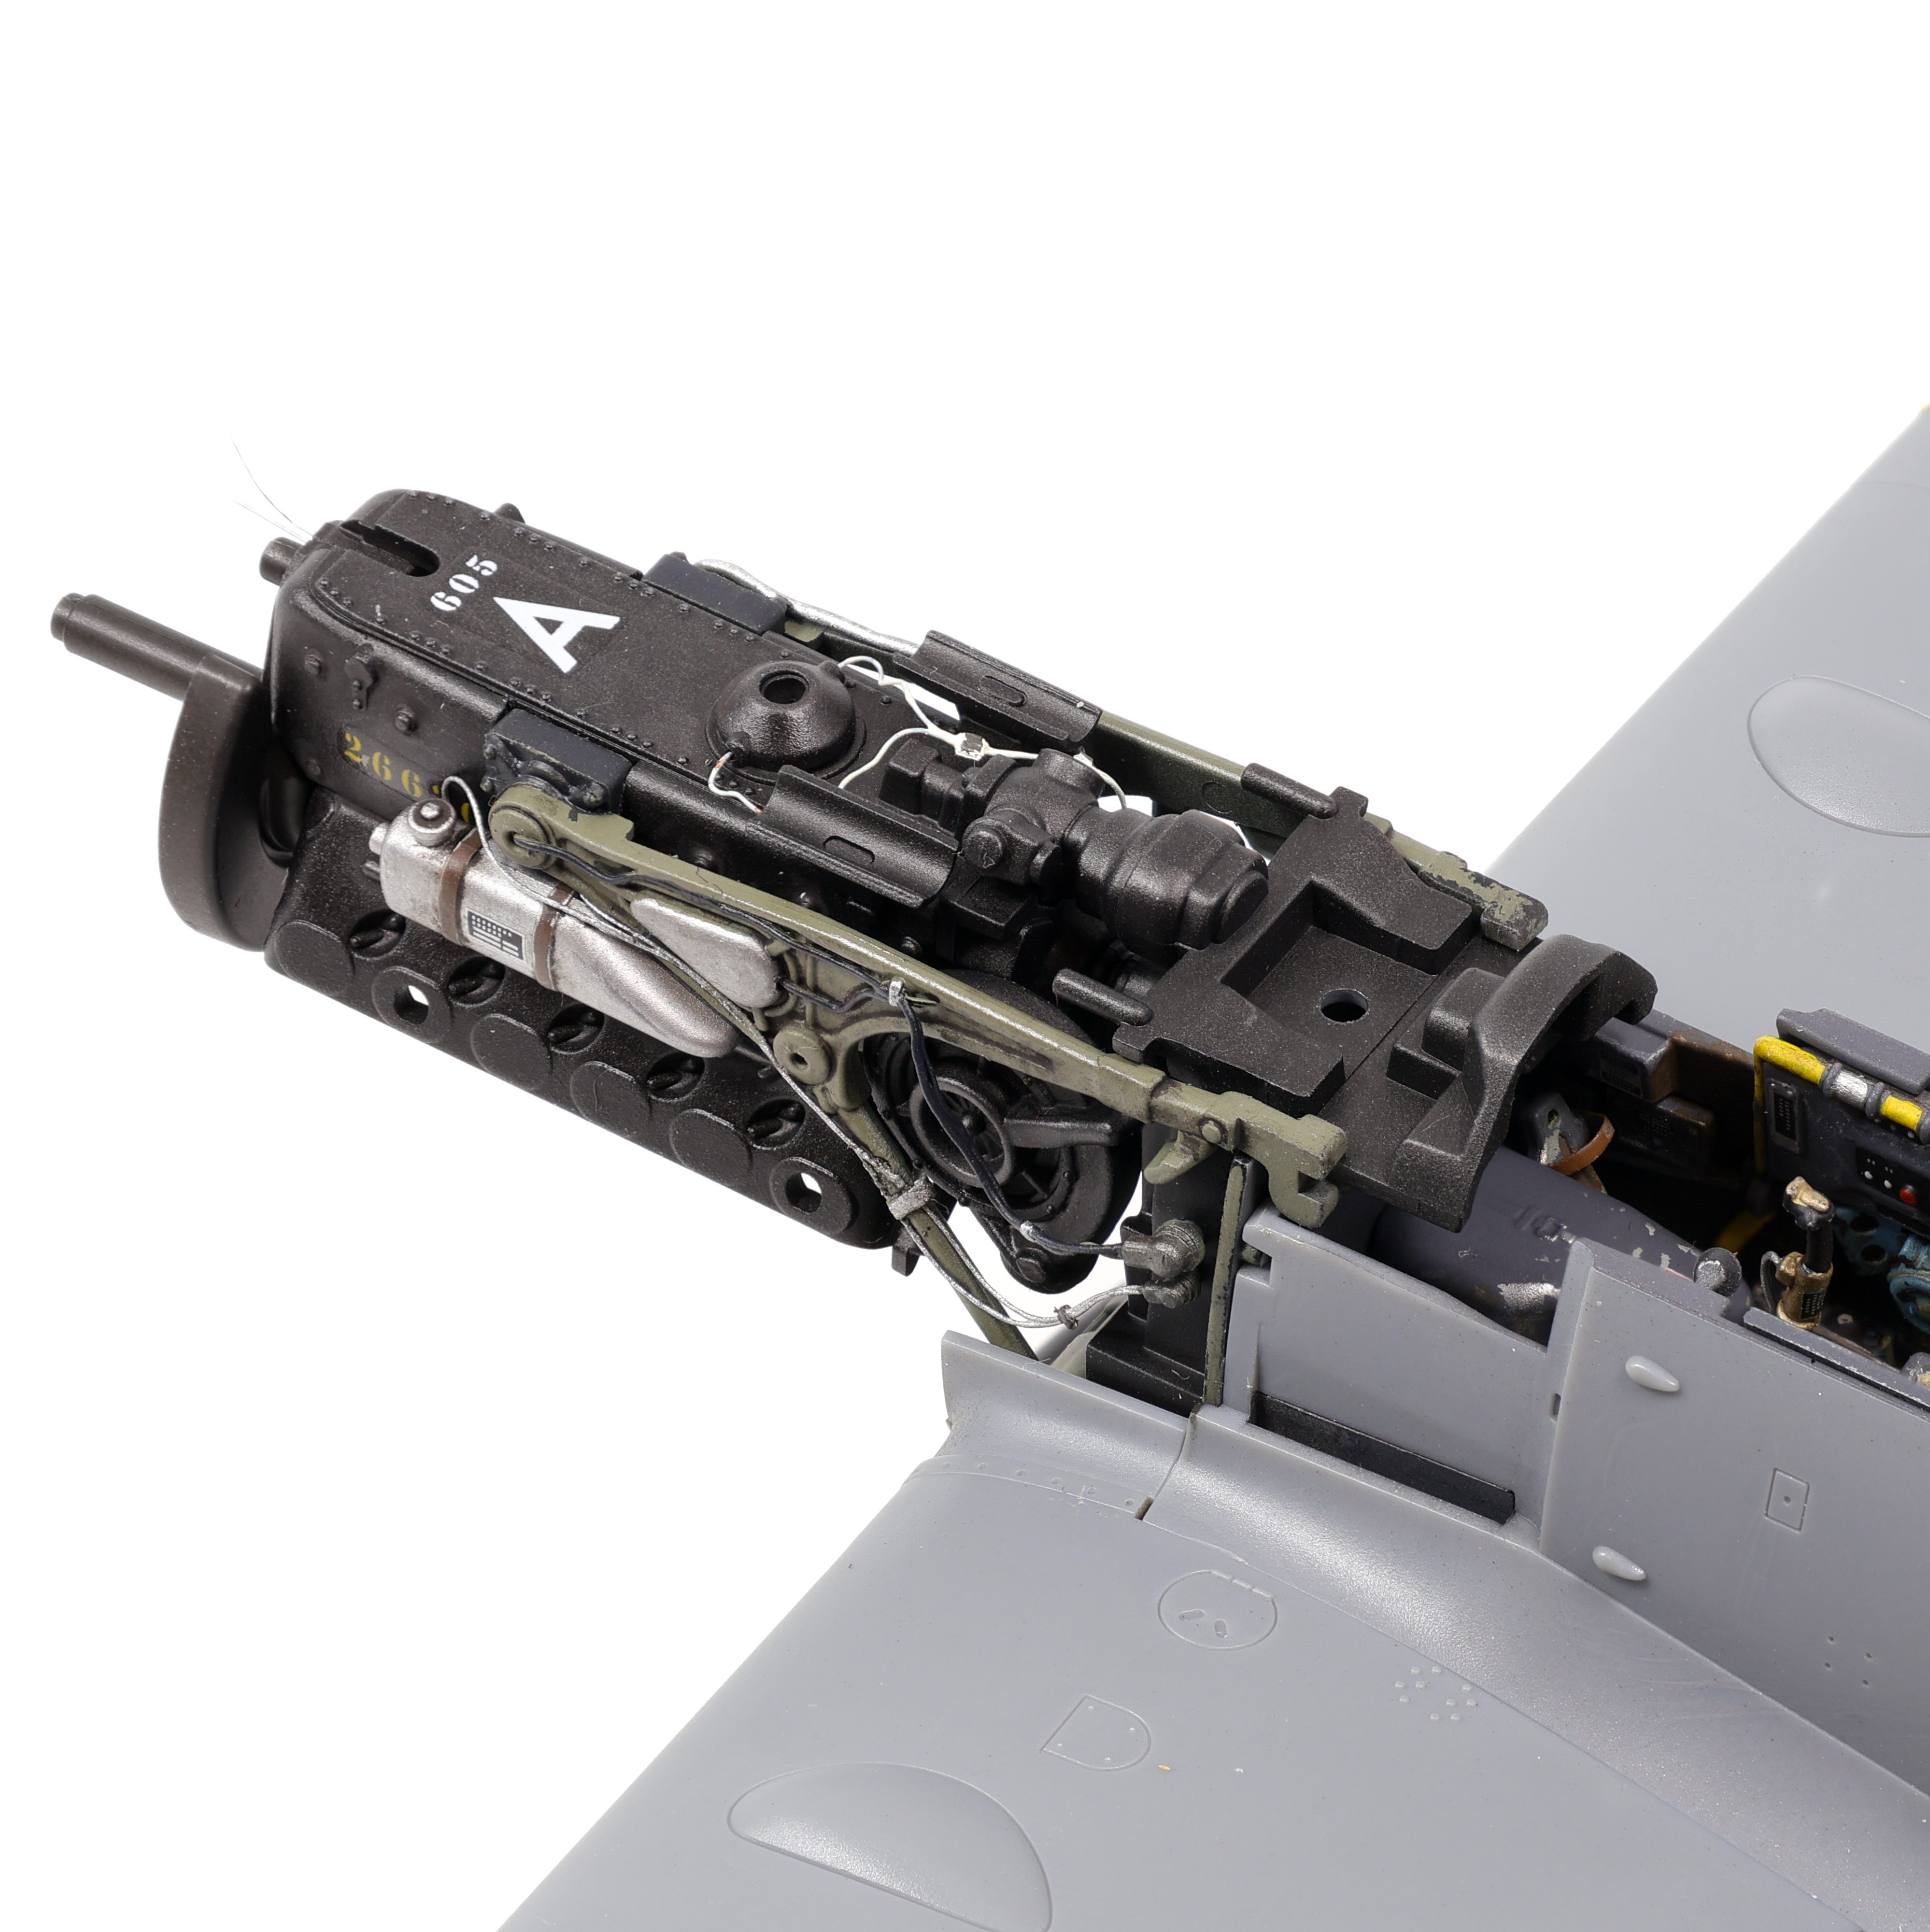
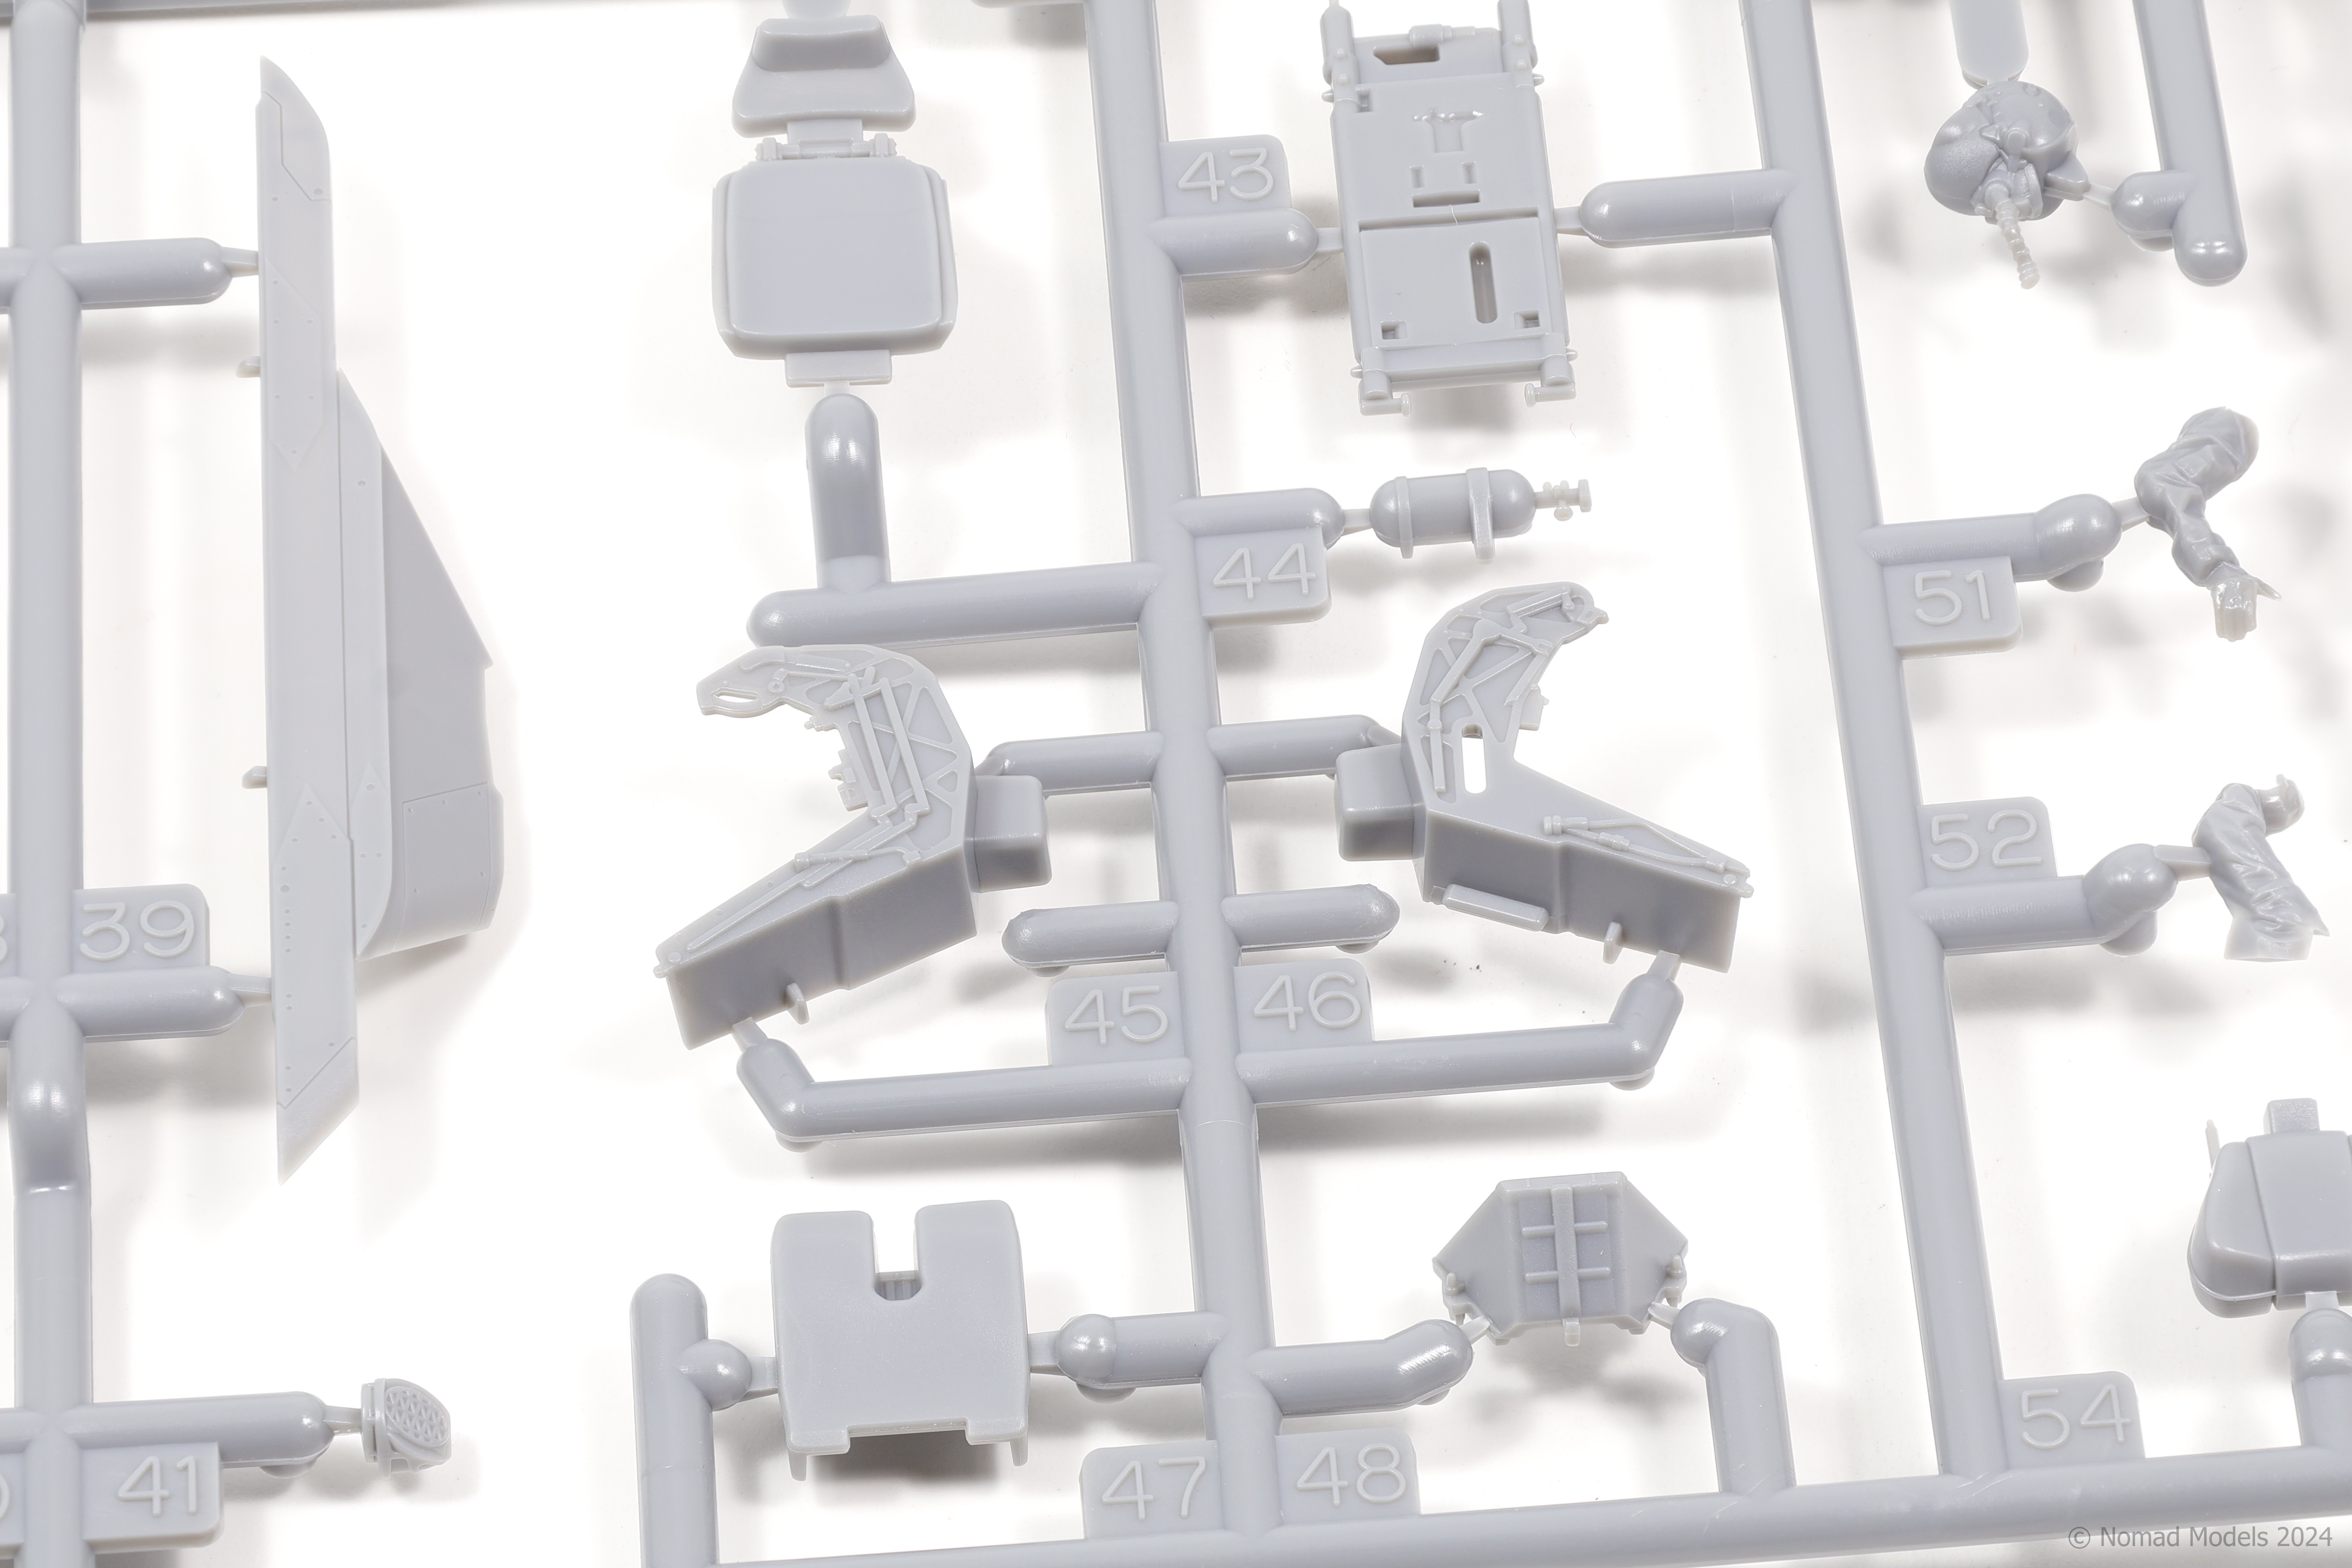
Now that the cockpit and engine subassemblies were complete, I was able to move on to further steps of the build, namely building out the rest of the fuselage and the control surfaces. The control surfaces needed some work as the HGW rivet set comes with decals for the fabric surfaces which required removal of the molded on details. I put together the frontal section including the prop and spinner along with the oil cooler assembly that hangs beneath the engine. I also got to work building up the engine panels that would be posed in the open position above the engine. With these additions this build was looking more and more like a Bf-109!
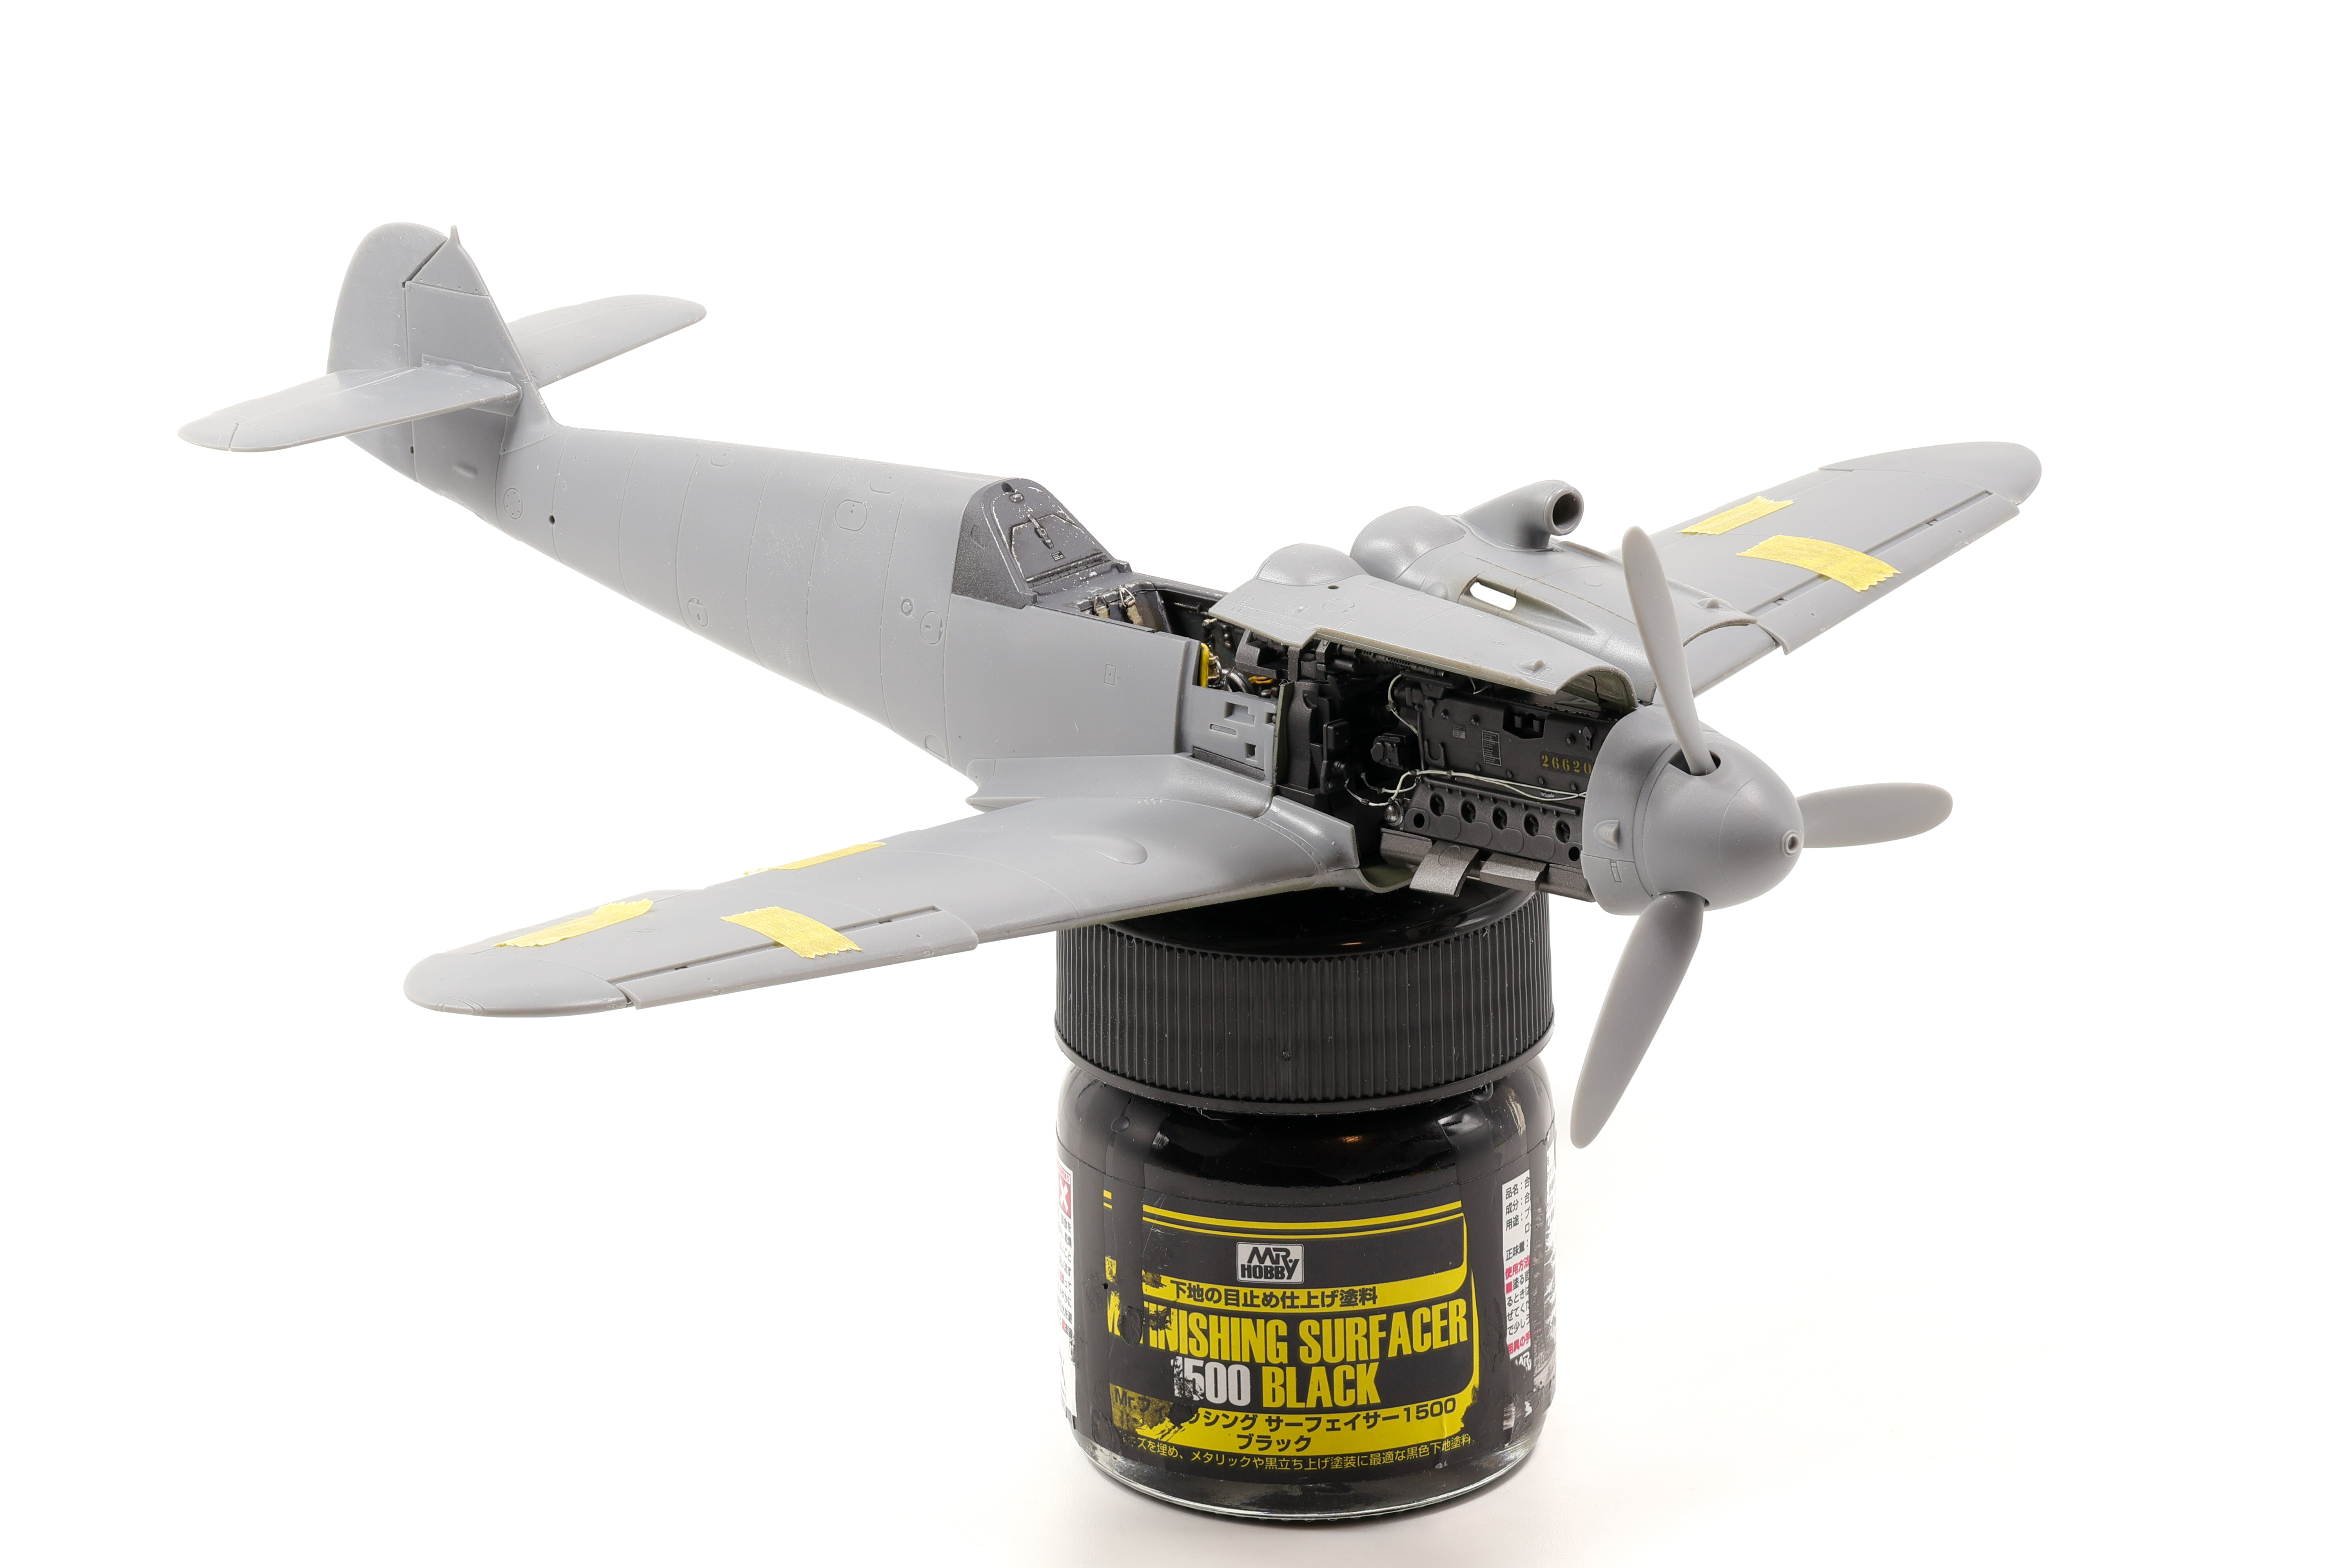

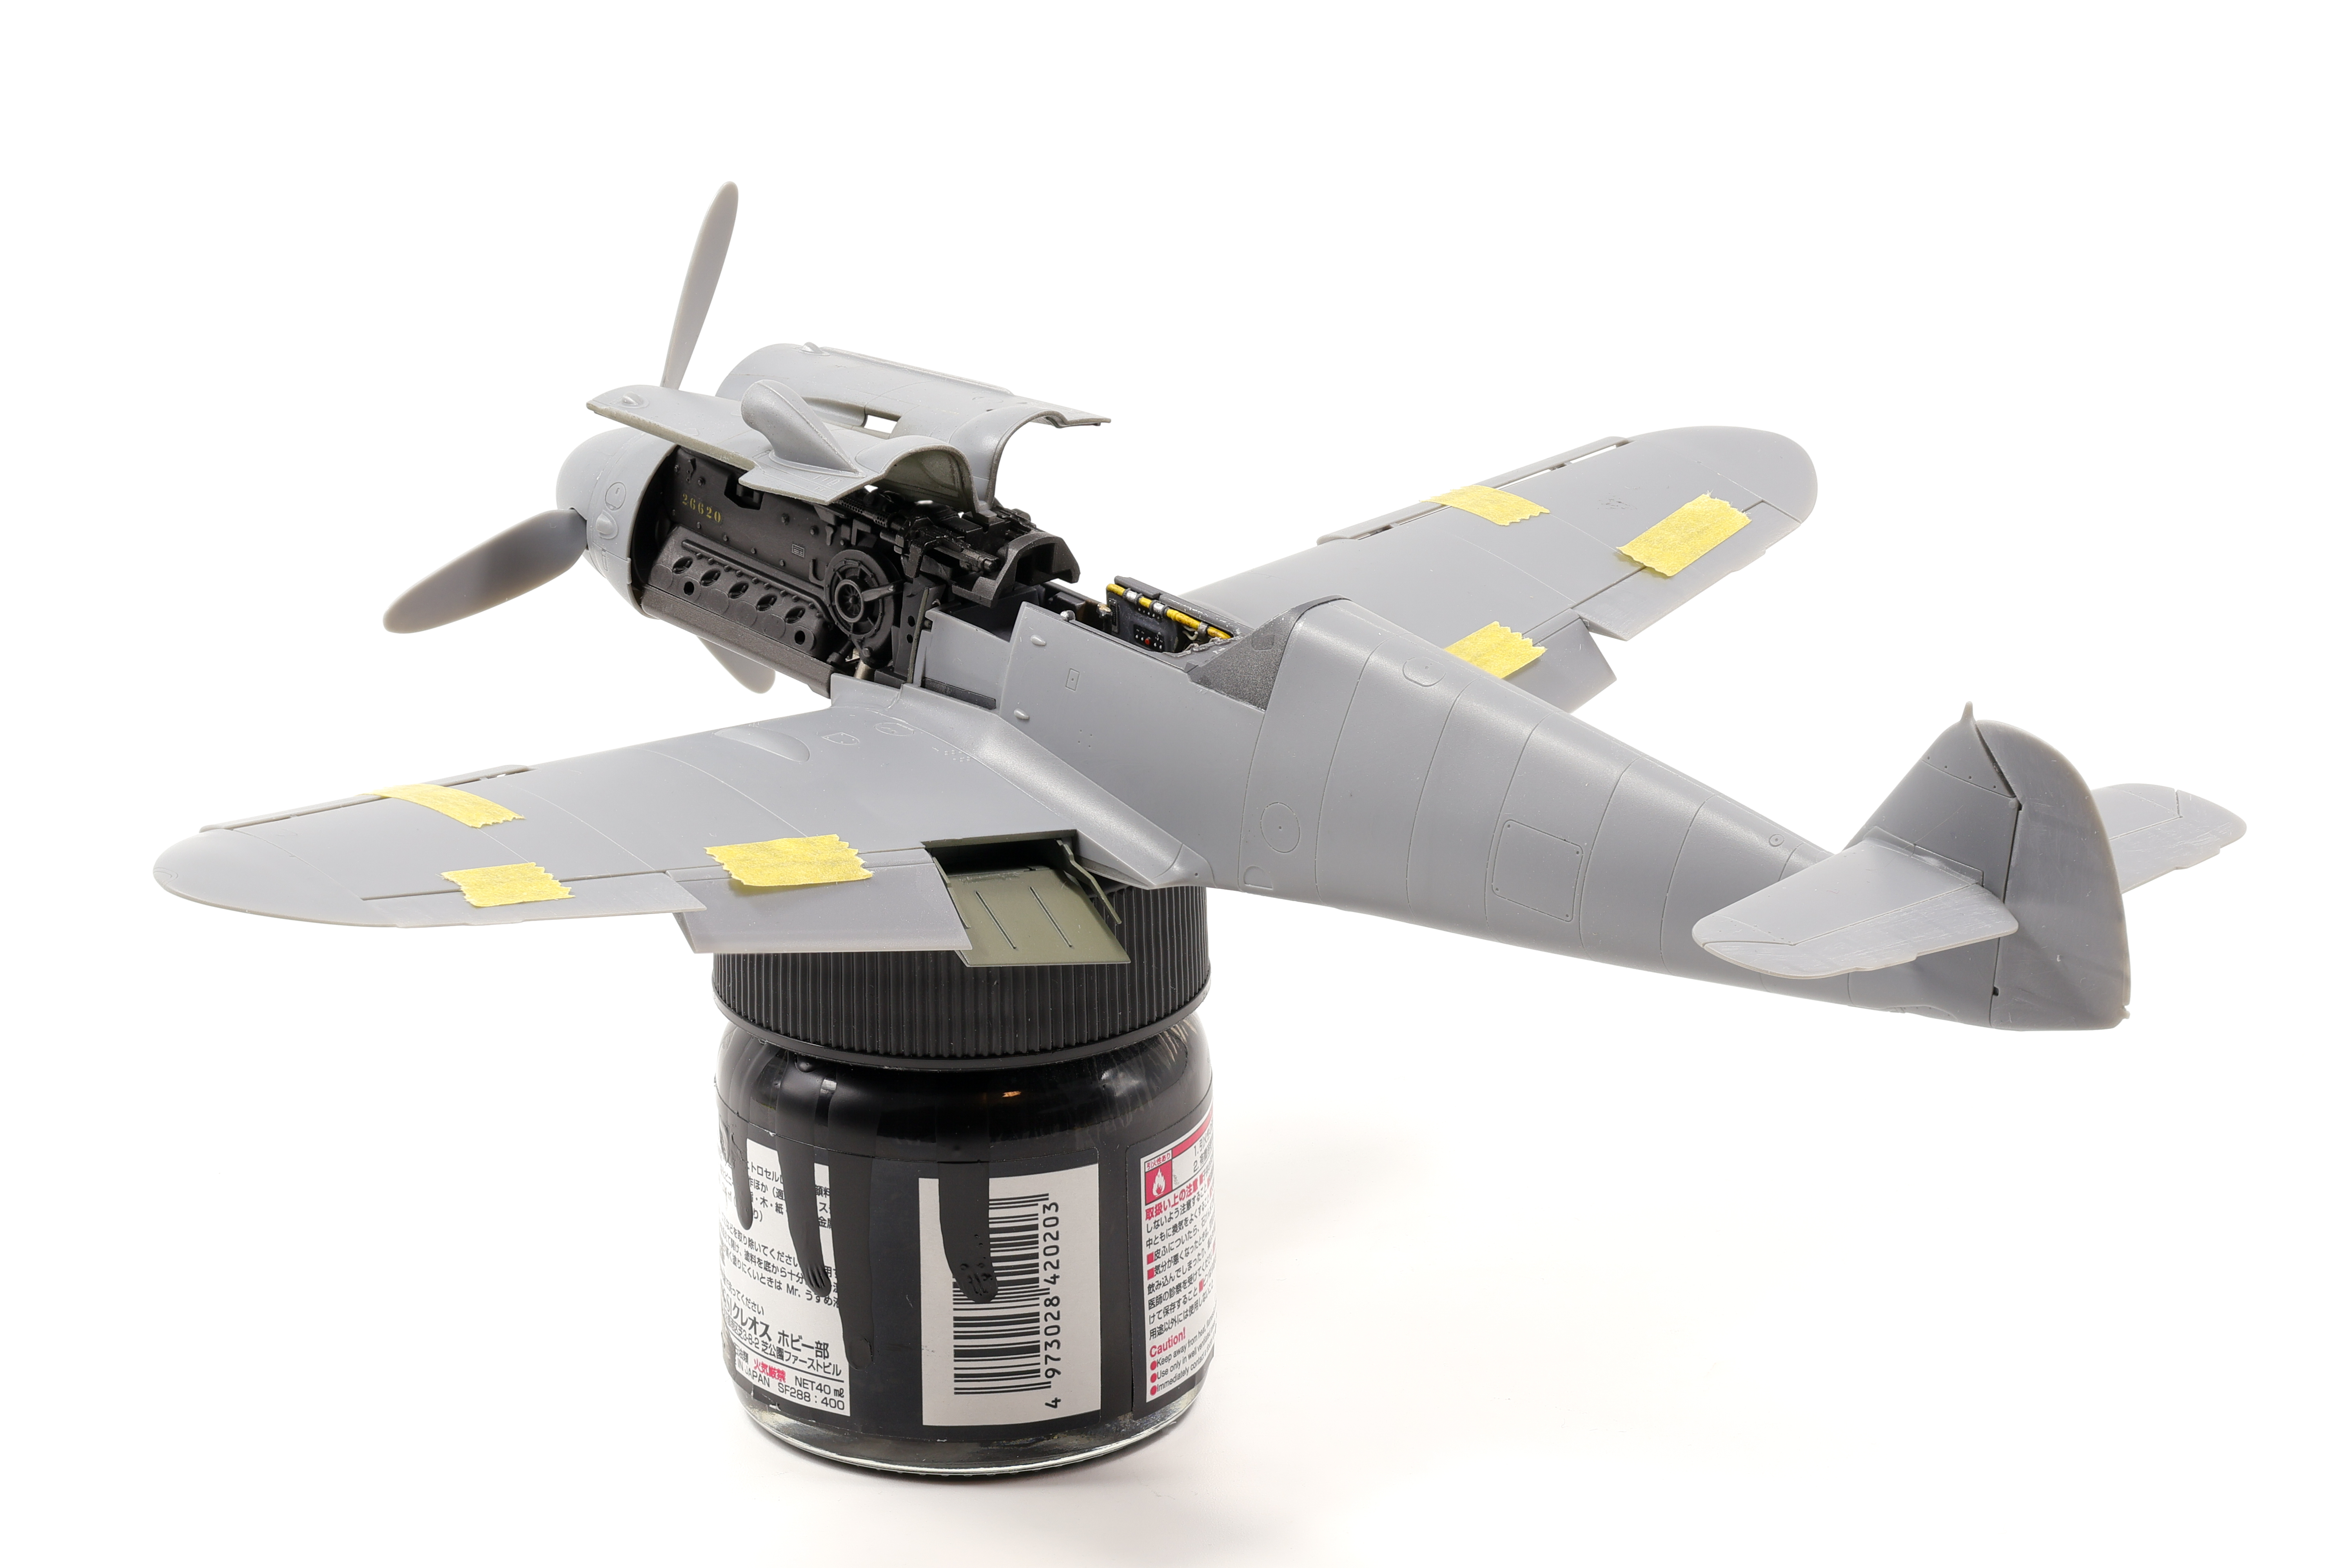

After verifying fit of these components it was time to disassemble these parts in preparation for painting. At first I was a bit at a loss for how to mask off the engine section. It’s a fairly complex shape and it’s difficult to seal of the entire compartment. To solve this issue, I first wrapped the engine in tape and then used masking fluid to seal off the large gaps in engine cowling, forward of the cockpit. I’m pretty pleased with this solution but only time will tell if I was successful in my approach.

That’s it for now, next up is the priming and application of the HGW rivets!