Categories
1:48 Aircraft In Box Reviews

Eduard F6F-5 Hellcat (Late) In Box Review

Kit Features: 16/20

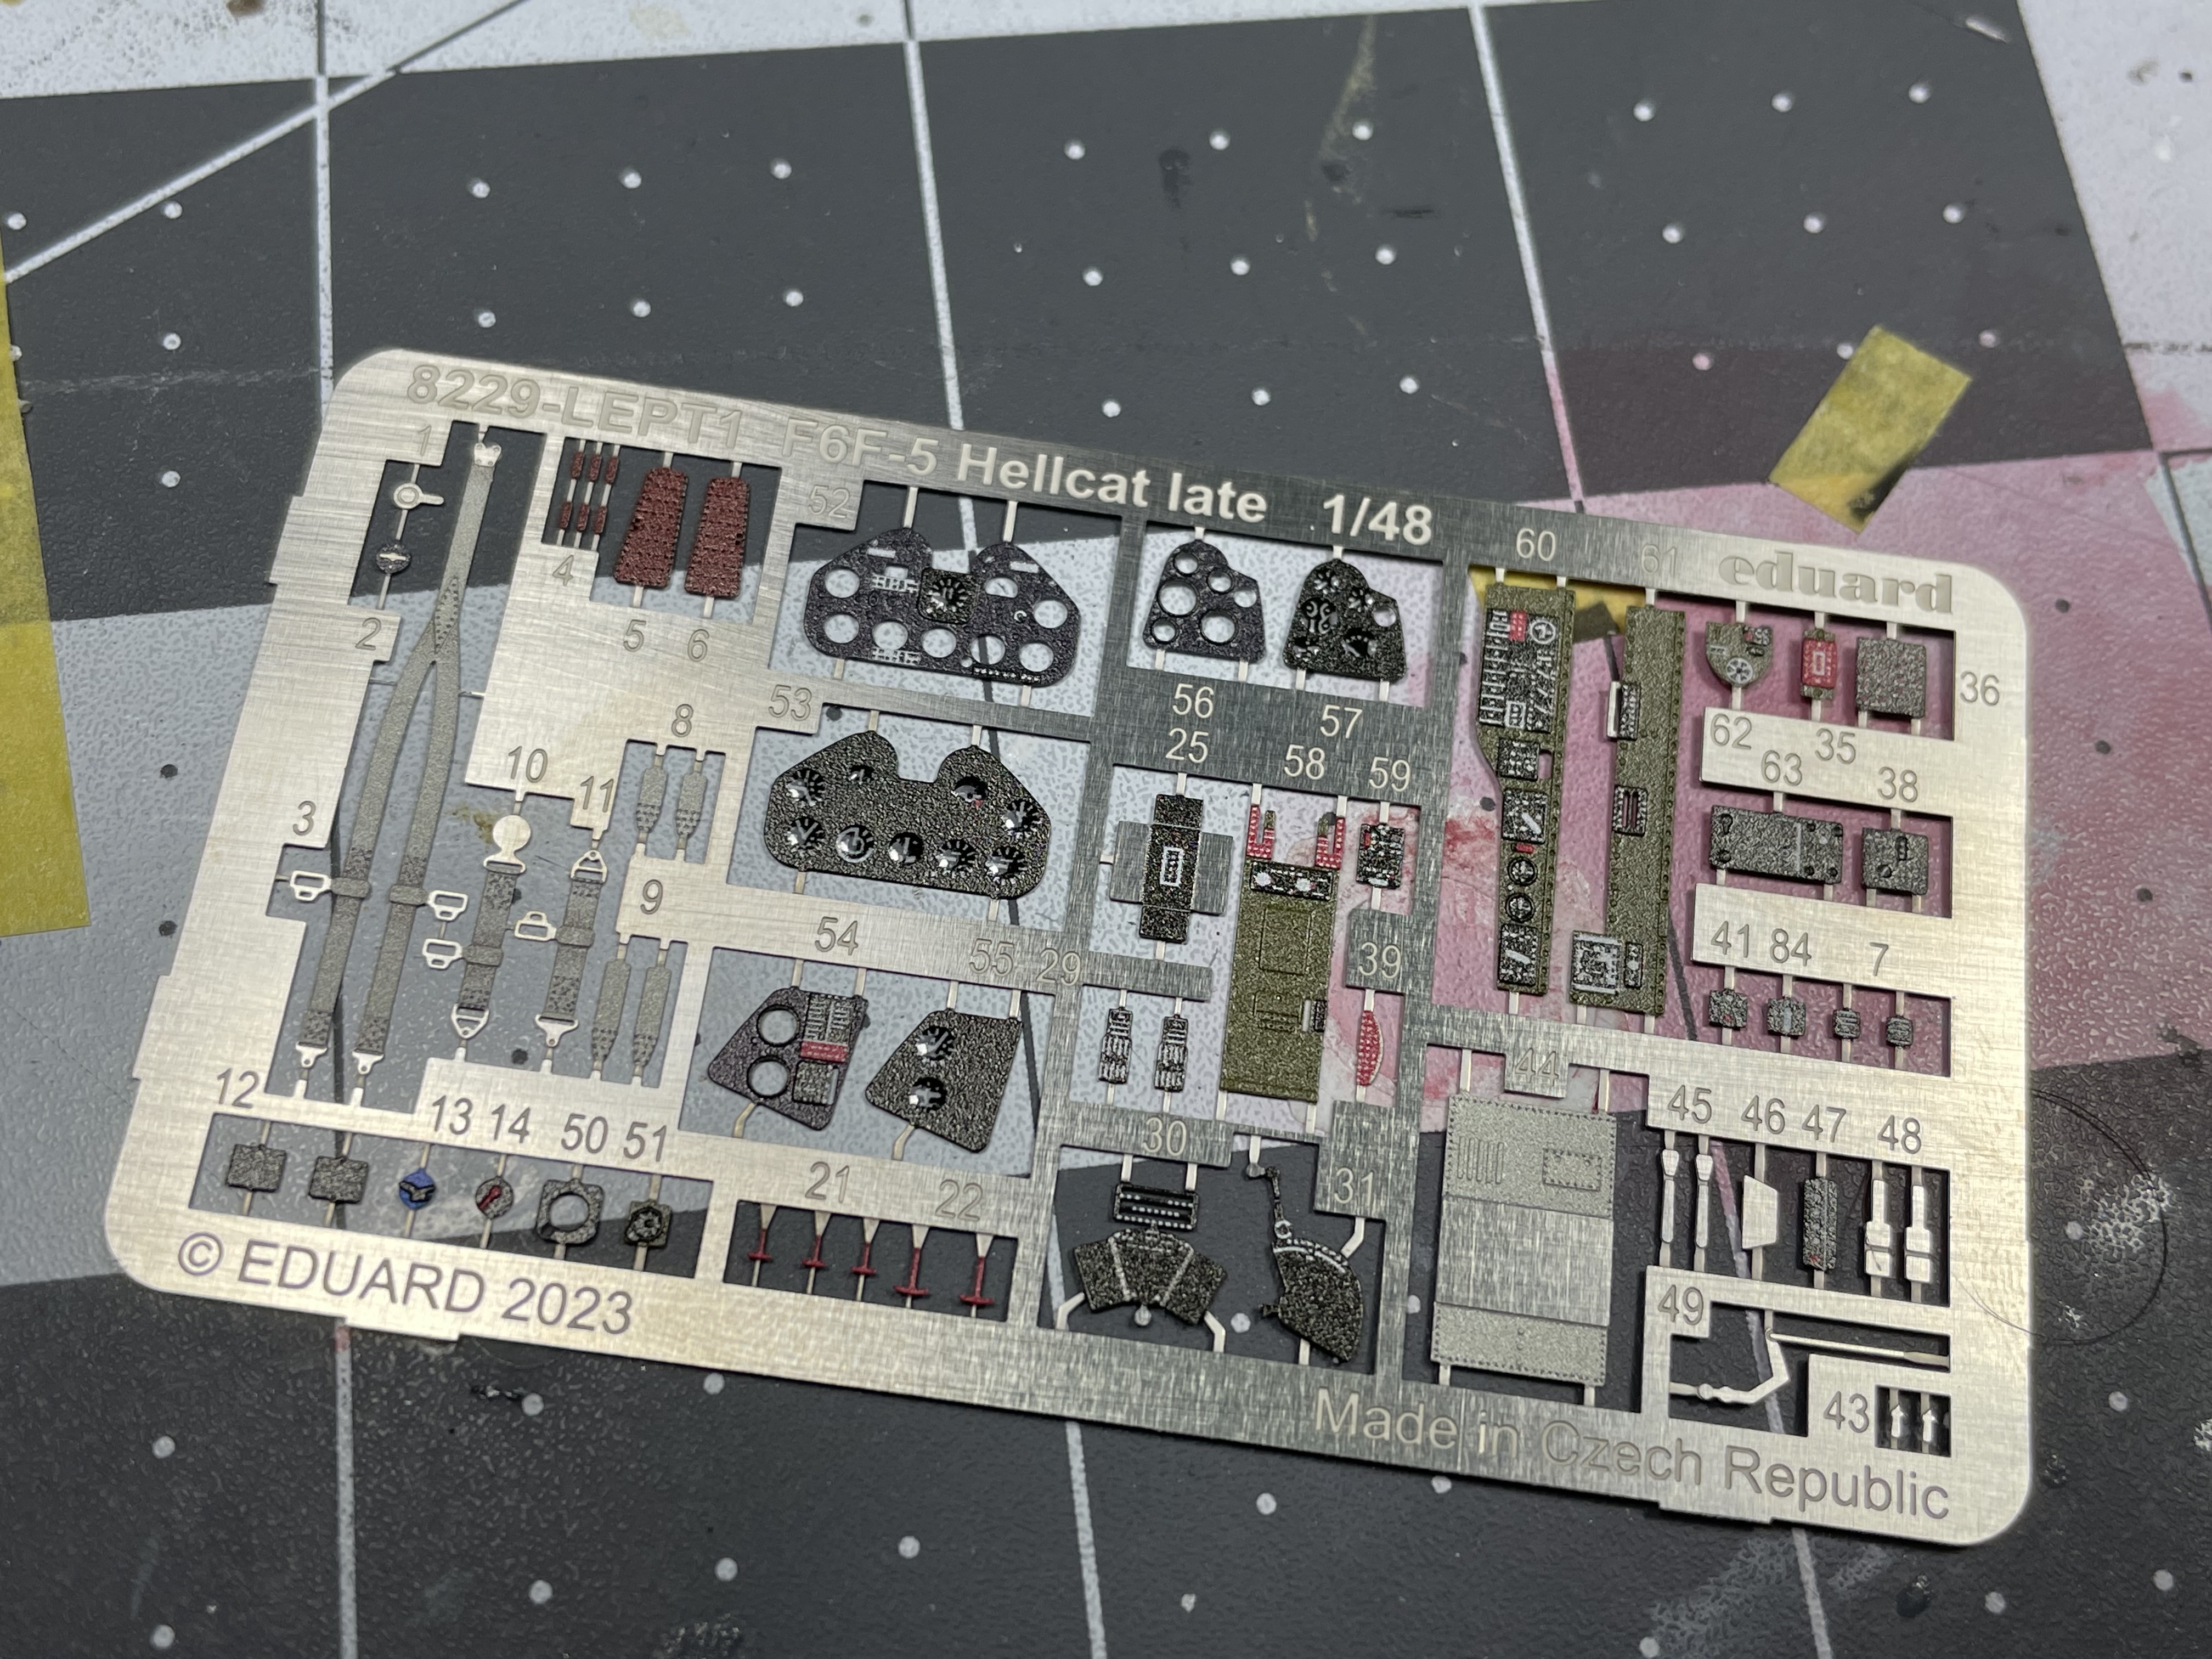
As a typical Eduard Profipack kit, Eduard has well furnished this kit. It includes quite a lot of bang for your buck, coming with two frets of photo-etched parts, resin wheels and a complete mask set for the model. The resin wheels Are greatly appreciated and are often a very useful improvement over the stock wheels. The kit includes some armament options in the form of rockets or bombs as well should the builder choose to include them. Overall the kit is well stocked compared to older releases but it should be kept in mind that you are paying for these extras in the overall higher list price of the kit.

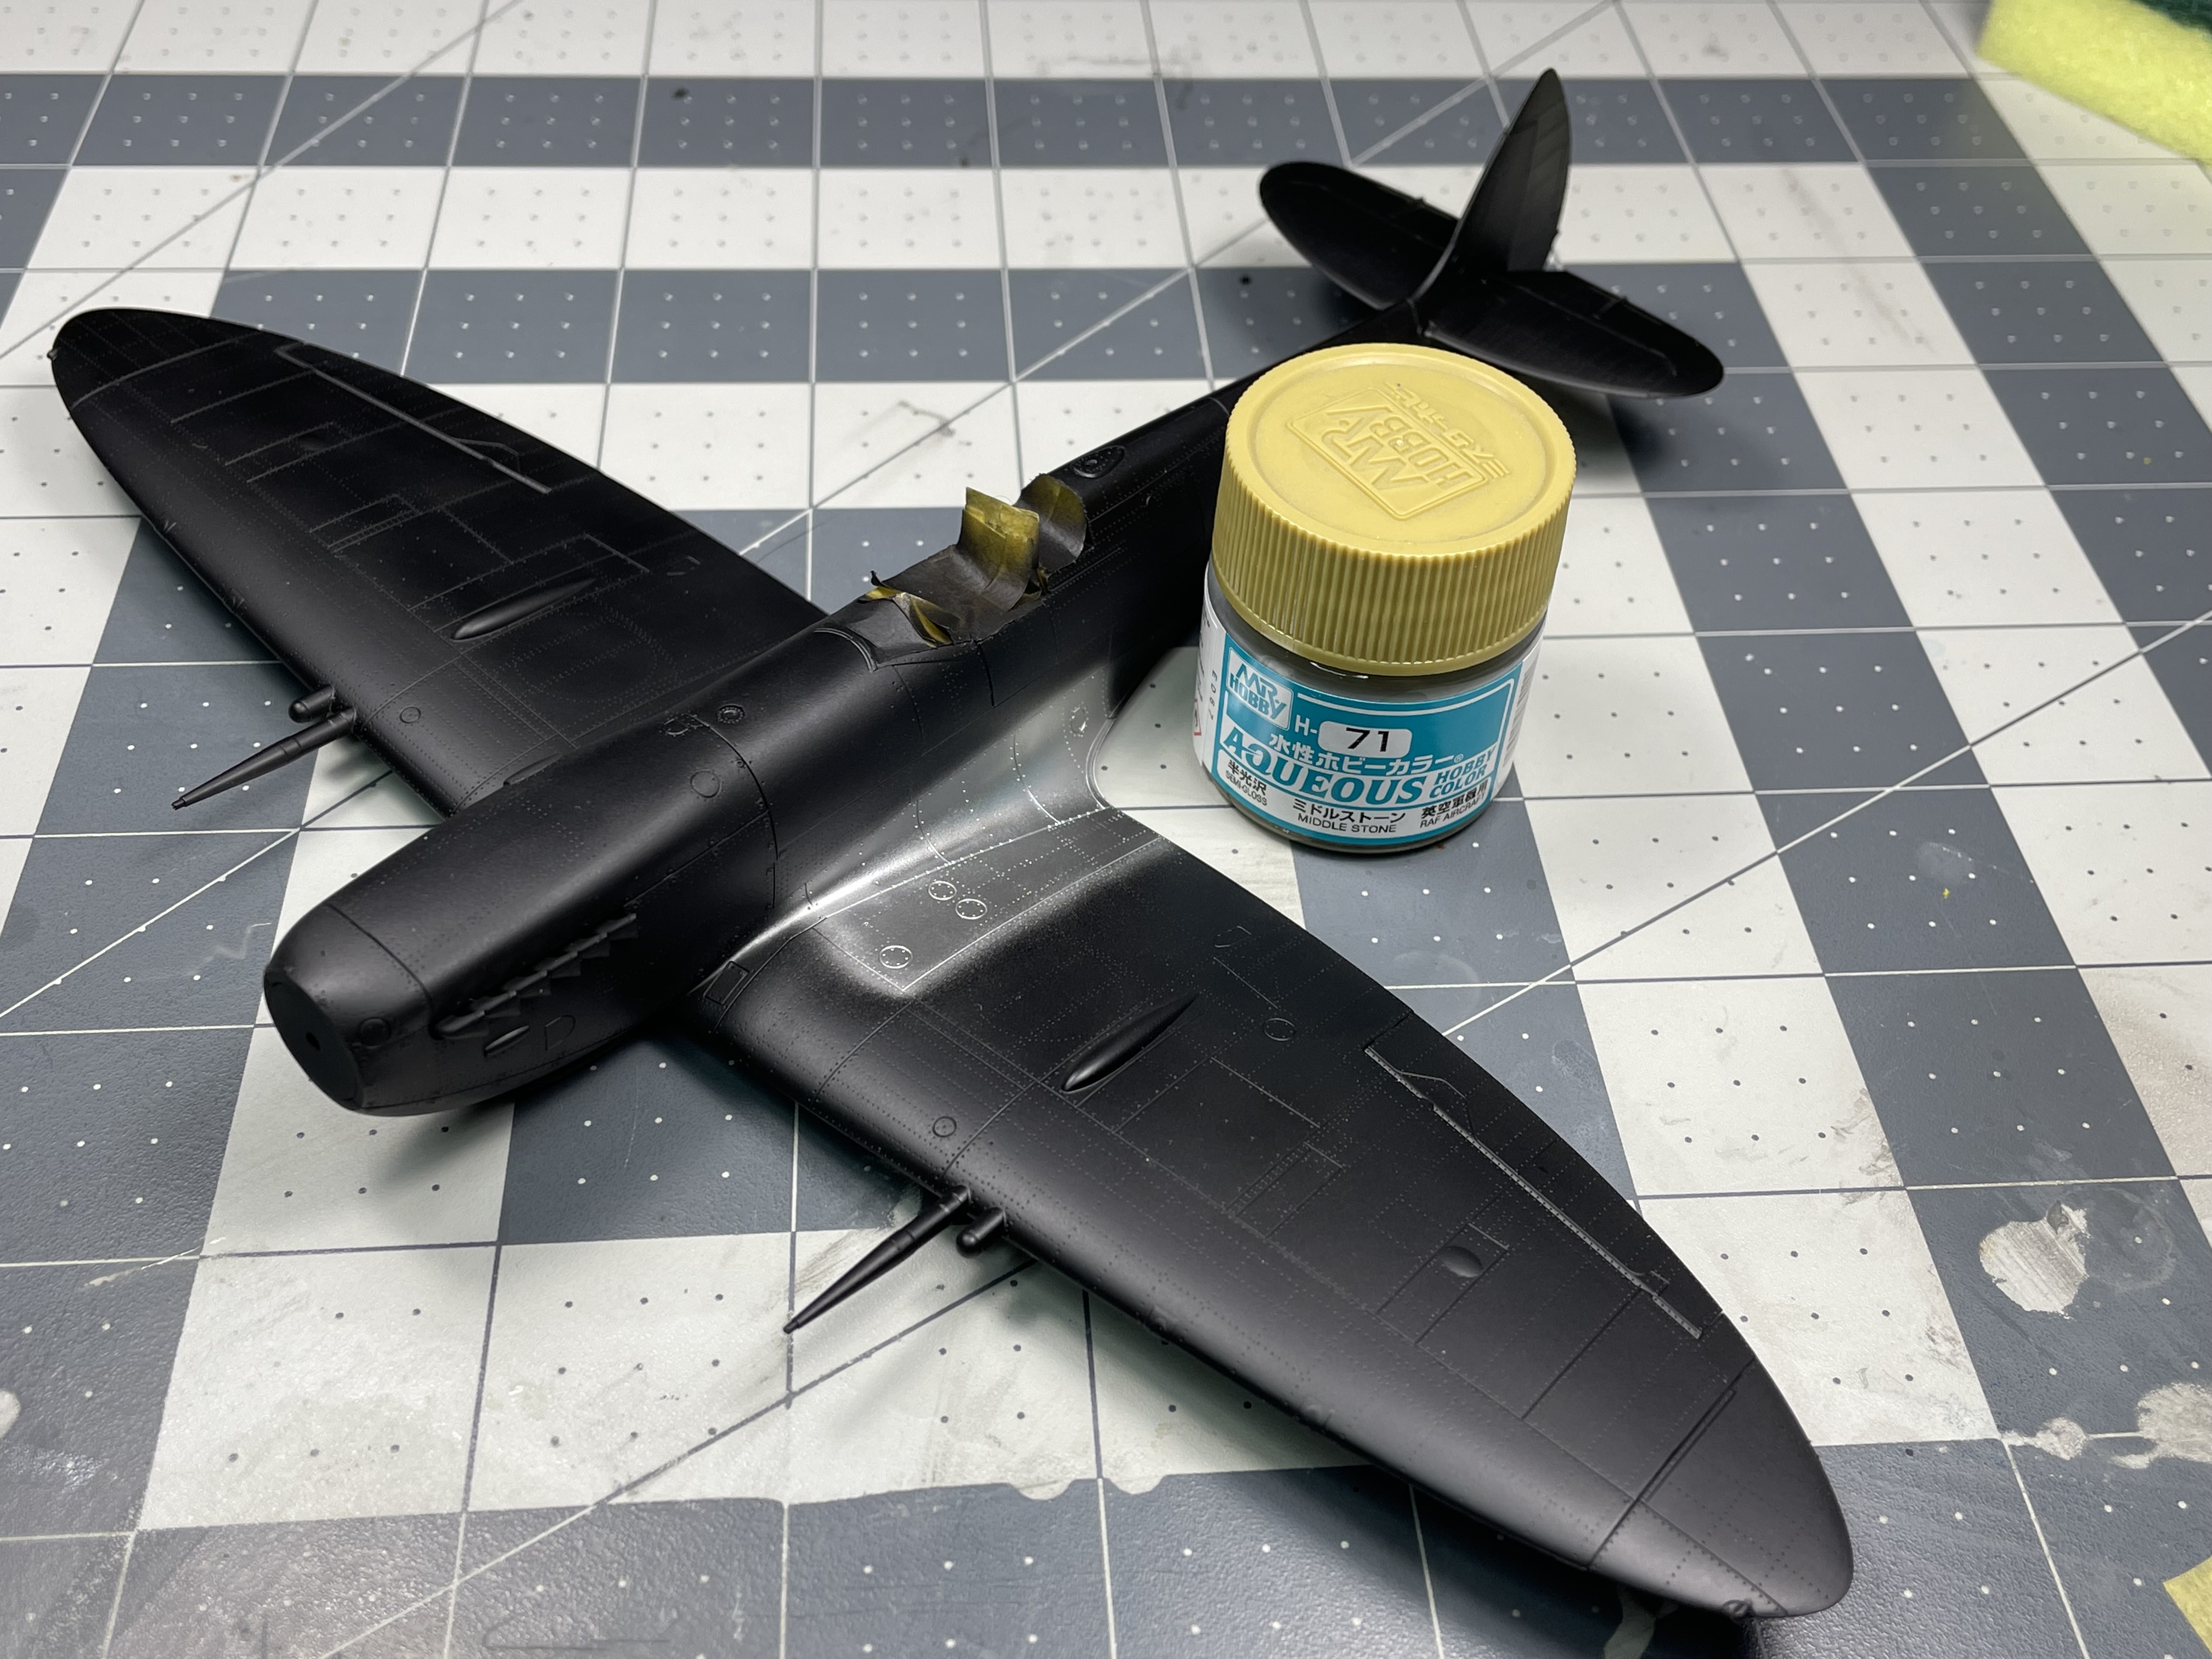
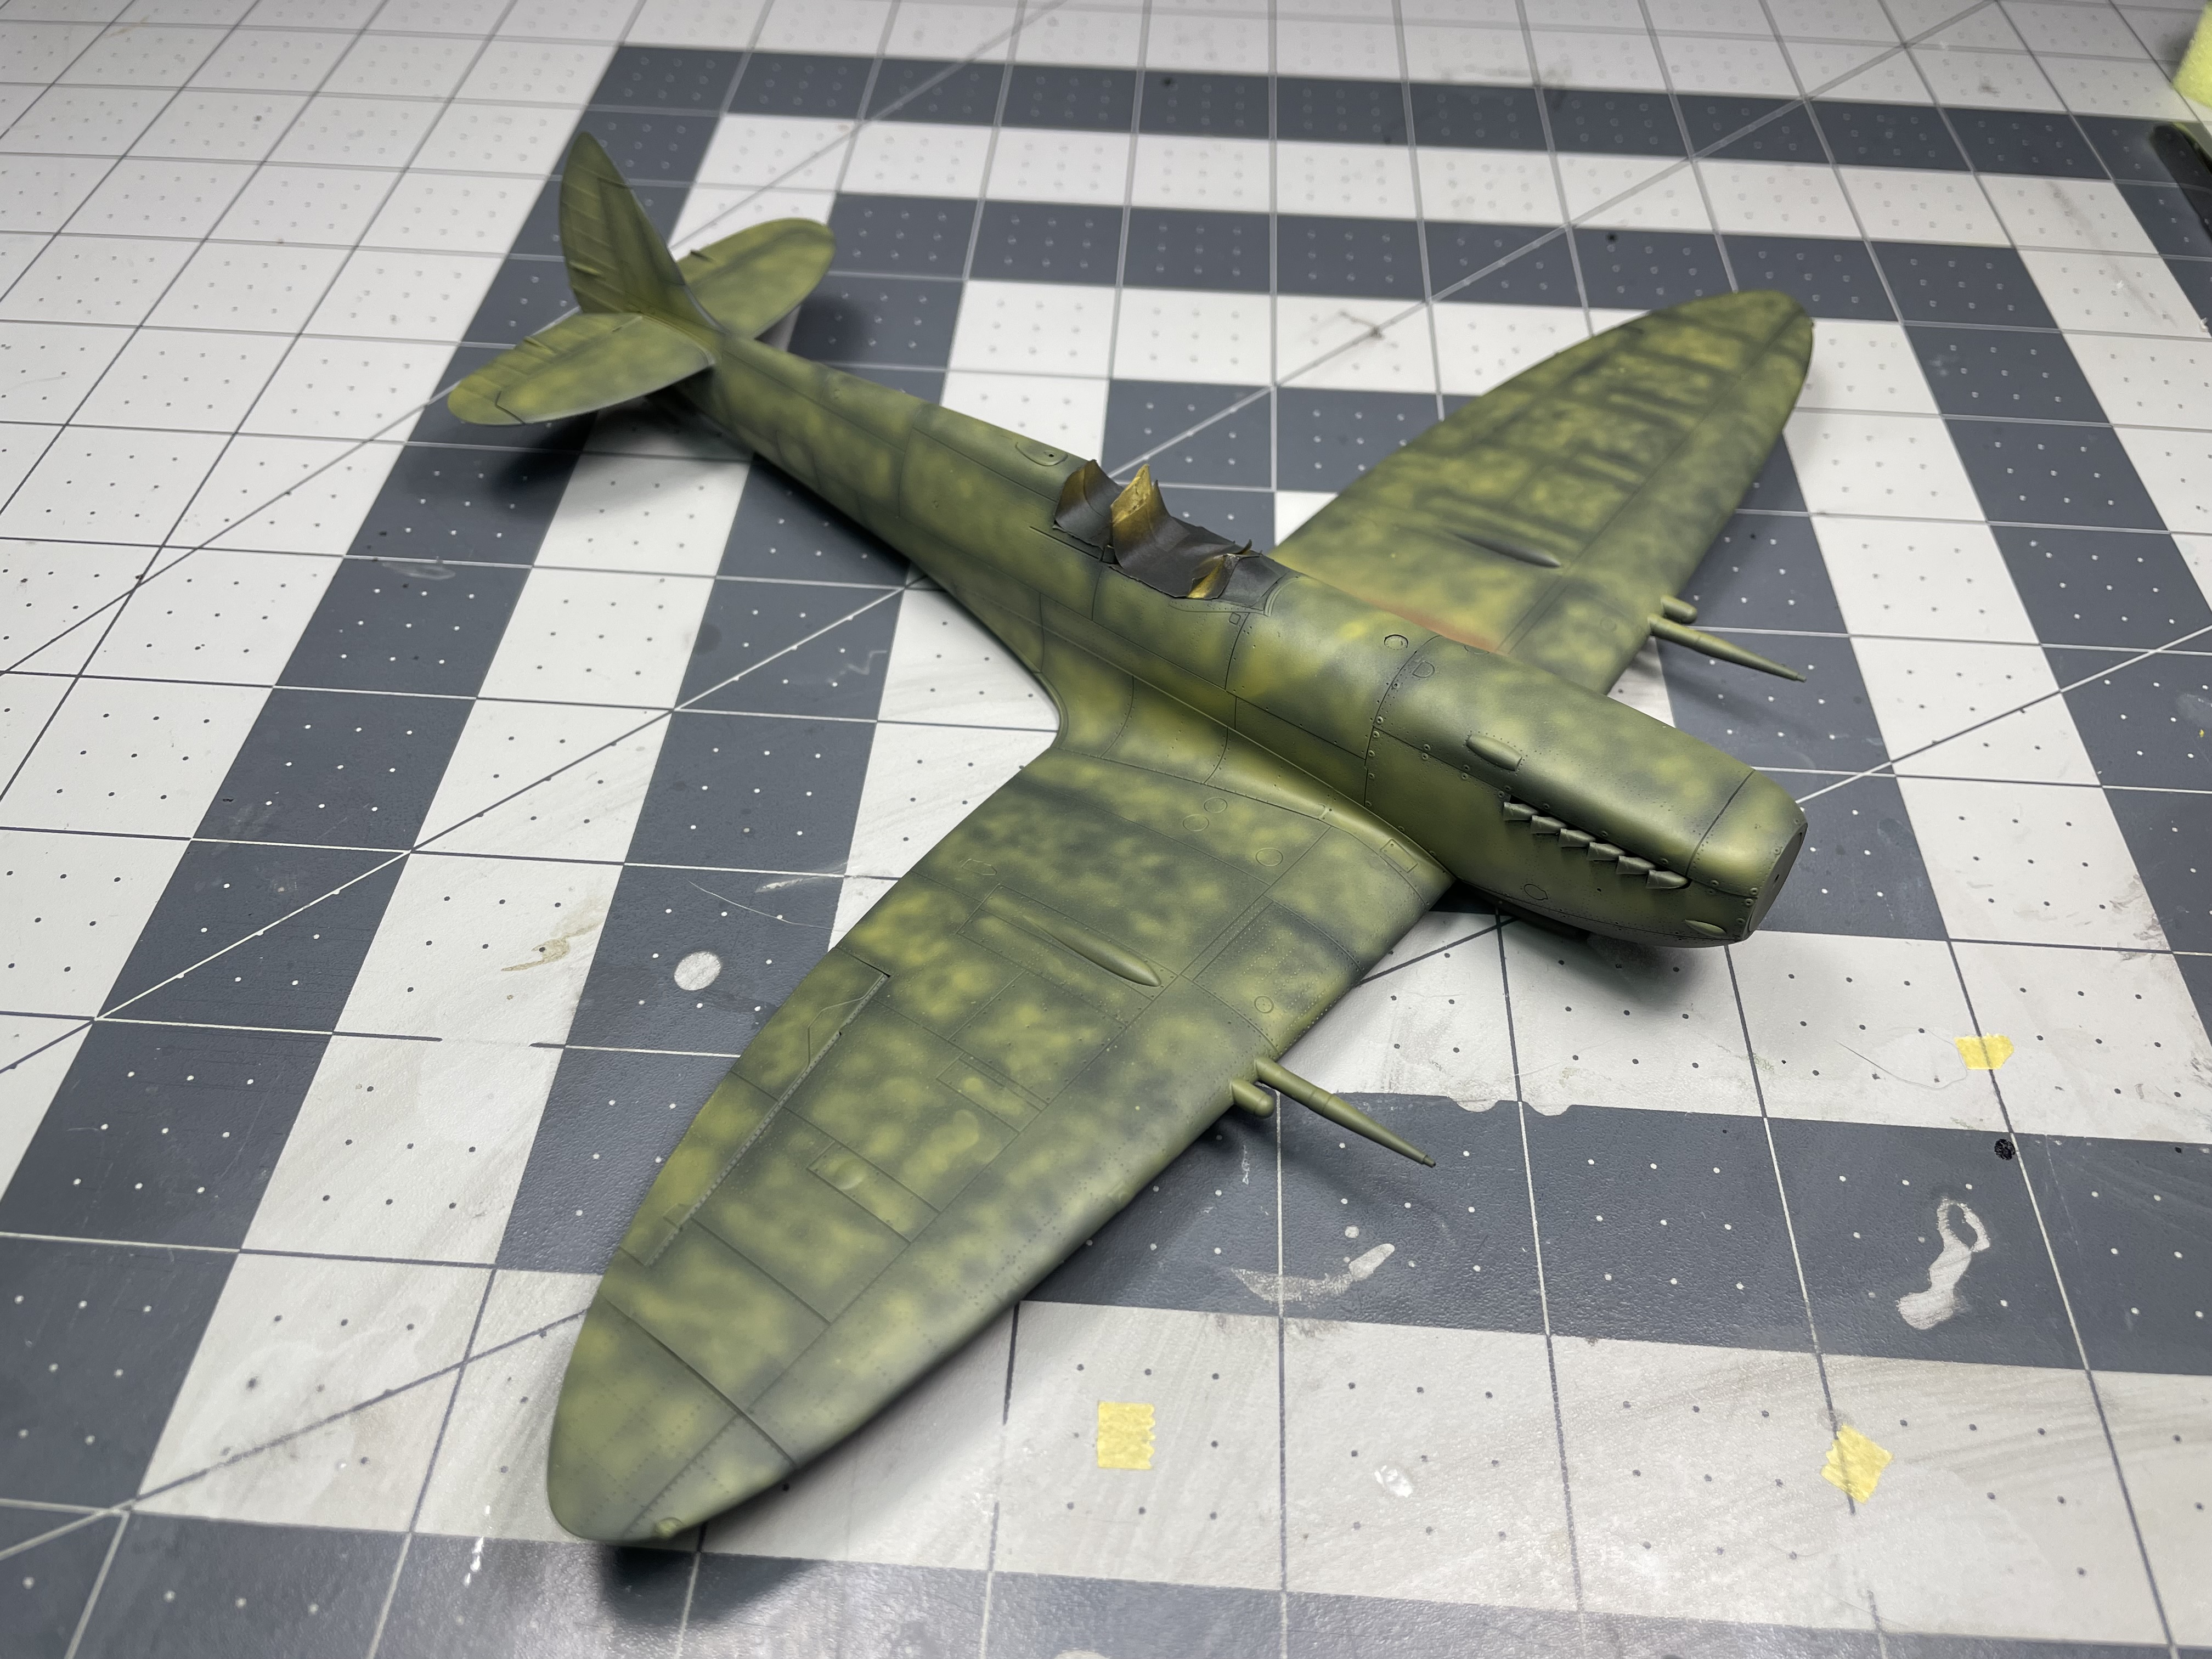
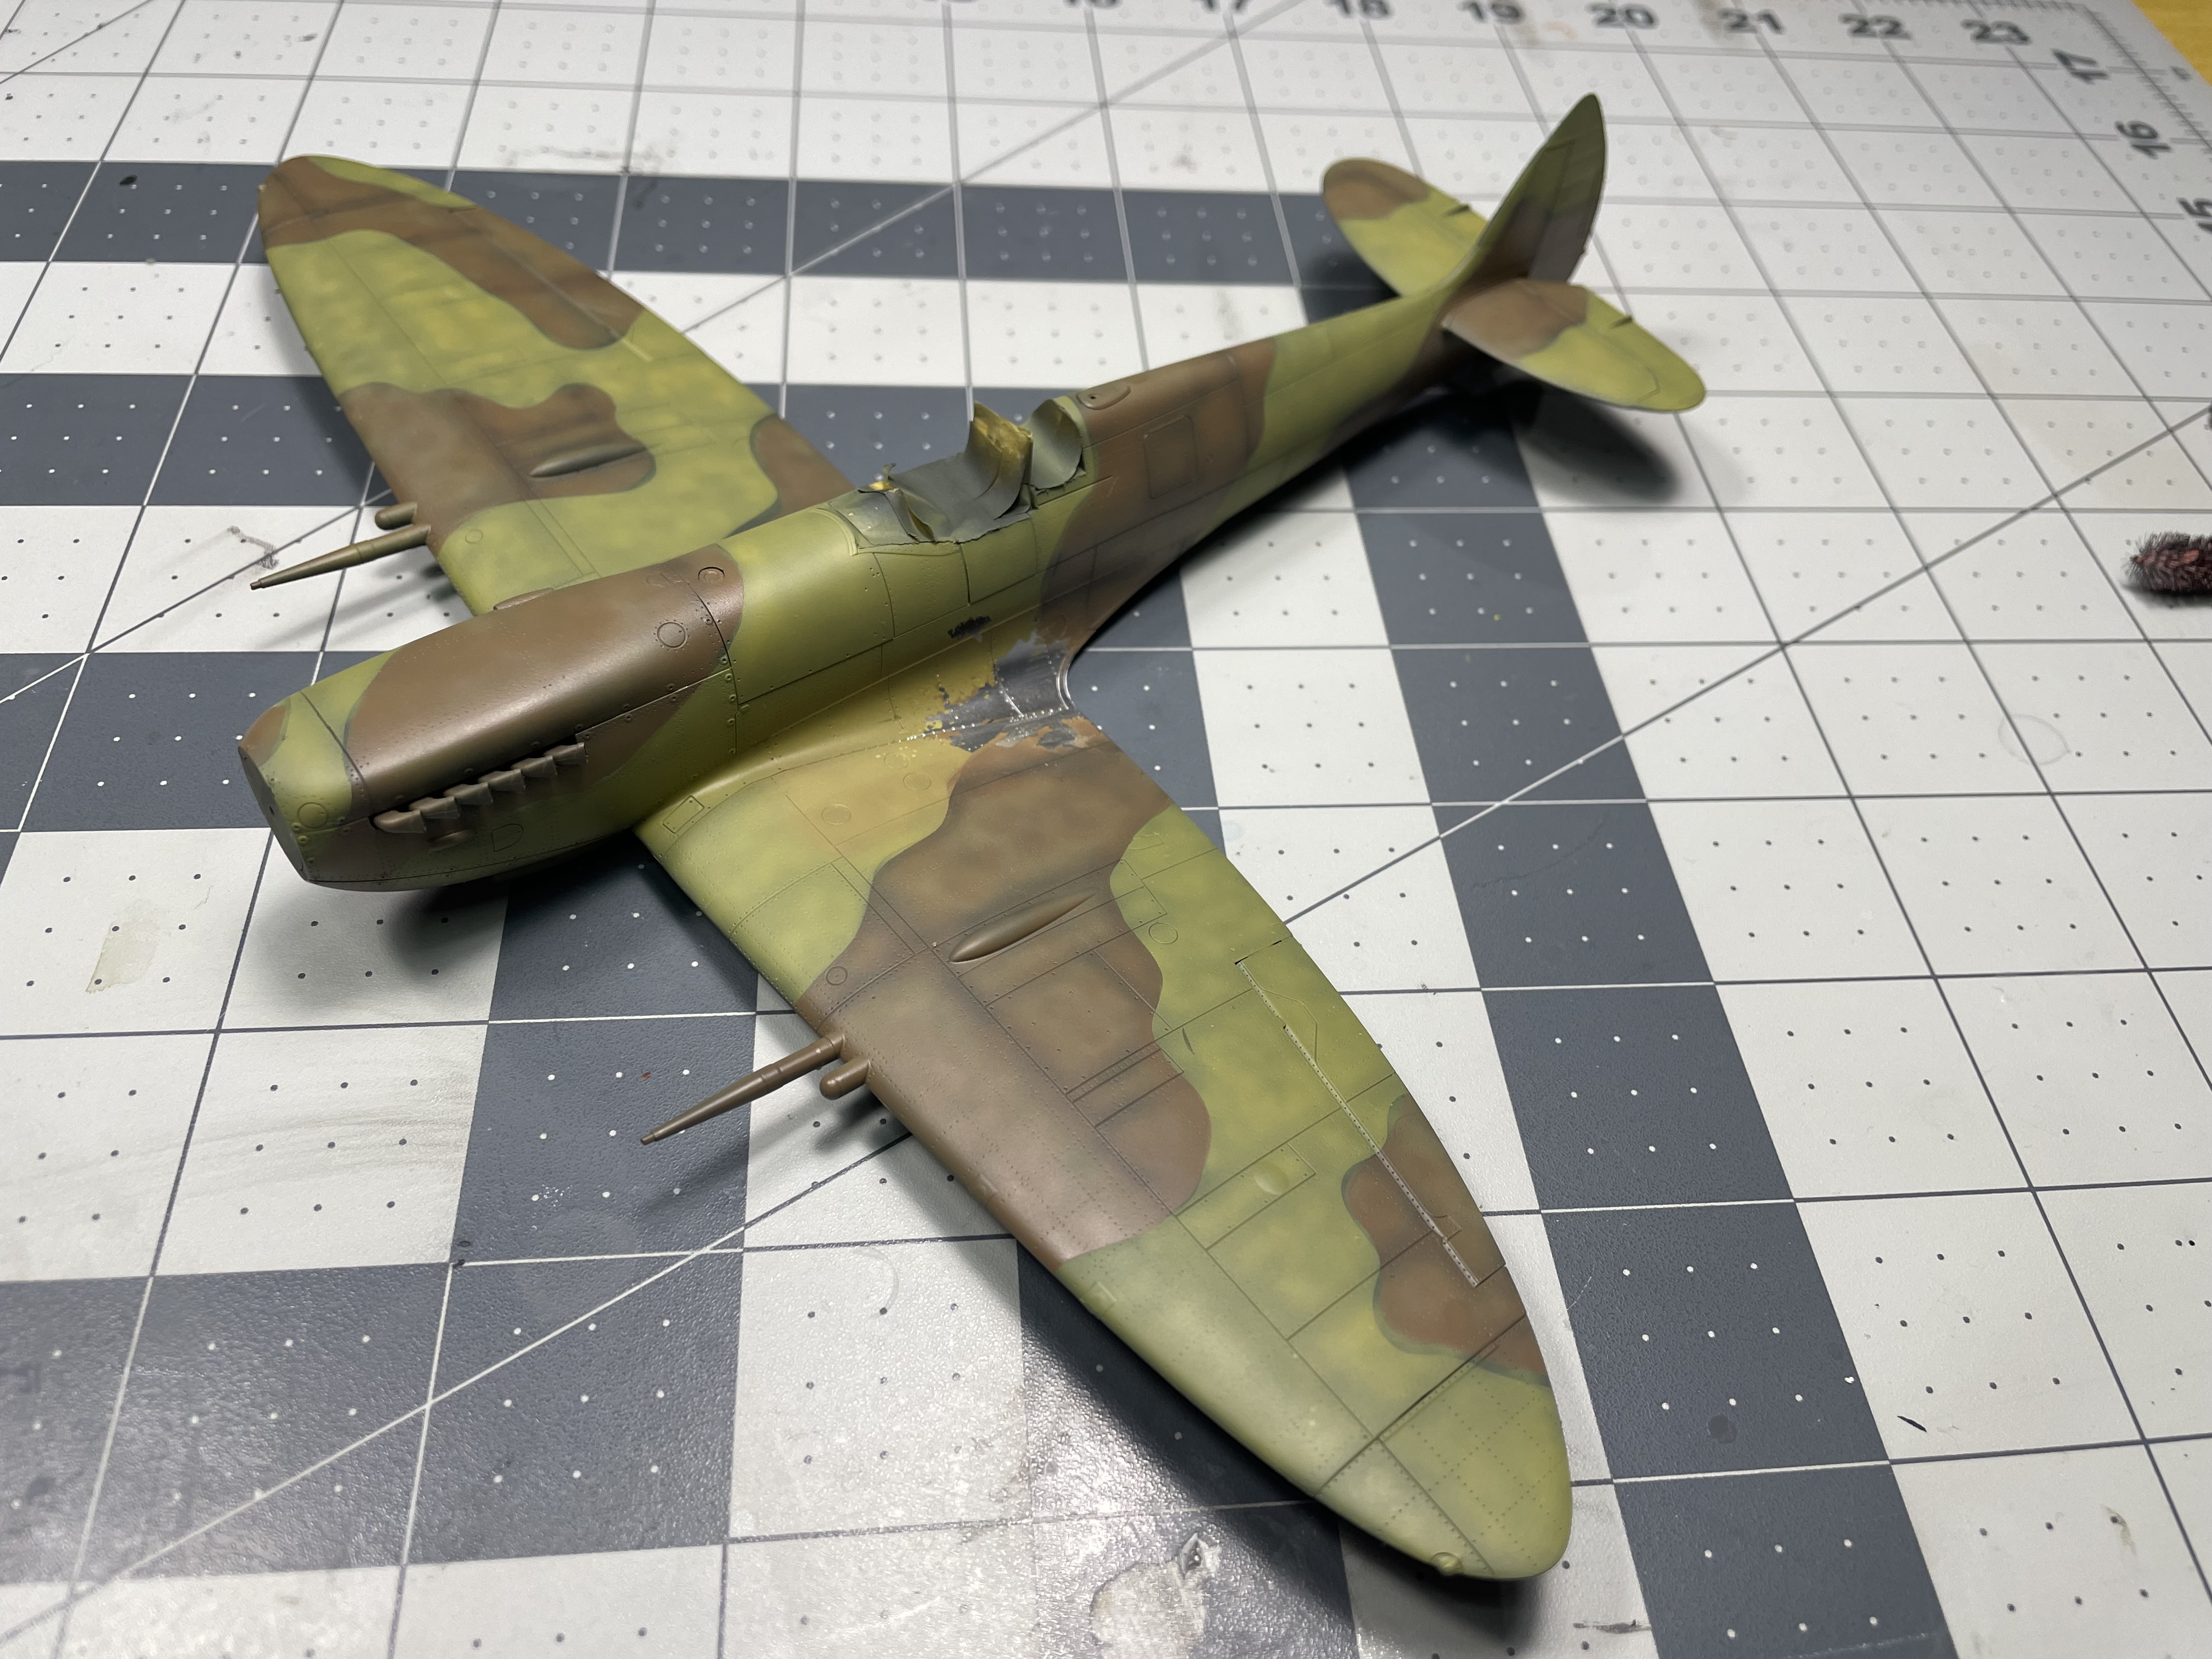
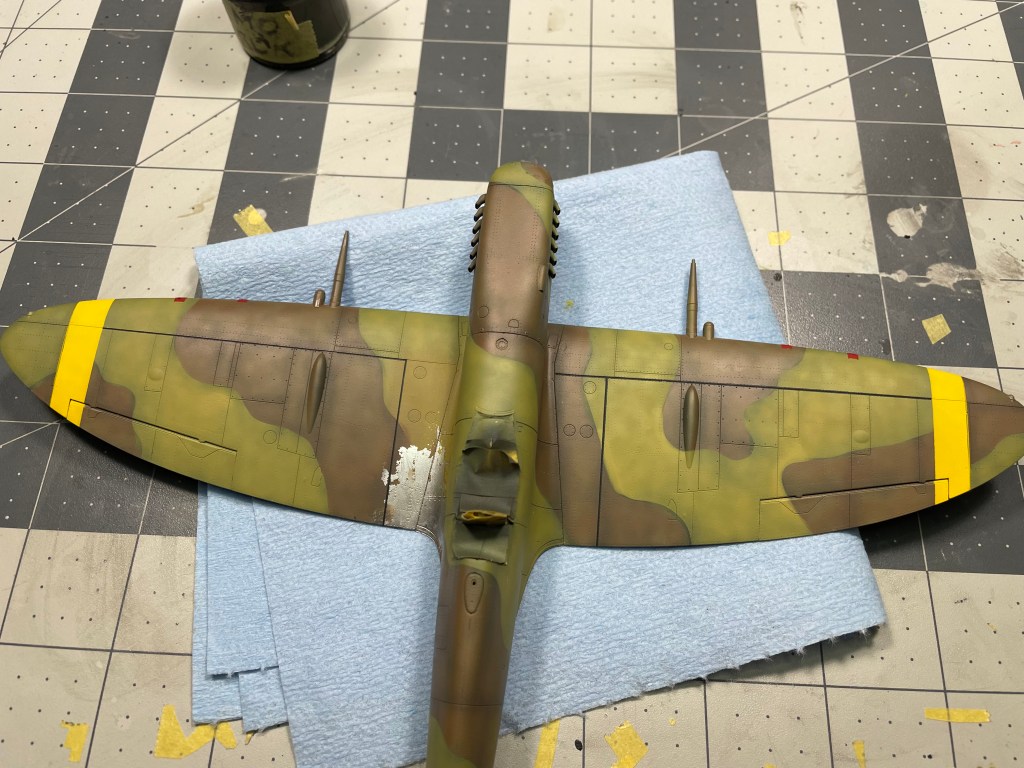
Quality of Molding: 24/50

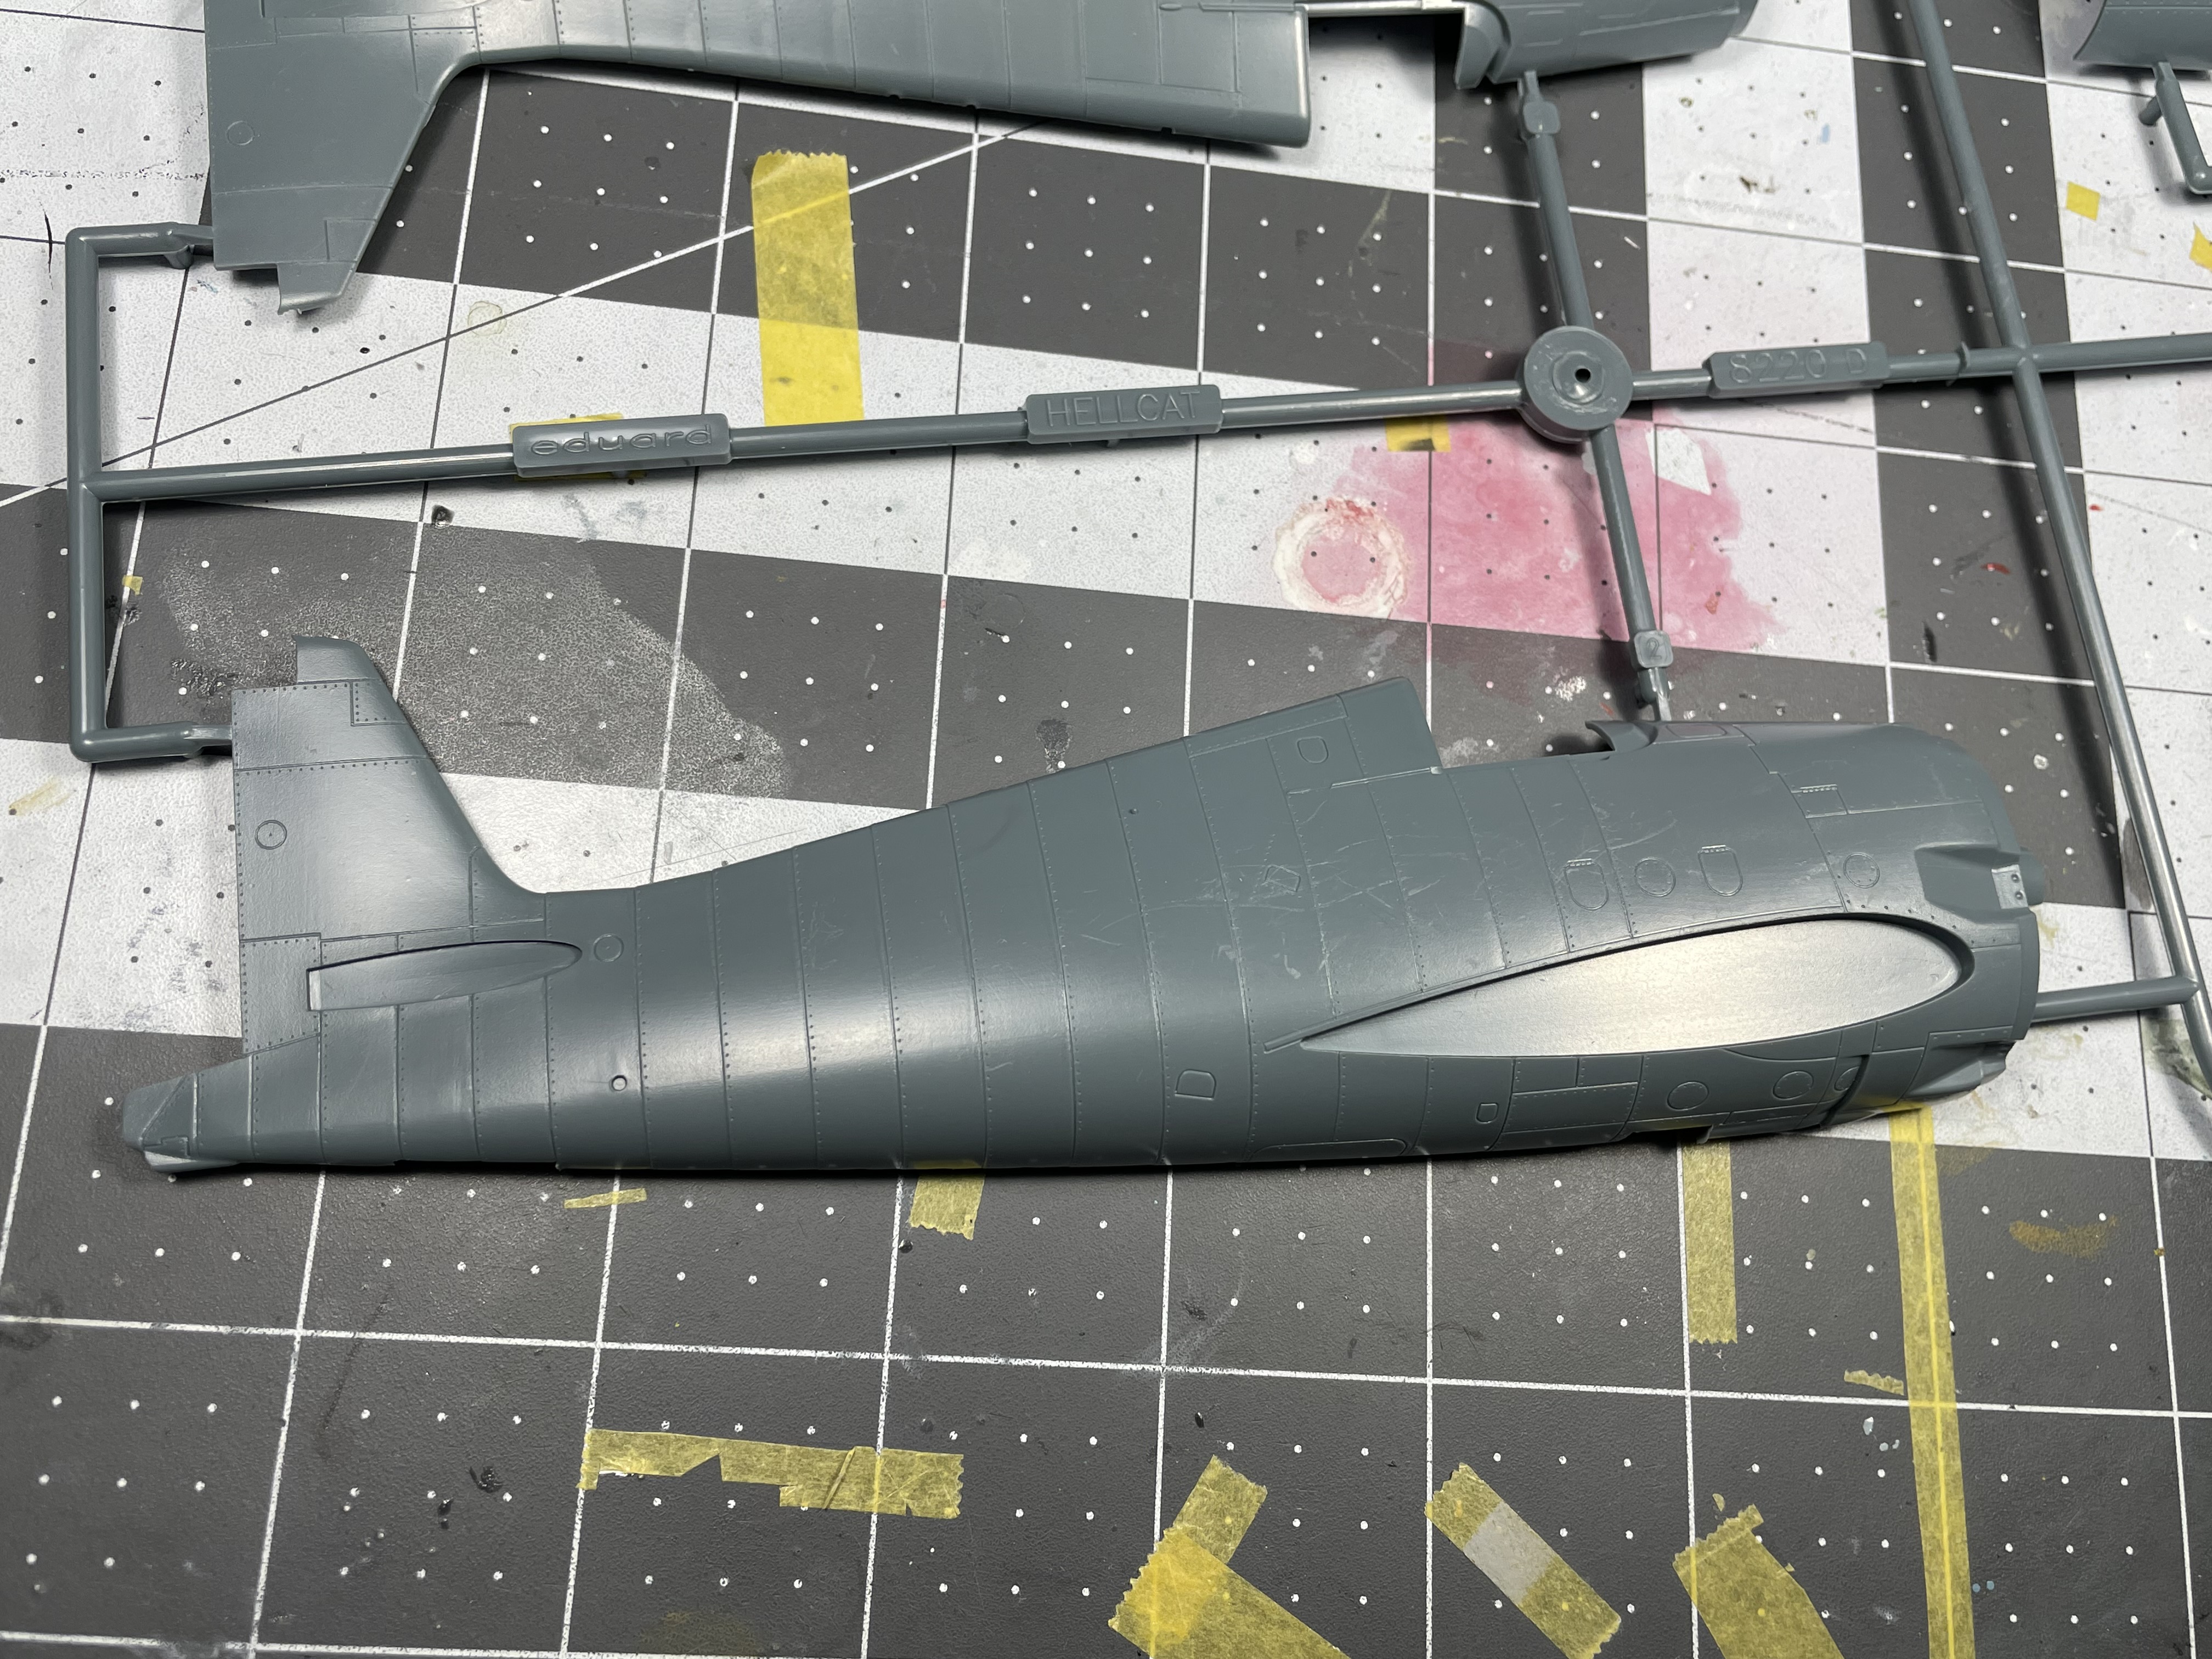
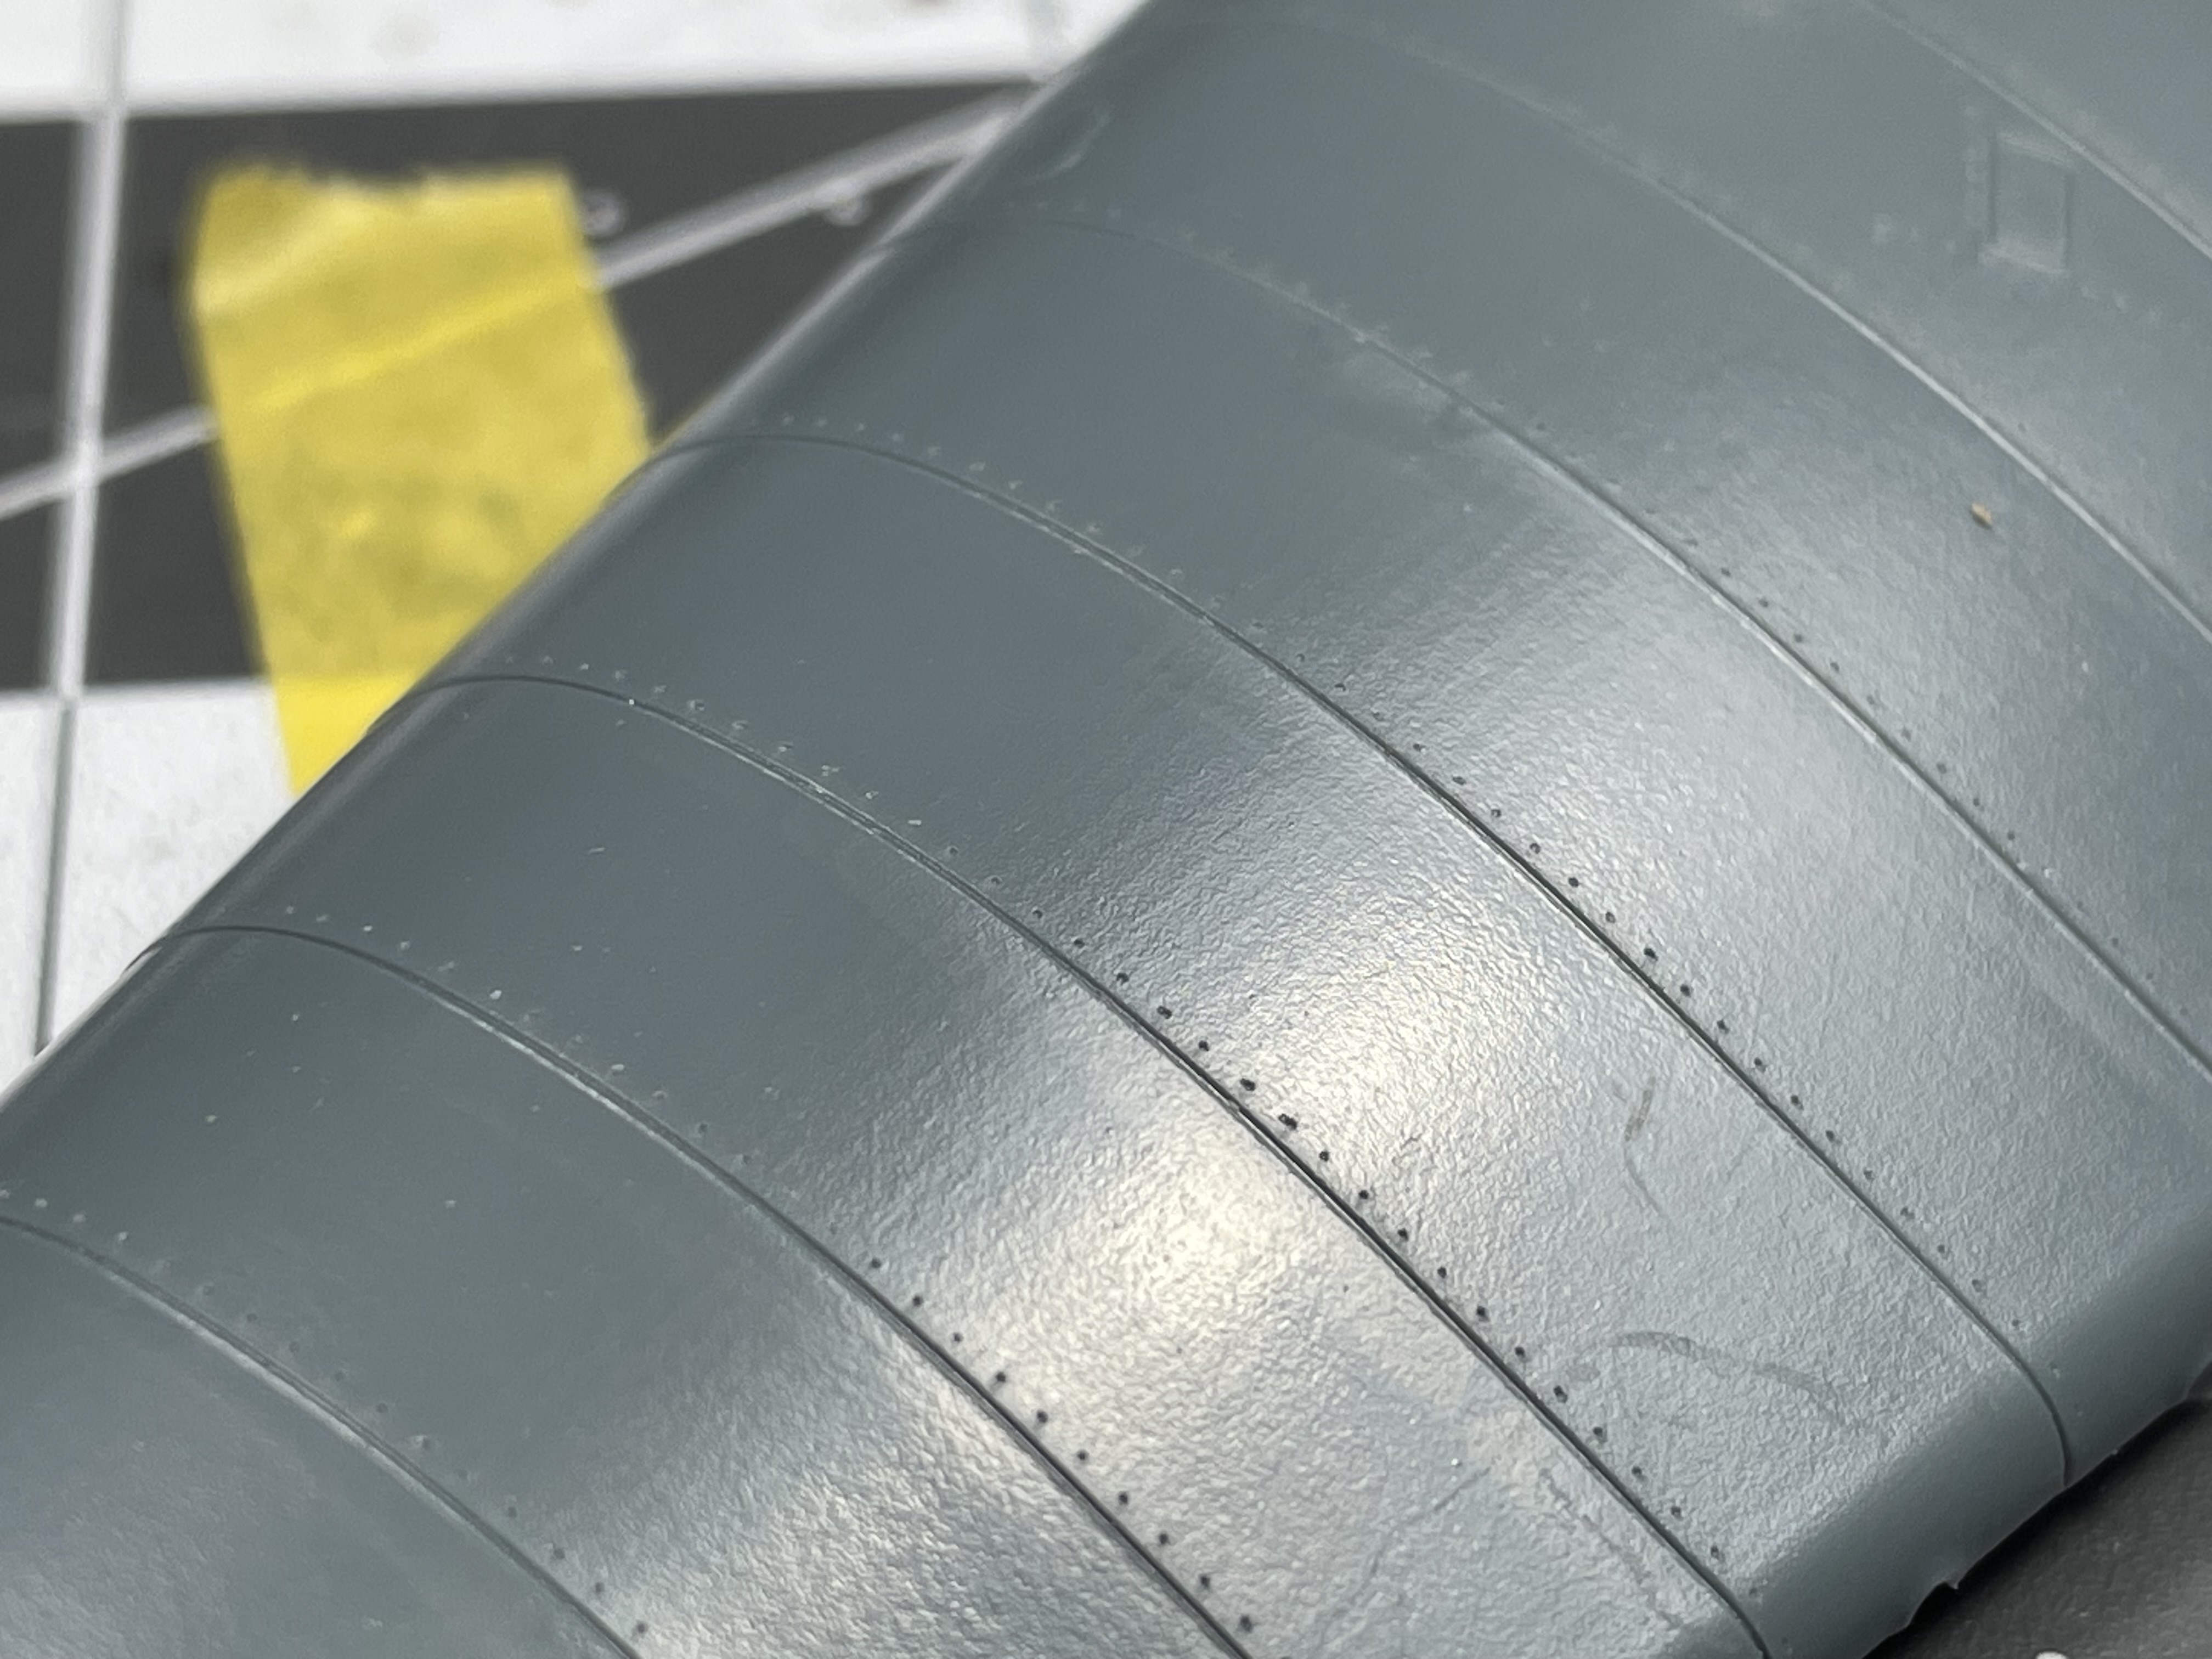
Eduard’s Hellcat offers basic panel-lining and riveting, as expected from the manufacturer. It should be stated however that the detail present in the molding does leave some to be desired. I was surprised by the lack of crispness in the molding details. looking further, the build does lack the extensive riveting found in newer tool Eduard kits. I could be wrong, but when tracing back this kit’s tooling on Scalemates.com, it indicated that this is a re-box from 2008 originally. This isn’t especially surprising to be honest, Eduard frequently re-boxes and re-releases kits but it’s not always clear when buying kits when the molding was first produced. I compared the molding on this kit to 2017’s Tamiya’s Bf-109G-6 (of which a review should be up soon) and it’s clear that the Tamiya kit’s lines superior in every way. The one aspect of the molding that goes in the Hellcat’s favour is the inclusion of the “layered” skin on the fuselage. The vertical panneling is molded so that ever so slightly the panels overlap as seen in the real fighter. All of these issues together paint a unfortunate picture and the fact that this kit is priced as if it is a new tool build while not including the level of detail found in Eduard’s new tool kits.

Instructions: 18/20

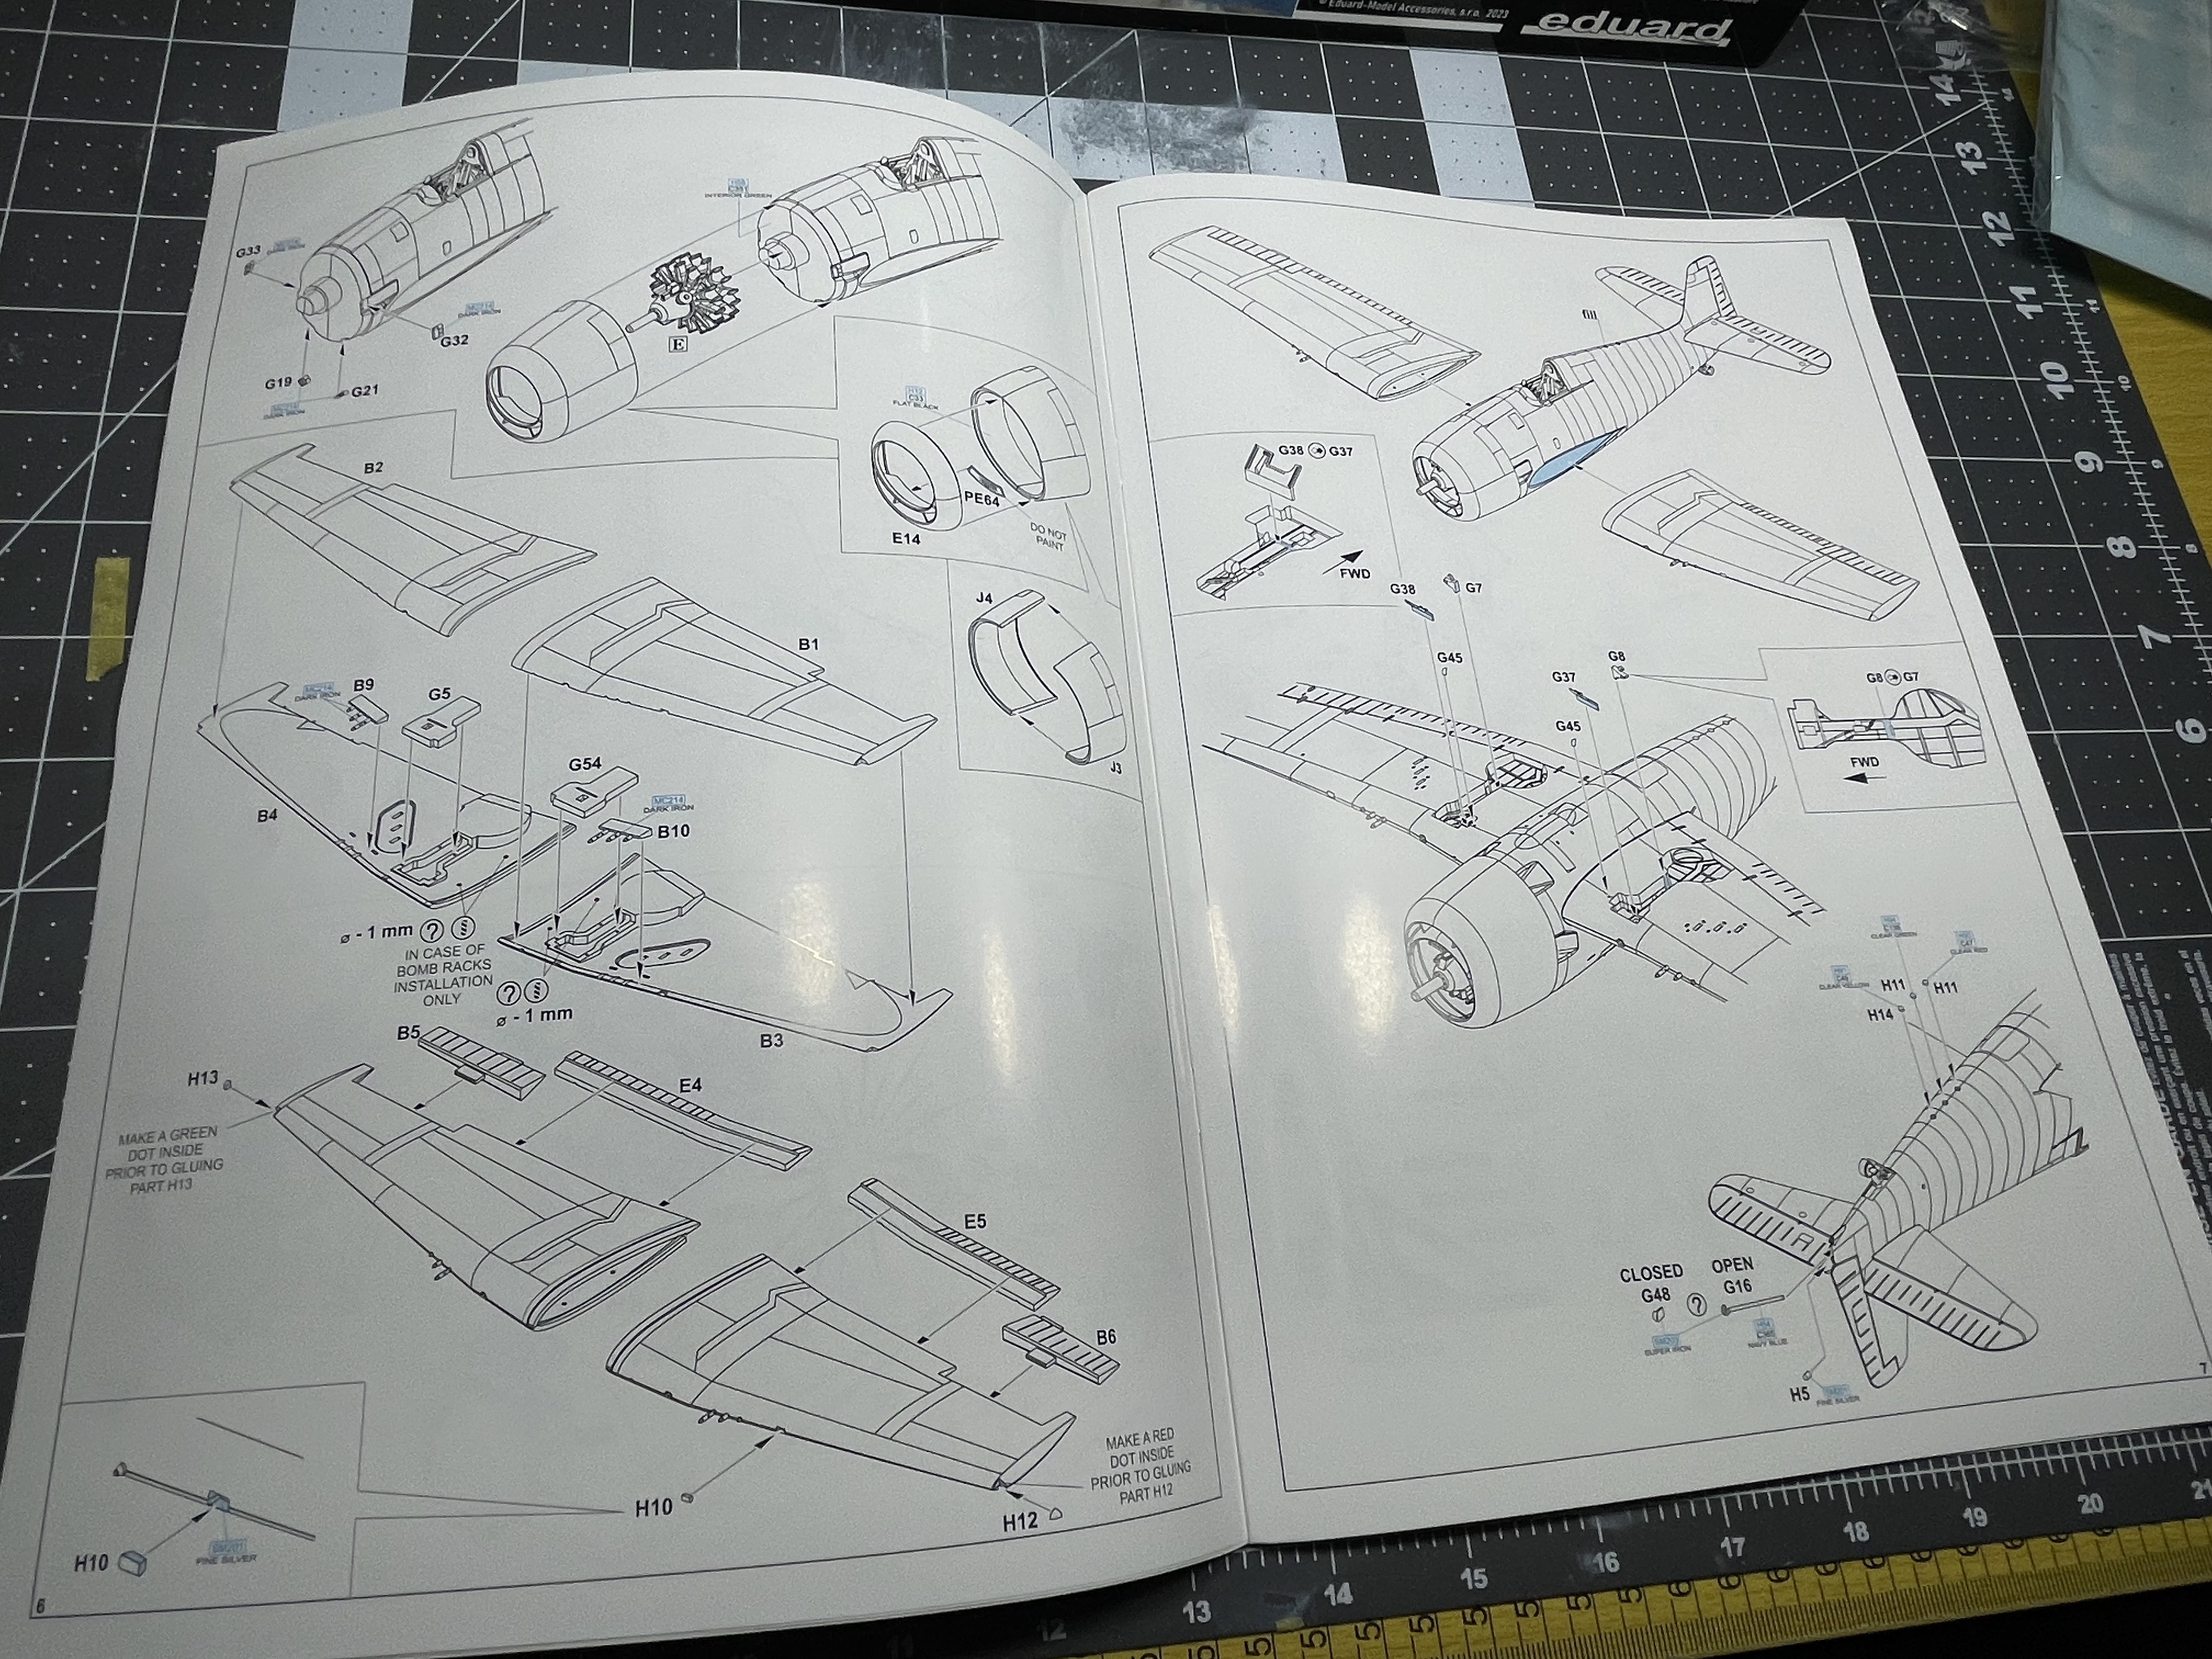
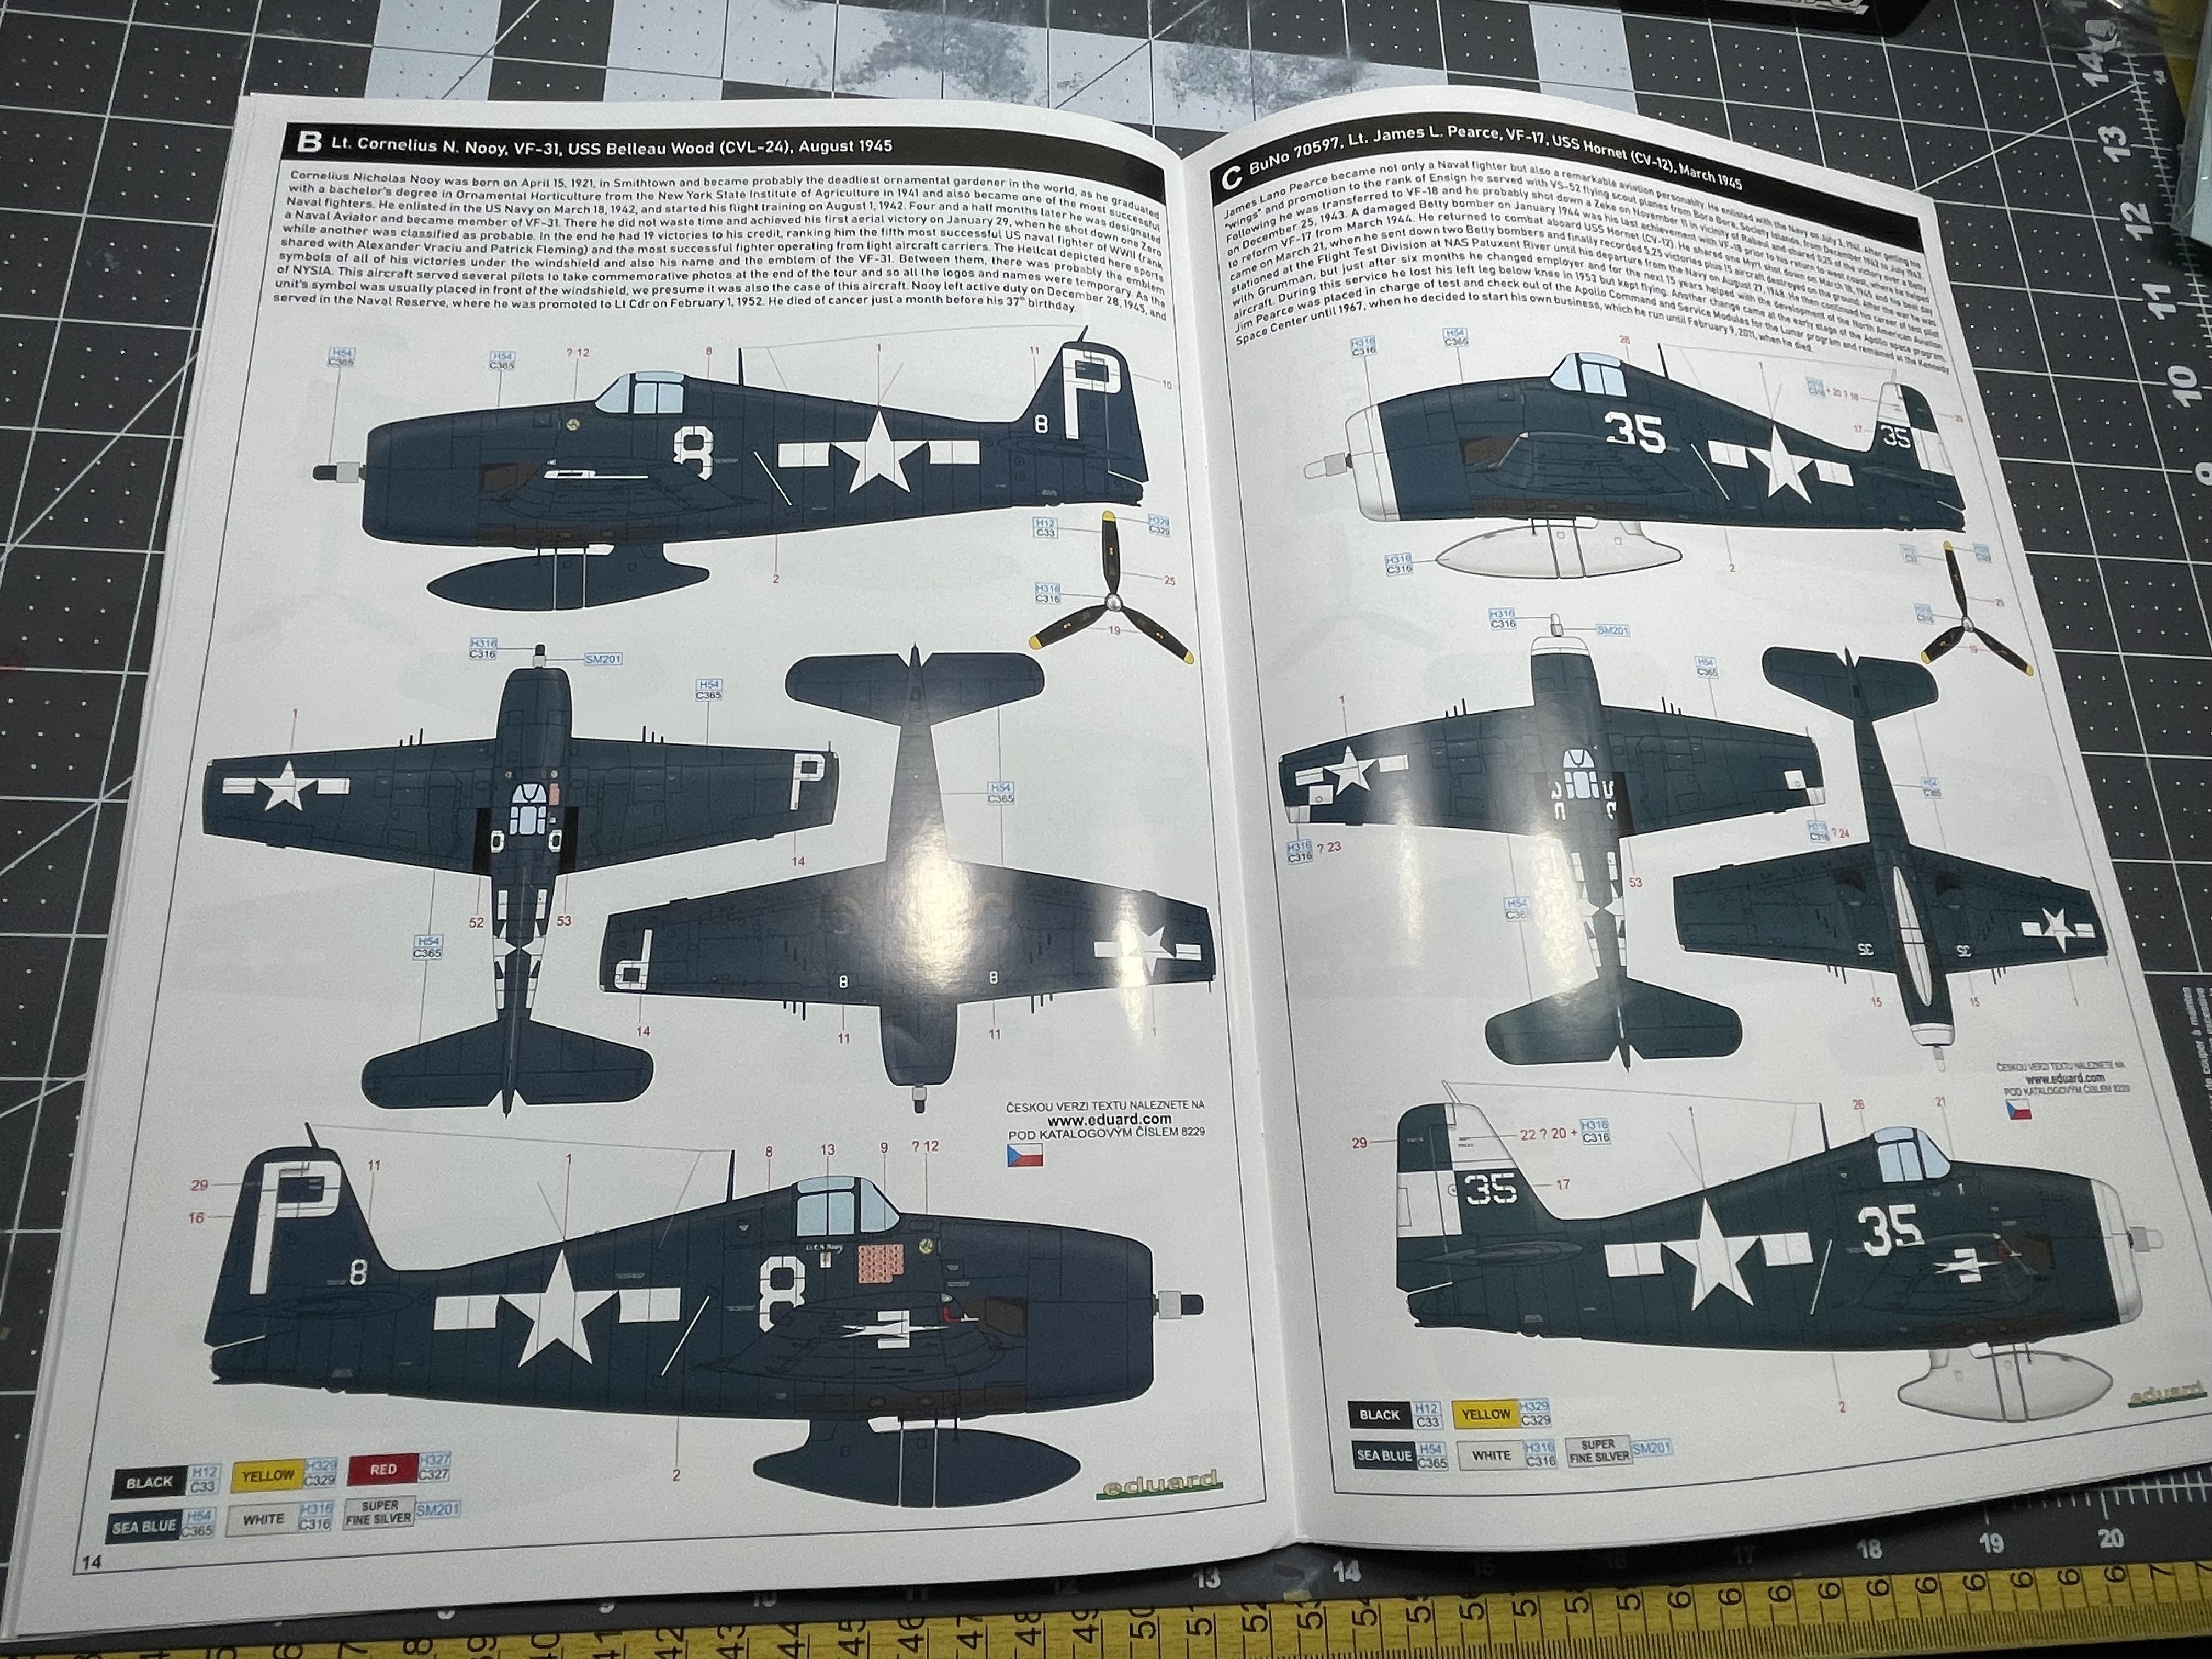
Eduard claws back some points in this section as their instructions have always been excellent. In colour and clearly printed they offer more than the bare necessities. Eduard instructions have always been well done and this is no exception. As a matter of personal preference, I prefer instructions in the form of a booklet (stapled together) rather than the type that just fold out (like Tamiya’s). One high point of Eduard’s instructions are the full colour profiles and the details provided about the markings. I for one like knowing the details about the aircraft I’m building and Eduard goes so much further in giving us those details than other manufacturers, they’ve clearly done their research! I love reading about the bird I’m building and the story of the person who flew it. Eduard gets a monster score in this regard, and well deserved.

Miscellaneous: 7/10

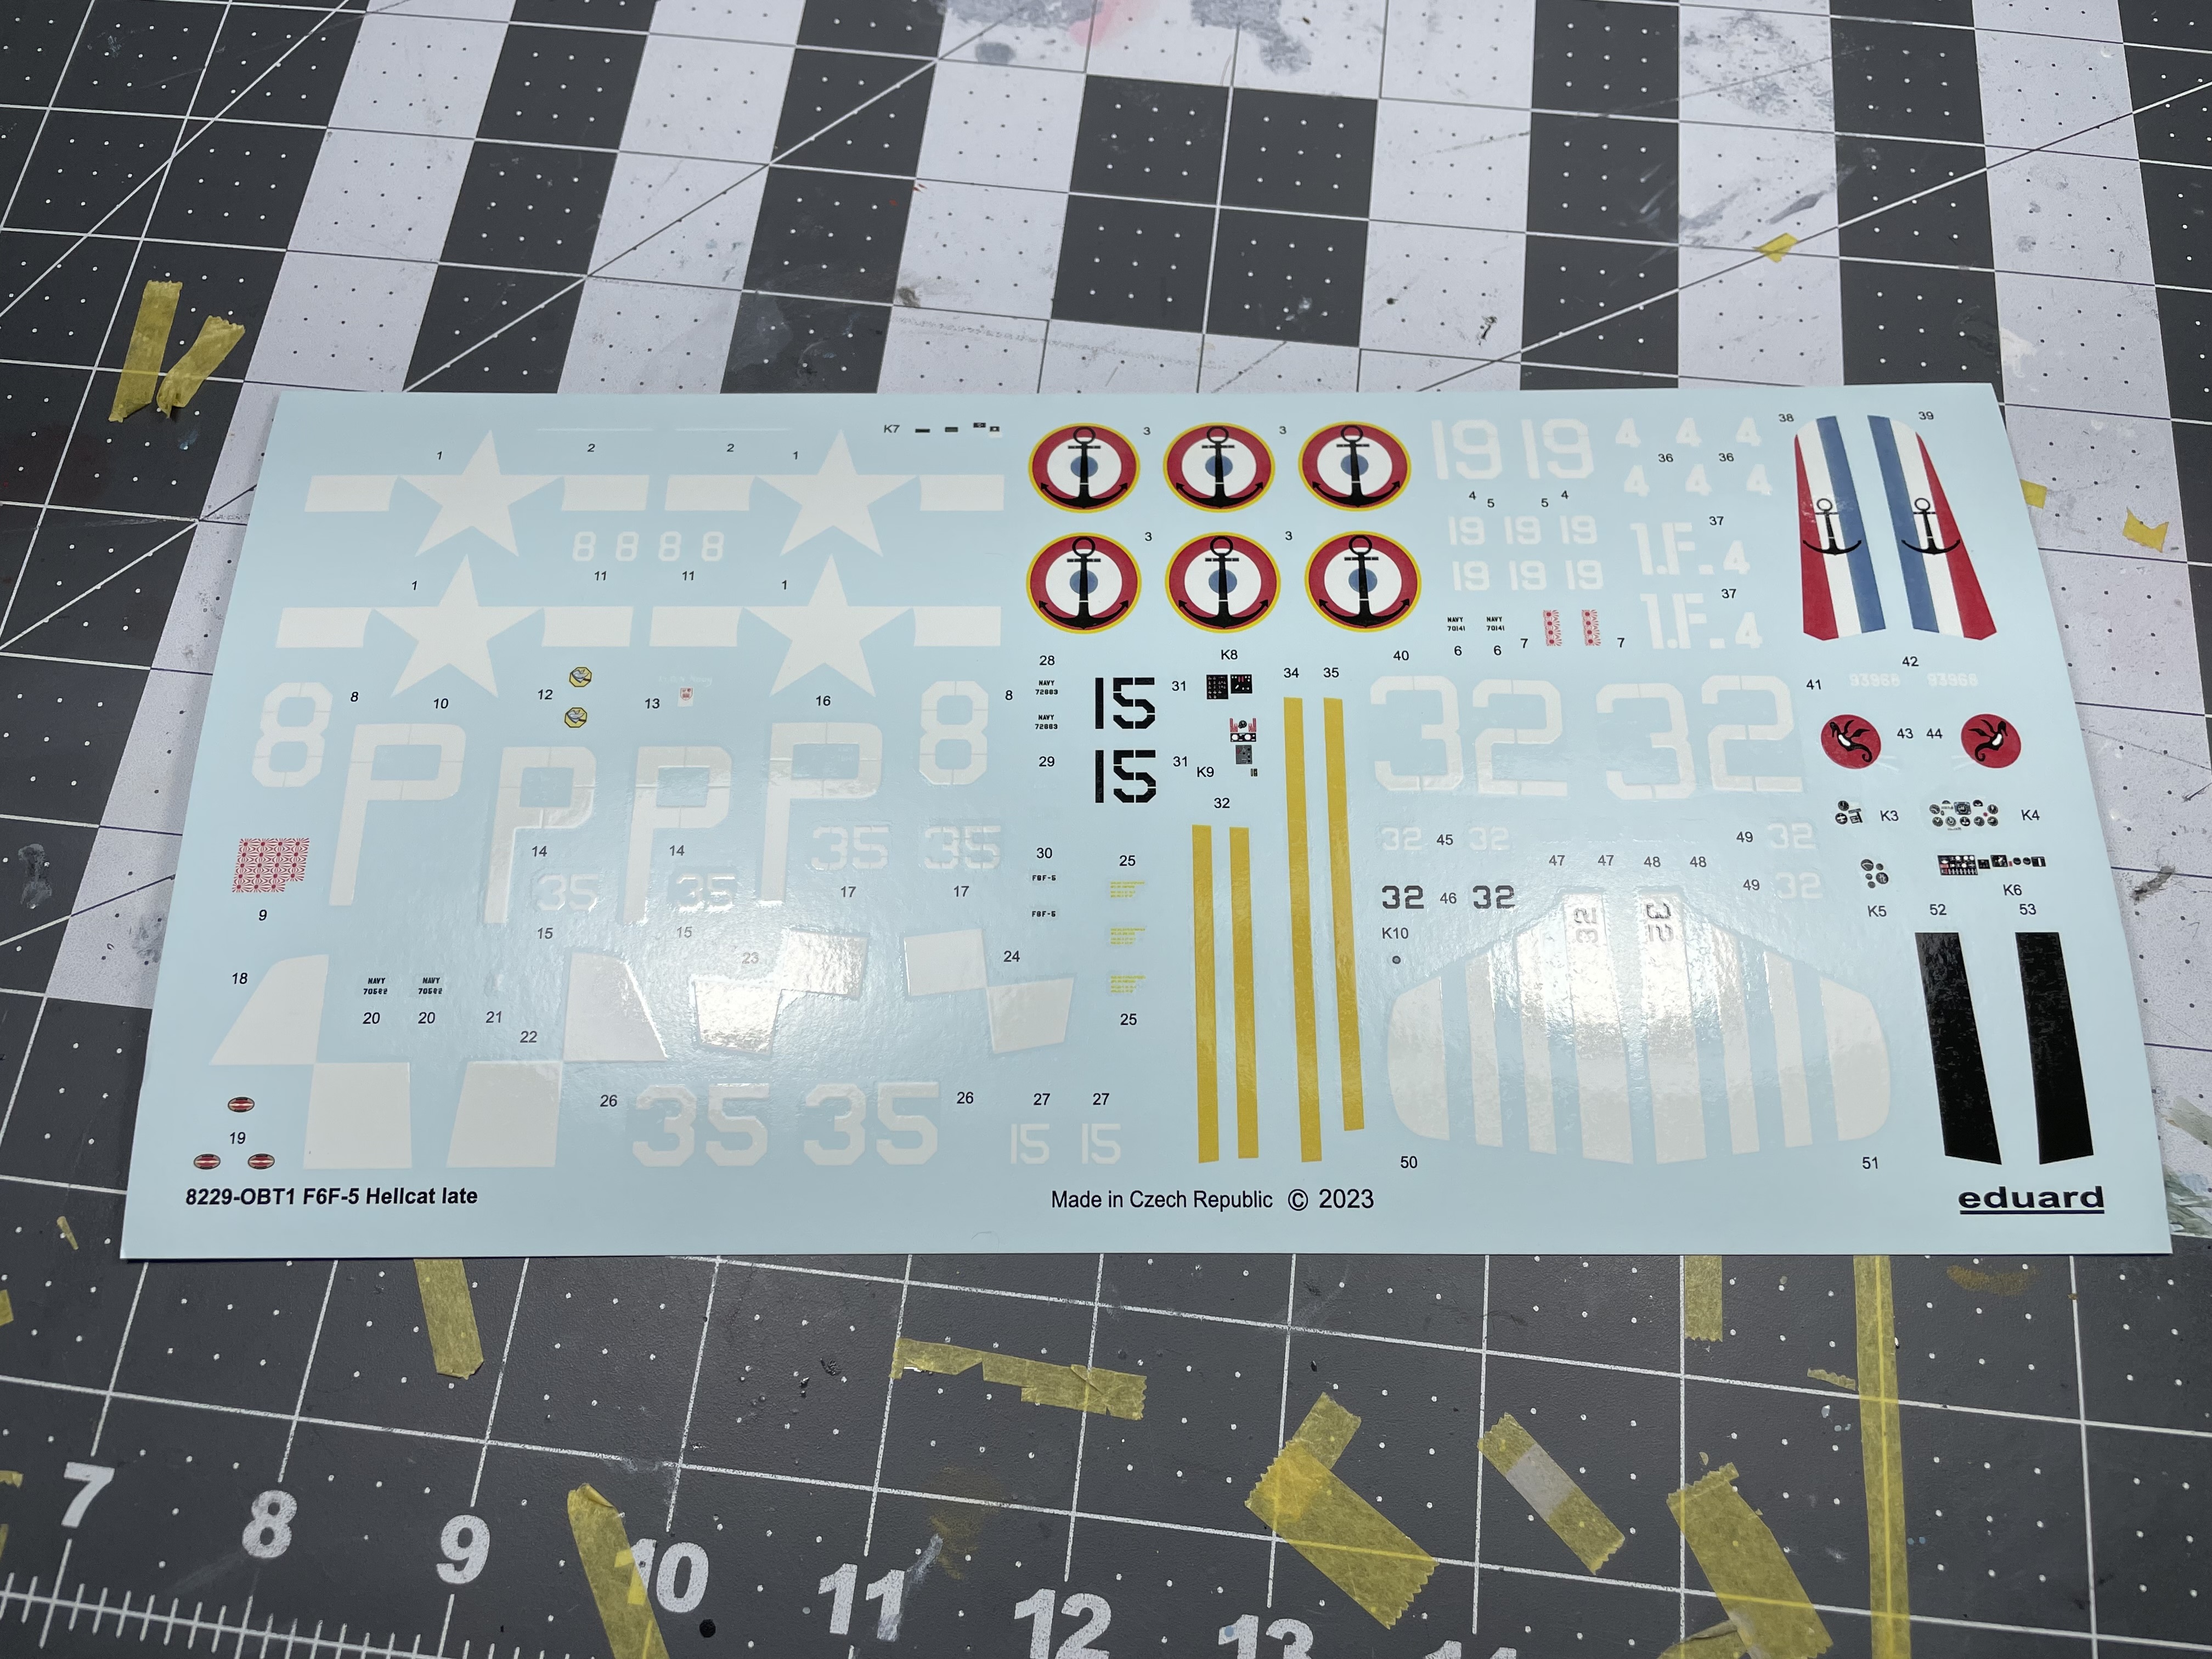
Included in the kit are 6 different marking options. I do like the variety of options included, however I feel that they could have gone a bit further in the width of what was offered. I don’t mean that they need to have offered even more options, however more colourful options would have been appreciated. They do offer a French variant which helps to increase the score, and the fact that late war Hellcats were pretty universally dark blue also mitigates it. They do loose points on the quality of the decals however, as Eduard has struggled to print vibrant colours on thier decals, with the reds on this sheet being a particular example.

Total: 65/100

Eduard’s Profipack Hellcat is in an interesting space. Nearly everything about it is excellent, save for the molding. for 62$ CAD it’s not an inexpensive build. As a lover of naval aviation subjects I’m biased but it’s an undeniable fact that the molding is disappointing. My honest recommendation? If you’re planning to build a late Hellcat either OOB or super detailed stick to the weekend edition of this kit. It’s a third cheaper and offers more flexibility for adding aftermarket parts (like a resin cockpit or engine). If you’re going to buying a kit with below average molding you may as well buy the cheap option.

Categories
1:48 Aircraft Uncategorized

Eduard Spitfire Mk.VIII

While working on Tamiya’s P-38, I picked up Eduard’s “weekend edition” Mk.VIII Spitfire. Considering that the kit was around $30 CAD it was too much of a bargain not to pick up. This was my first time building a Spitfire, as well as my first time building a Eduard kit. Surface details were fantastic, although I didn’t find that it had Tamiya levels of fit/engineering.

Construction of course started with the cockpit and it’s well detailed. I didn’t spend too much time here but added some wiring and drilled out weight saving holes. I was aiming to have the build completed within a month so progress was brisk.

I had never done a hard edge camouflage before and wanted to experiment with making one. I also tried out the Mr. Color Aqueous range of paint which performed well IMO. The finish was painted with the marbling technique although since I also wanted chipping on the wing root I had to find a way to work around the metallic surface while panting.

I used AK masking putty for the camouflage and was really pleased with how it performed, despite the fact that it took a bit to get used to using. In the end I was really pleased with how the marbling and hard edges turned out.

I used AK lacers for the RAF “Azure blue” And I have to say that it’s a fantastic colour to work with, the contrast between the desert camp above and the pale blue below is very nice.

Eduard includes decals for the wing markings but I instead opted to paint them using Tamiya NATO black. The end result speaks for itself in my opinion/

And with that decals were added and the kit was weathered up! I learned that while durable, Eduard decals need a very aggressive setting agent to settle. I clear coated the model with Tamiya X-22 and MCLT. Oils were used for about 99% of the weathering with some pigments used as well.

Categories
1:48 Aircraft

Tamiya P-38G Lightning “Operation Vengeance”

Over the past month I’ve managed to complete Tamiya’s new P-38. I’ve recently completed a move across the country and I’m happy to be back to building. I’m going to try to commit to churn out several builds over the next couple months to make up for the time spent away from the bench.

Categories
1:48 Aircraft

Tamiya He-219 “Uhu” (Part 5)

After a little over two months on the workbench, Tamiya’s 1997 Uhu has finally been completed. All things considered, I’m very happy with the result. Ever since I returned to the Model building I’ve been slowly adding techniques and procedures back into my repertoire. Tamiya’s Uhu was a lot of firsts for me, First time using oil washes, first time trying chipping effects, first time using VMS products, and first time rigging aircraft. While I was comfortable with these techniques prior to my modeling hiatus they were new to me upon returning and had to be re-learnt.

I made some significant mistakes along the way as well, notably not leaving enough time for the VMS decal setting solution to cure before spraying the satin coat and therefore wrinkling the otherwise perfect decals. Another problem I encountered was that the canopy did not seal perfectly with the fuselage causing overspray to get up inside the cockpit, something that I’ll need to look out for next time around. I also used the exhaust flame hiders as a “test run” for future German AFV exhausts. I’m not happy with how they turned out but that’s not the point, the goal was to find out what worked and what didn’t and now I know for the future how to improve.

As for the model itself I’m definitely happy with how some additions enhanced the model. Eduard Models’ Resin wheel set definitely added some pop to the final product and I was pleased with where I was able to get them for the final product. The Master Models Fug-220 Radar set also really enhances the front of the kit.

As for the weathering and finishing on the model, I used Abteilung 502 oils for an initial dark brown/black wash. I also opted to highlight some select panels with the airbrush. I used Mig Productions Oil and Grease as well as their Fuel stains product as well. The aircraft was painted with Vallejo Model air Grauweiss and Grauviolet for the spots. It was sealed with VMS’s Satin and Matte clear coats.

That’s a wrap!

Categories
1:48 Aircraft

Tamiya He-219 “Uhu” (Part 4)

Onto the camouflage! Suffice to say this particular scheme has been one of the most labor intensive patterns I’ve ever had to paint. I selected this specific scheme because I felt that the grey-violet spots over the Grauweiss base color really stood out. I also felt that I could create more interesting weathering effects with a light colored canvas.

Final camouflage scheme completed.

For painting the spots I used Vallejo model RLM 75 Grey Violet thinned with acrylic thinner and flow improver. The painting process really changed during the process and I frequently changed ratios to find the best solution for fine detail painting. I used my Sotar 20/20 airbrush and while in some cases It sprayed really well, I was finding that it was really inconsistent in how it sprayed. Lots of clogging, tip dry and spidering on the surface. It’s probably just me not used to the extremely fine nozzle and needle than what I’m used to (Badger 150).

After finishing the initial camouflage coat I also did some initial weathering on the leading edges and select panels. I really wanted to portray a heavily weathered aircraft at the end of the war.

For sealing I tried out VMS’s varnish coats which sealed the paint excellently. Instead of going for a typical gloss goat I just used a satin which was definitely smooth enough for decals. I definitely want to do more product reviews so I think I’ll post a more detailed review of VMS products in the future, possibly one for Lifecolor paints as well.

Decals were pretty straightforward despite being over 20 years old at this point. With the assistance of VMS decal setting solution I was pleasantly surprised how well then went down, really great stuff!

Anyway that’s it for now at least, next up is weathering!