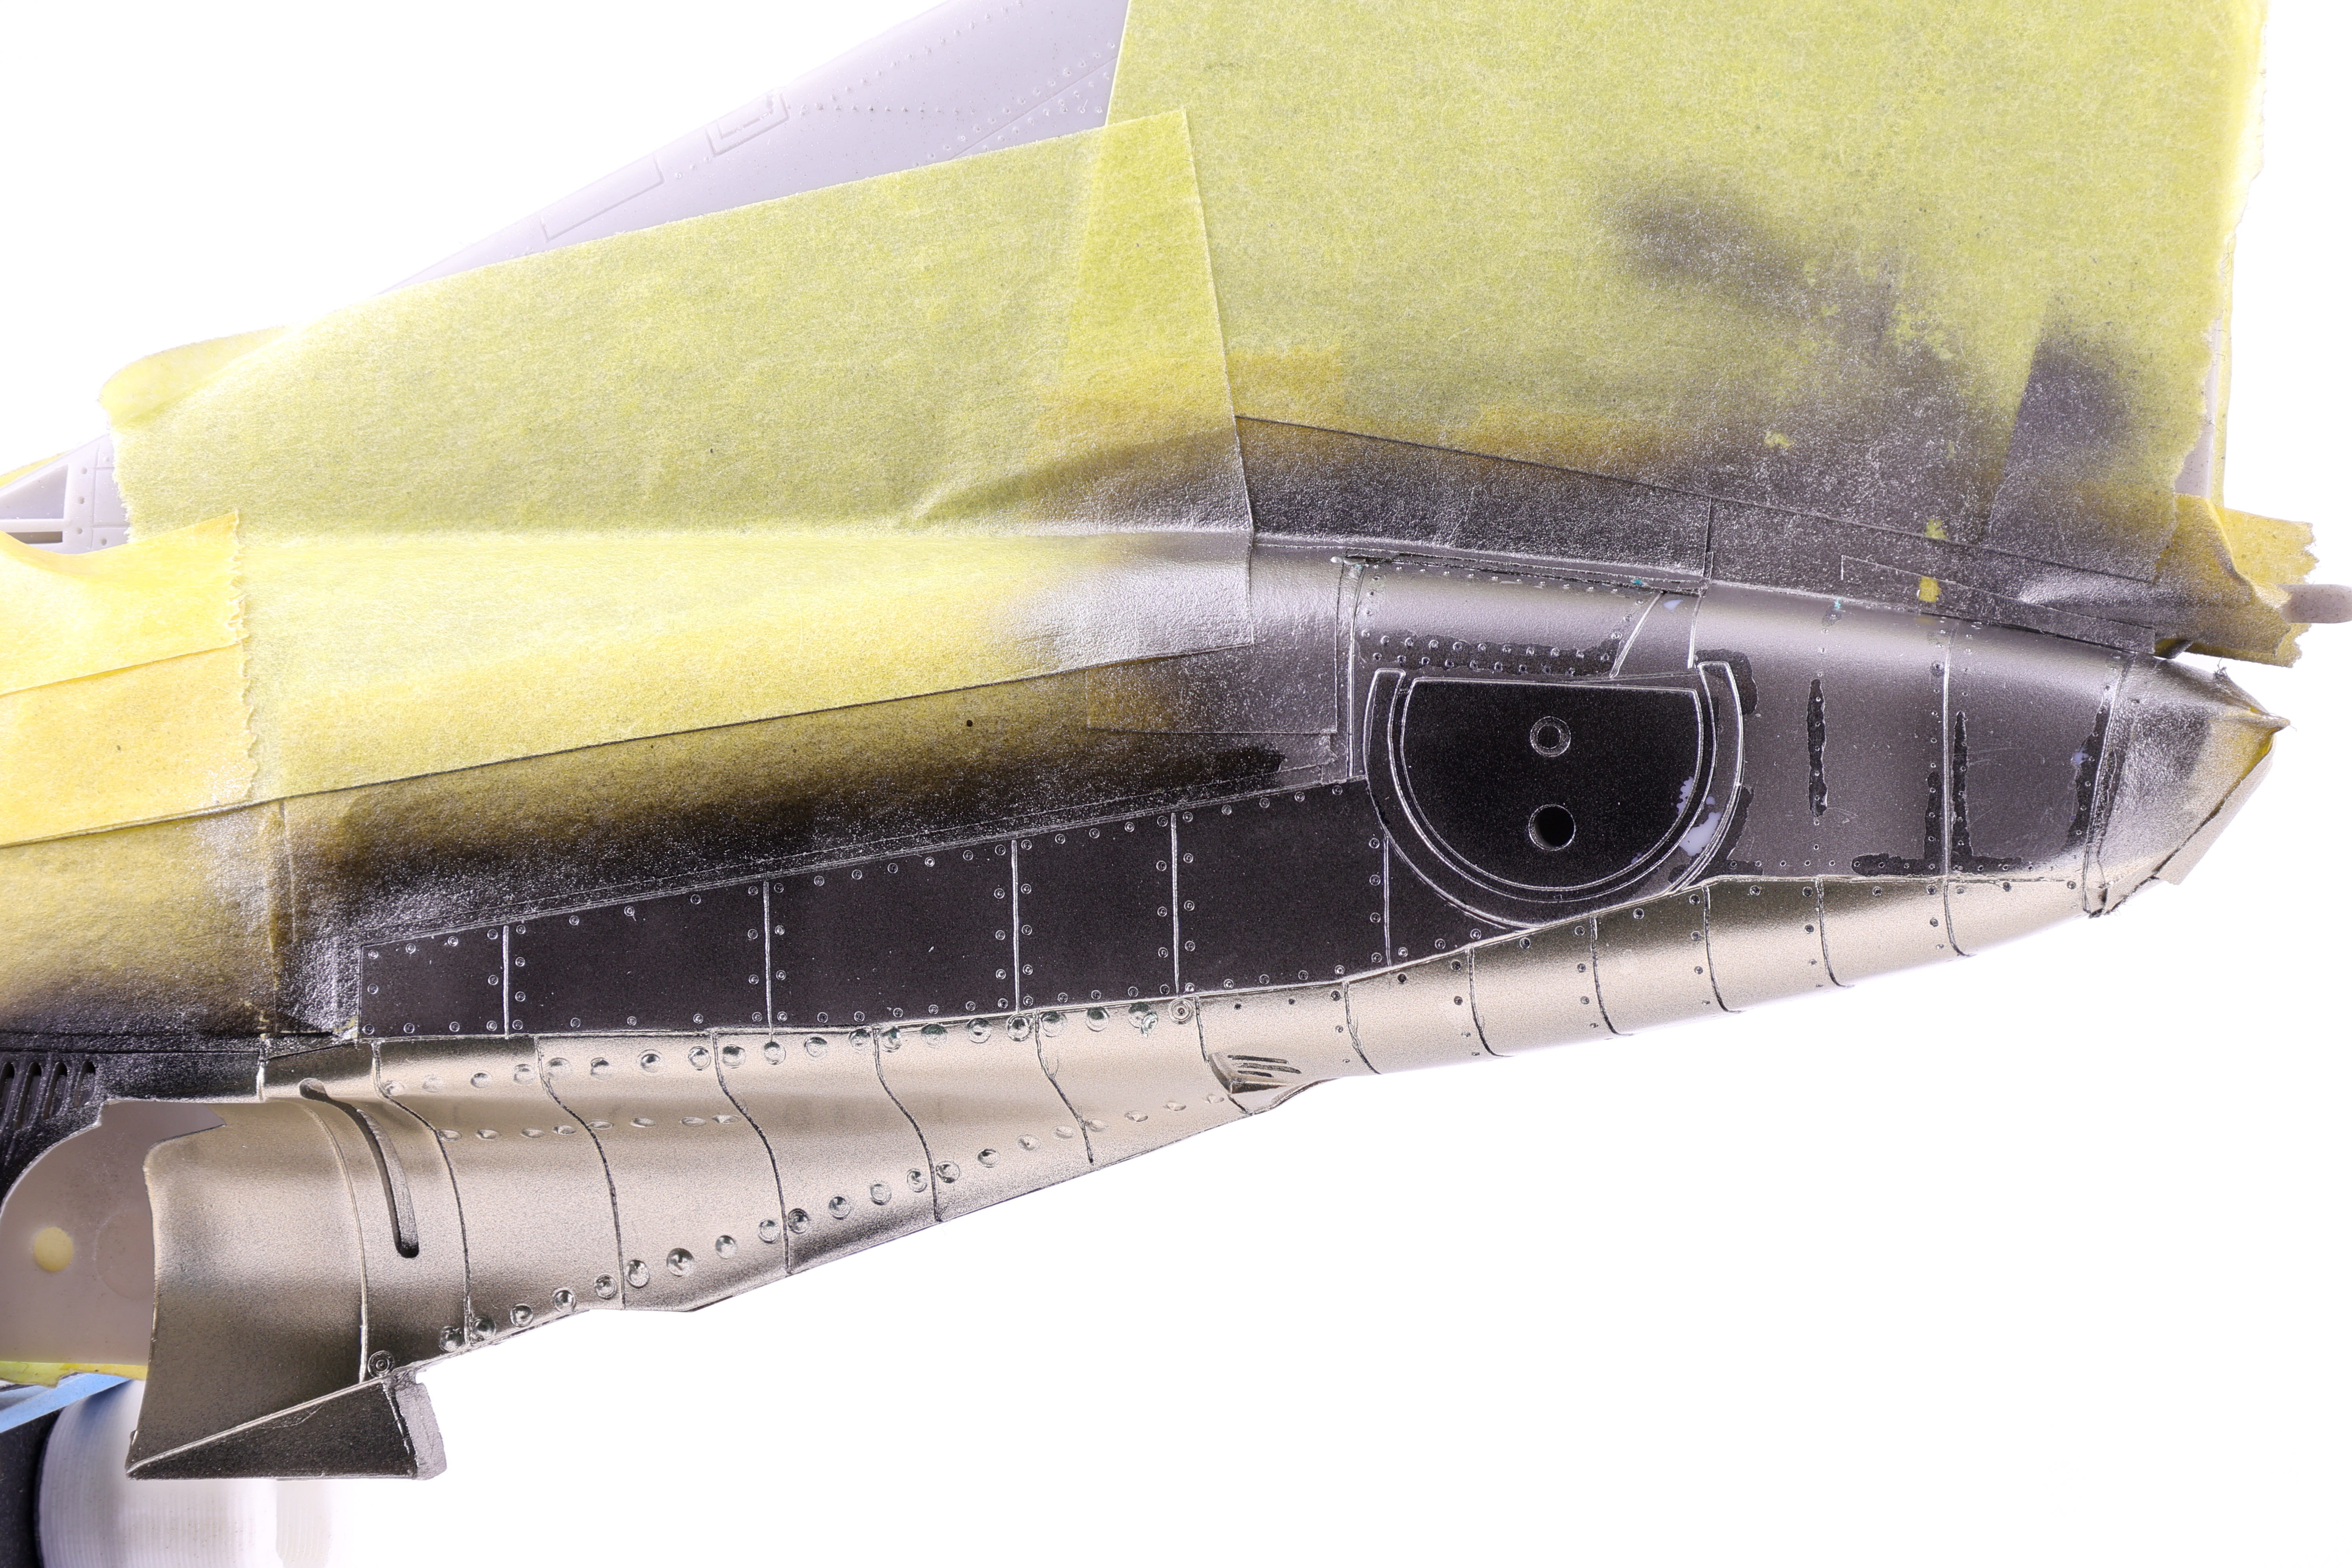
After several months on the bench, it came time to apply paint to the model. As with the majority of the models I build, I utilized the black basing technique to apply pre-shading to the model.
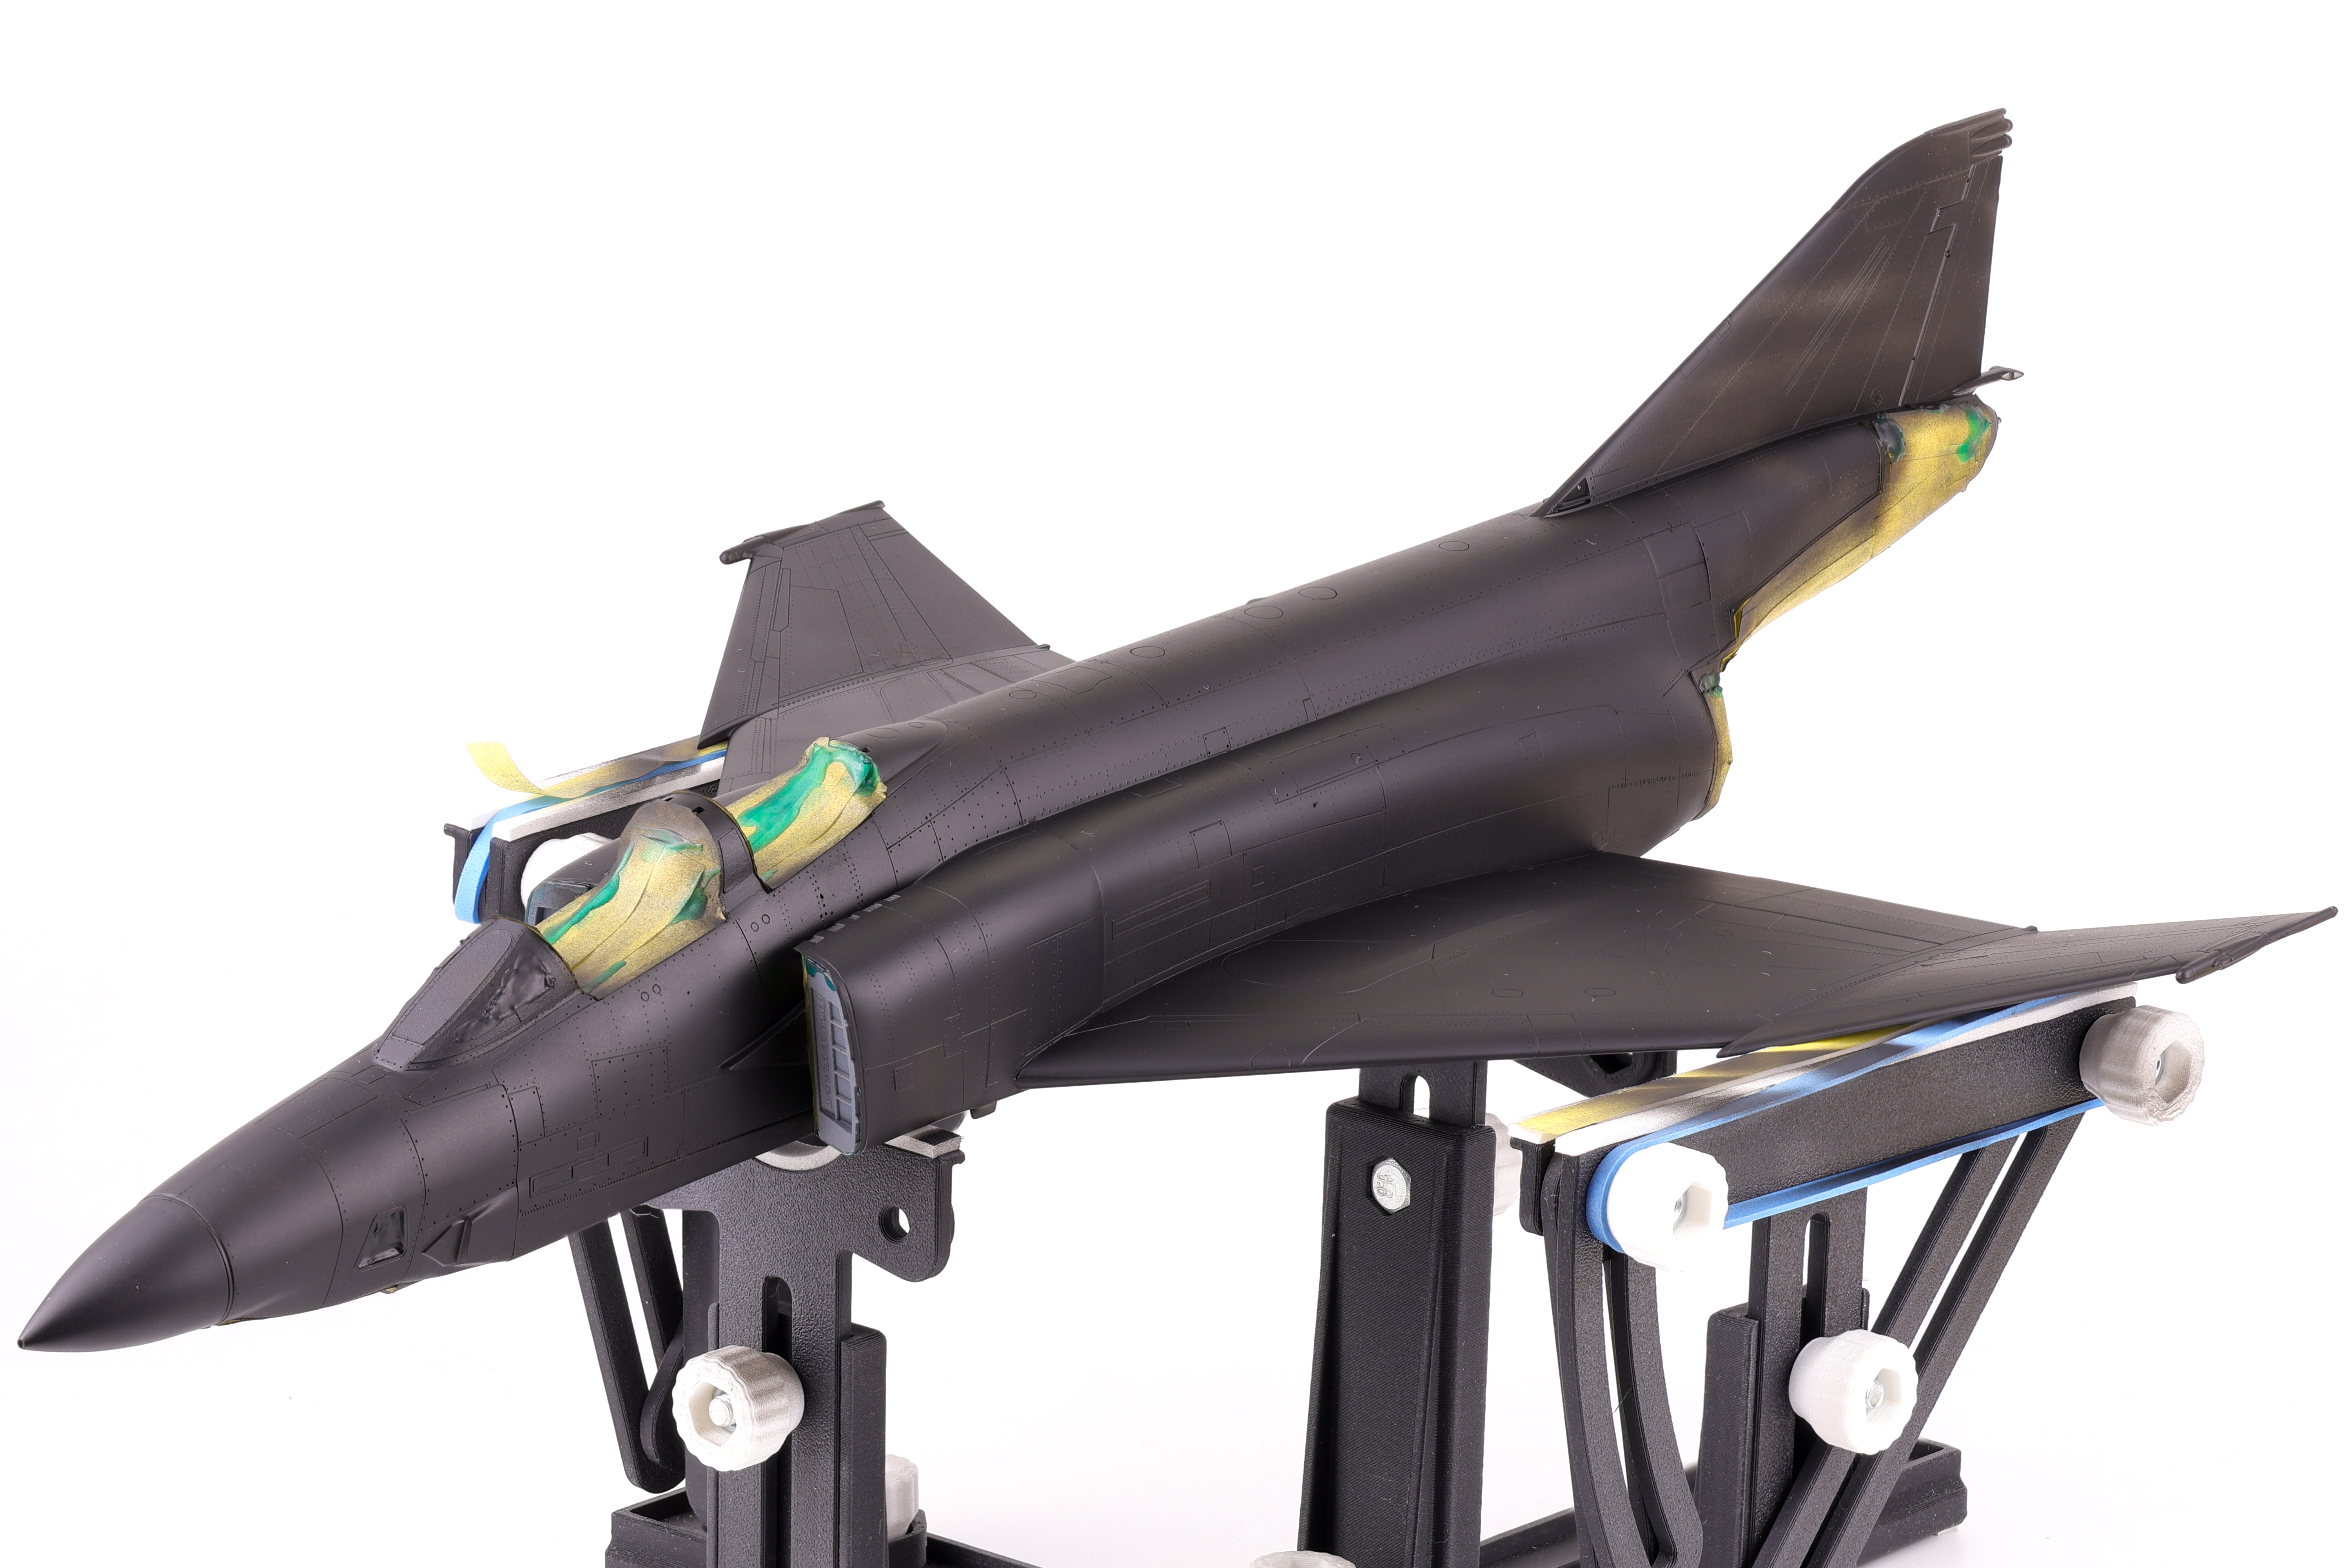
After the initial coat of Mr. Finishing surfacer black 1500, I used a generic light grey to serve as the initial marble coat. I wanted to make sure that my marble work was sufficiently light enough as if the base layers turned out too dark, the final paint coats would also appear too dark and require too much paint to bring the colour back into the final finish.
I then got to work adding some variation to the pre-shading, opting to scatter some different colours on select panels. In the end this effect was not as apparent as I had hoped but It’s still fun to play around with new approaches to techniques. The next step would be to begin blending everything together in two blend coats. The first was a thinned down coat of Mr. Color JASDF “Light Blue Impulse” which tinted the pre shading to be more in line with the final colours.
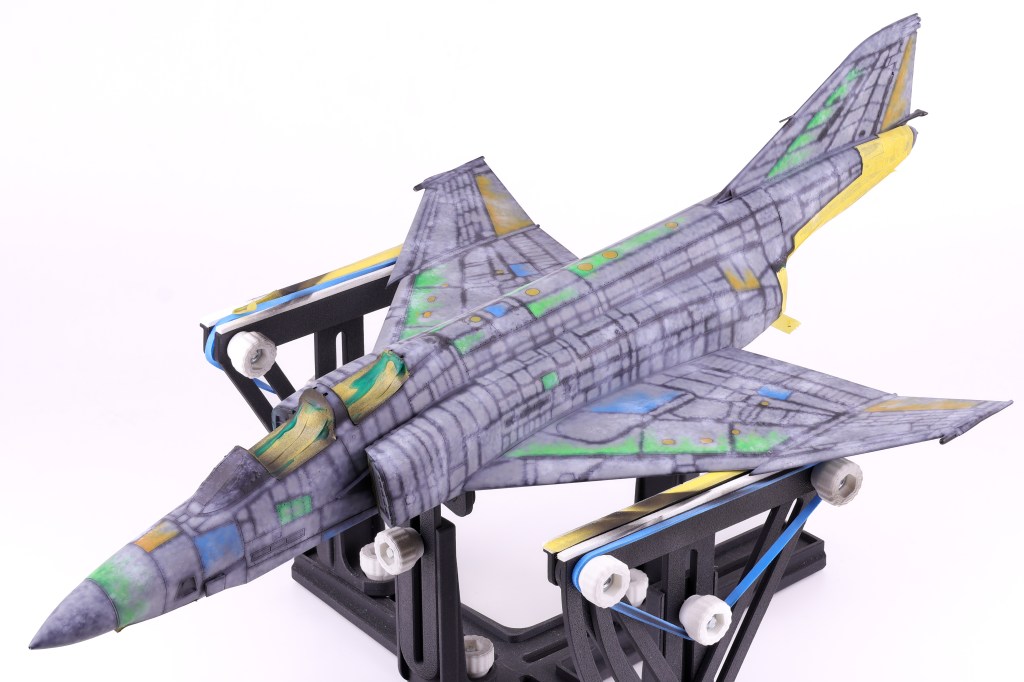

After this was done, I then tried a new technique that I have been wanting to for some time now, the layered ink patina technique. This is done by utilizing liquidex acrylic inks to achieve even further surface variation. This technique was popularized by Modeller Kris Sieber (@Luftraum72) who has a great guide on how to utilize this approach available on his website.
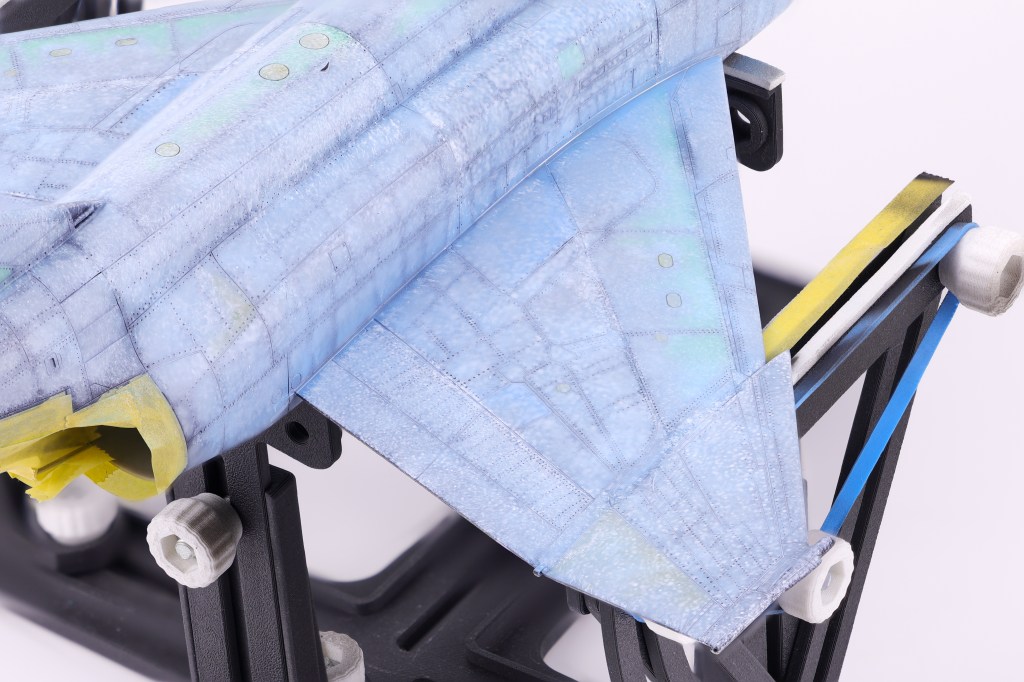
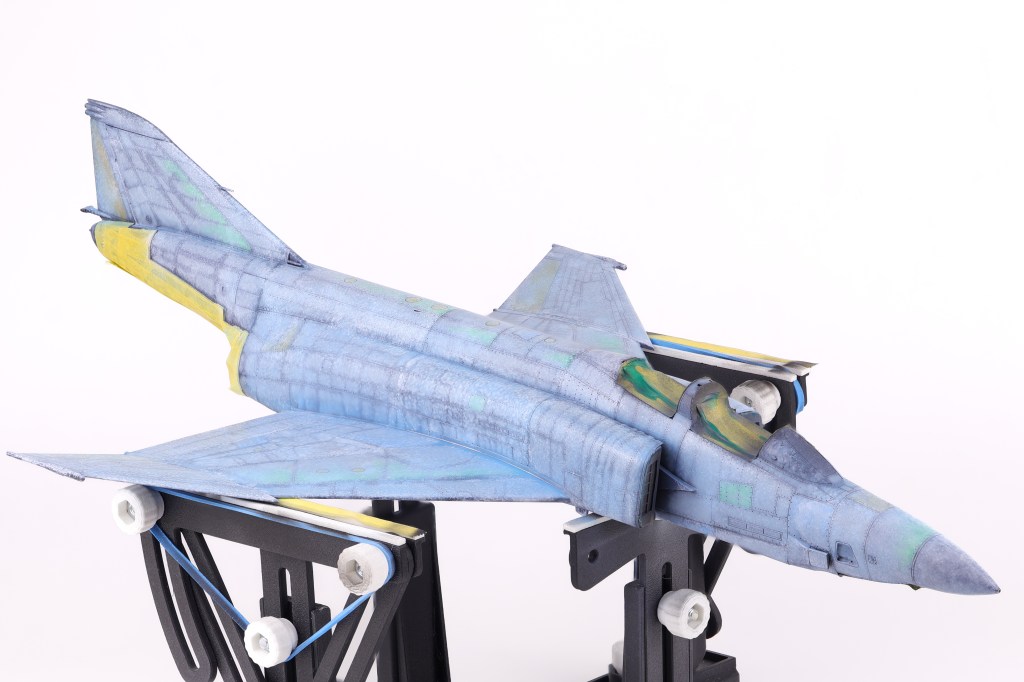
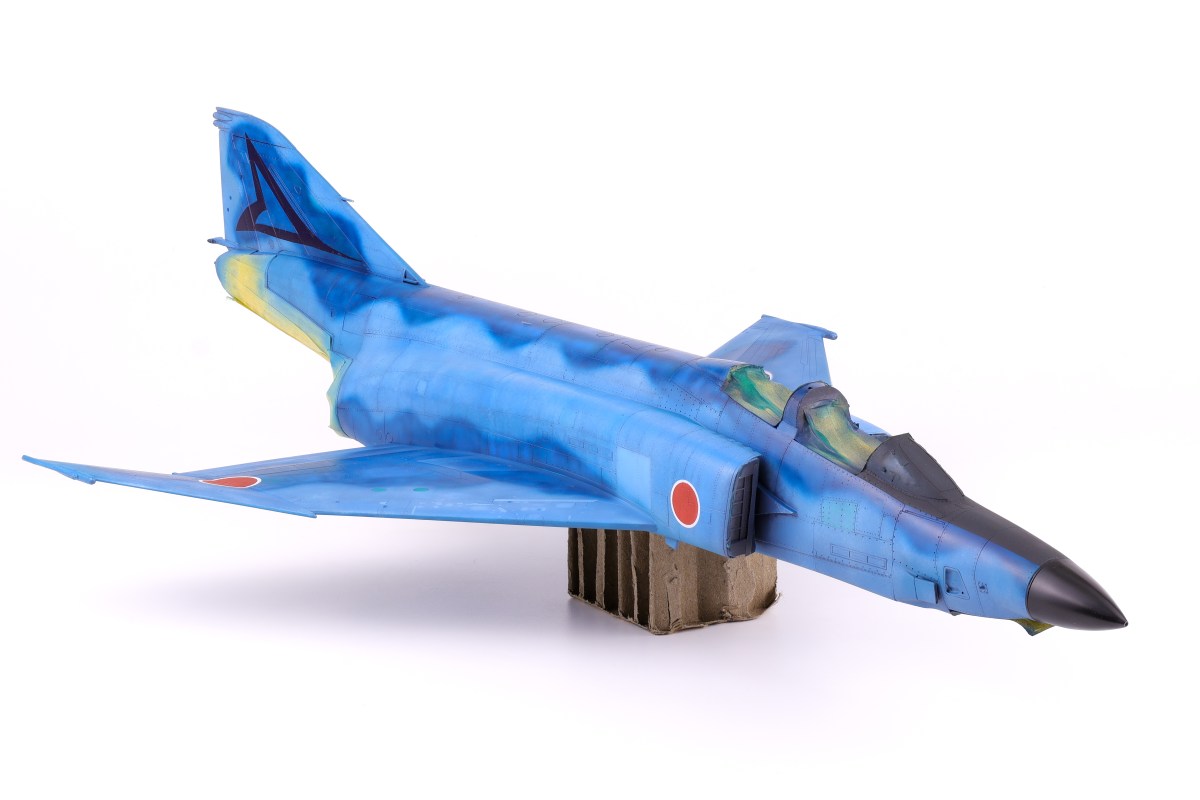
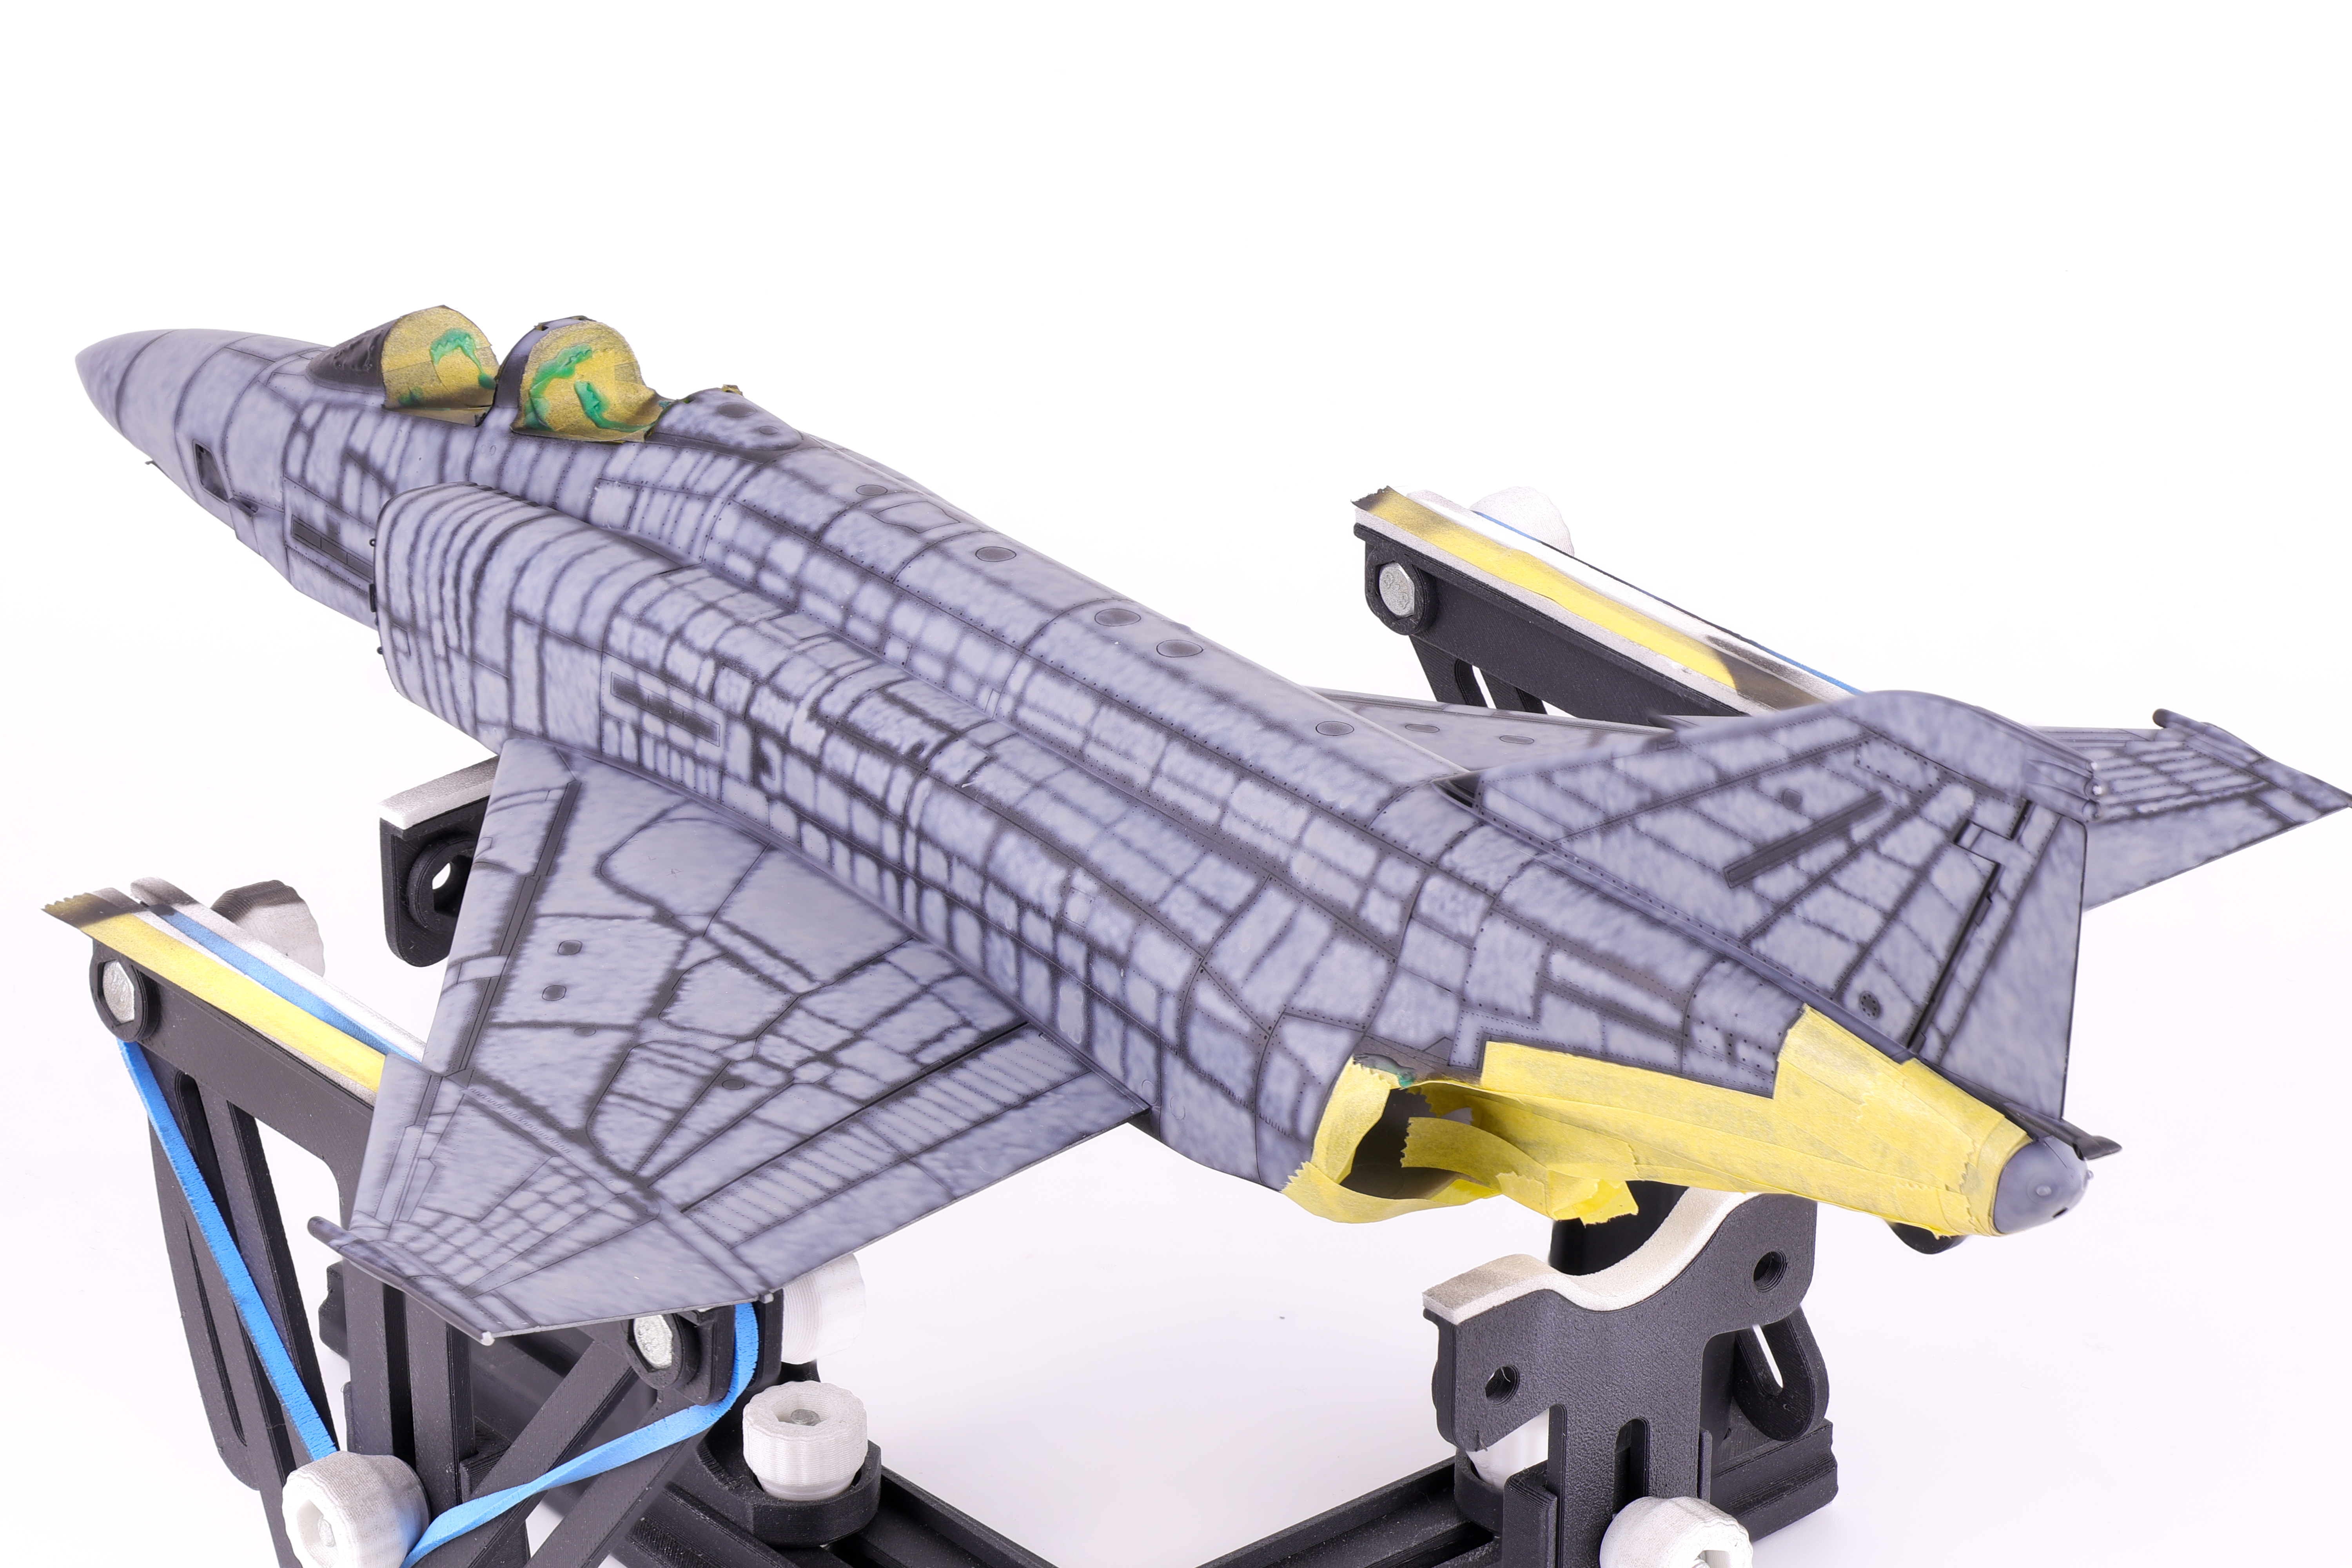
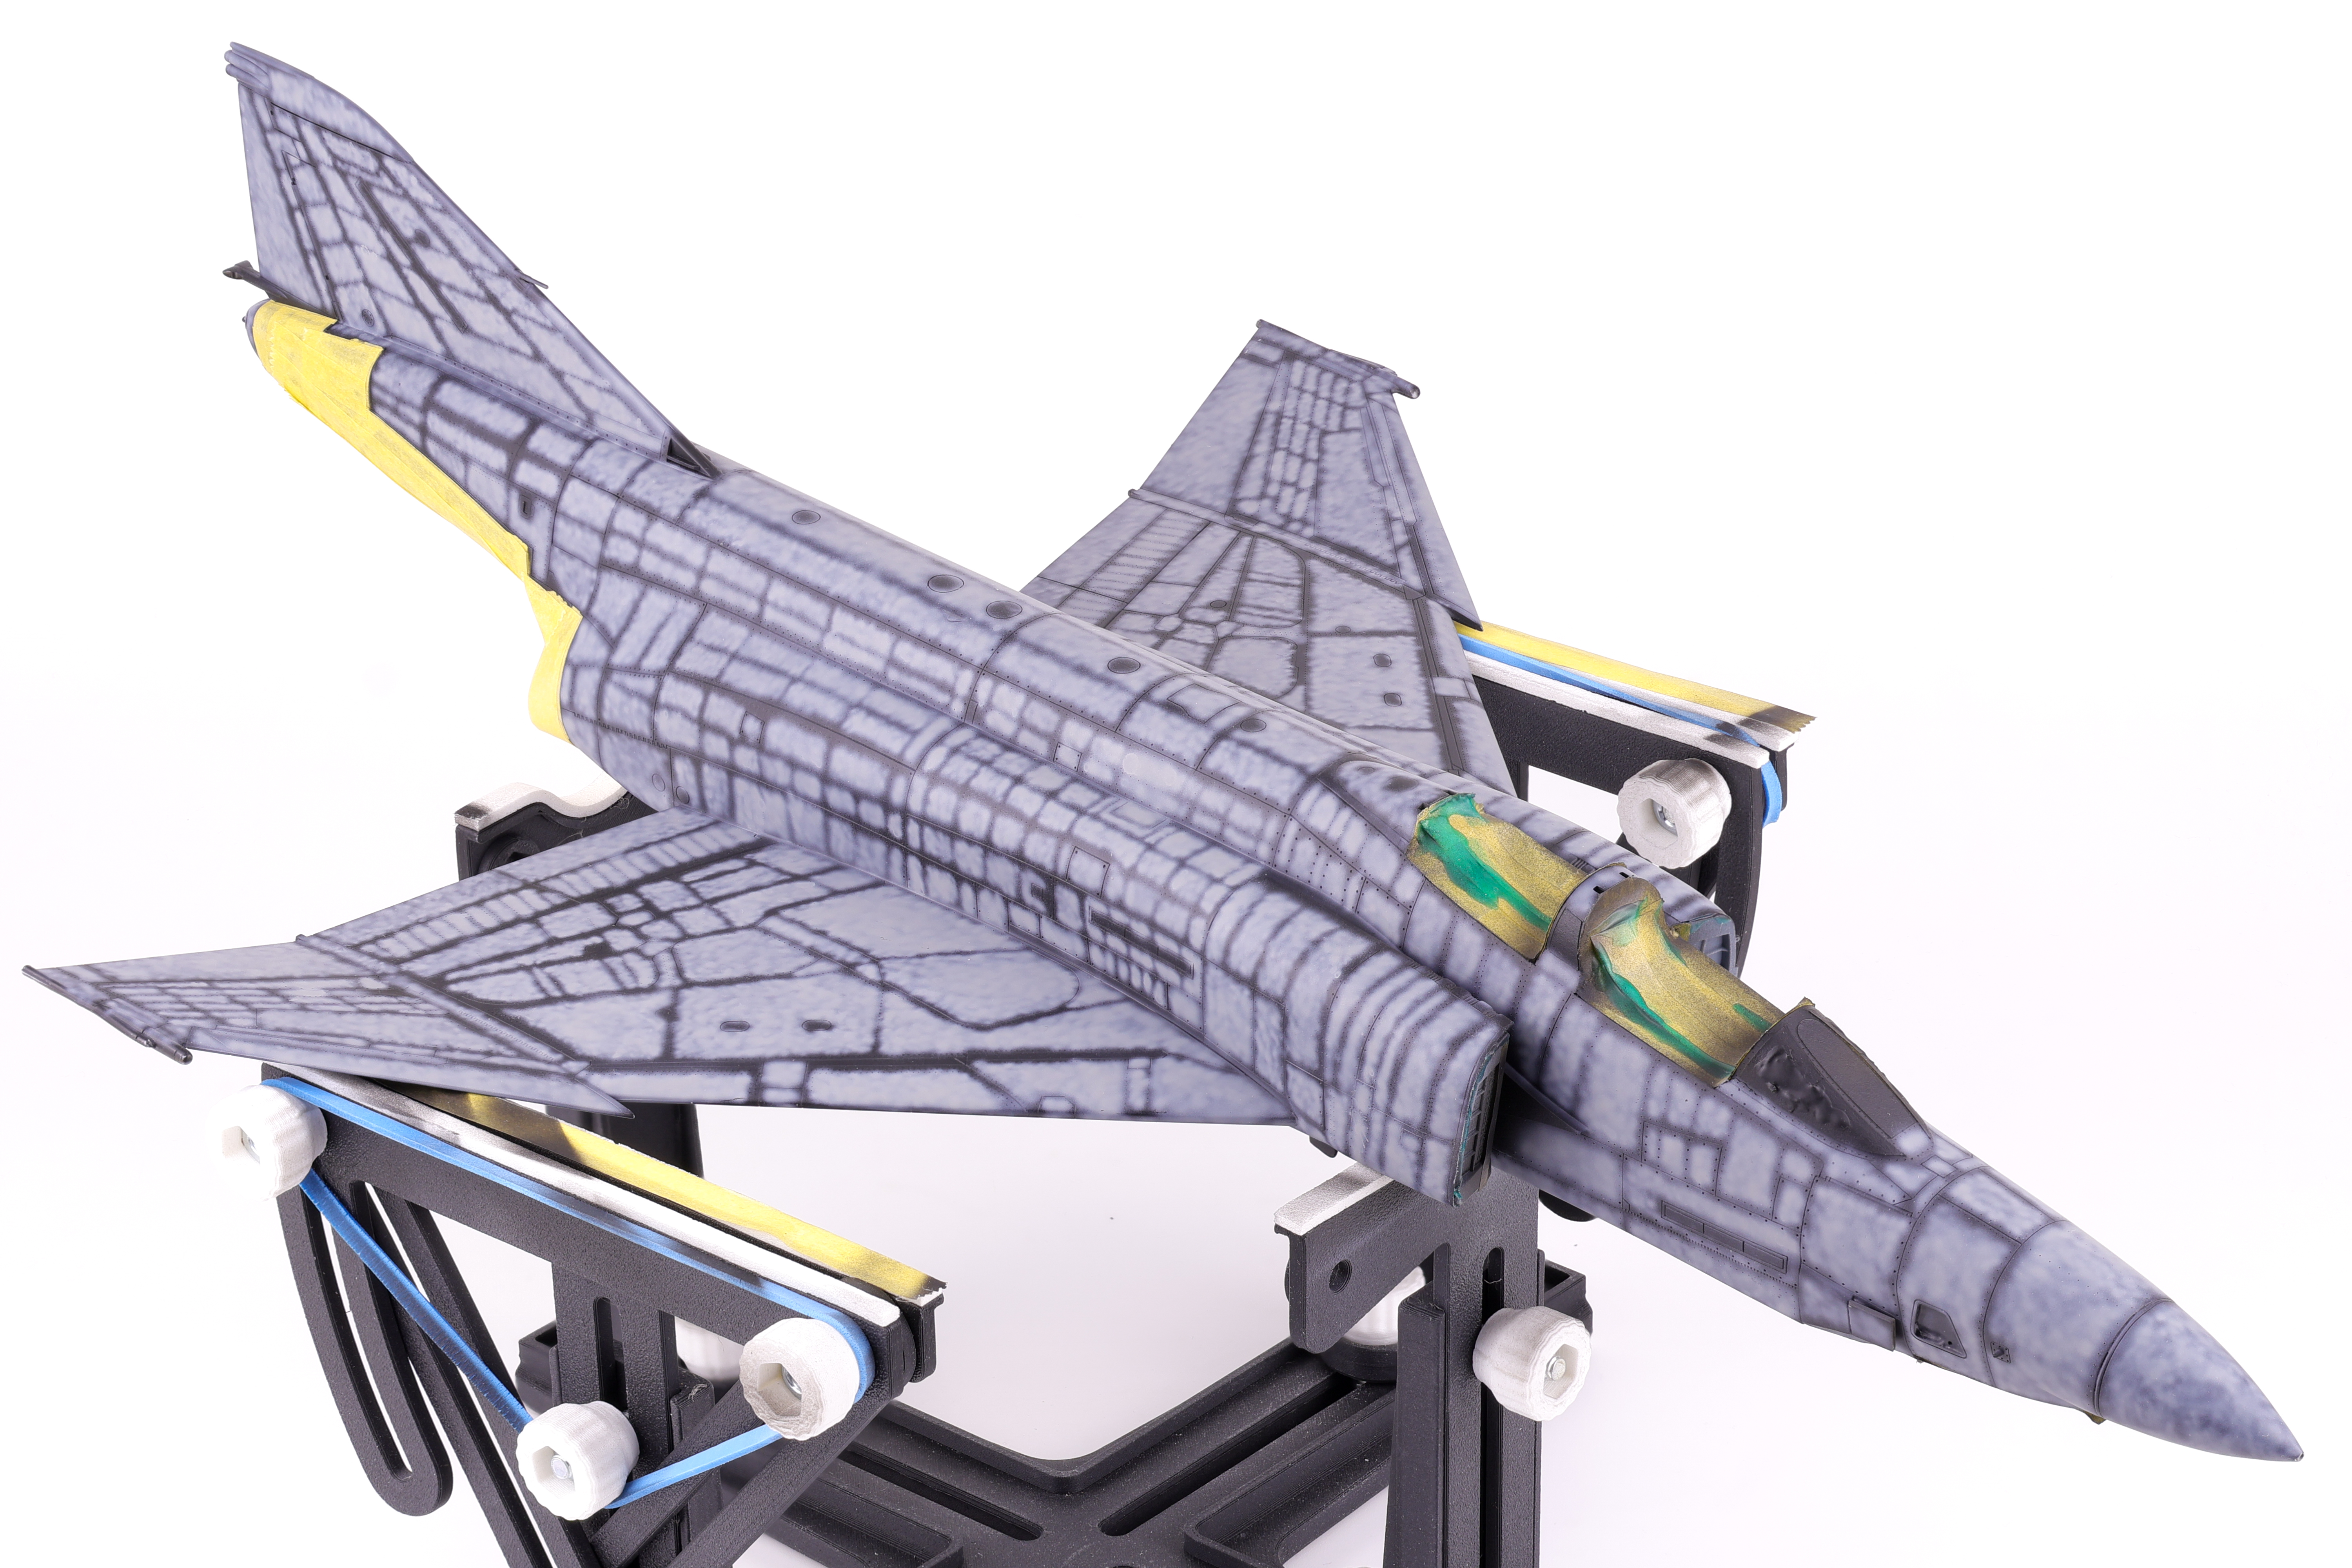
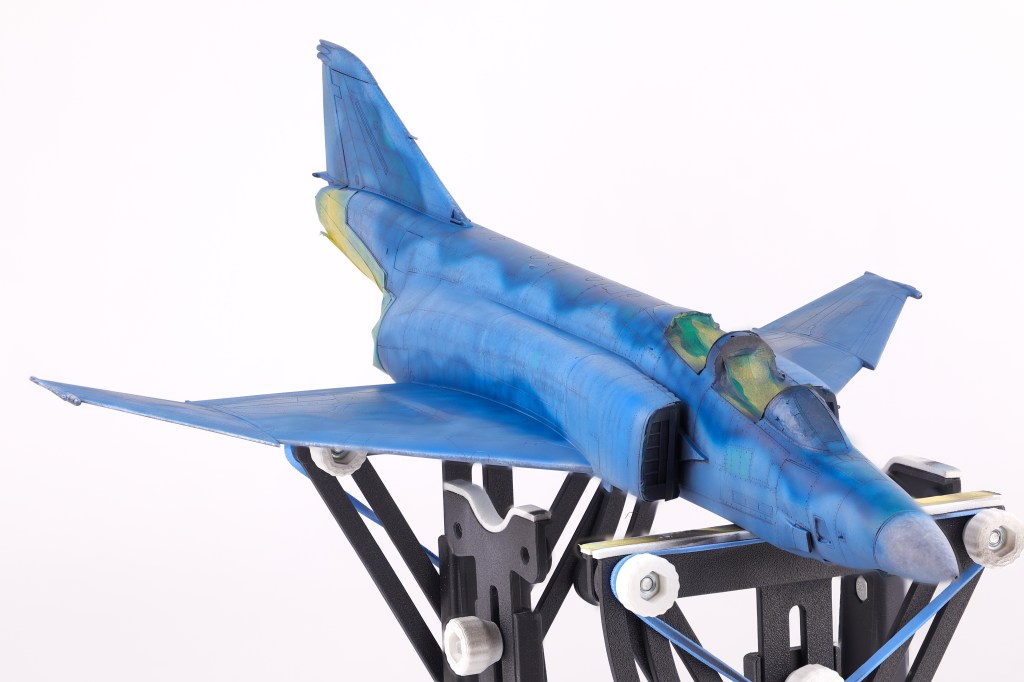
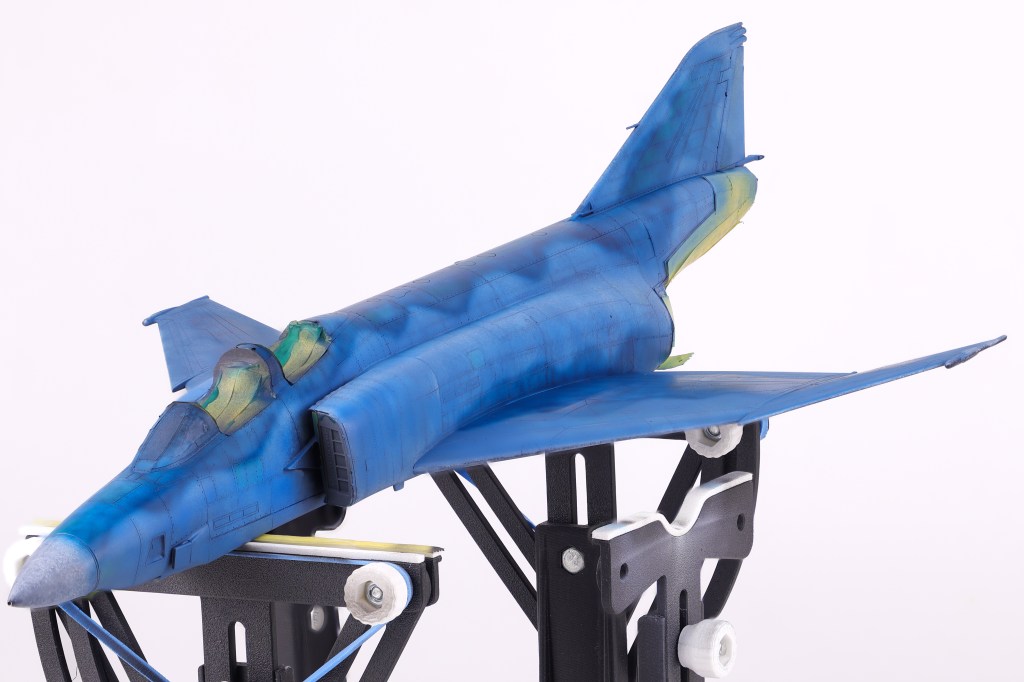
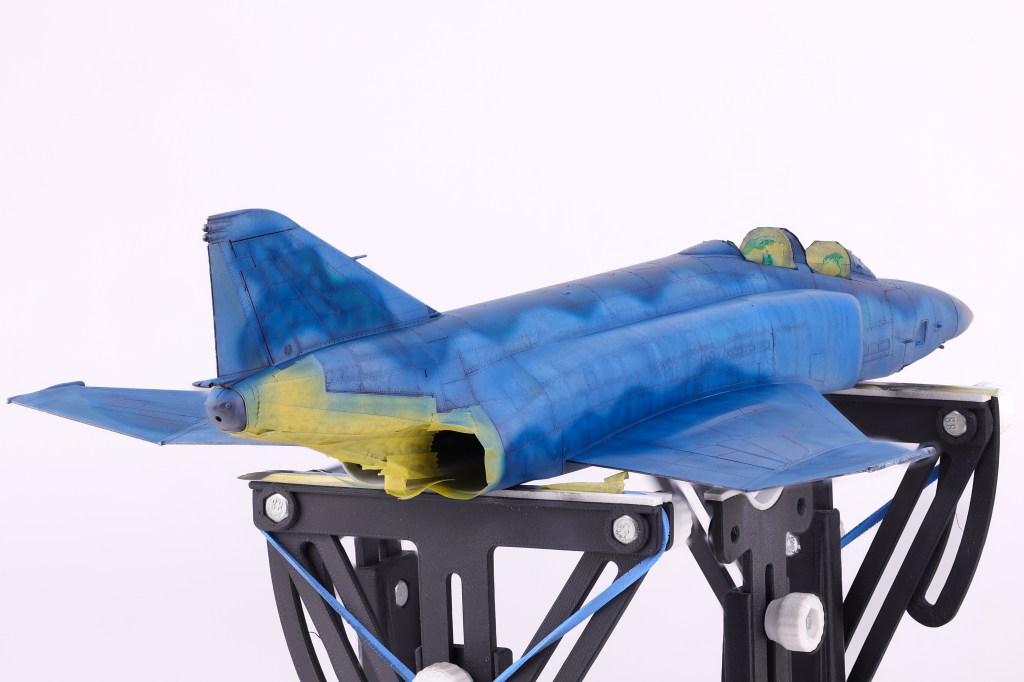
With the many pre-shading layers done, It was time to apply the final camouflage coats to the model and see if all the prior work was worth it. To do this I utilized two main shades, the first was SMS Midnight blue, the second being the aforementioned Light Blue Impulse from Mr. Color. I applied the light blue shade first, taking care not to overlap with the darker areas so not to overpower the pre-shading. I was fairly happy with how this turned out and I think that my approach here captured the duality of this distinctive scheme, in that it is incredibly vivid and striking yet also faded and worn at the same time.
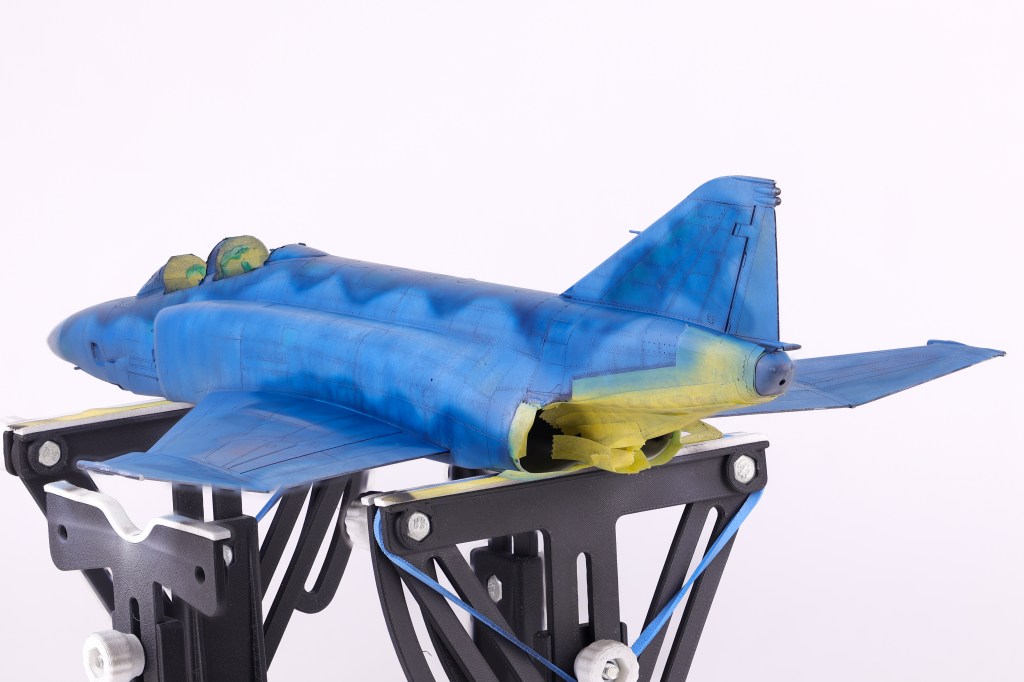
With this initial camouflage coat down, I then turned my attention to other areas that needed to be addressed. This included adding color discoloration to selected panels, painting the markings as well as the radome and anti-glare shield. Also of note was one of the scheme decals, a triangular graphic present on the tail of this aircraft. I opted to apply this decal at this time because from reference photos I could tell that it was very faded and barely noticeable on the real aircraft. To recreate this effect, I chose to paint over the applied decal prior to sealing my work in a gloss varnish