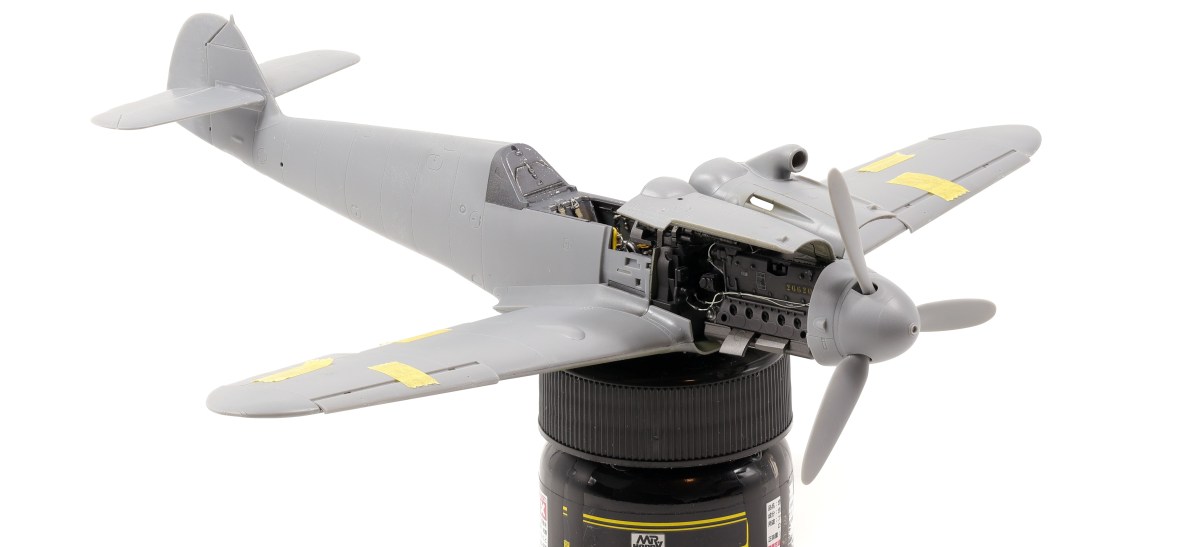
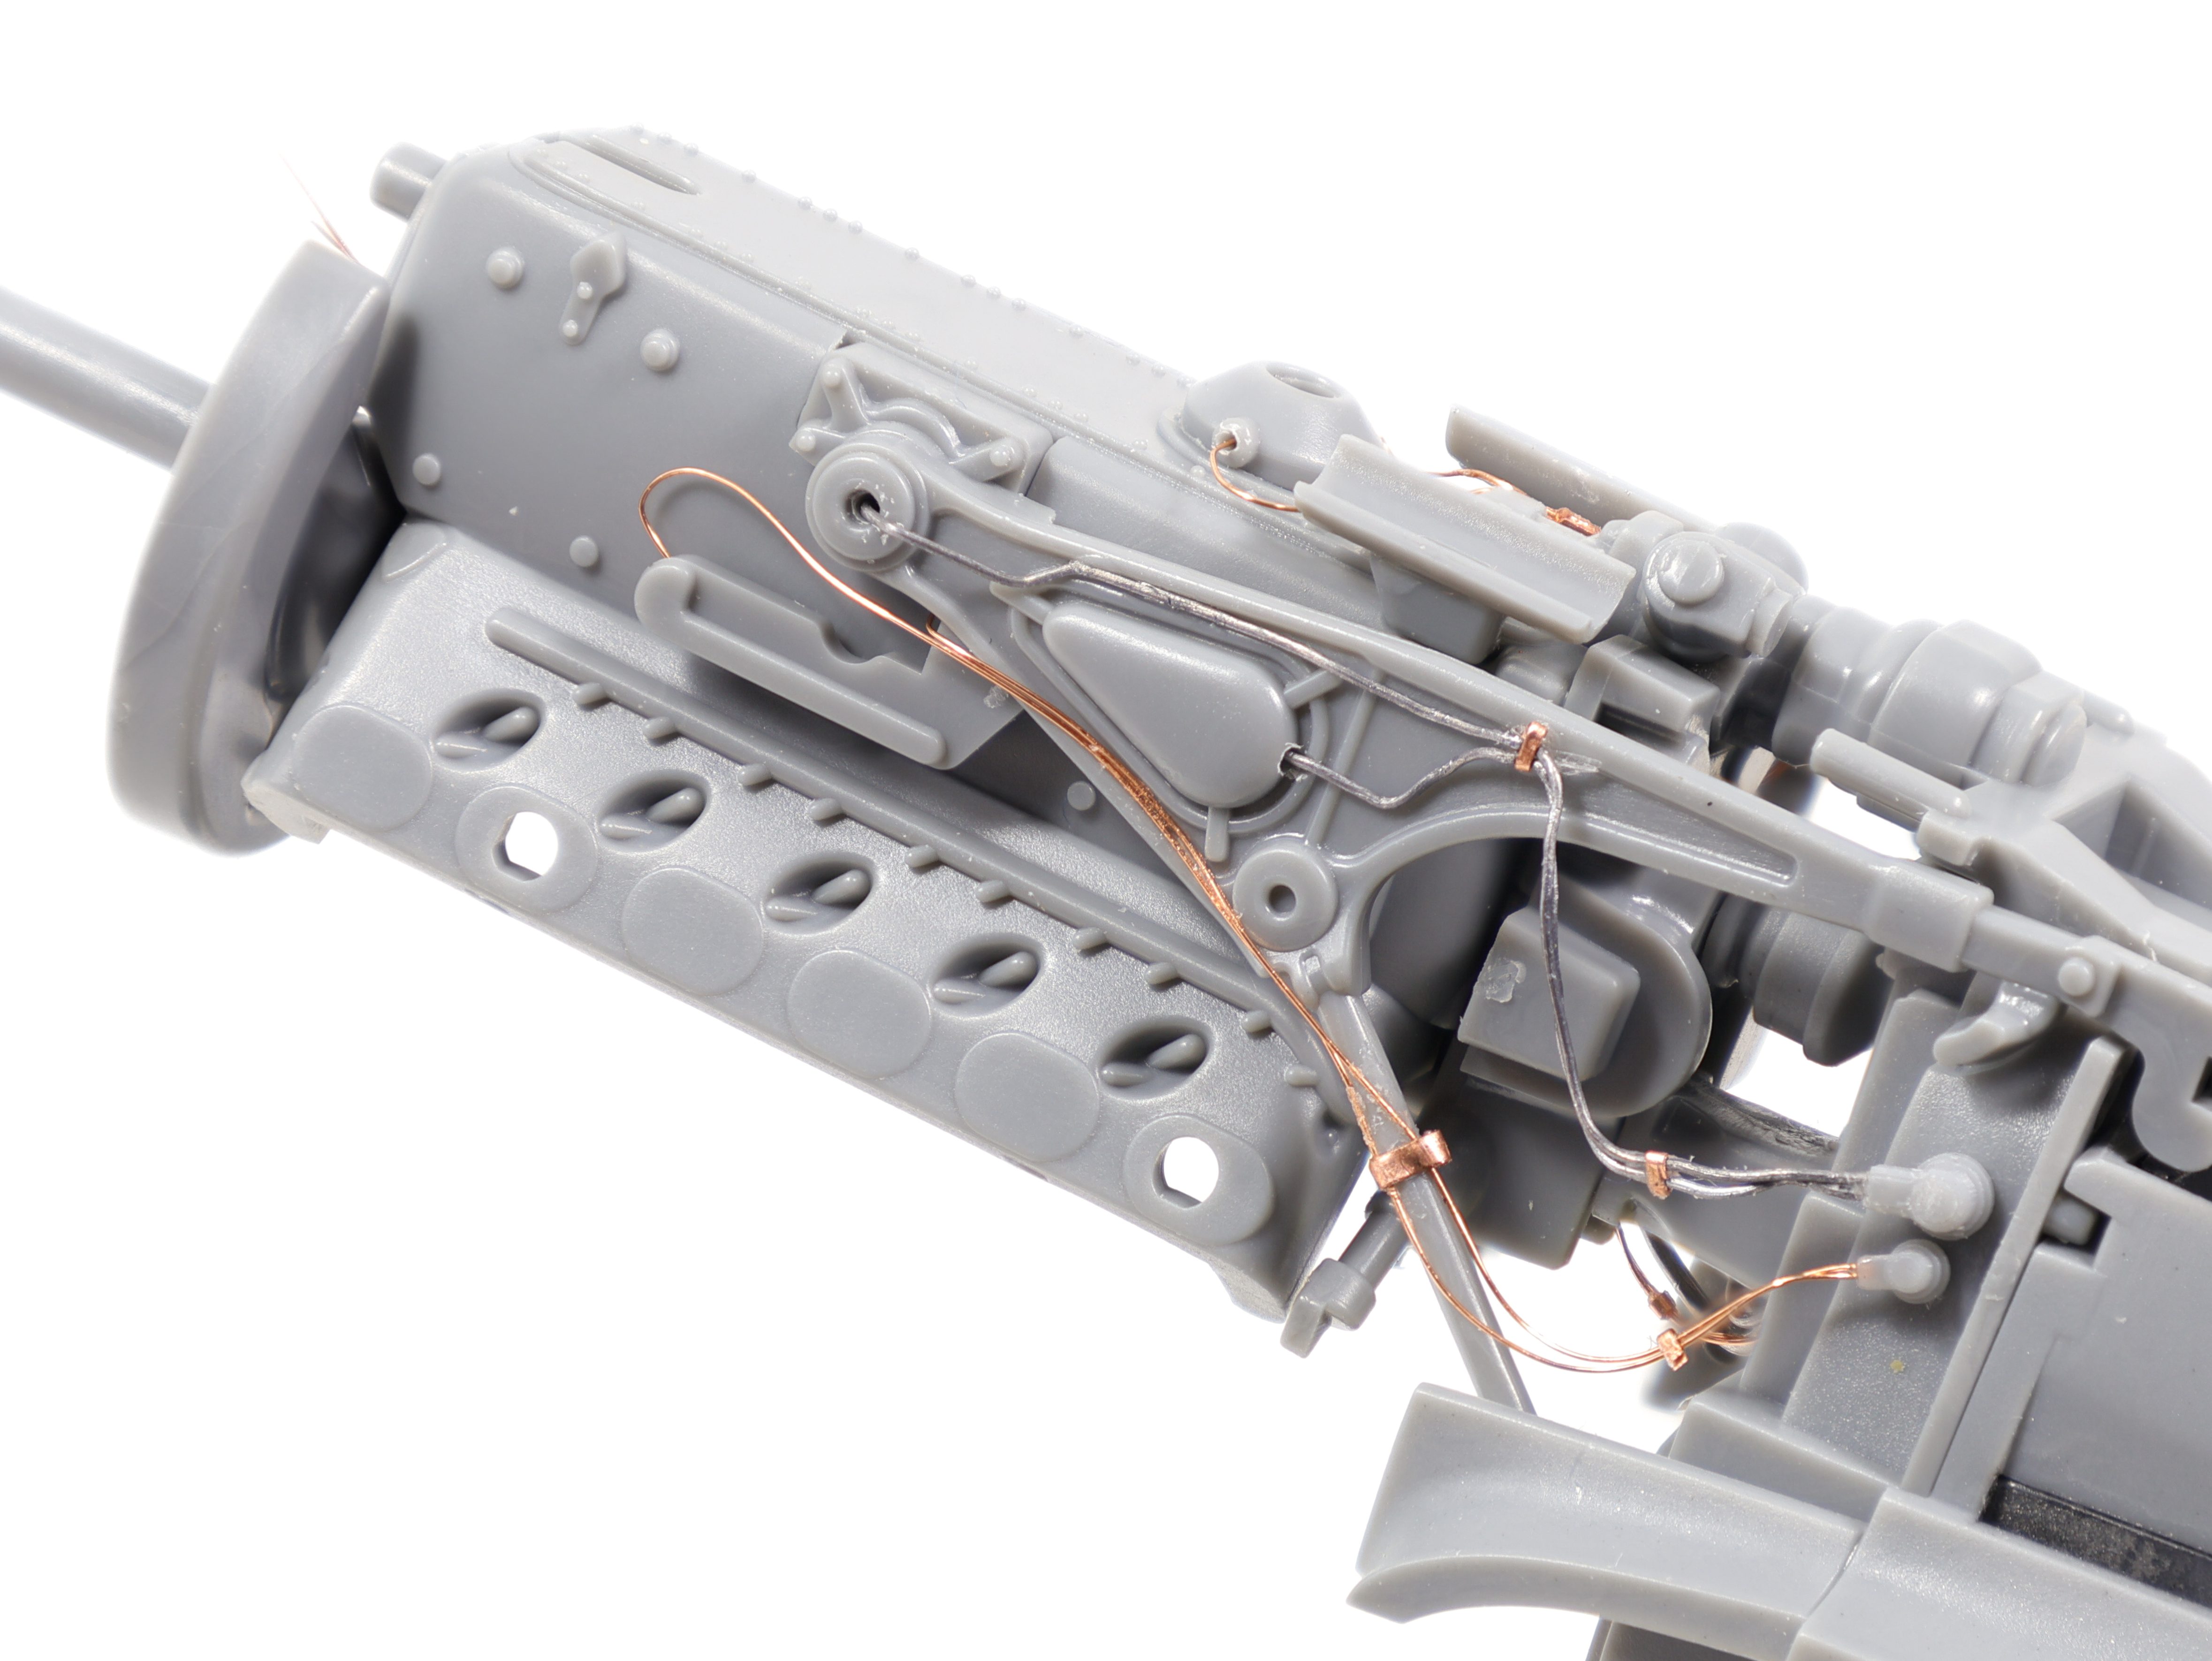
With the completion of the construction phase of the Bf-109 I could move on the priming and painting of the model. Since I was adding HGW rivets for the the first time my normal process was somewhat interrupted and I was thrown a bit for a loop. For those unaware HGW makes various sets of positive rivet decals that can depict tiny rivets on an aircraft. My main question was when was the best point to apply them to the model?
After researching online and asking around it seemed the best course of action was to apply them directly over primer but underneath any metallic colours used for chipping.
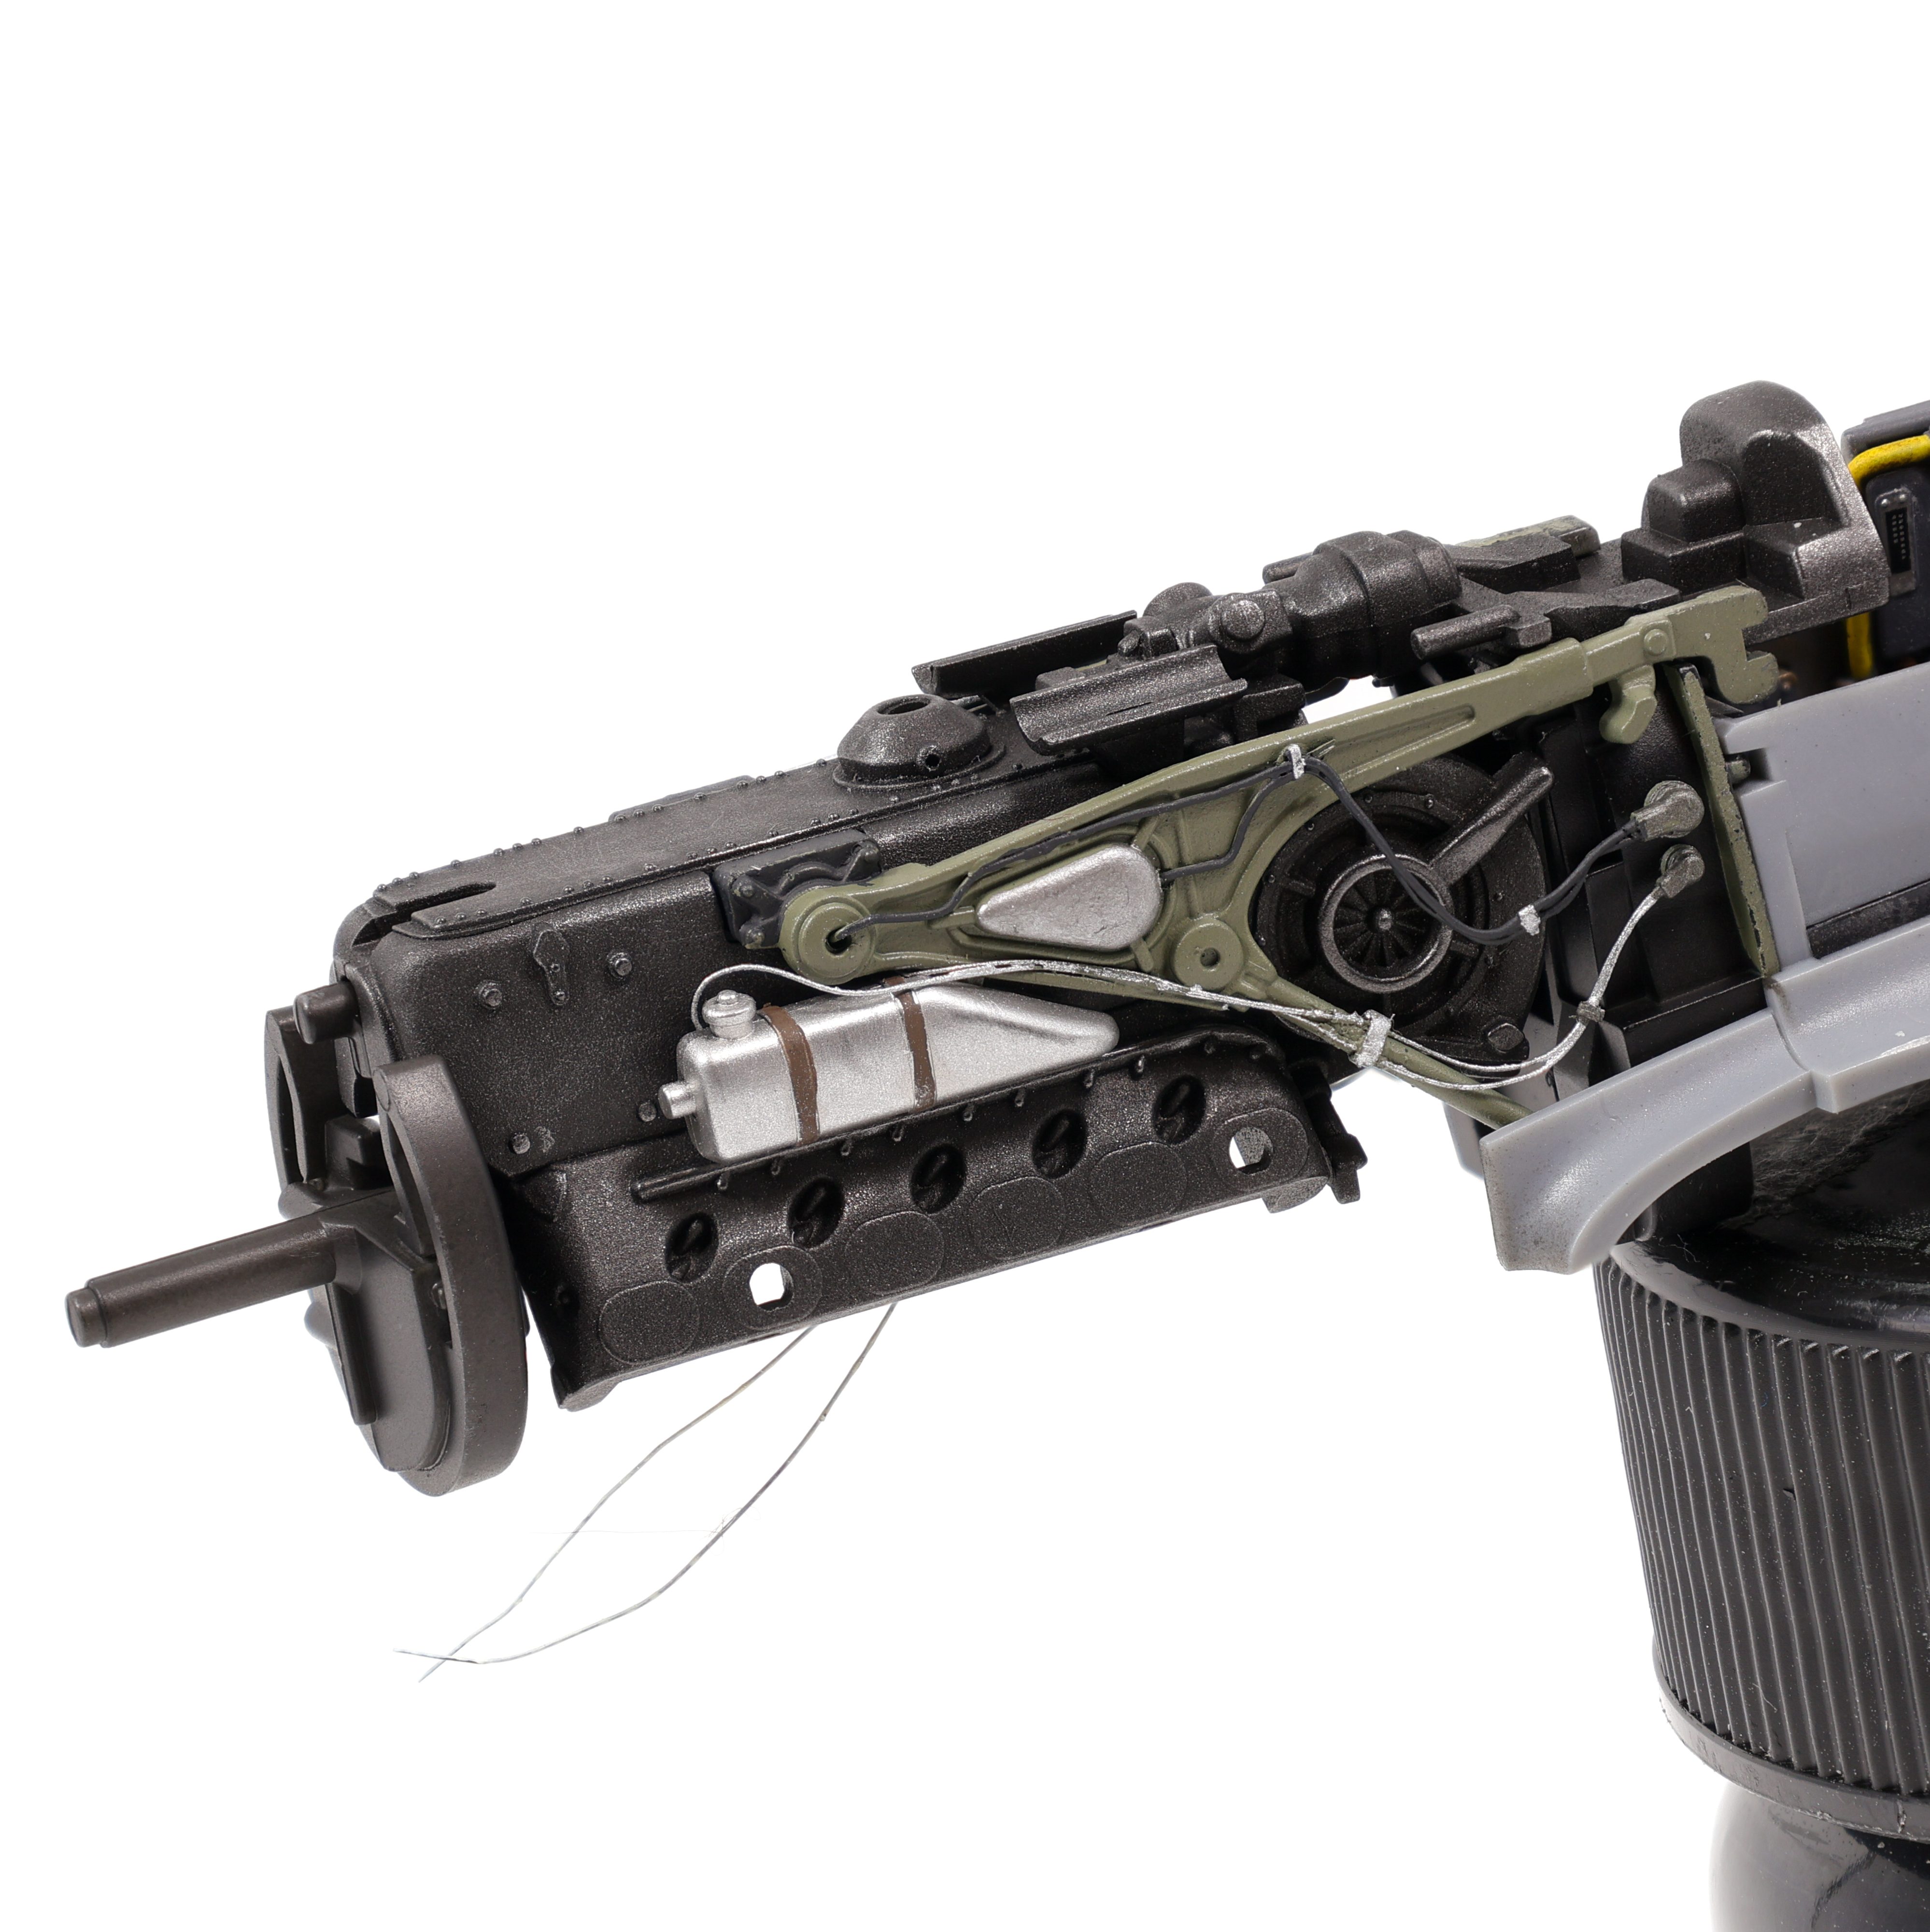
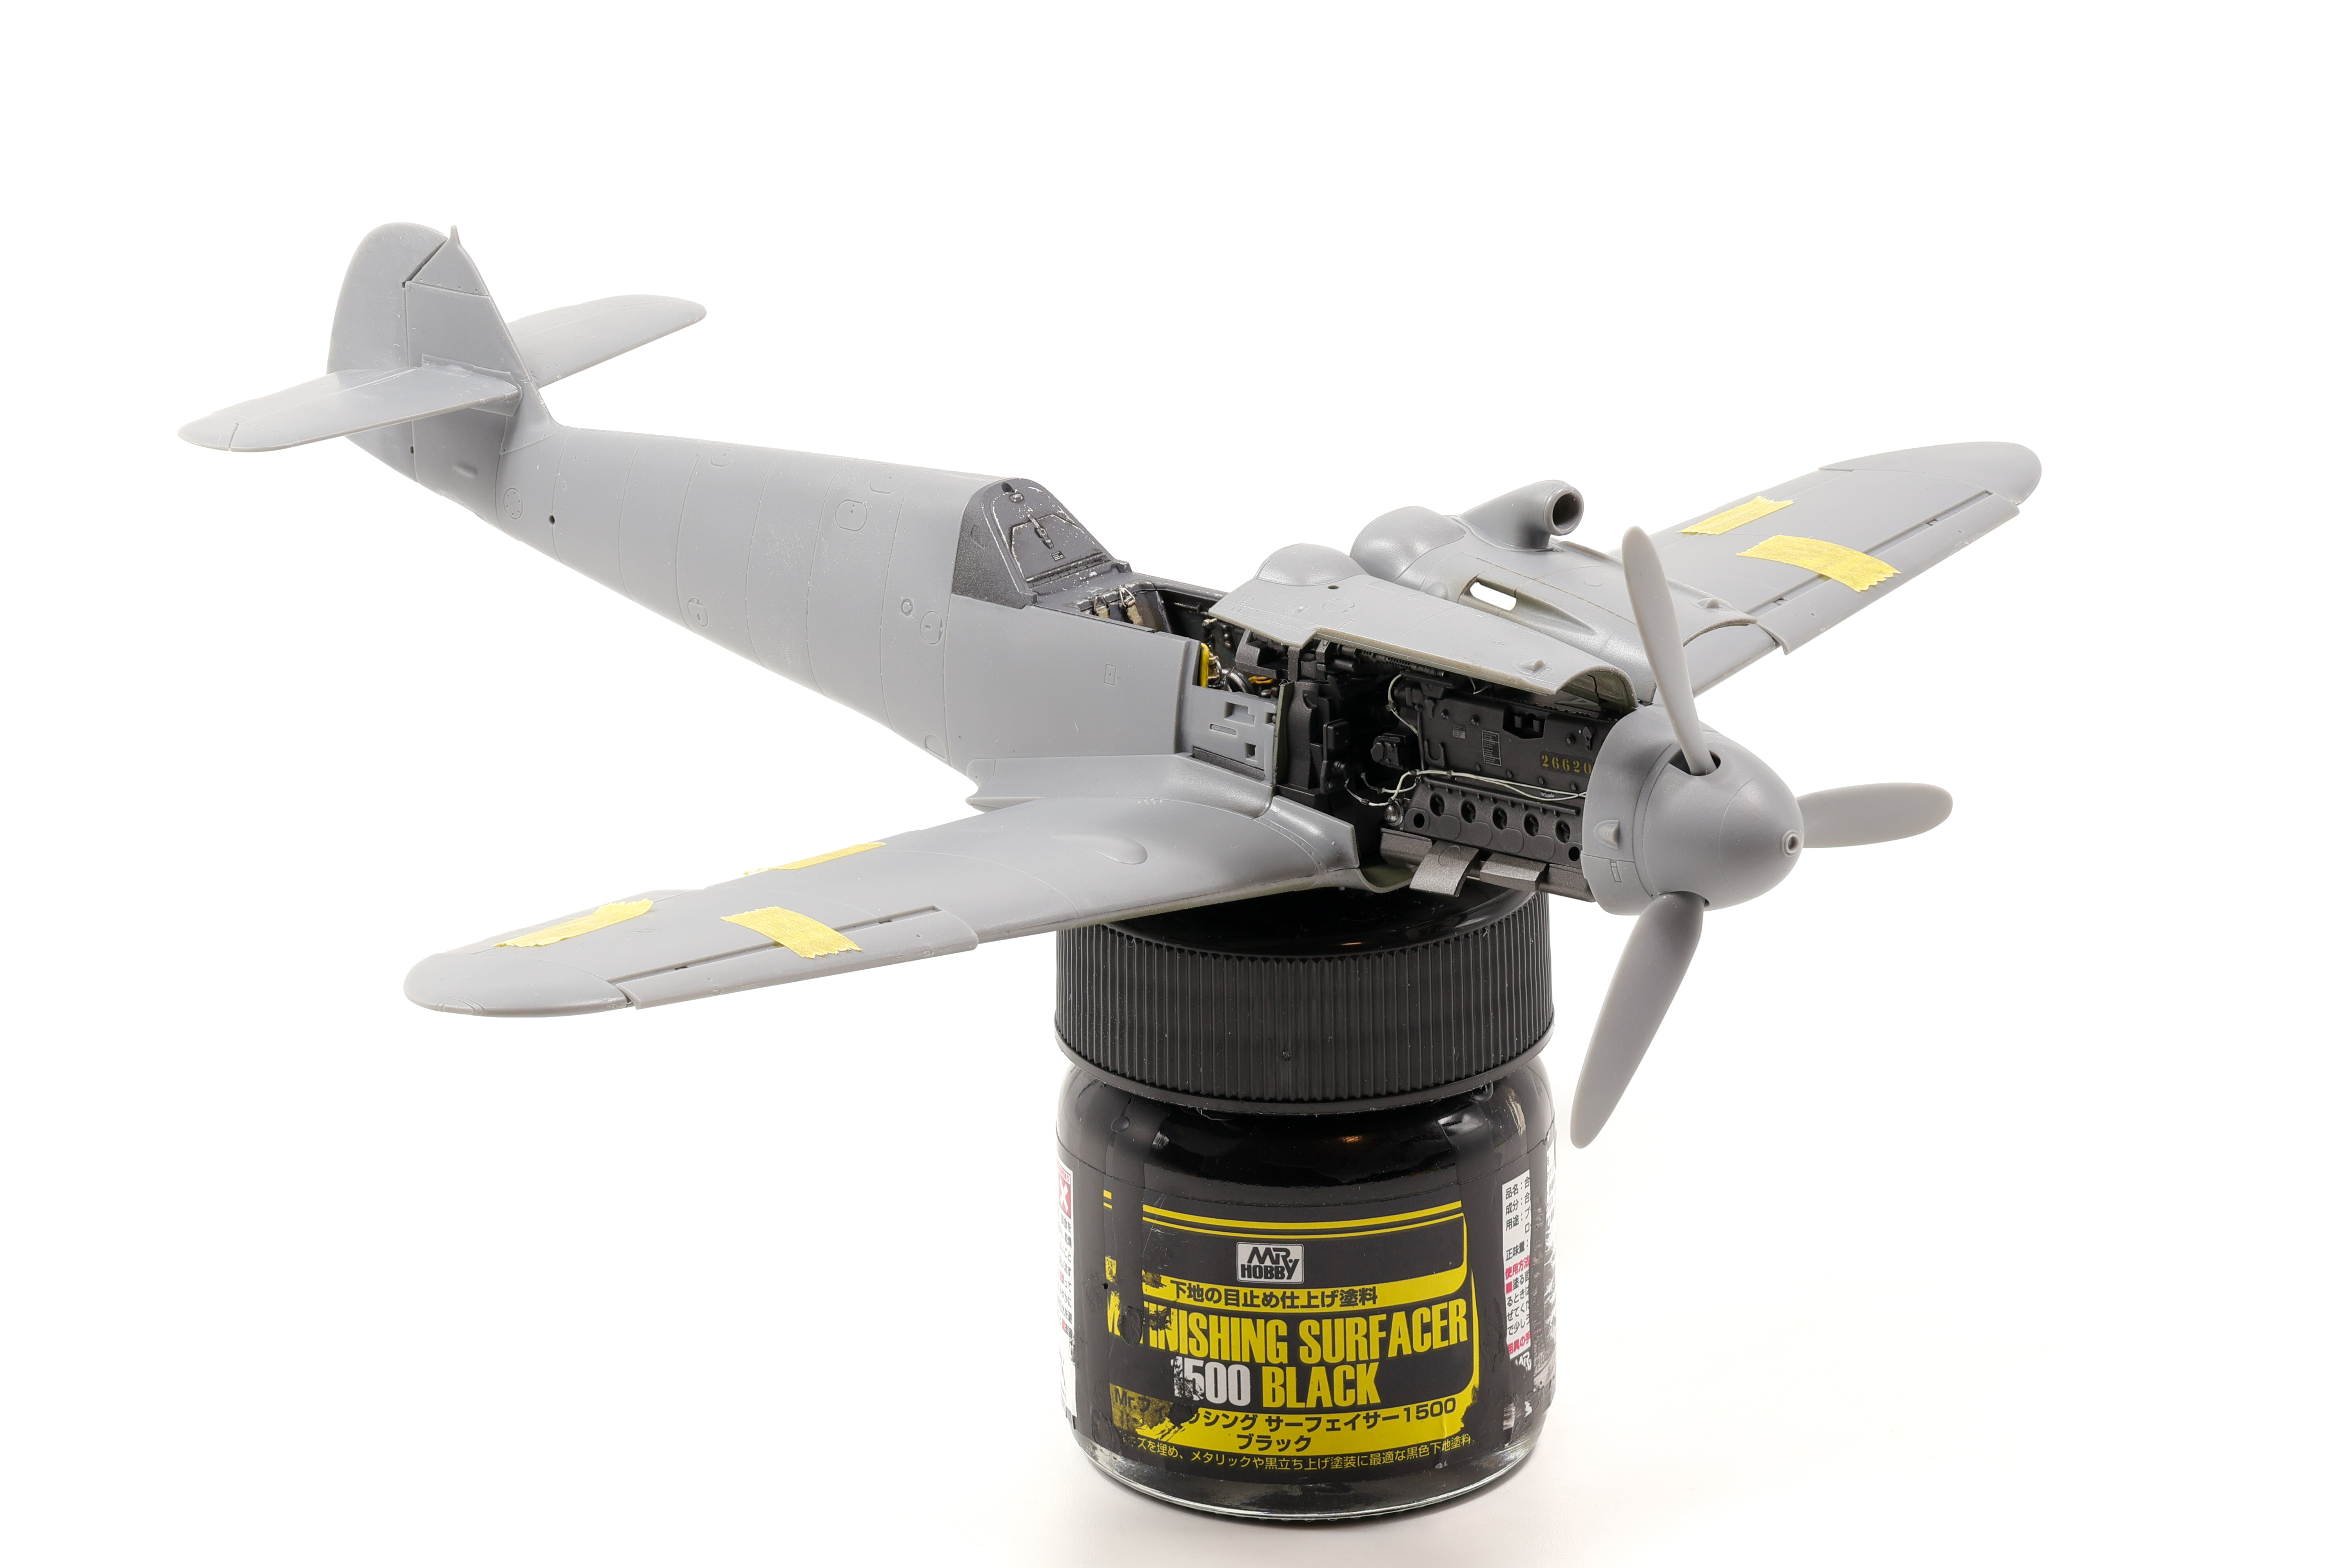
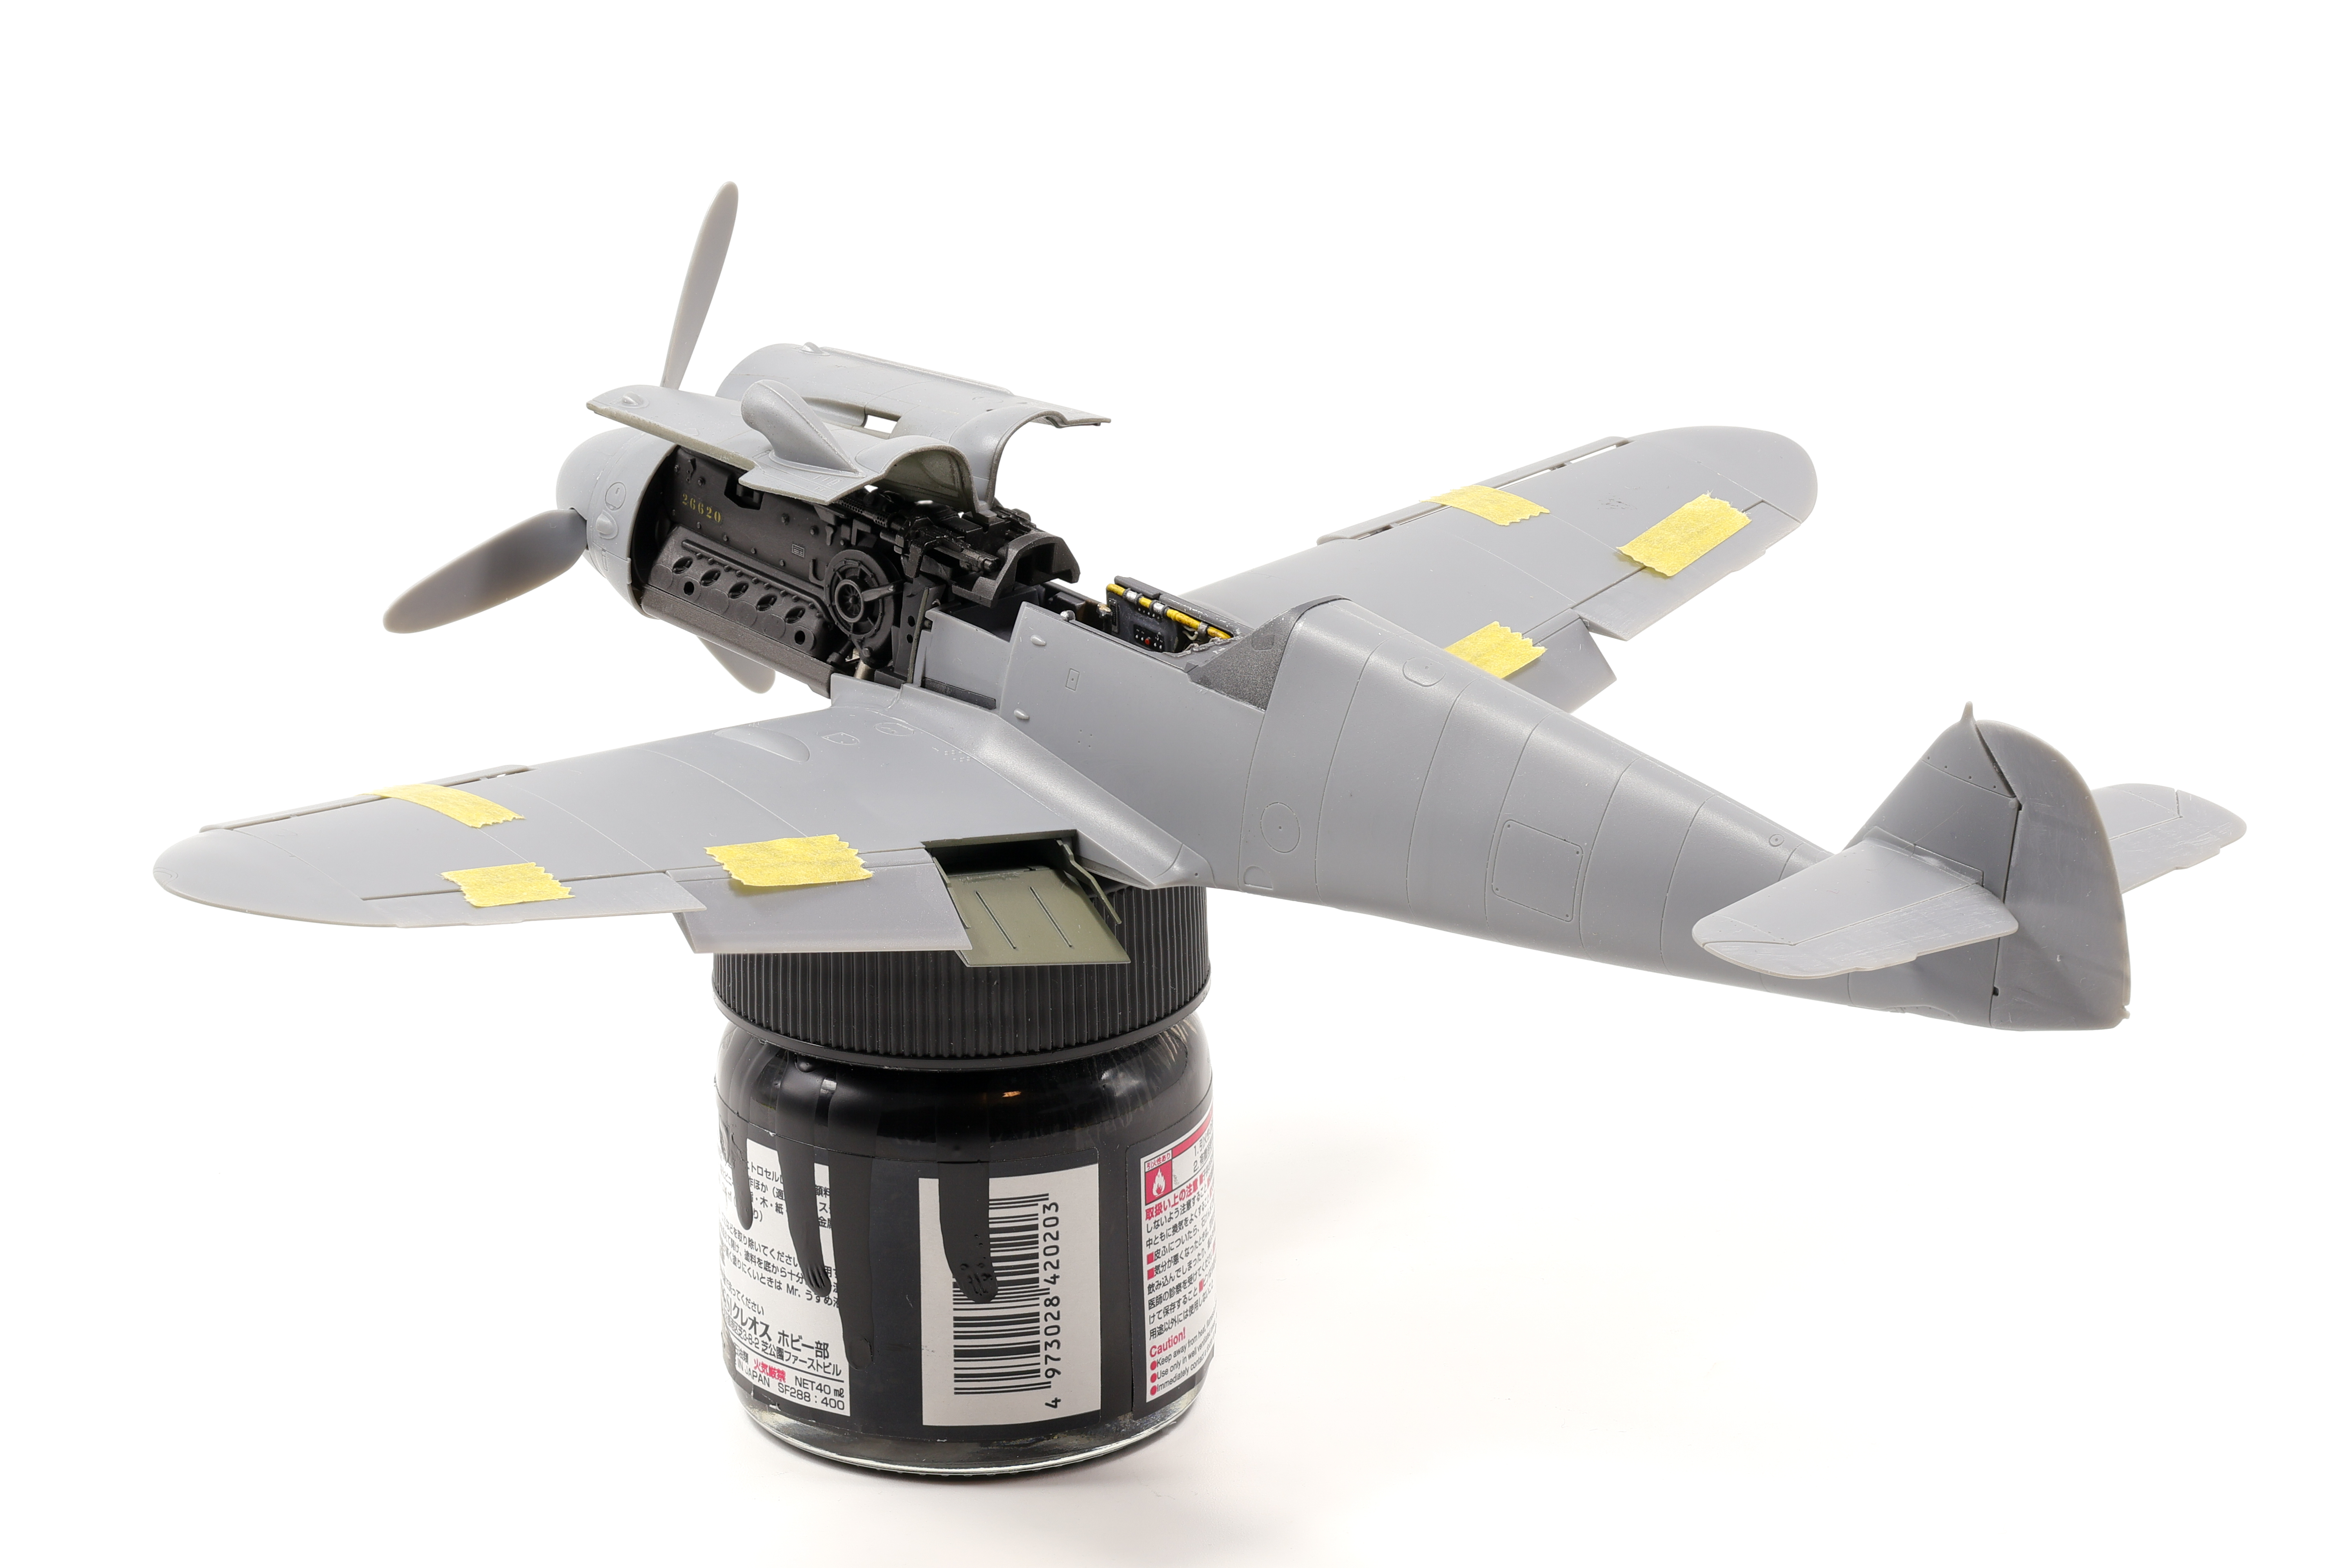
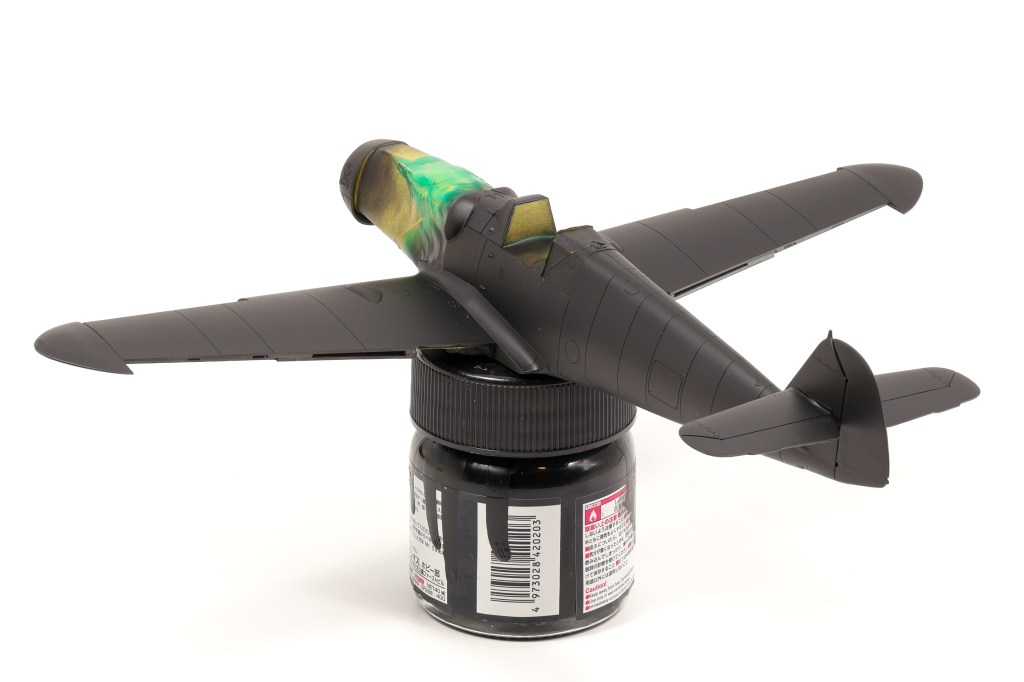
I used my go to primer, Mr. Colour 1500 black which laid down a very smooth base for future paint. This primer was also chosen because it would do well to resist the decal setting solution that I would use in the next step.


After allowing the primer to cure fully, I then spent the next several days applying the rivets to the model. Even though they come in large sections that make it easy to cover large areas of the model it’s undeniable that these are time intensive. To start, they don’t have individual carrier film and you’ll have to trim the sheet that you dip into the water in order to limit how much overhang you have to deal with.
This ended up biting me several times as I’m used to having carrier film limited to the area with the decal. It wasn’t until I had removed the decal from the water that I realized that I had a massive area of useless carrier film to work around. This can be a problem in that you can’t really apply the decals that are right next to each other due to the fact that the film overhang gets in the way of the other decal.
All in all though these are pretty minor issues and besides the time commitment I found that they went on pretty nicely with the manufacturer recommended Mr. Mark Softer setting solution. Removing the carrier film was a breeze as well. The rivets had very minimal lifting and the film was very easy to remove. A few dabs with a damp paper towel was enough to remove the adhesive residue left over as well. All in all I think they look pretty sharp!


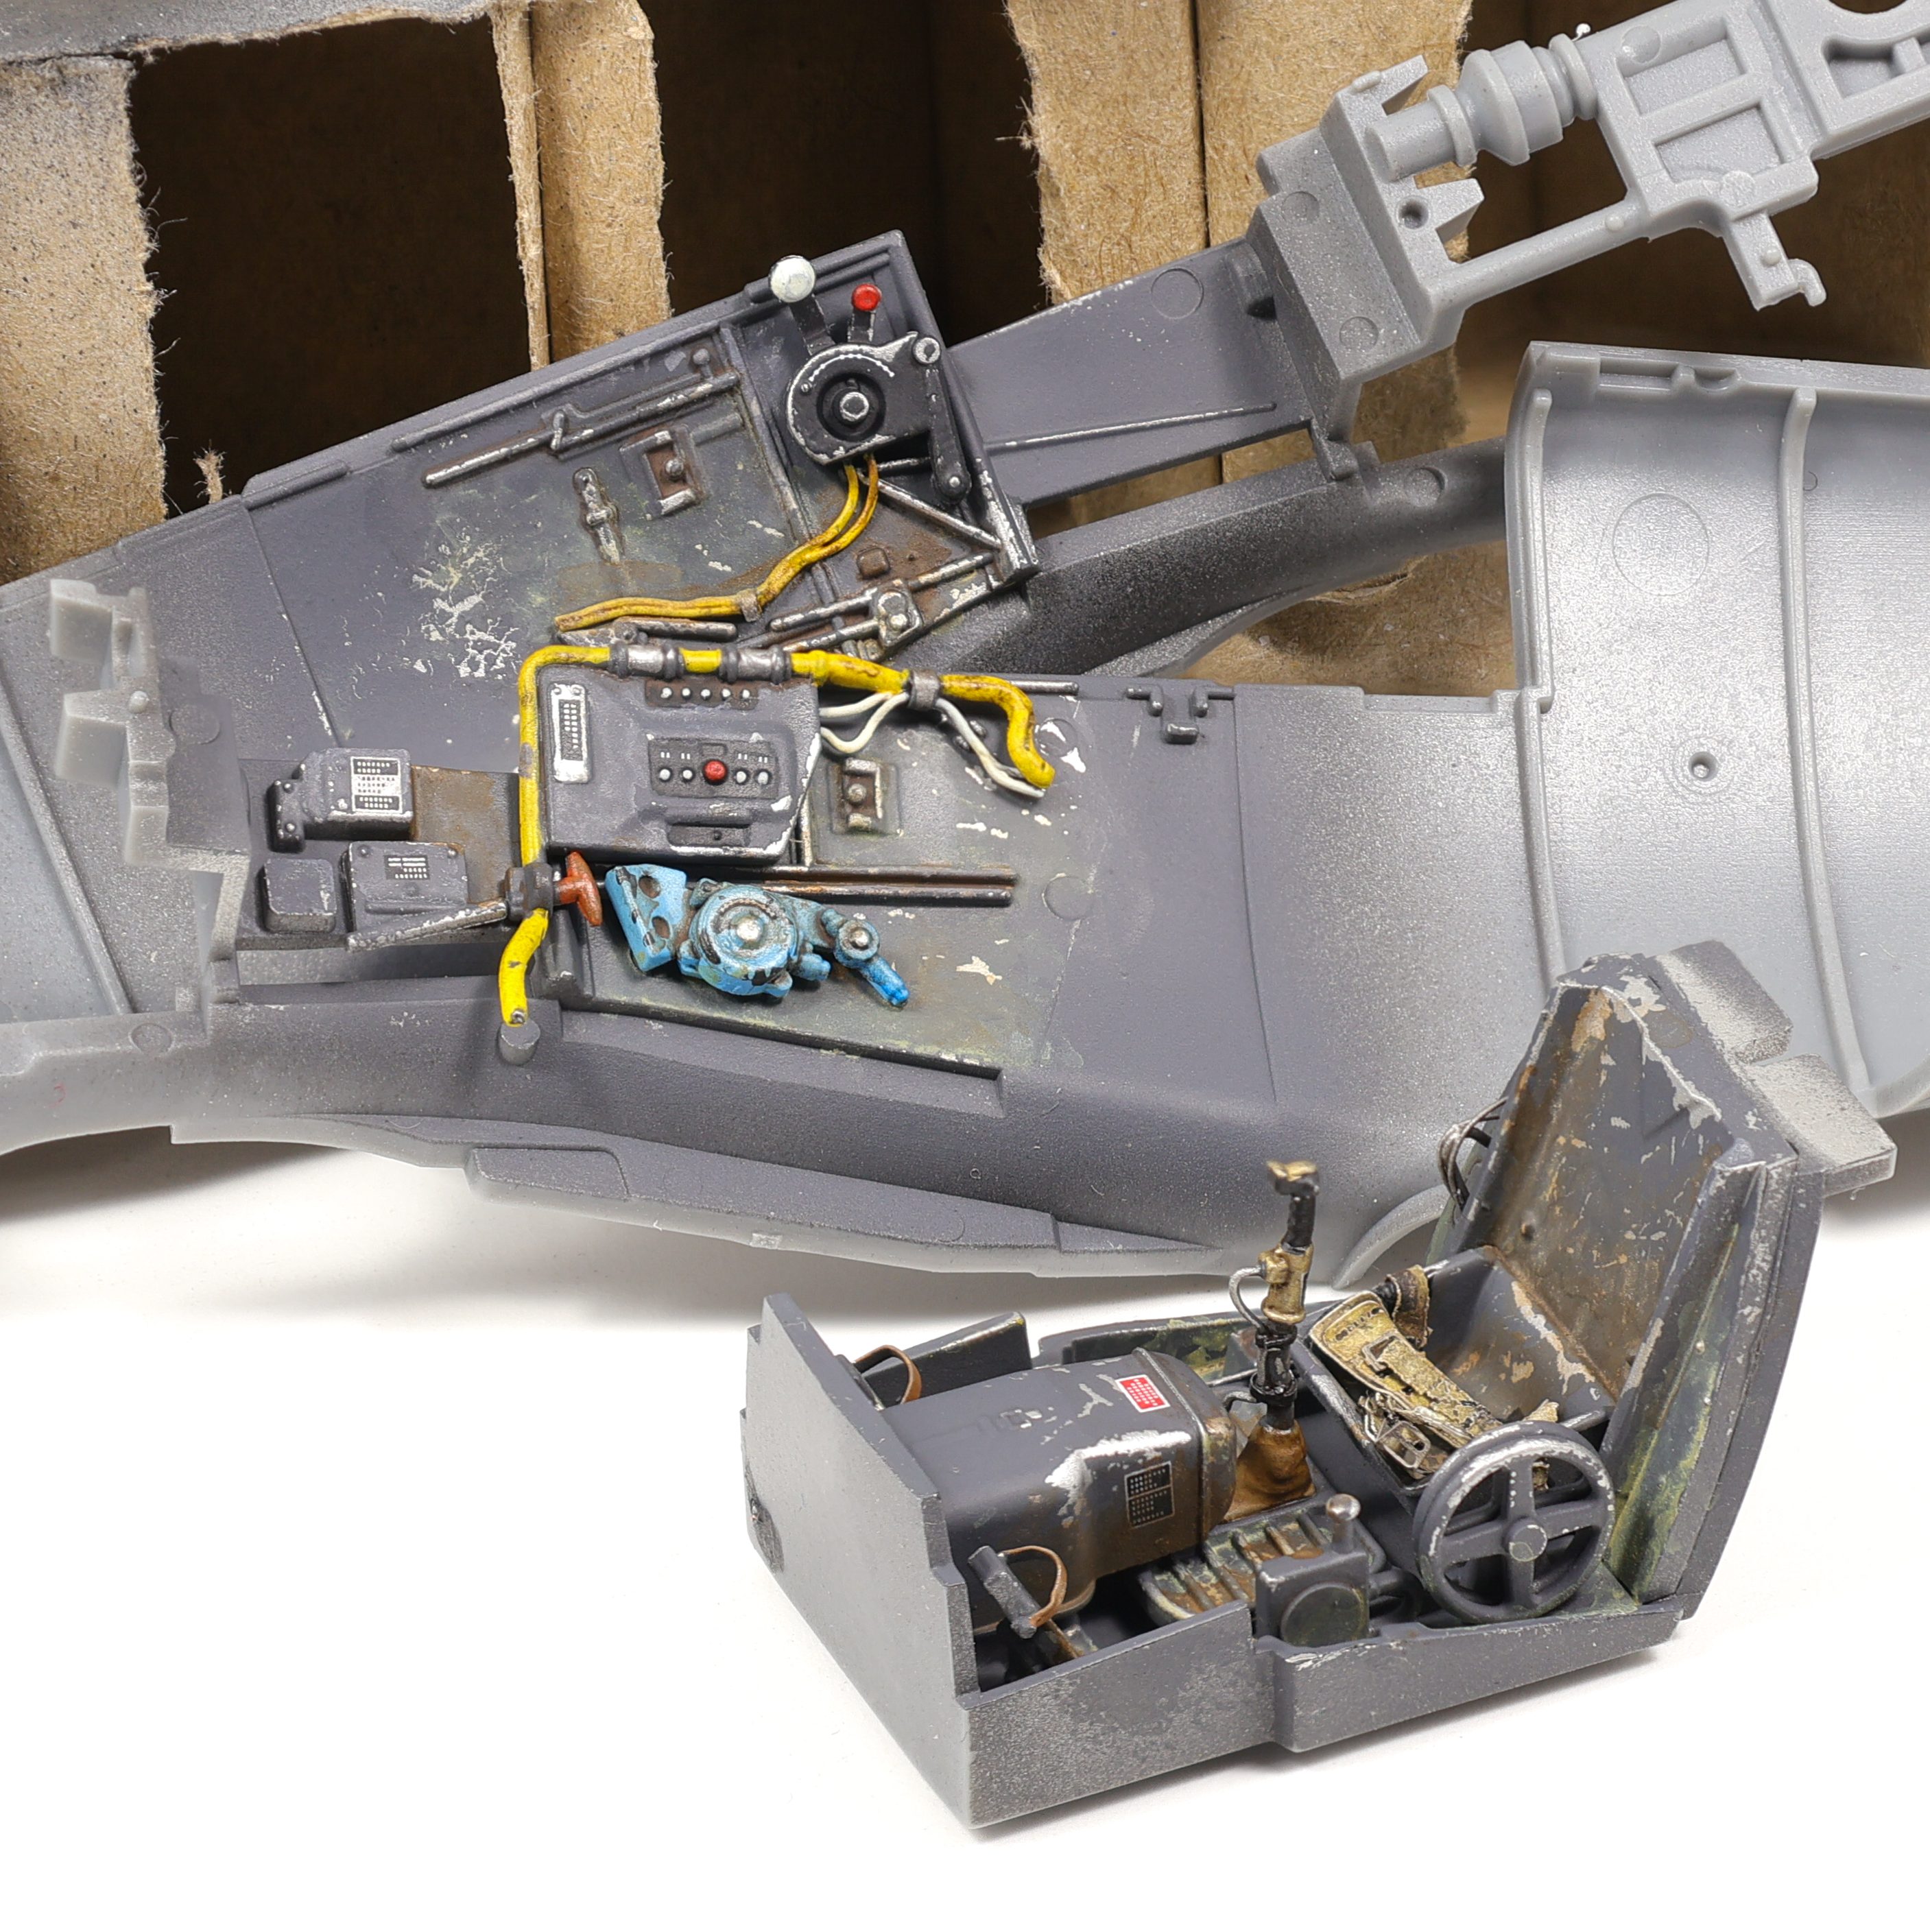
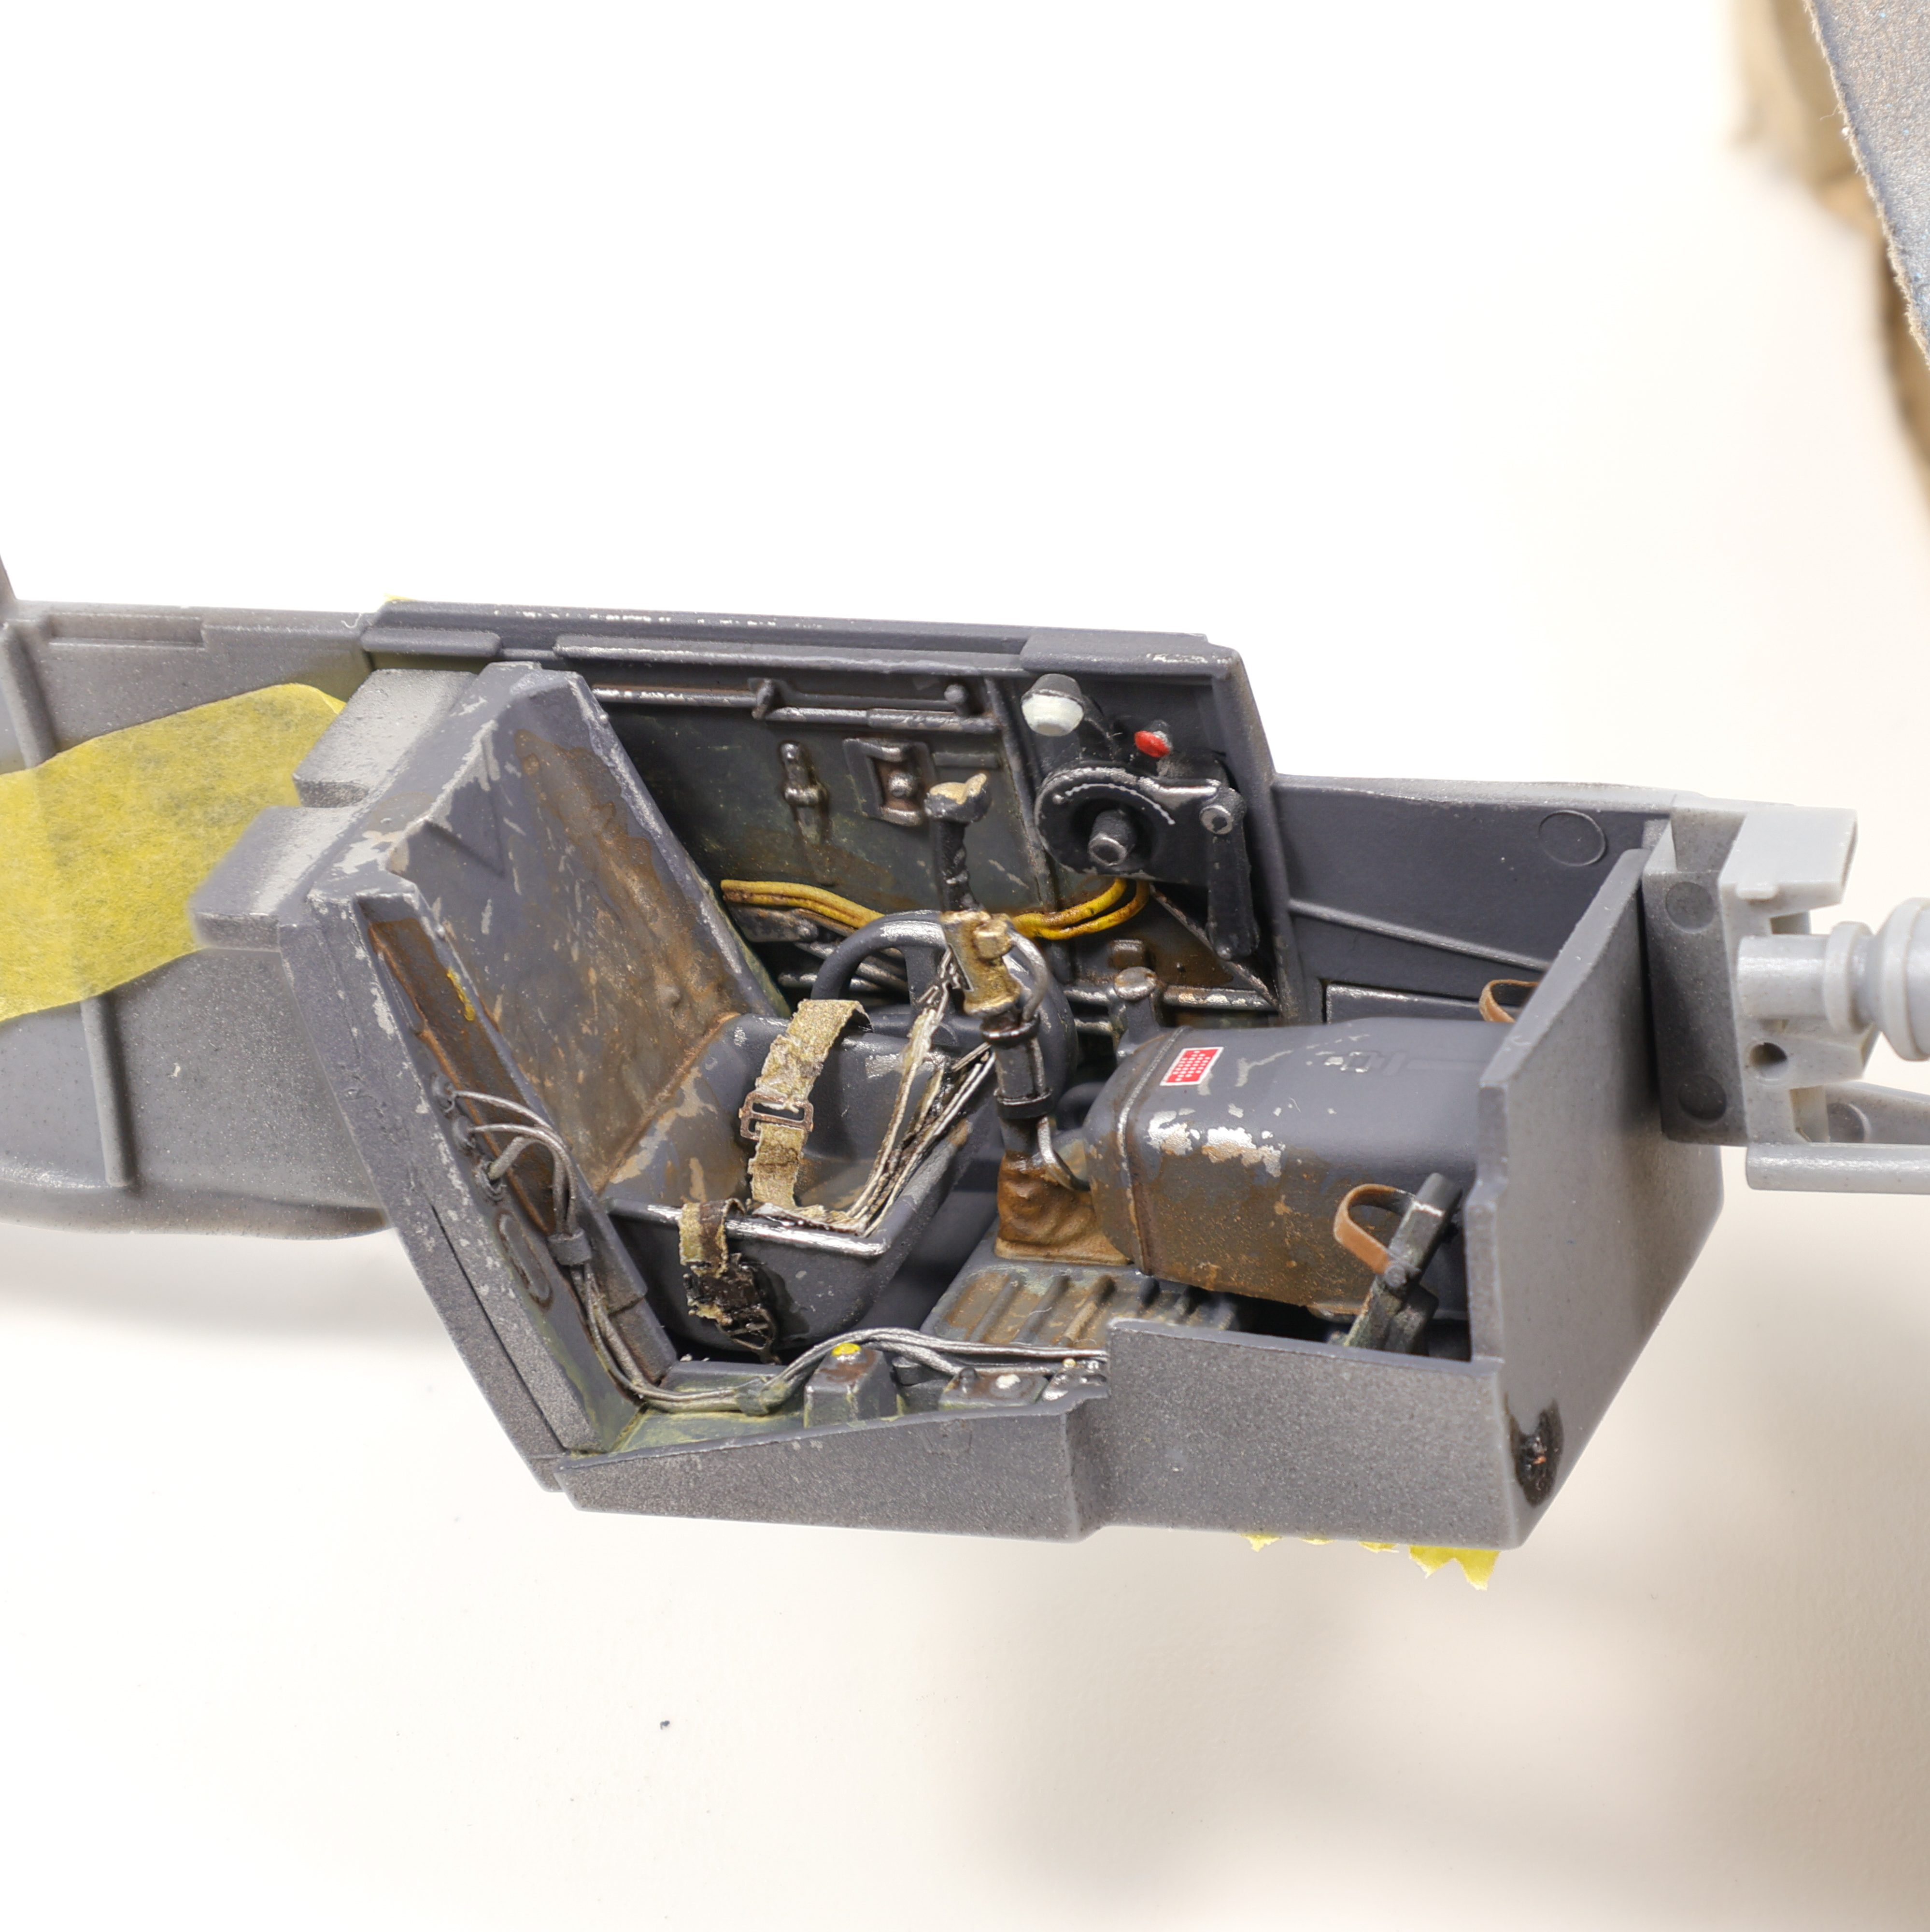
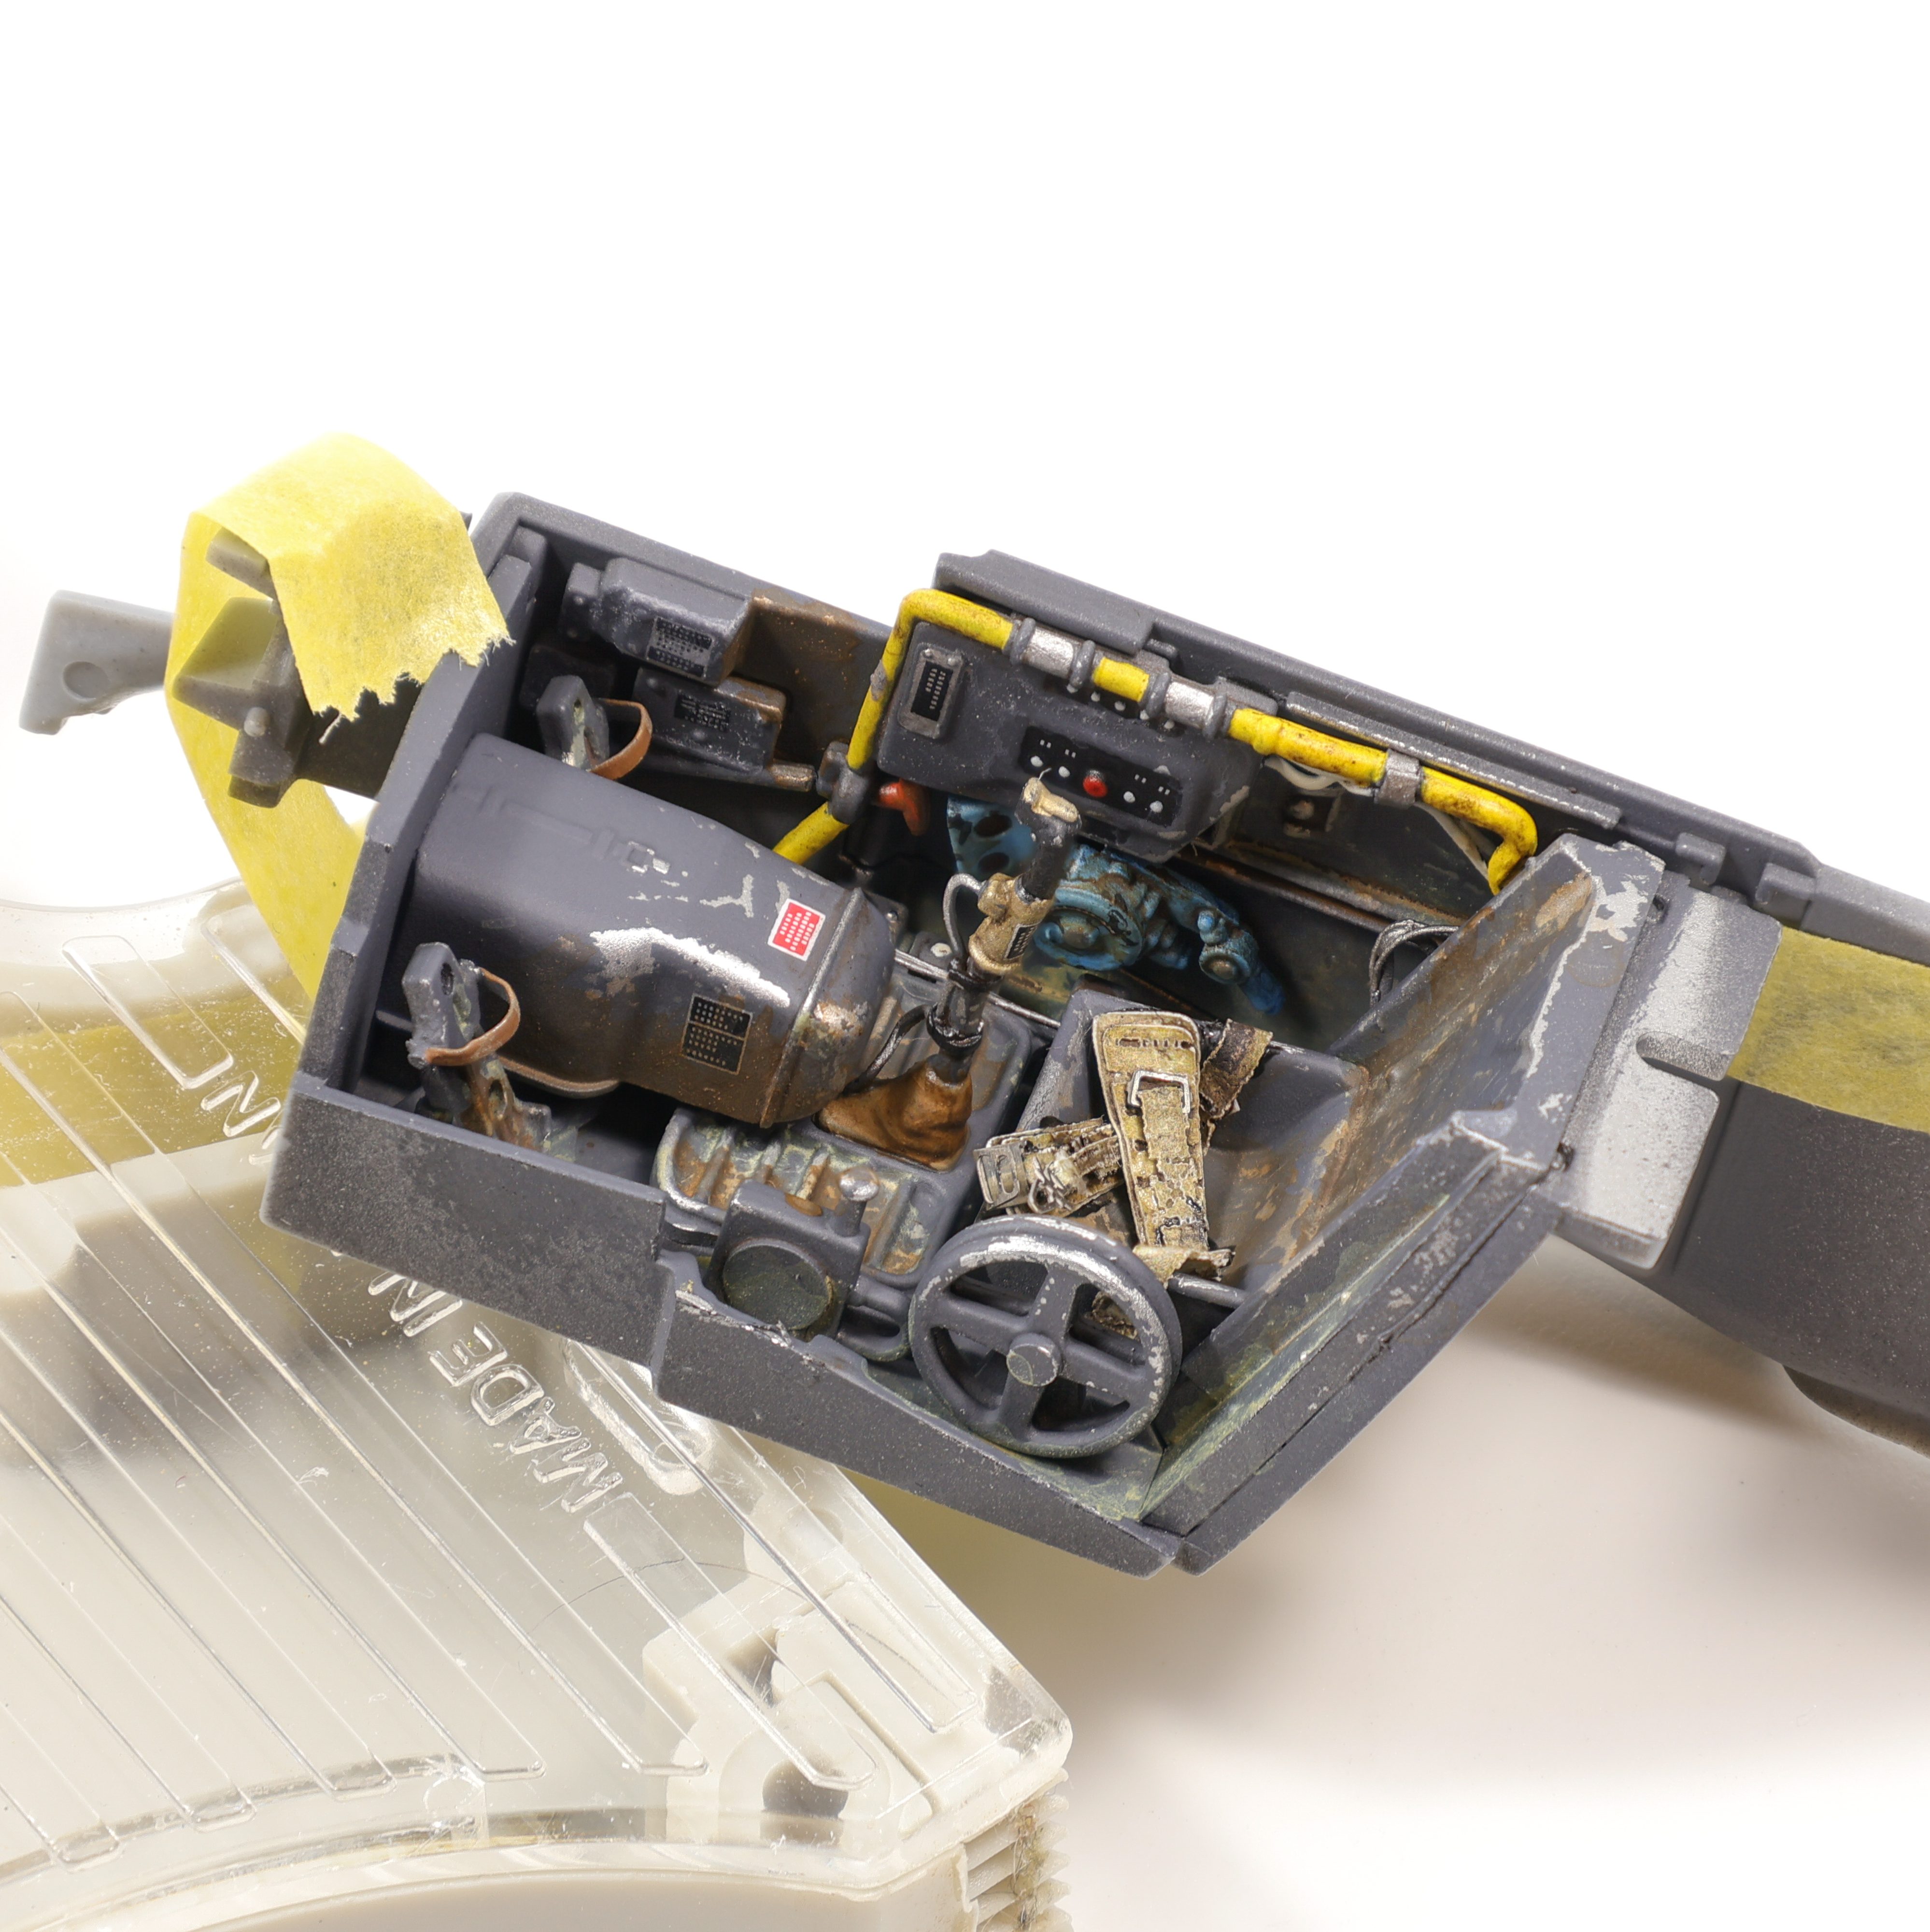
After the rivets were applied, I then painted a metallic chipping colour. I picked Mr. Colour Super Metallic “Super Duralumin” as it has a really nice sheen and lays down beautifully.

After applying the metallic chipping coat I then added some small amount of chipping fluid where I knew I wanted paint chips to be present. This was a precautionary measure that would guarantee access to the chipping fluid medium underneath the several layers of paint.
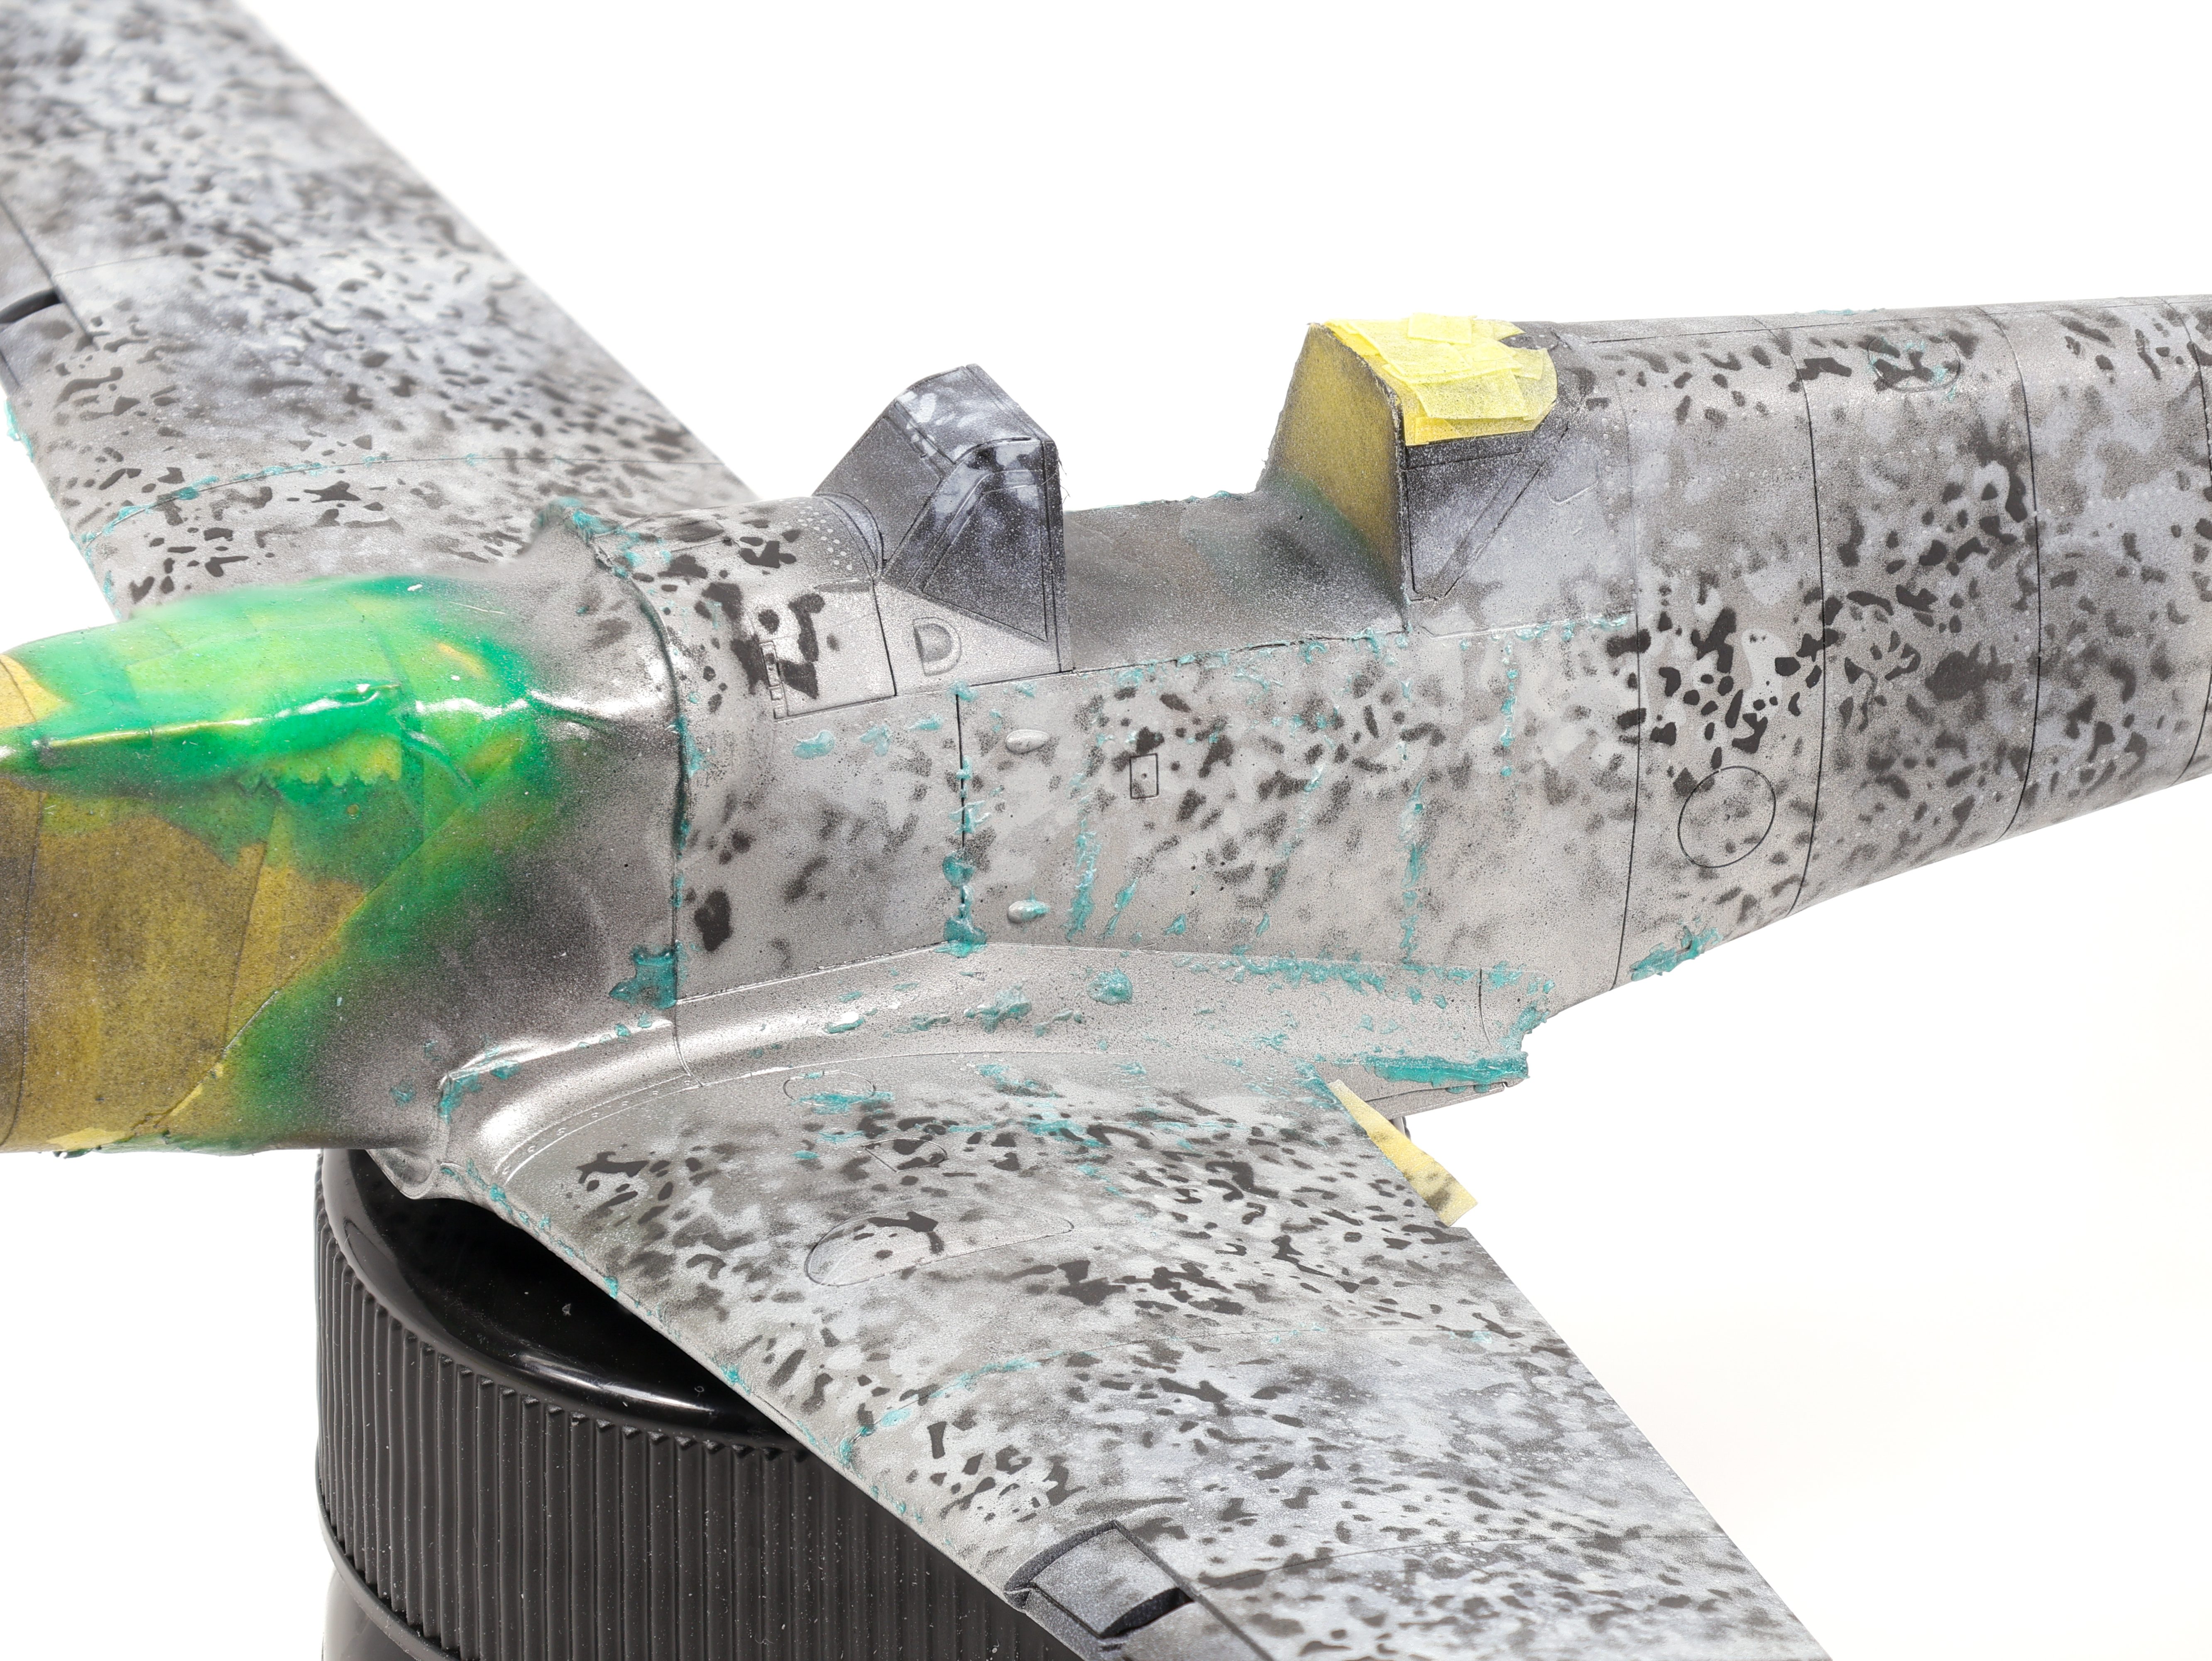
Next, I got on to preshading the model in preparation of the final colours. Between the black primer and the silver metallic the shades of the model were very disjointed and I needed to rectify this. To start, I applied some white and black marbling over the entire model using a metal mask tool. This would start to unify the tones present in the model and avoid the contrast between the metallic surfaces and the black primer.

After the initial round of pre-shading was completed I decided to apply a very thin layer of the final colours onto the model. I did this so I could create a template for the camouflage scheme that I could follow later on with a more careful application of the main colours.


After completing this very thin layer, I decided to do a rough panel line preshade. I opted to go this route because while I liked the variation that the stencil templates provided, I felt that this variation was a bit too uniform and I wanted some more elements to effect the final top coat. I loaded up a very thinned down application of Tamiya rubber black and sprayed it onto the model with a 0.15mm nozzle/needle. Overall I’m fairly satisfied with my application of the panel lining here.

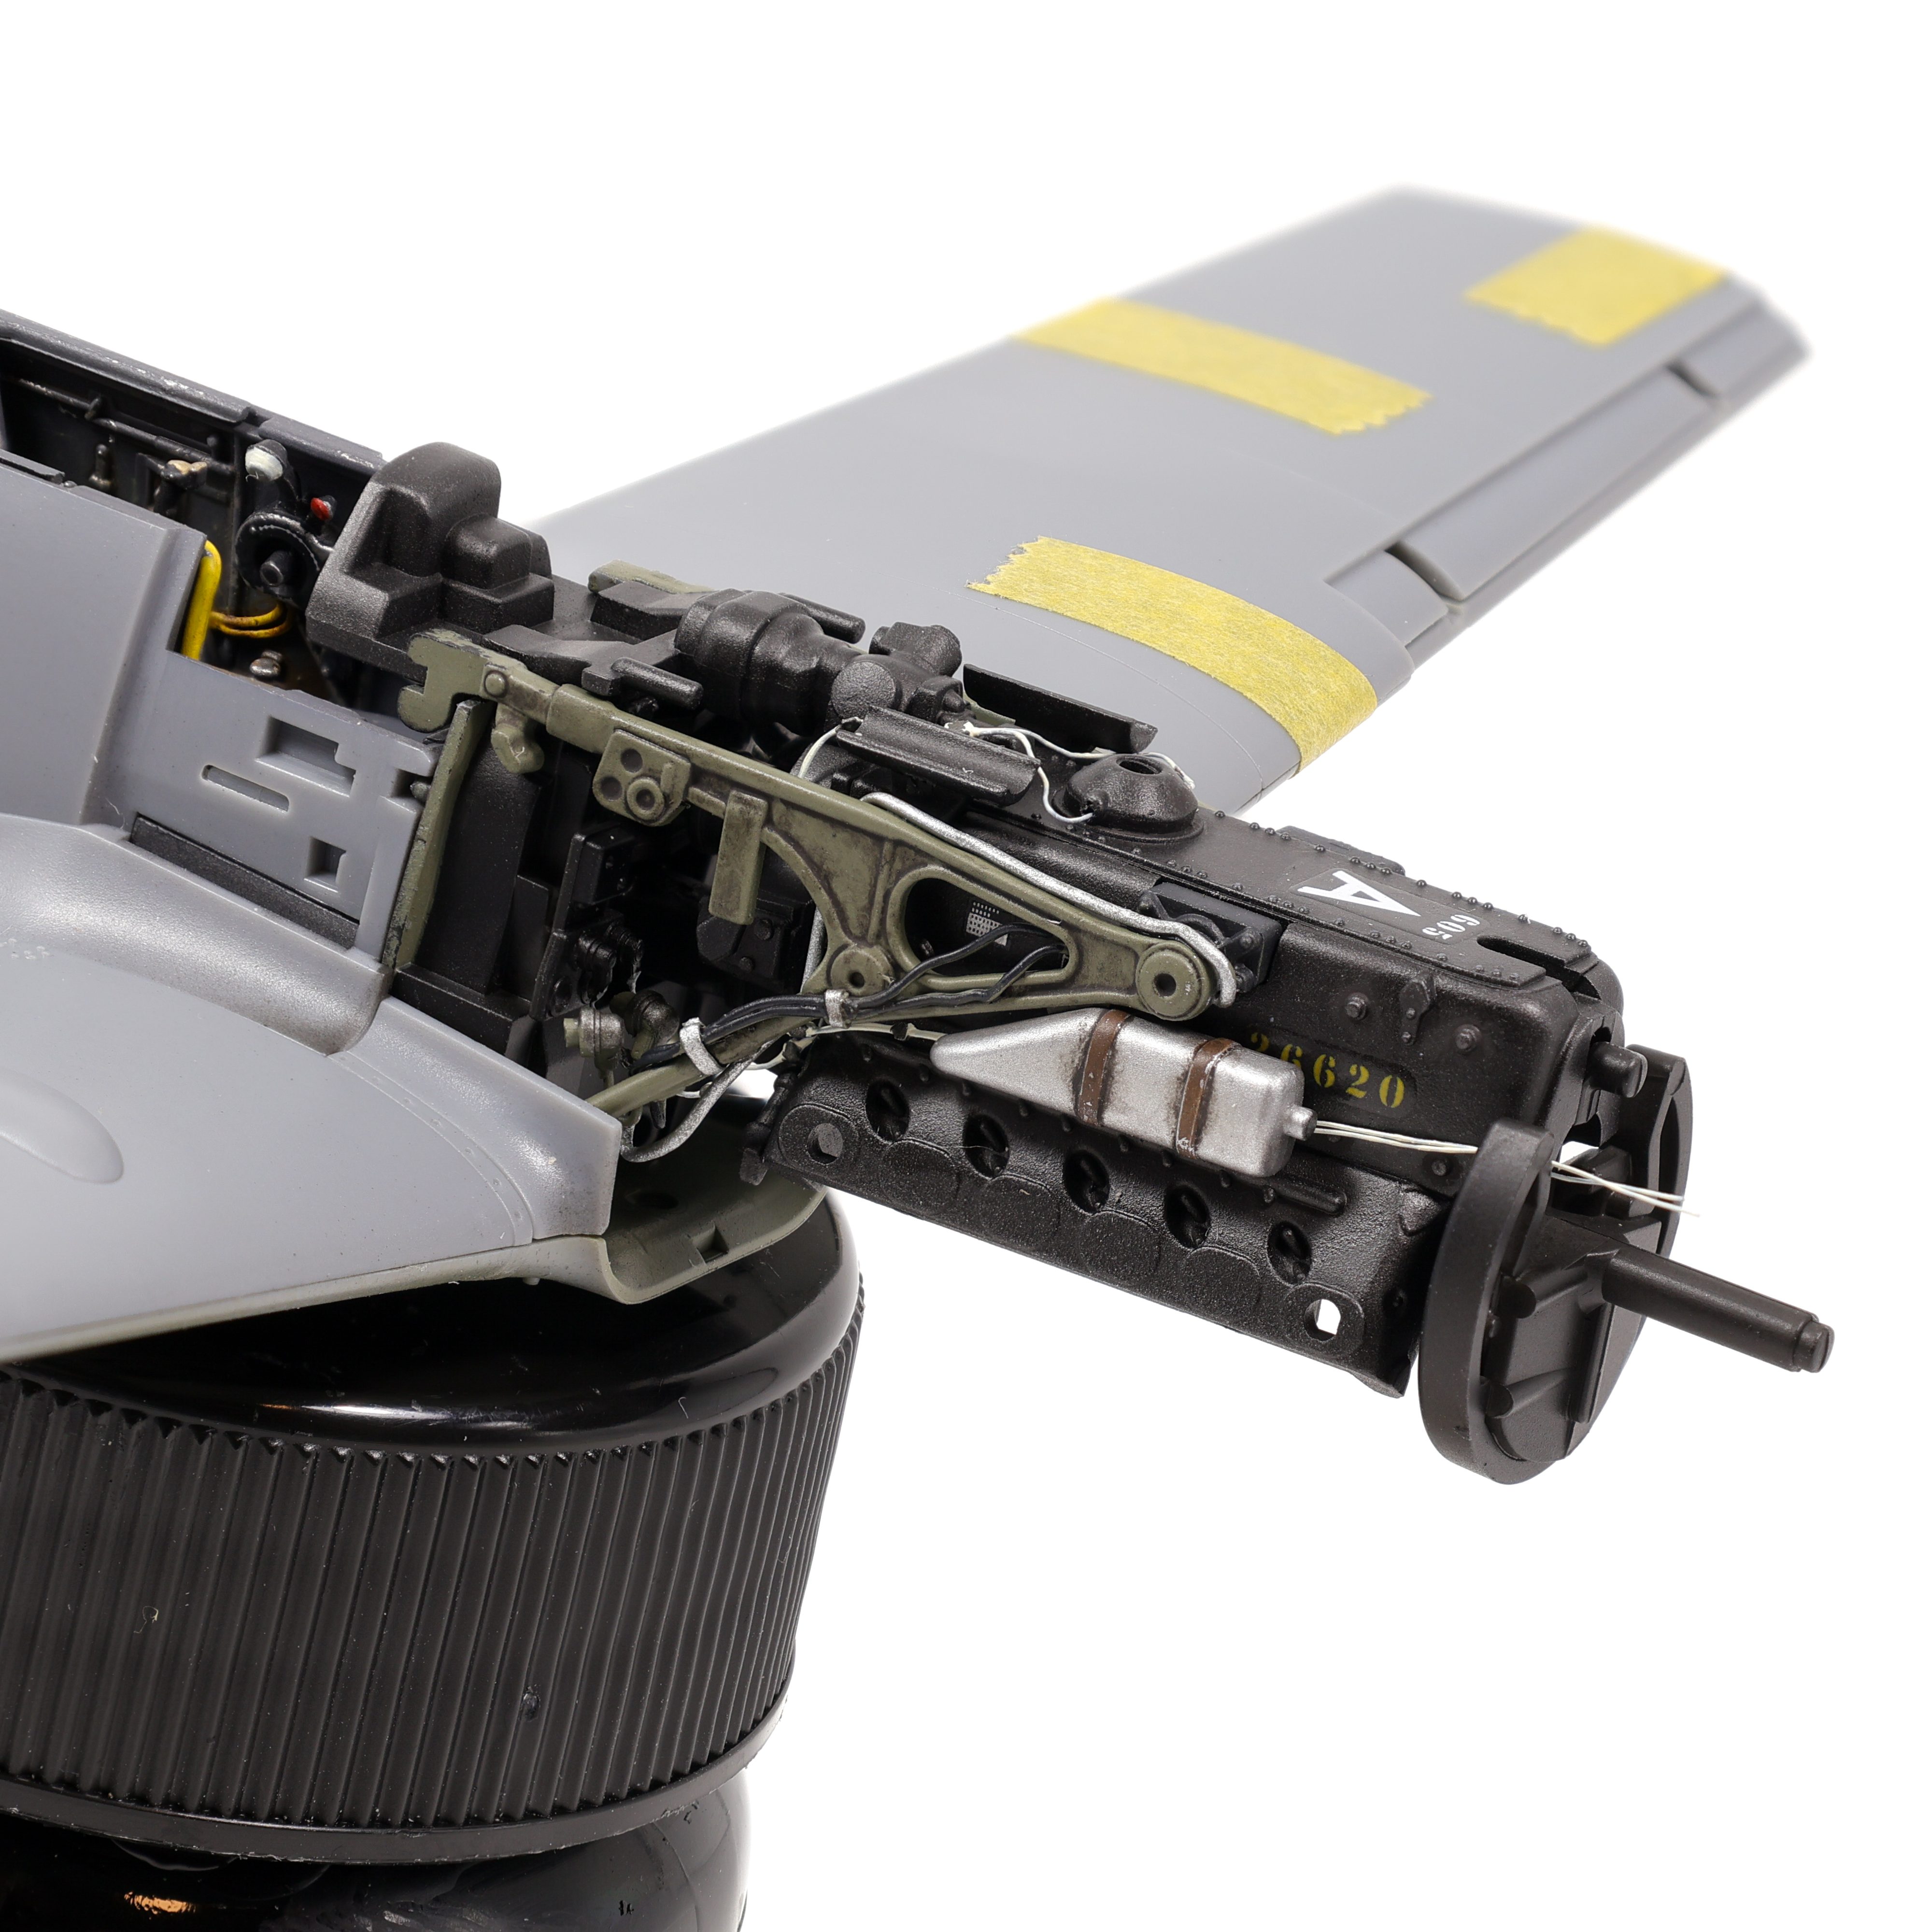
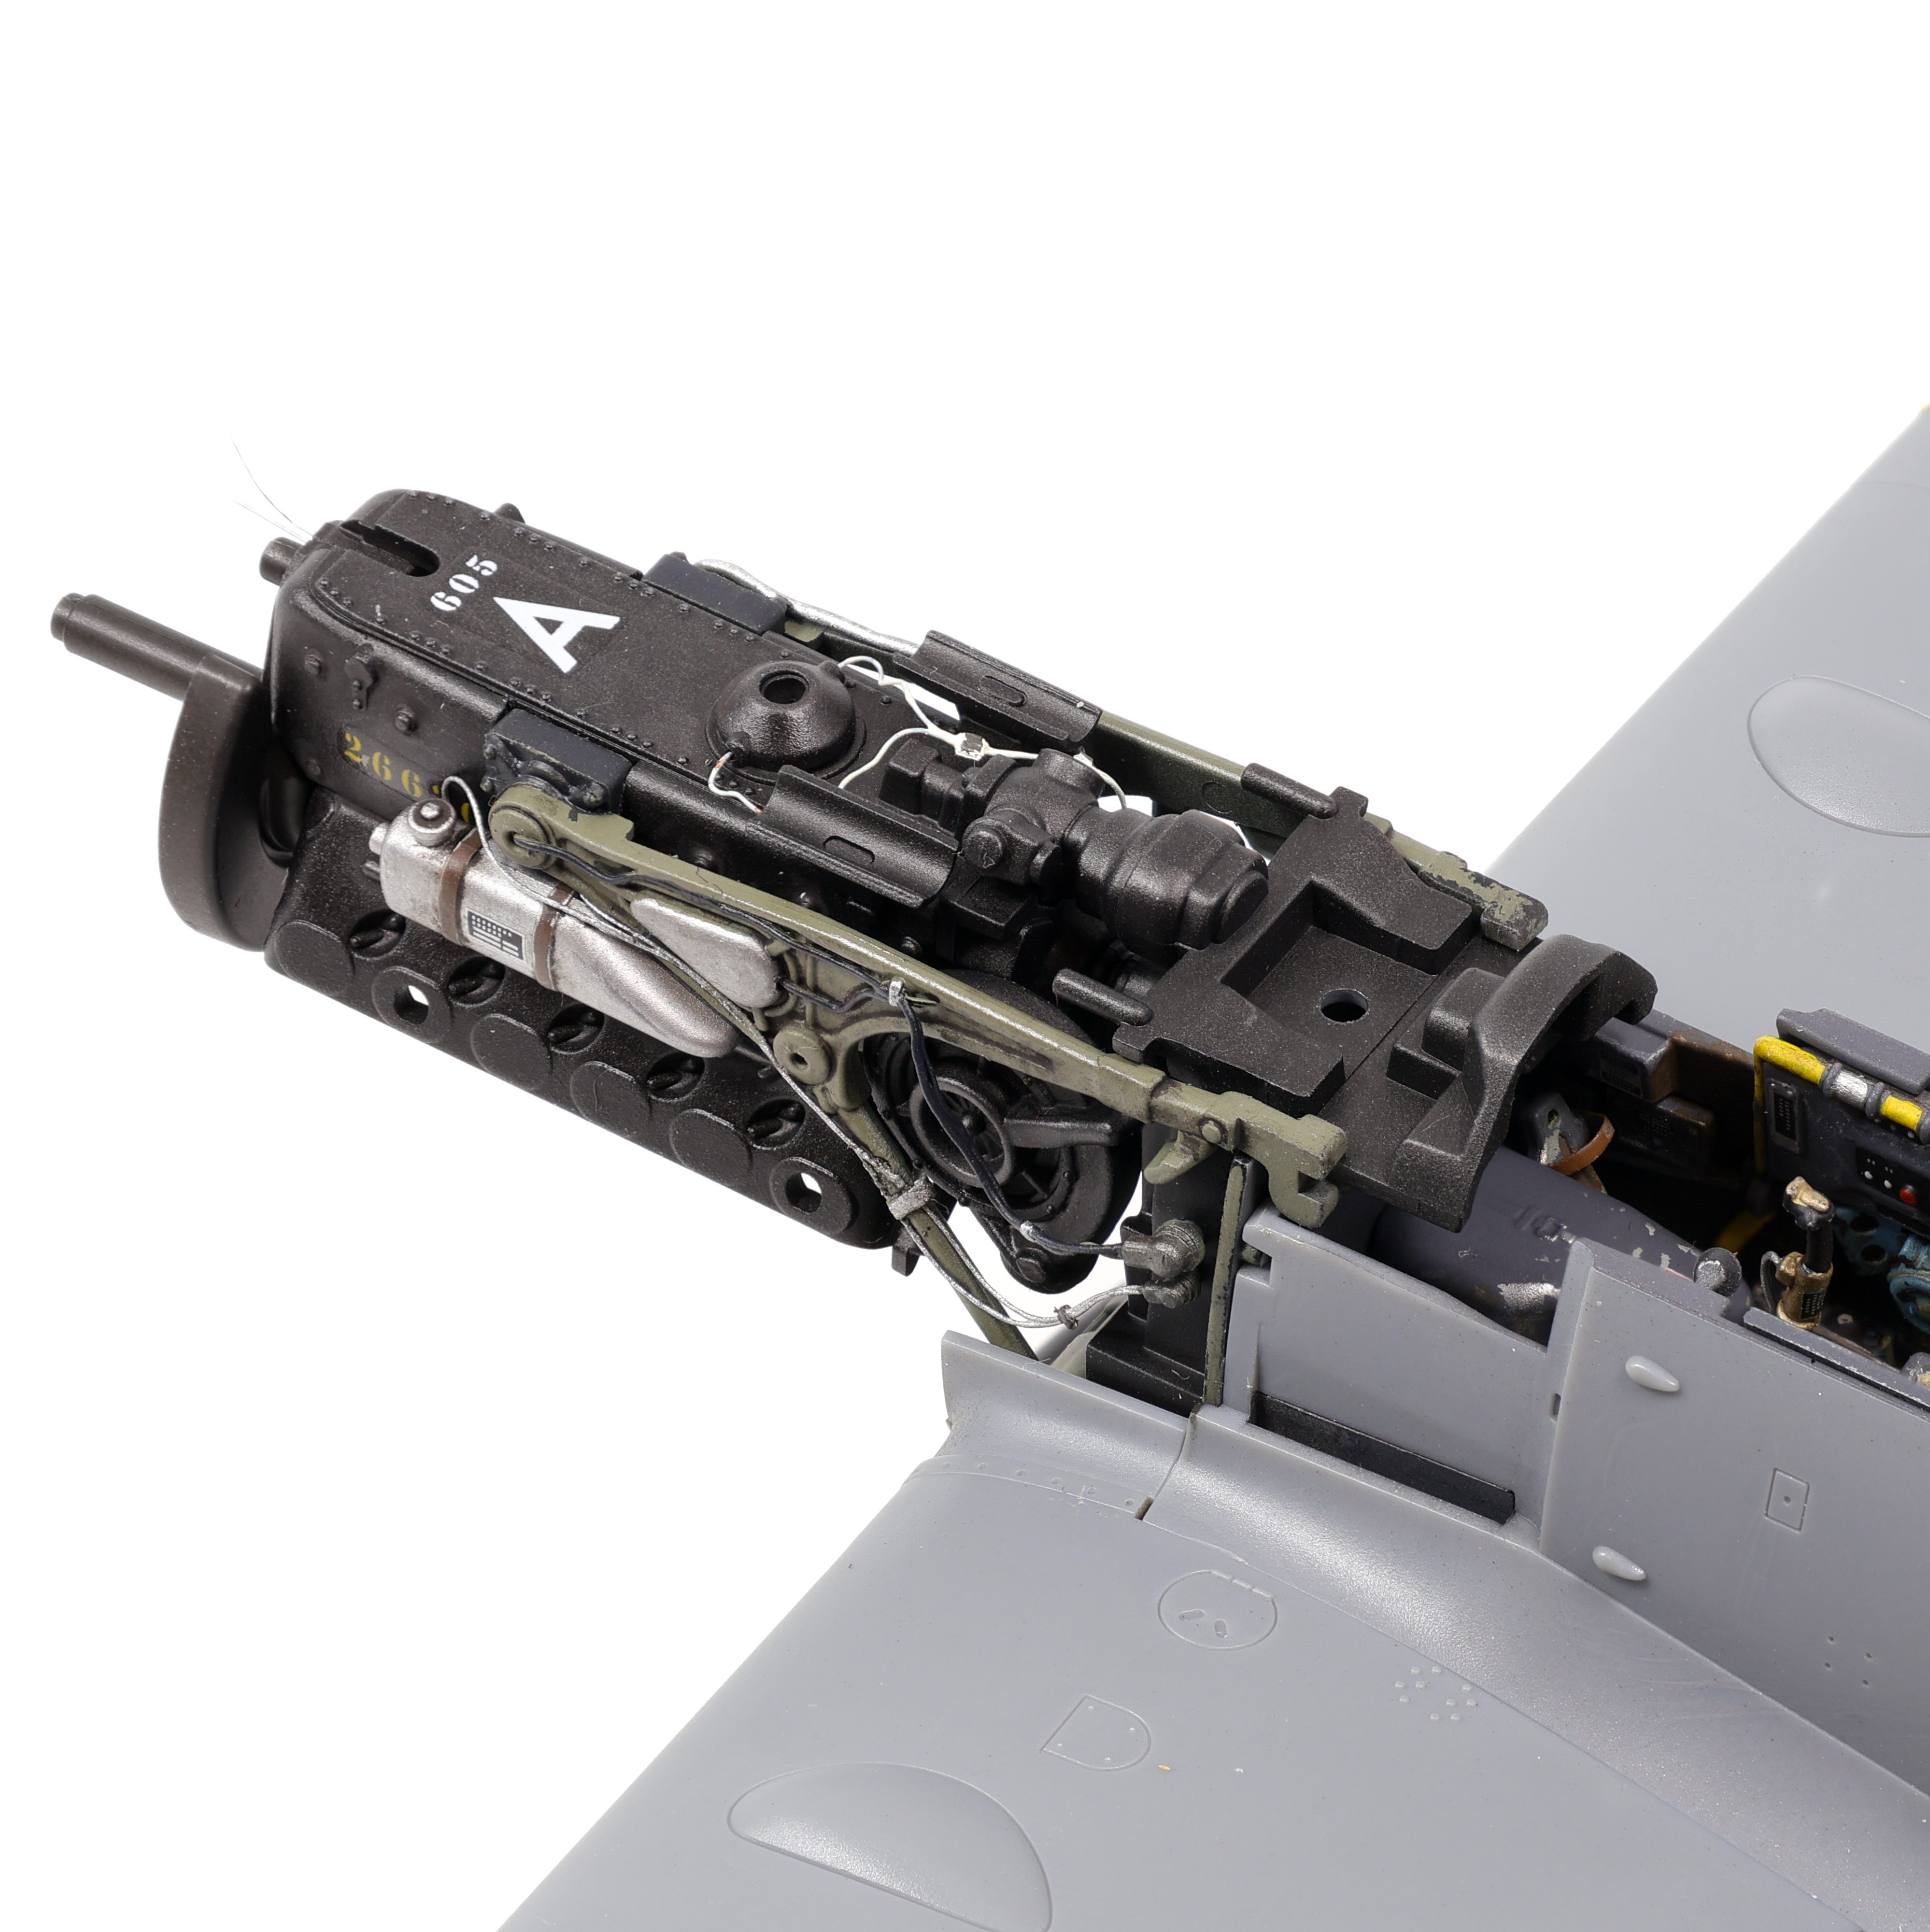
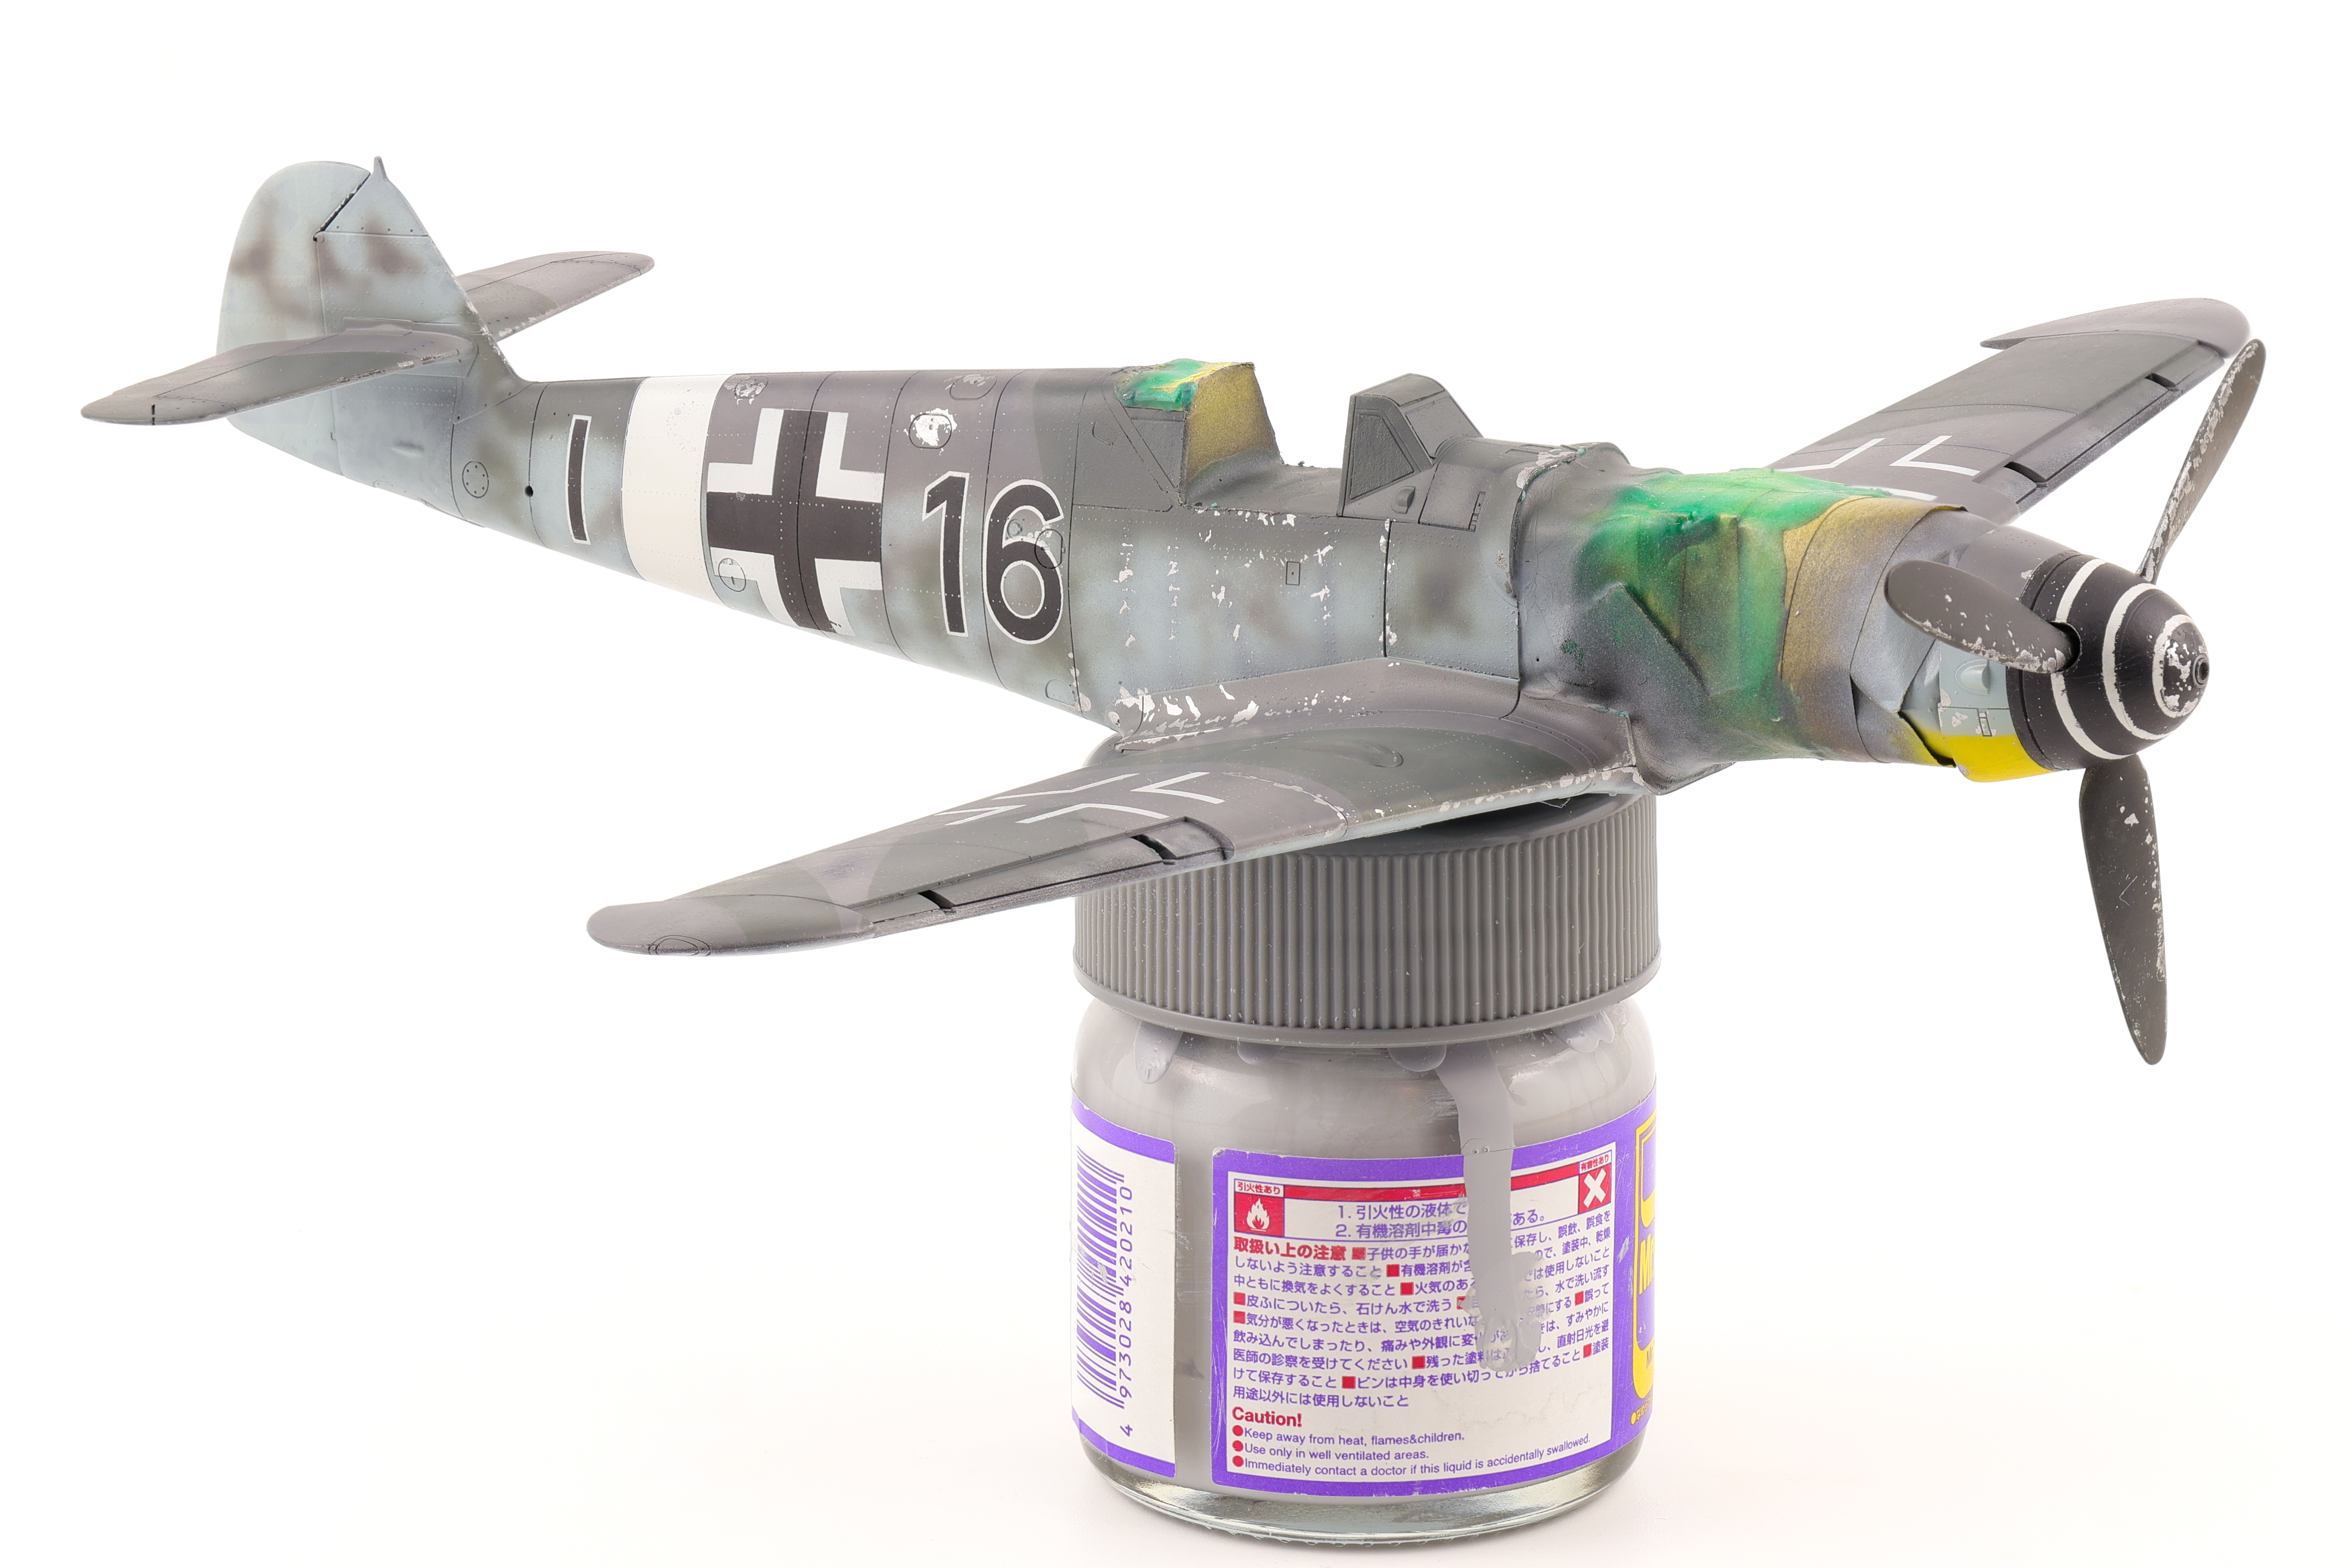
I then needed to apply the final colours to serve as a basis for the iconic mottling seen on the majority of 109’s. To do this, I needed to tape off some areas of the model to get a hard edge transition which would be needed for this specific scheme. This was a lot easier said than done as the model was covered in small dabs of masking solution thus making it had to get a crisp line with the masking tape. I started with the light blue fuselage and under side surfaces as the darker greys would cover easier than the lighter shade. The scheme I selected called for RLM 76 as the fuselage colour, however I only had RLM 65 available to me. To re-create a colour closer to 76, I created a mixture of around 70/30 RLM 65 to white paint. Next up was the RLM 75 Grey Violet colour and I also opted to lighten it with a few drops of white to ensure that it would contrast with RLM 74 Grey Green which is a very similar shade which was applied un lightened onto the model.

In the end I was left with what I felt was a very respectable Bf-109 scheme with enough contrast to be interesting yet accurate to the historical colours used.


What I worked on next was the tricky fuselage mottling. This was a phase of the build I wasn’t particularly looking forward to as it’s difficult to pull off this camouflage element convincingly. It’s also fairly prevalent in German aircraft so there’s no avoiding it.
I think my application went fairly well. From the colour profiles and reference photos I noticed that the mottling didn’t touch the upper camouflage paint all that much and it was fairly substantial in some areas.
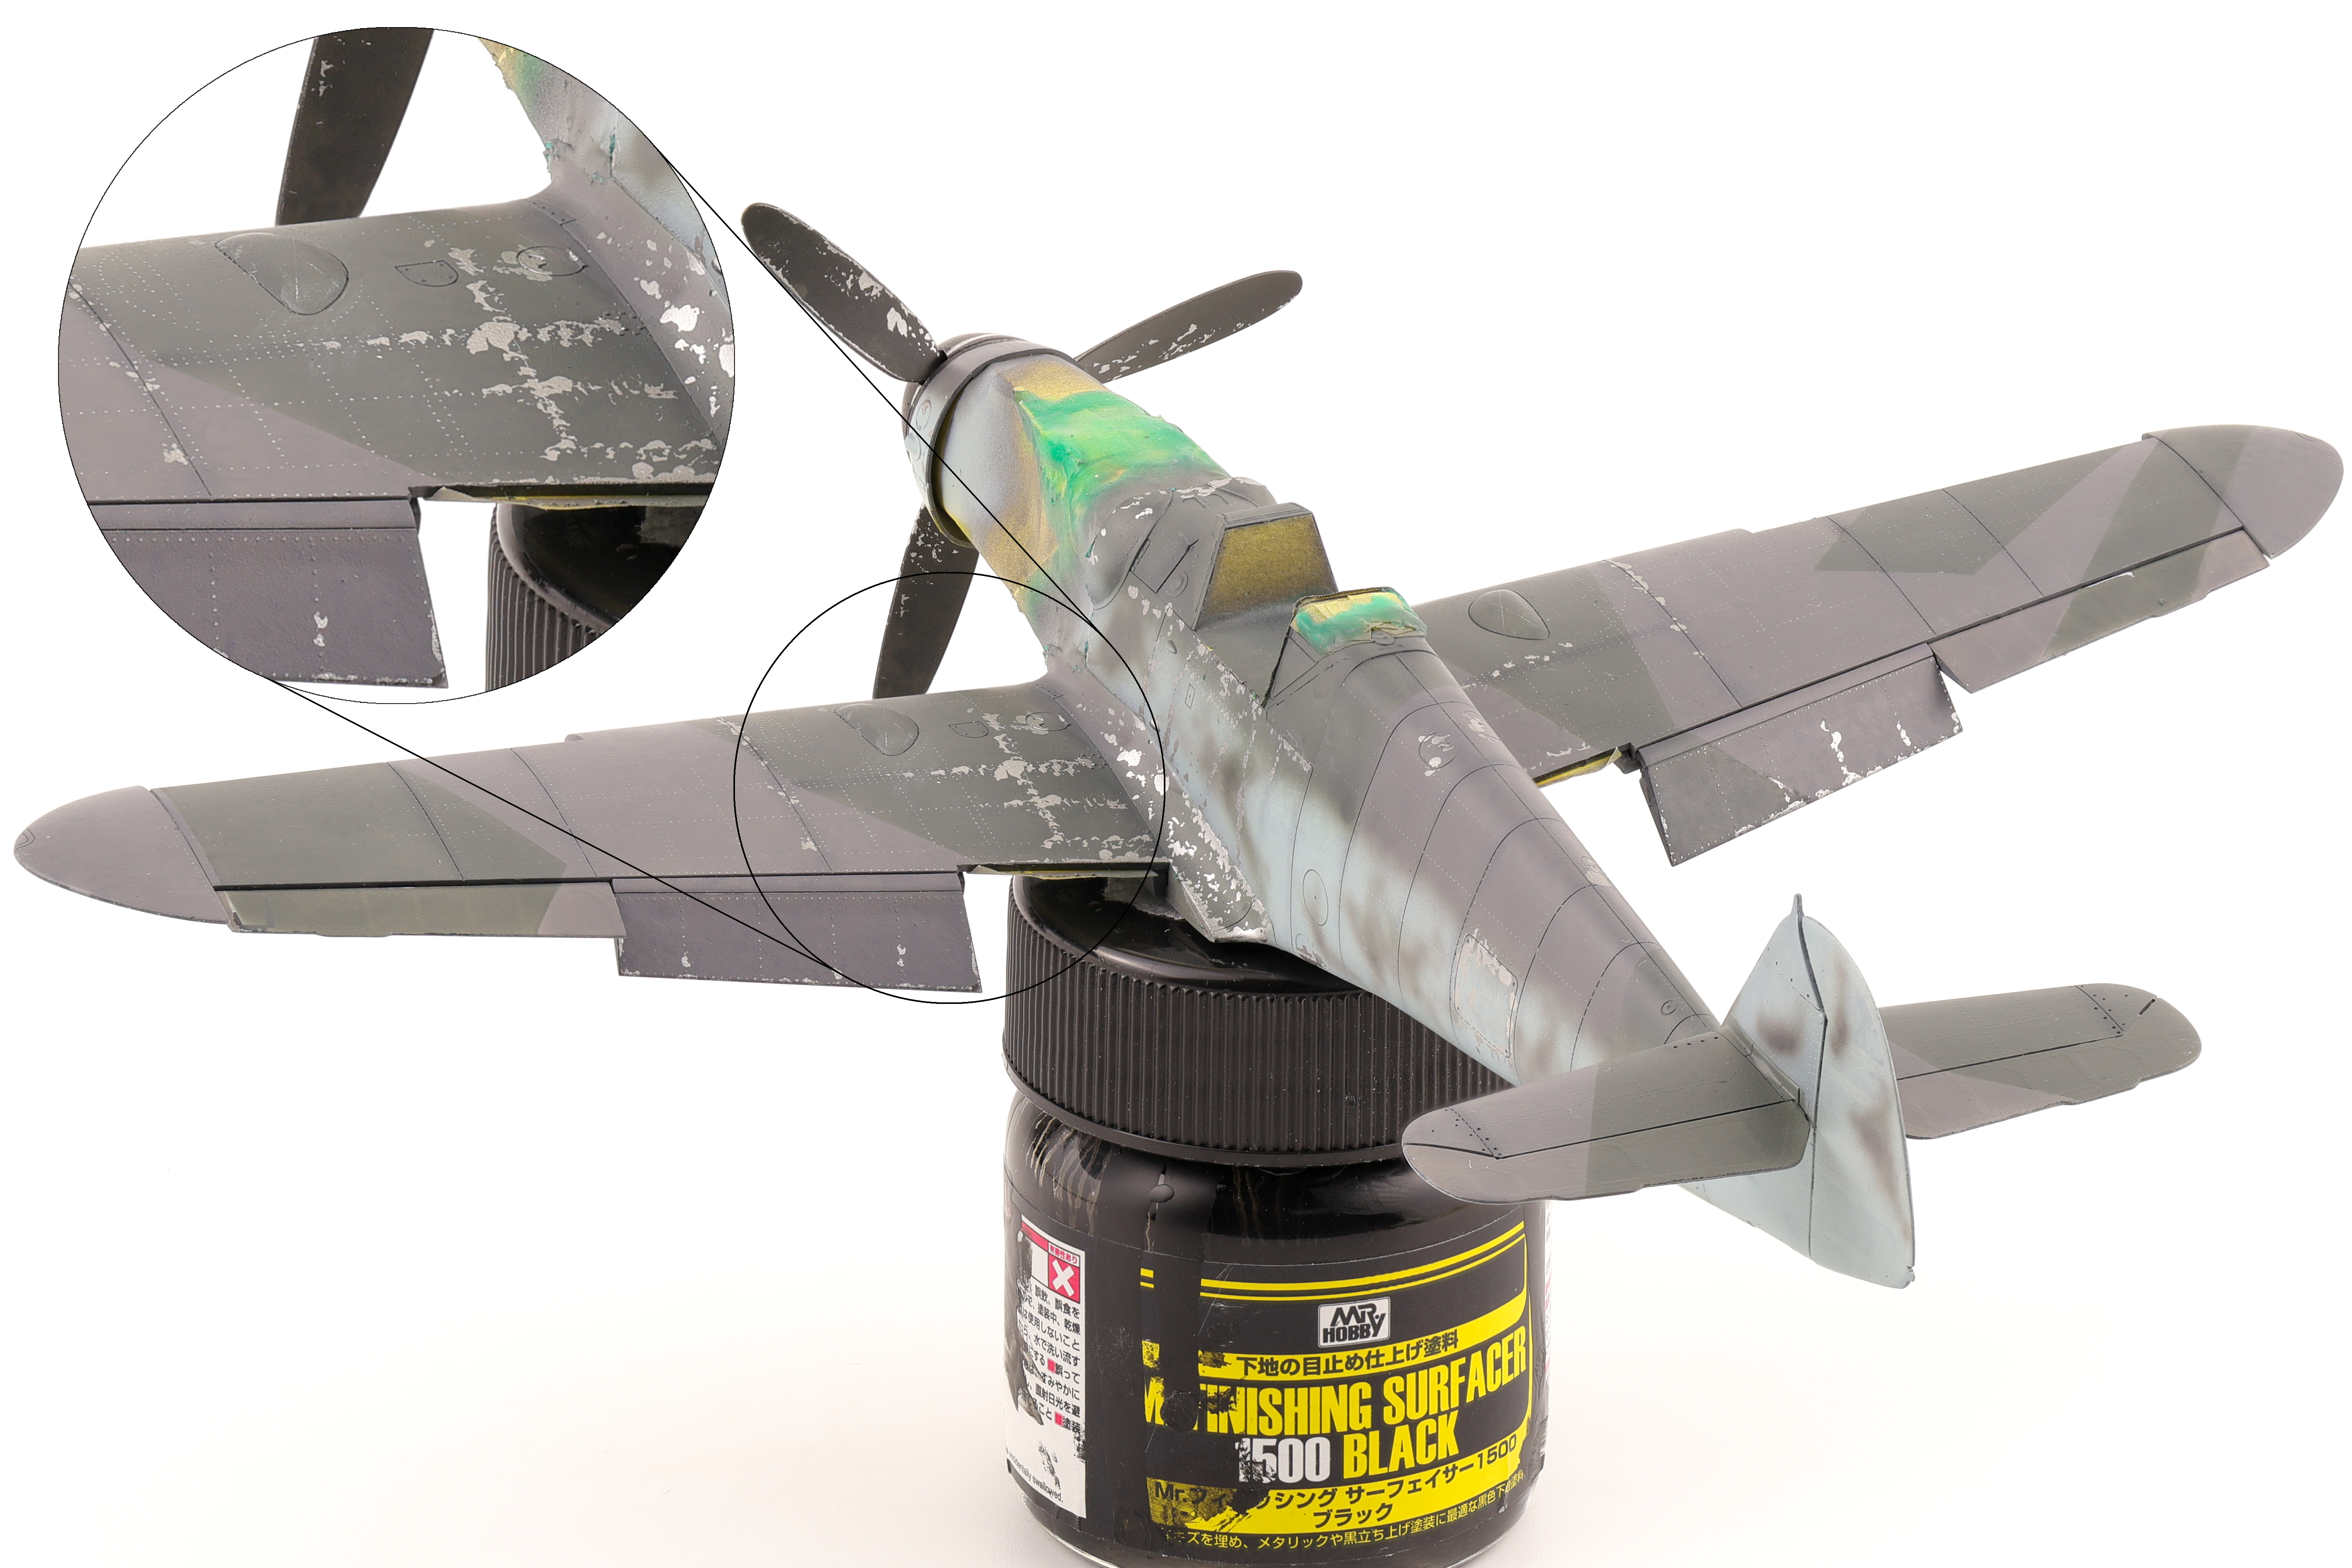
After completing the mottling, I then removed the liquid mask to expose the chipping effects underneath. While it would have made sense to do so after the markings were painted I felt that it would be too difficult to get a solid line with the masks that I planned to use. I can always add chipping effects at later time over top of the painted on markings. I removed the masks for another reason as well, I wanted to expose the HGW rivets and see how they contrasted with the painted surfaces. Do do this I took a 8000 and 12,000 grit sanding pad and sanded the surface of the paint. This removed the paint directly over top of the raised rivets but is high enough in grit that no scratches are left behind. If anything this helps to create a smooth surface in preparation for a gloss coat.
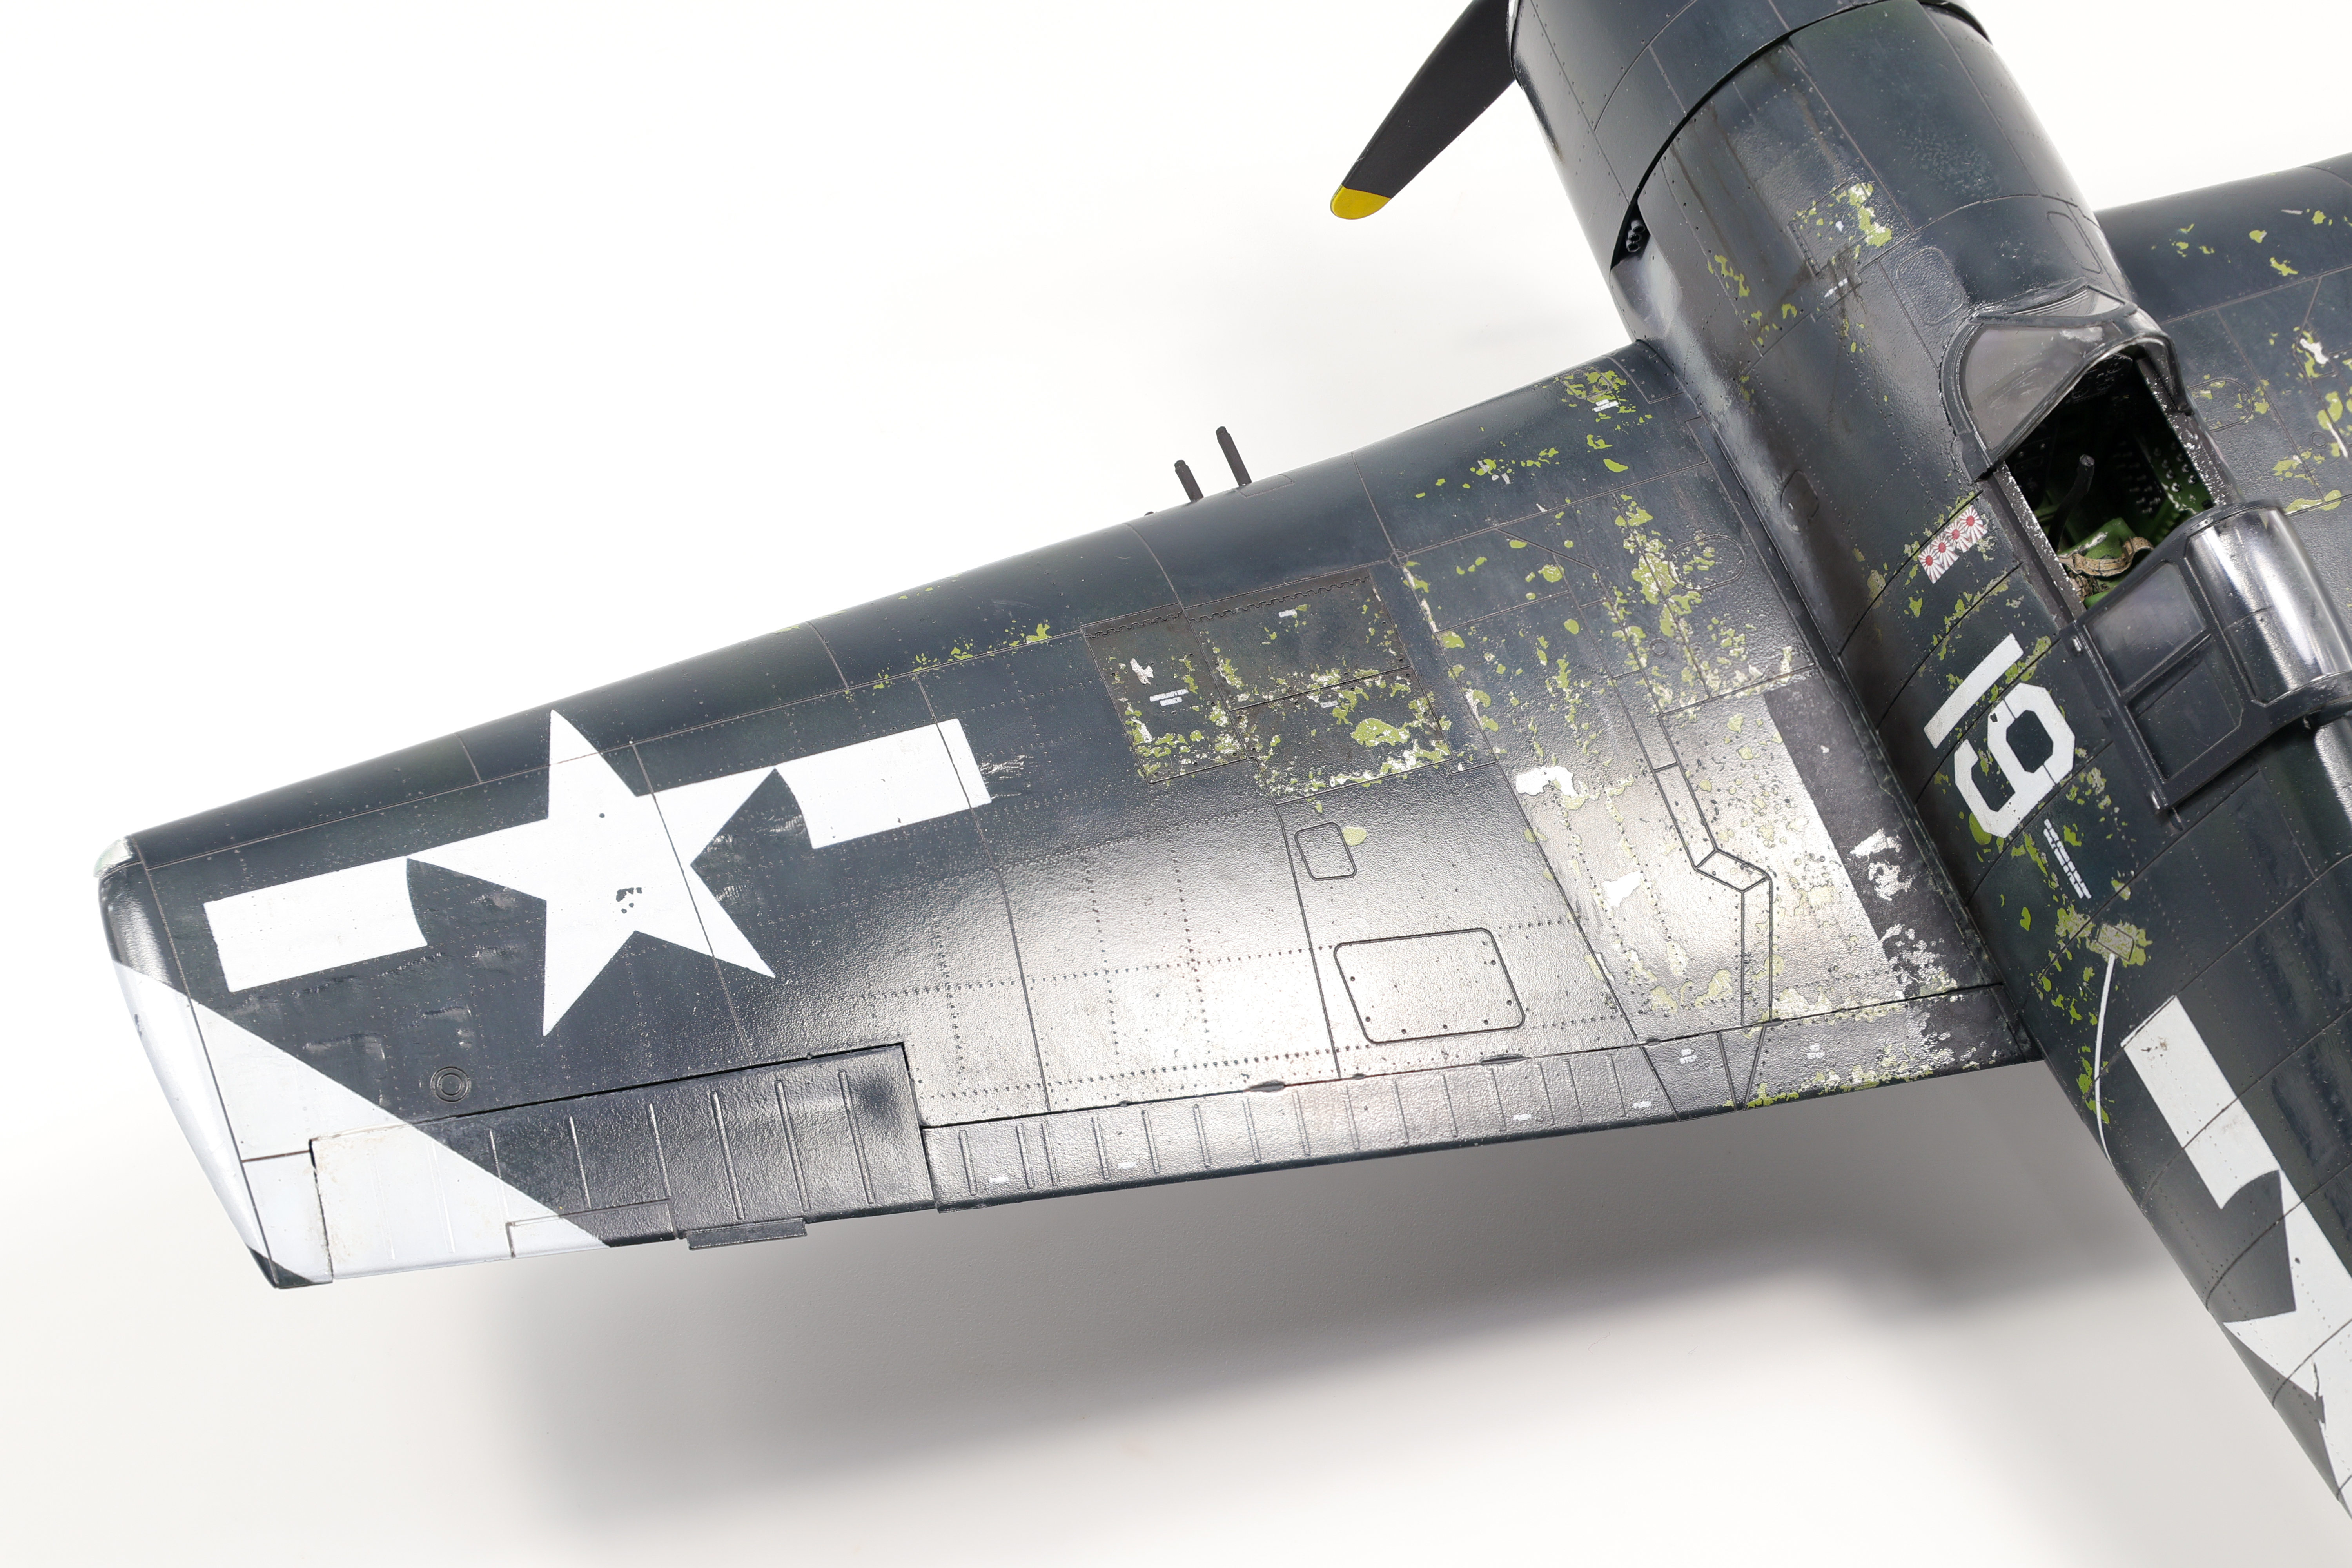
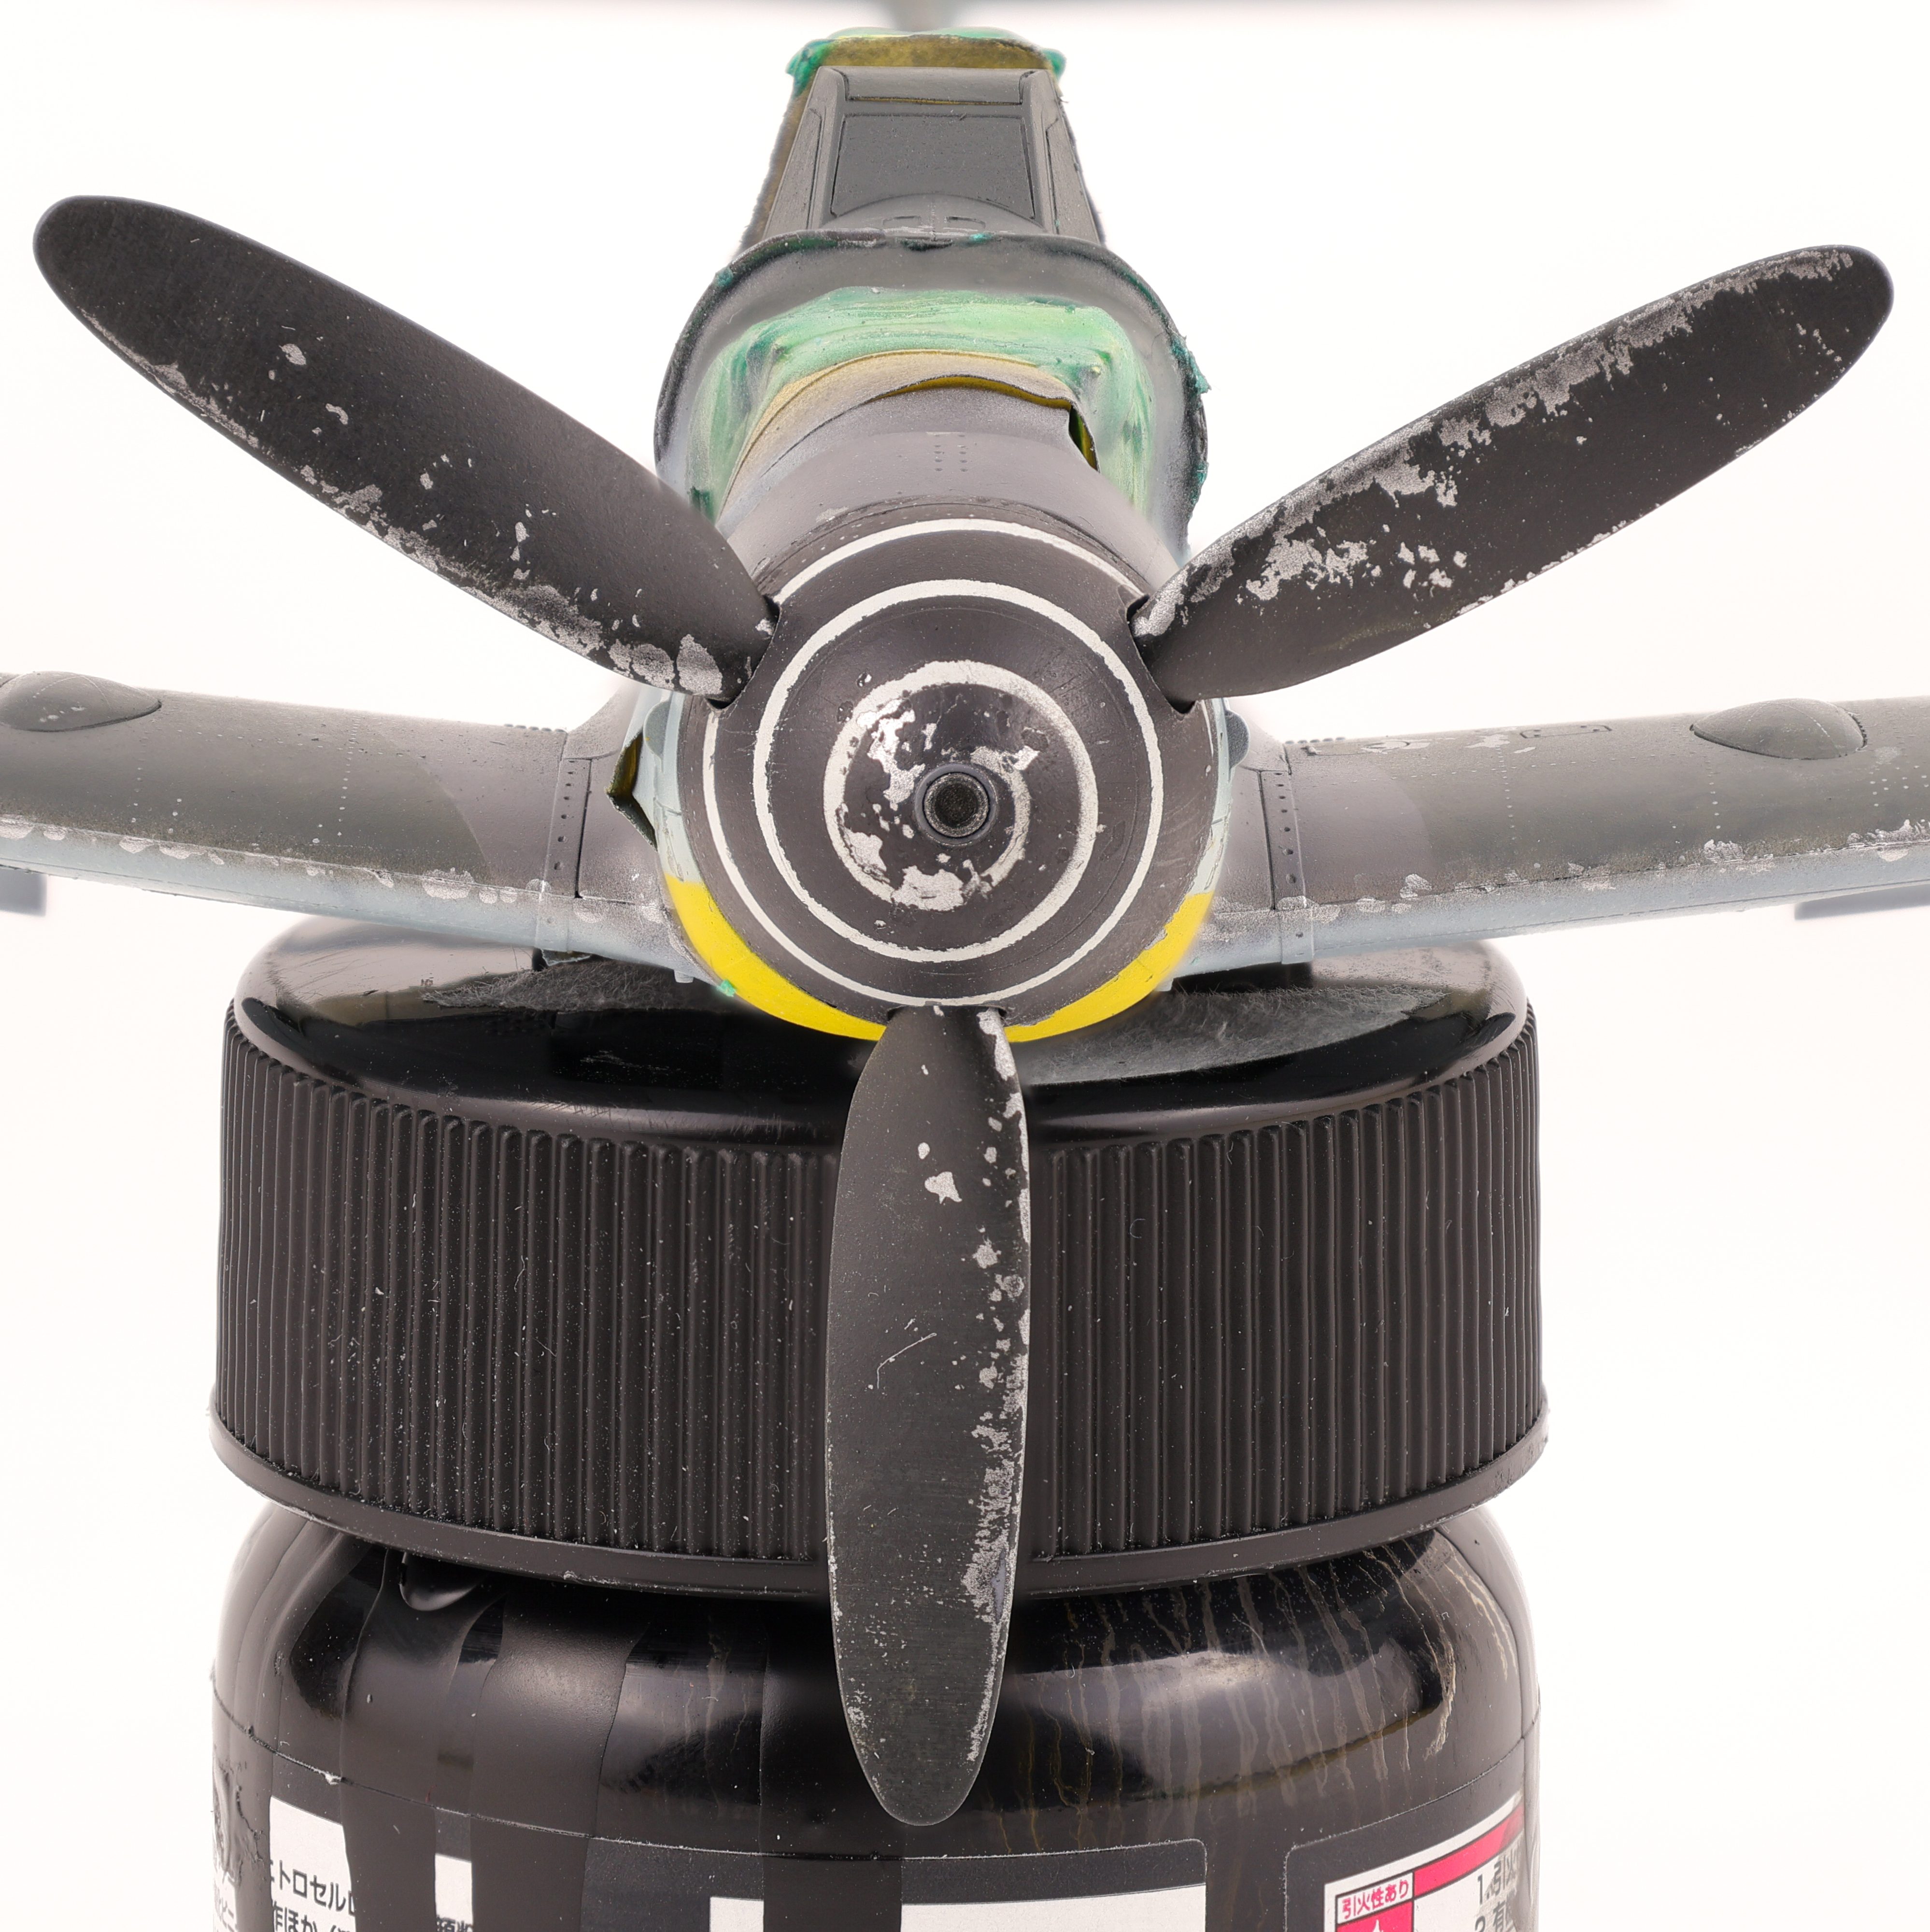
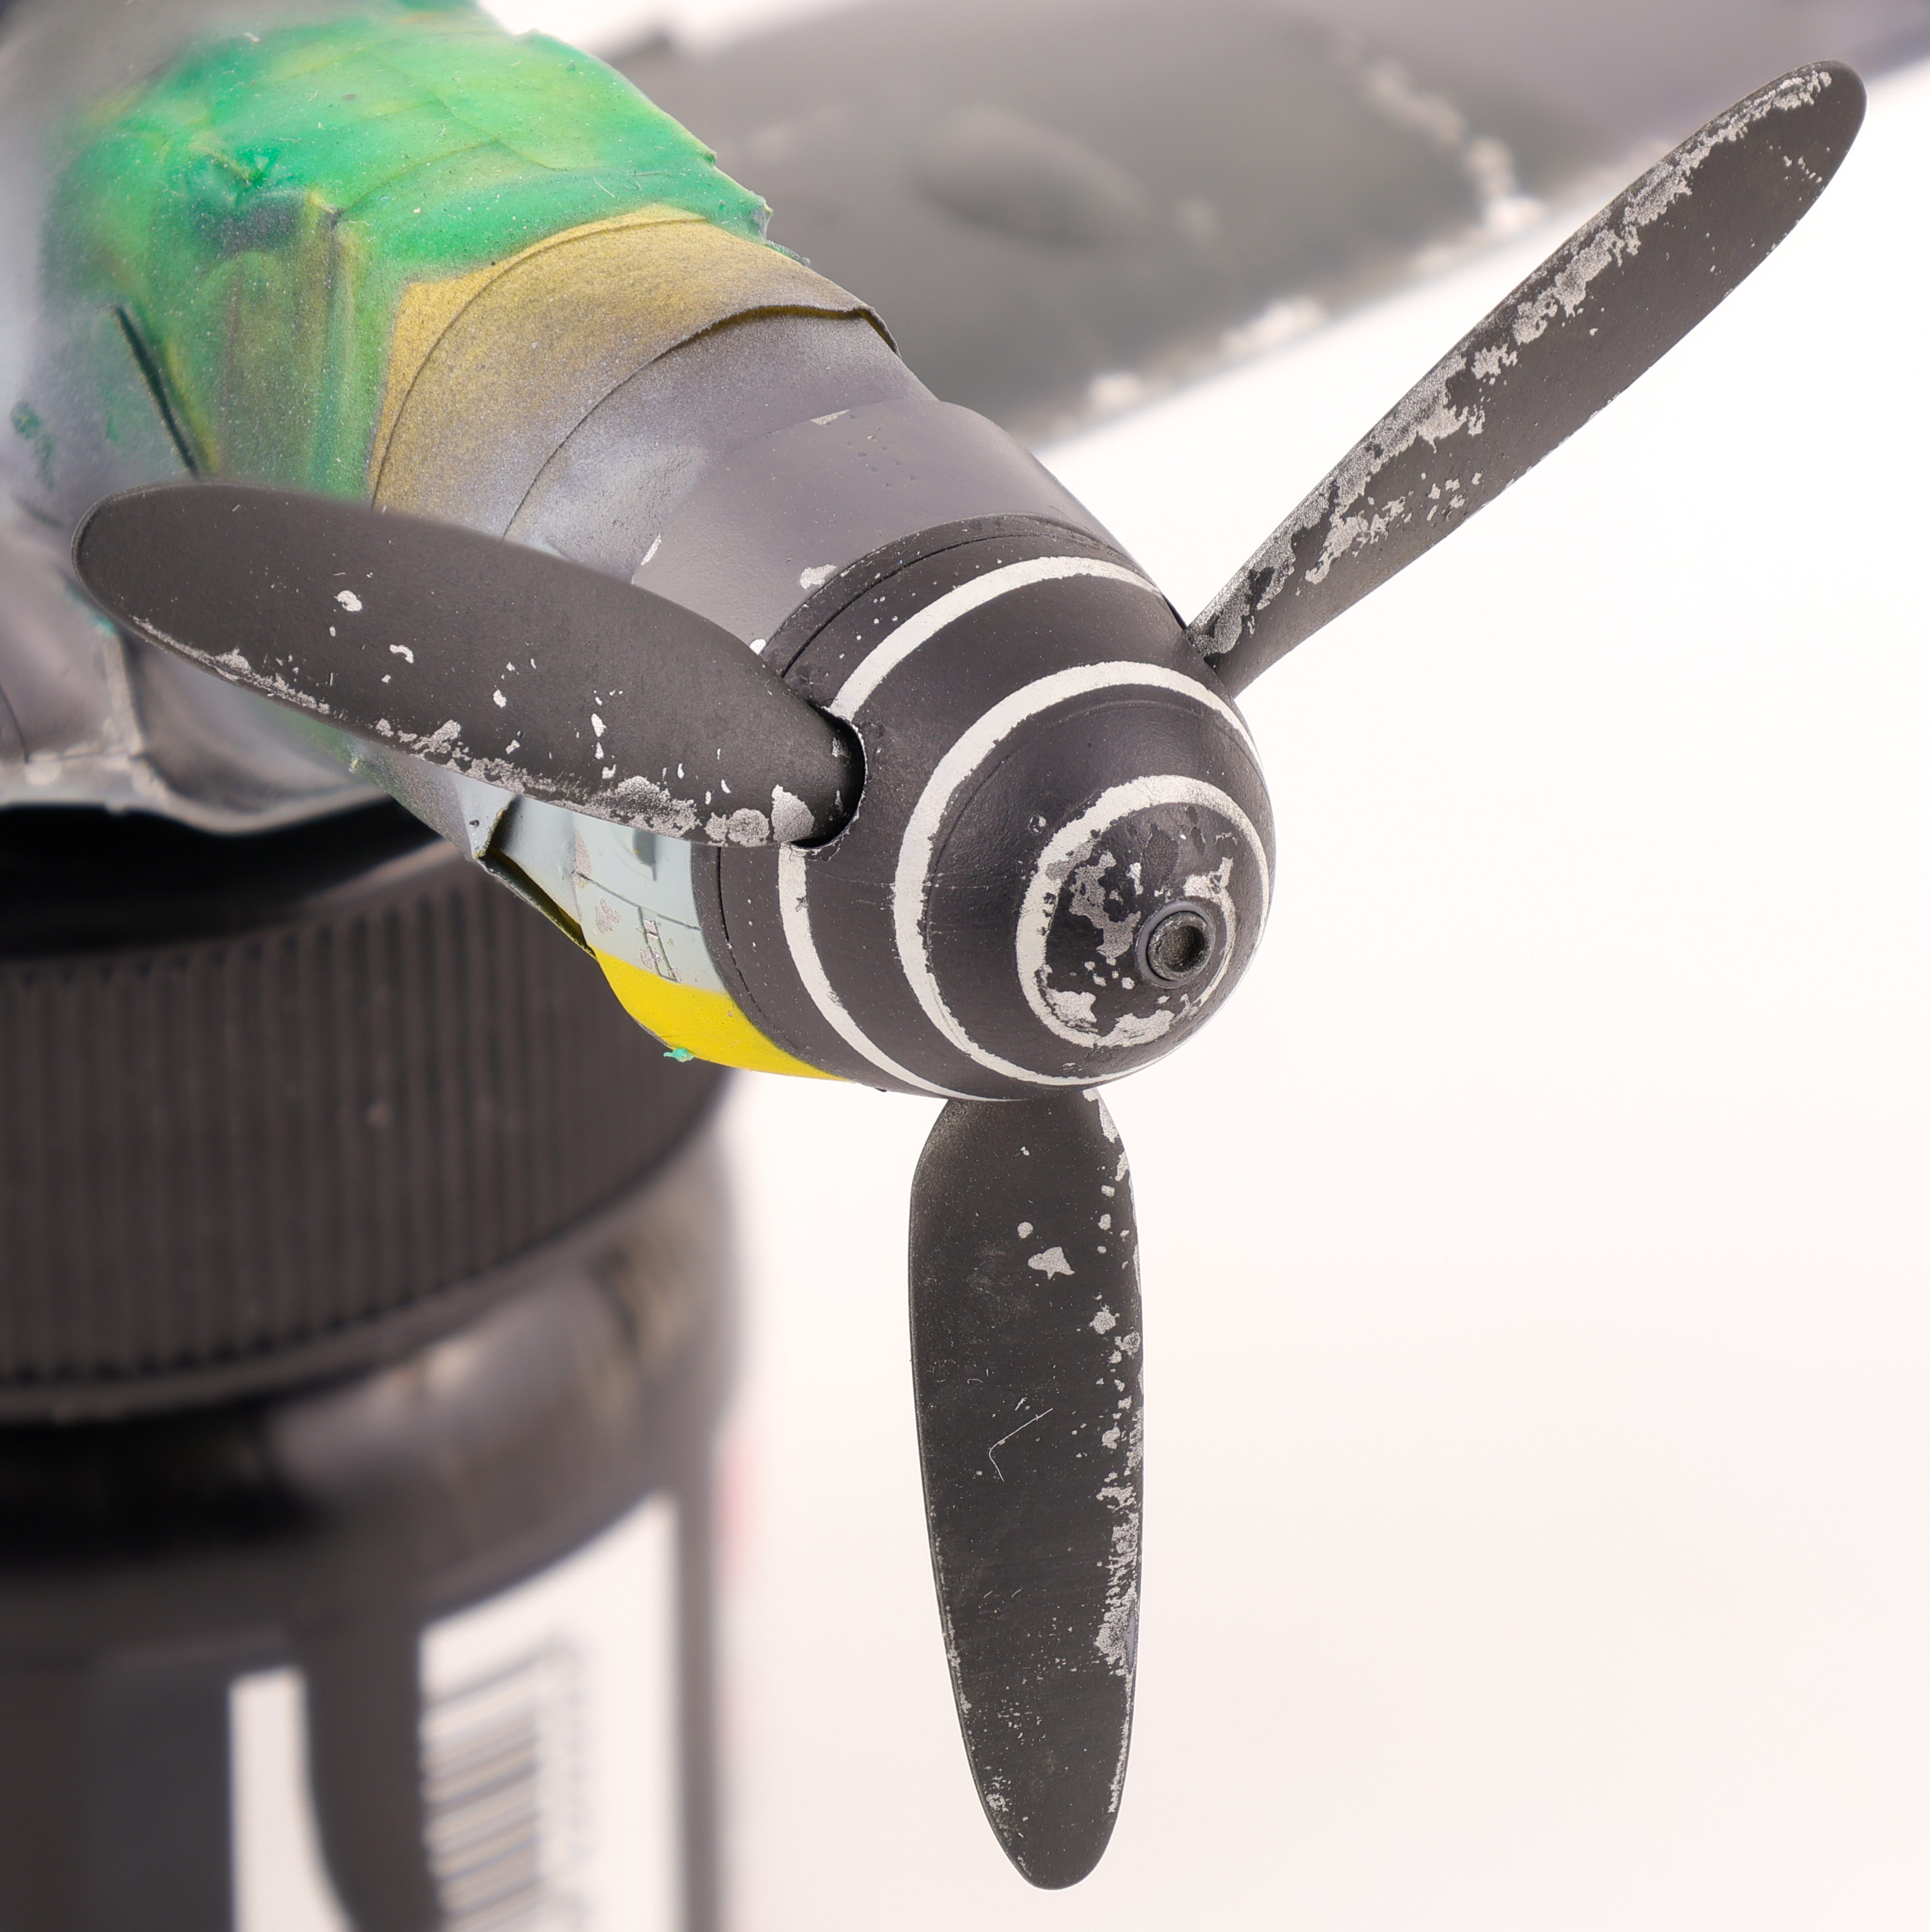
I also took this time to paint up the prop and spinner. I really like the effect I was able to get here even if it is pretty weathered. This vehicle is meant to depict a G-6 that’s both seen a lot of action and has been sitting in the Italian sun for a while. I’ll definitely need to come back to address some errors but I think this is a good baseline to build off of.
Next up was the markings and for this project I treated myself to a Montex mask set instead of decals for the markings. This was my first time using masks extensively in an aircraft build and while my application wasn’t perfect I’m still fairly happy with the result I was able to achieve. Even on my first attempt the painted markings look so much better than decals!


That’s where I’ll leave this update as I move on to the stencilling and weathering stages, Thanks for looking!