Categories
1:48 Aircraft Uncategorized

Eduard Spitfire Mk.VIII

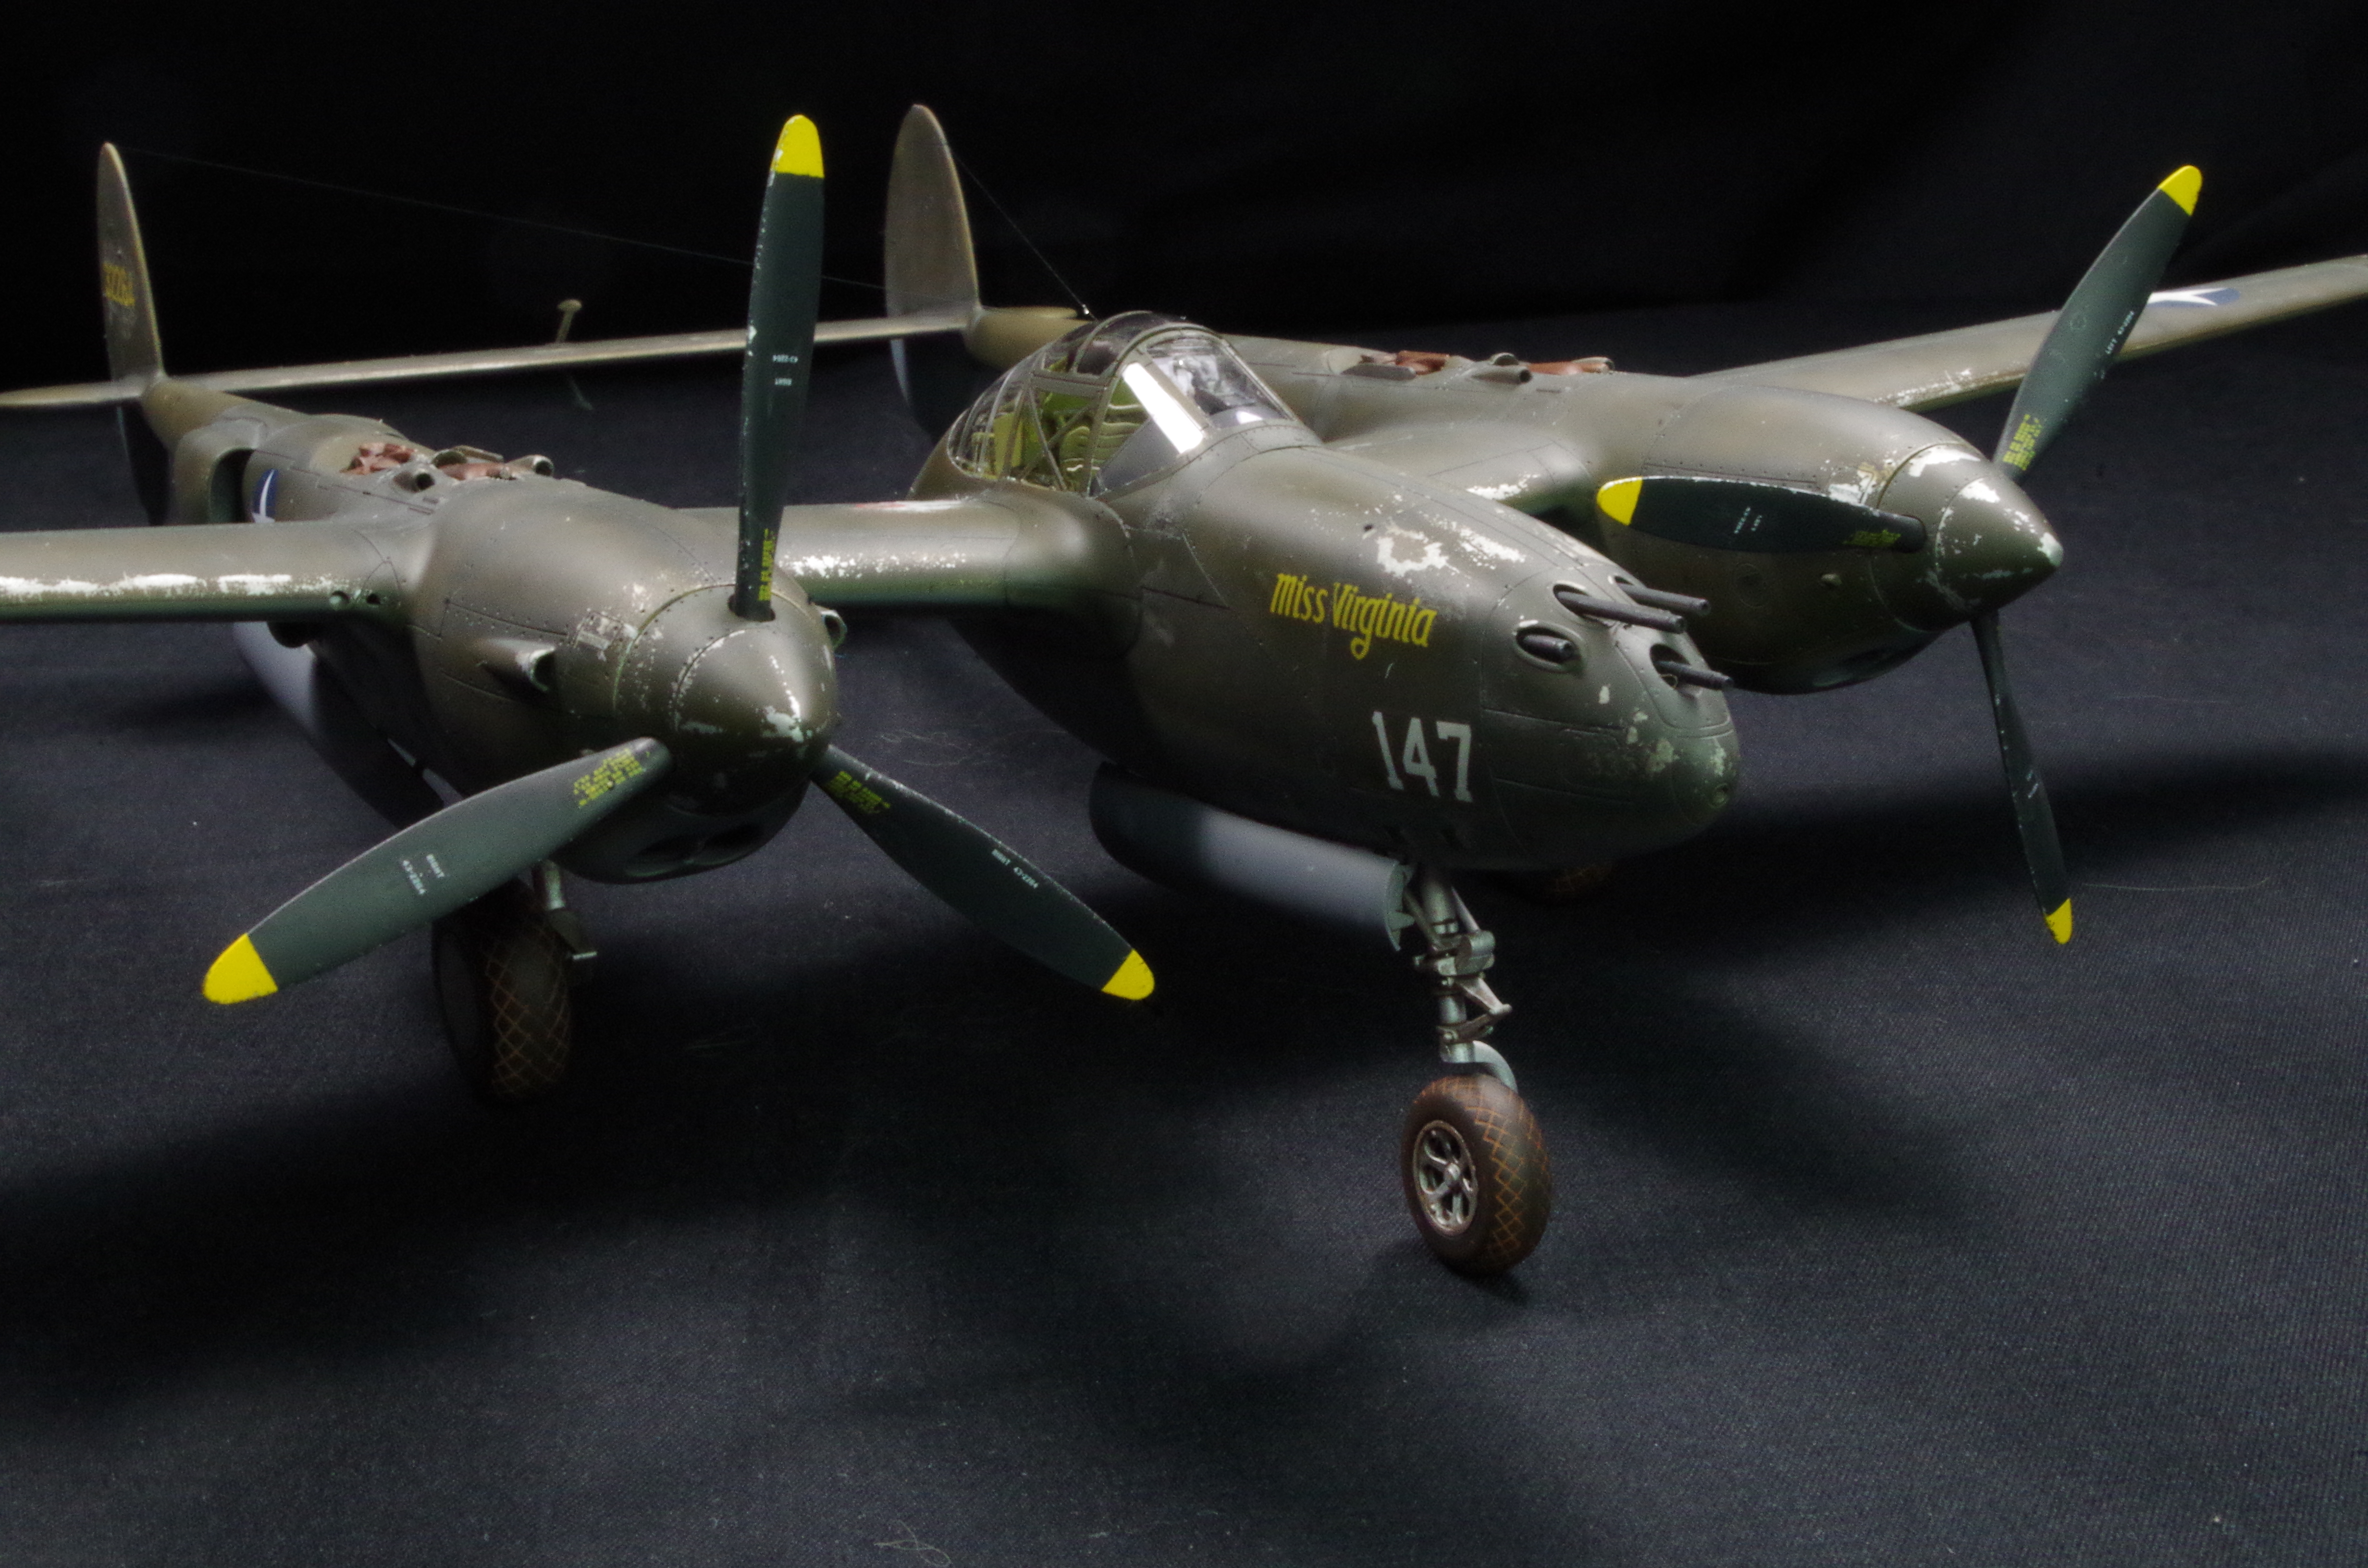
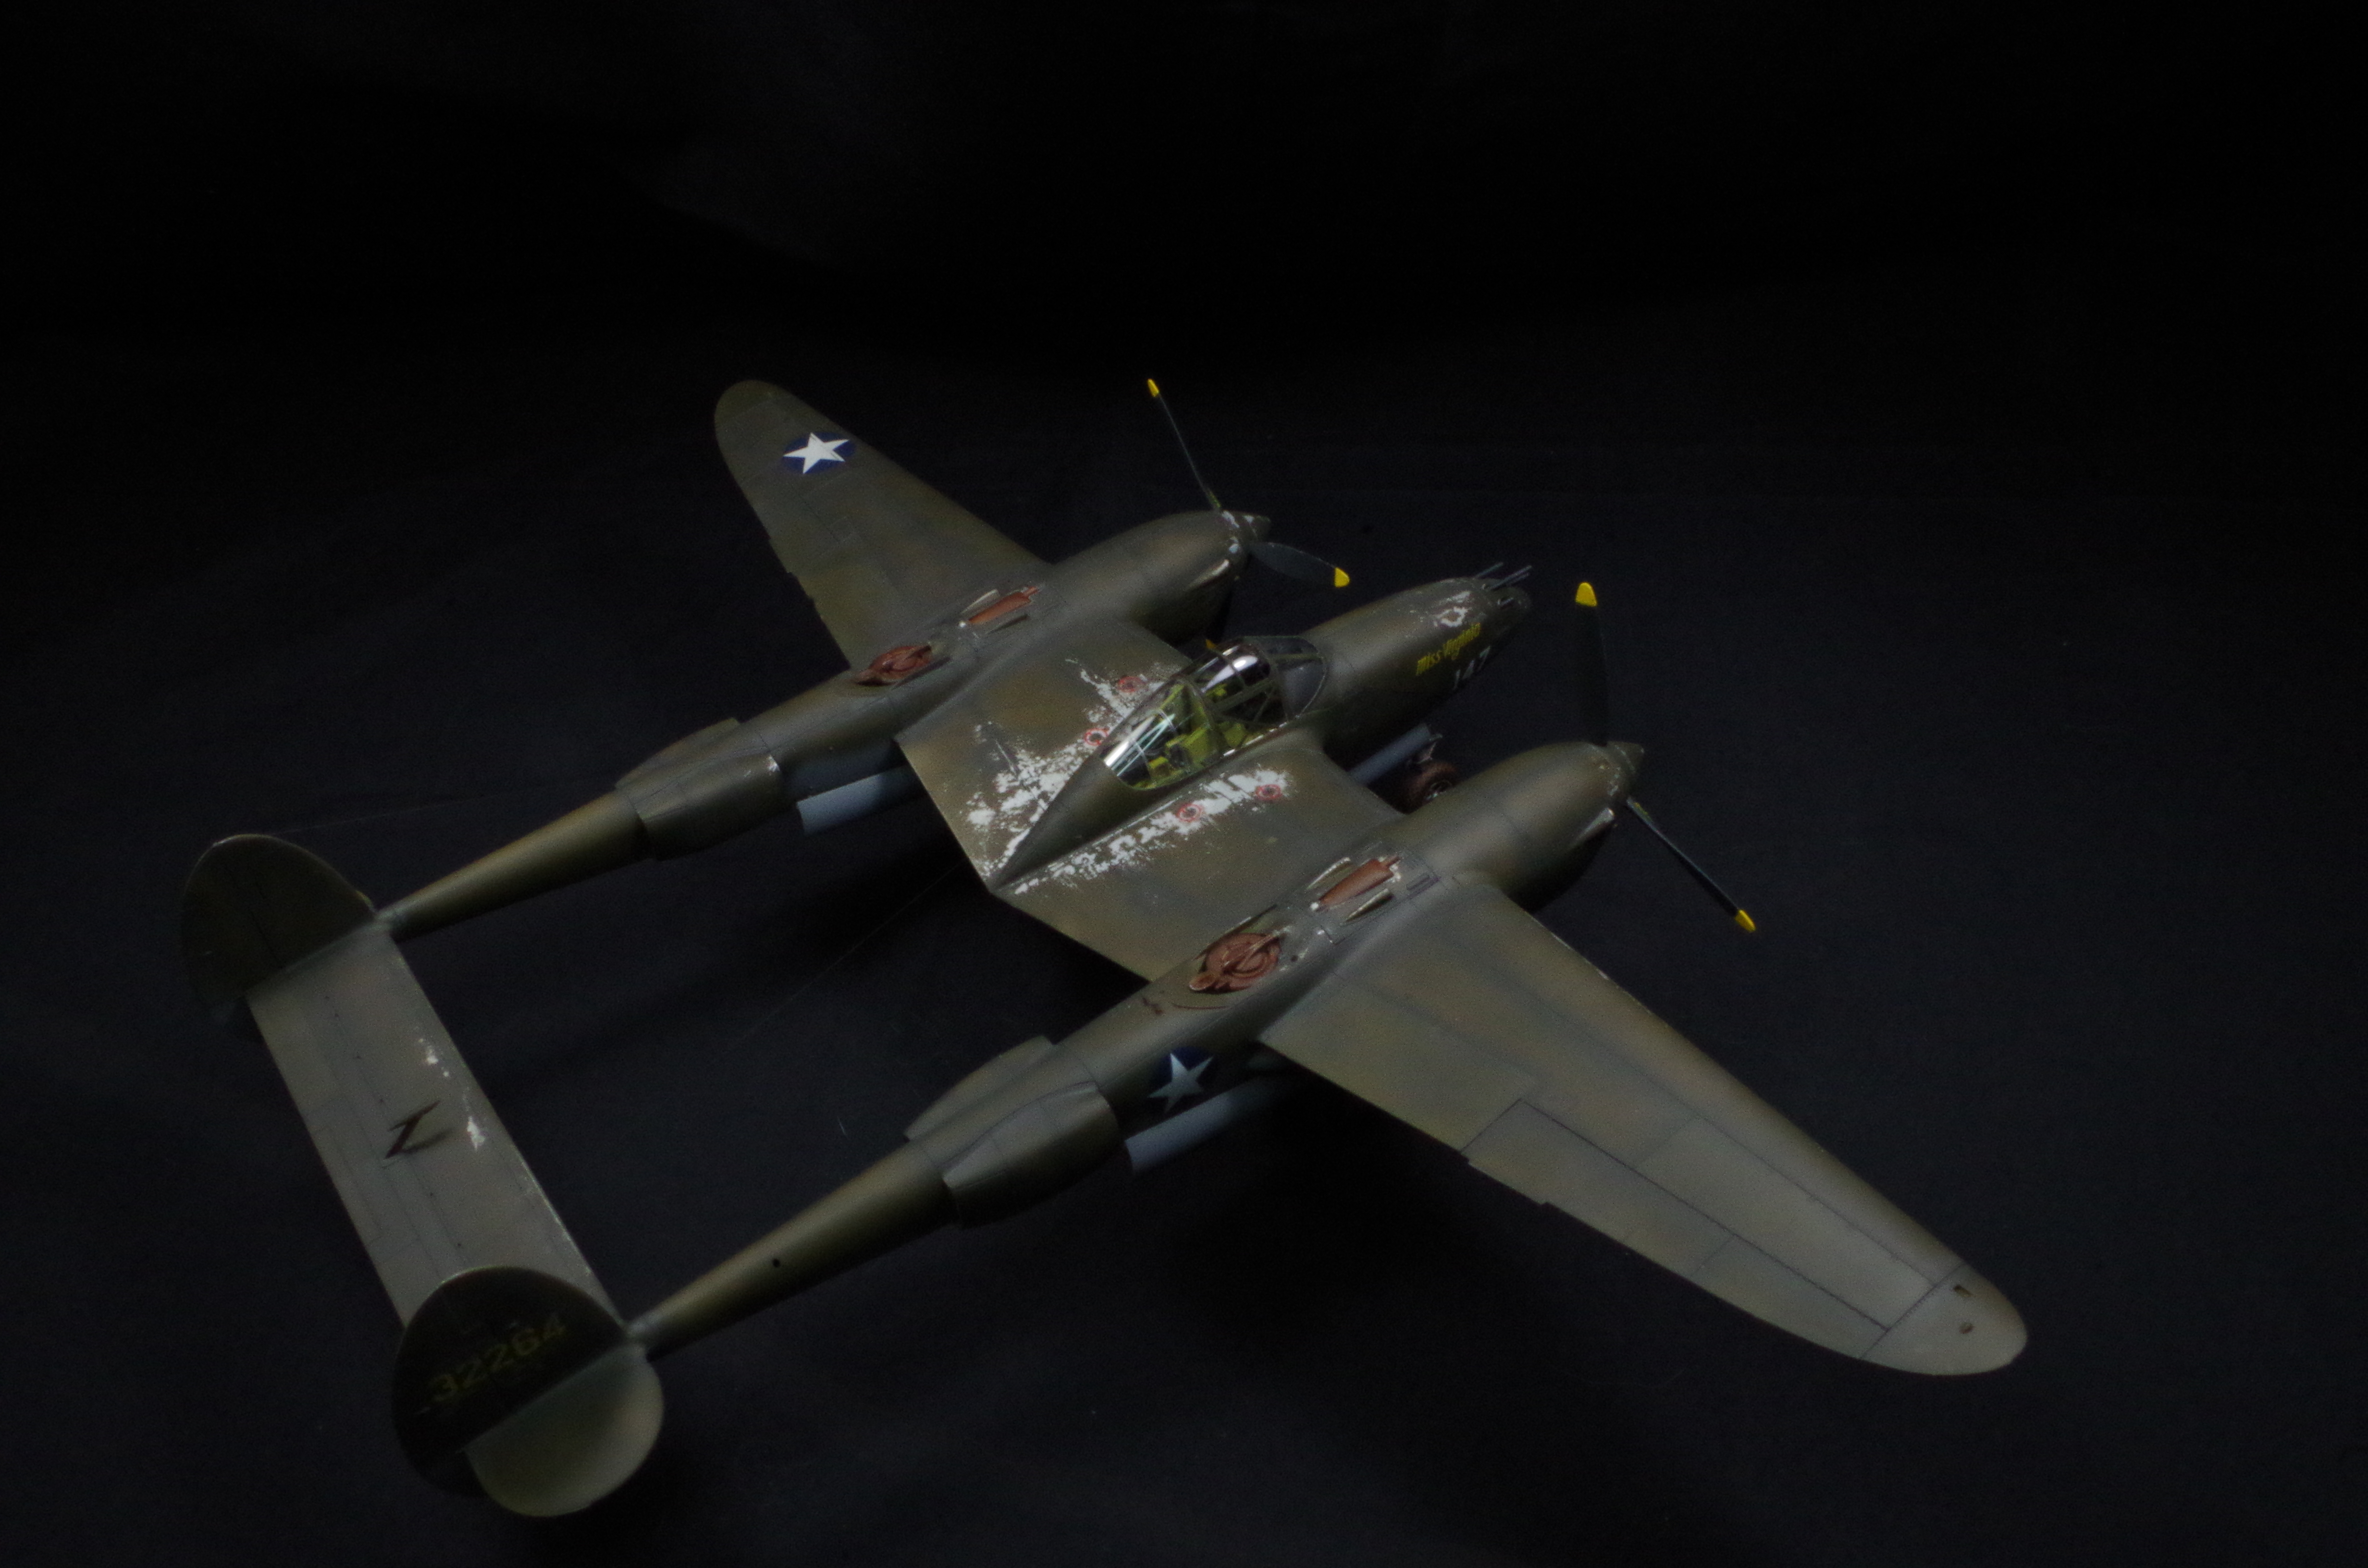
While working on Tamiya’s P-38, I picked up Eduard’s “weekend edition” Mk.VIII Spitfire. Considering that the kit was around $30 CAD it was too much of a bargain not to pick up. This was my first time building a Spitfire, as well as my first time building a Eduard kit. Surface details were fantastic, although I didn’t find that it had Tamiya levels of fit/engineering.

Construction of course started with the cockpit and it’s well detailed. I didn’t spend too much time here but added some wiring and drilled out weight saving holes. I was aiming to have the build completed within a month so progress was brisk.

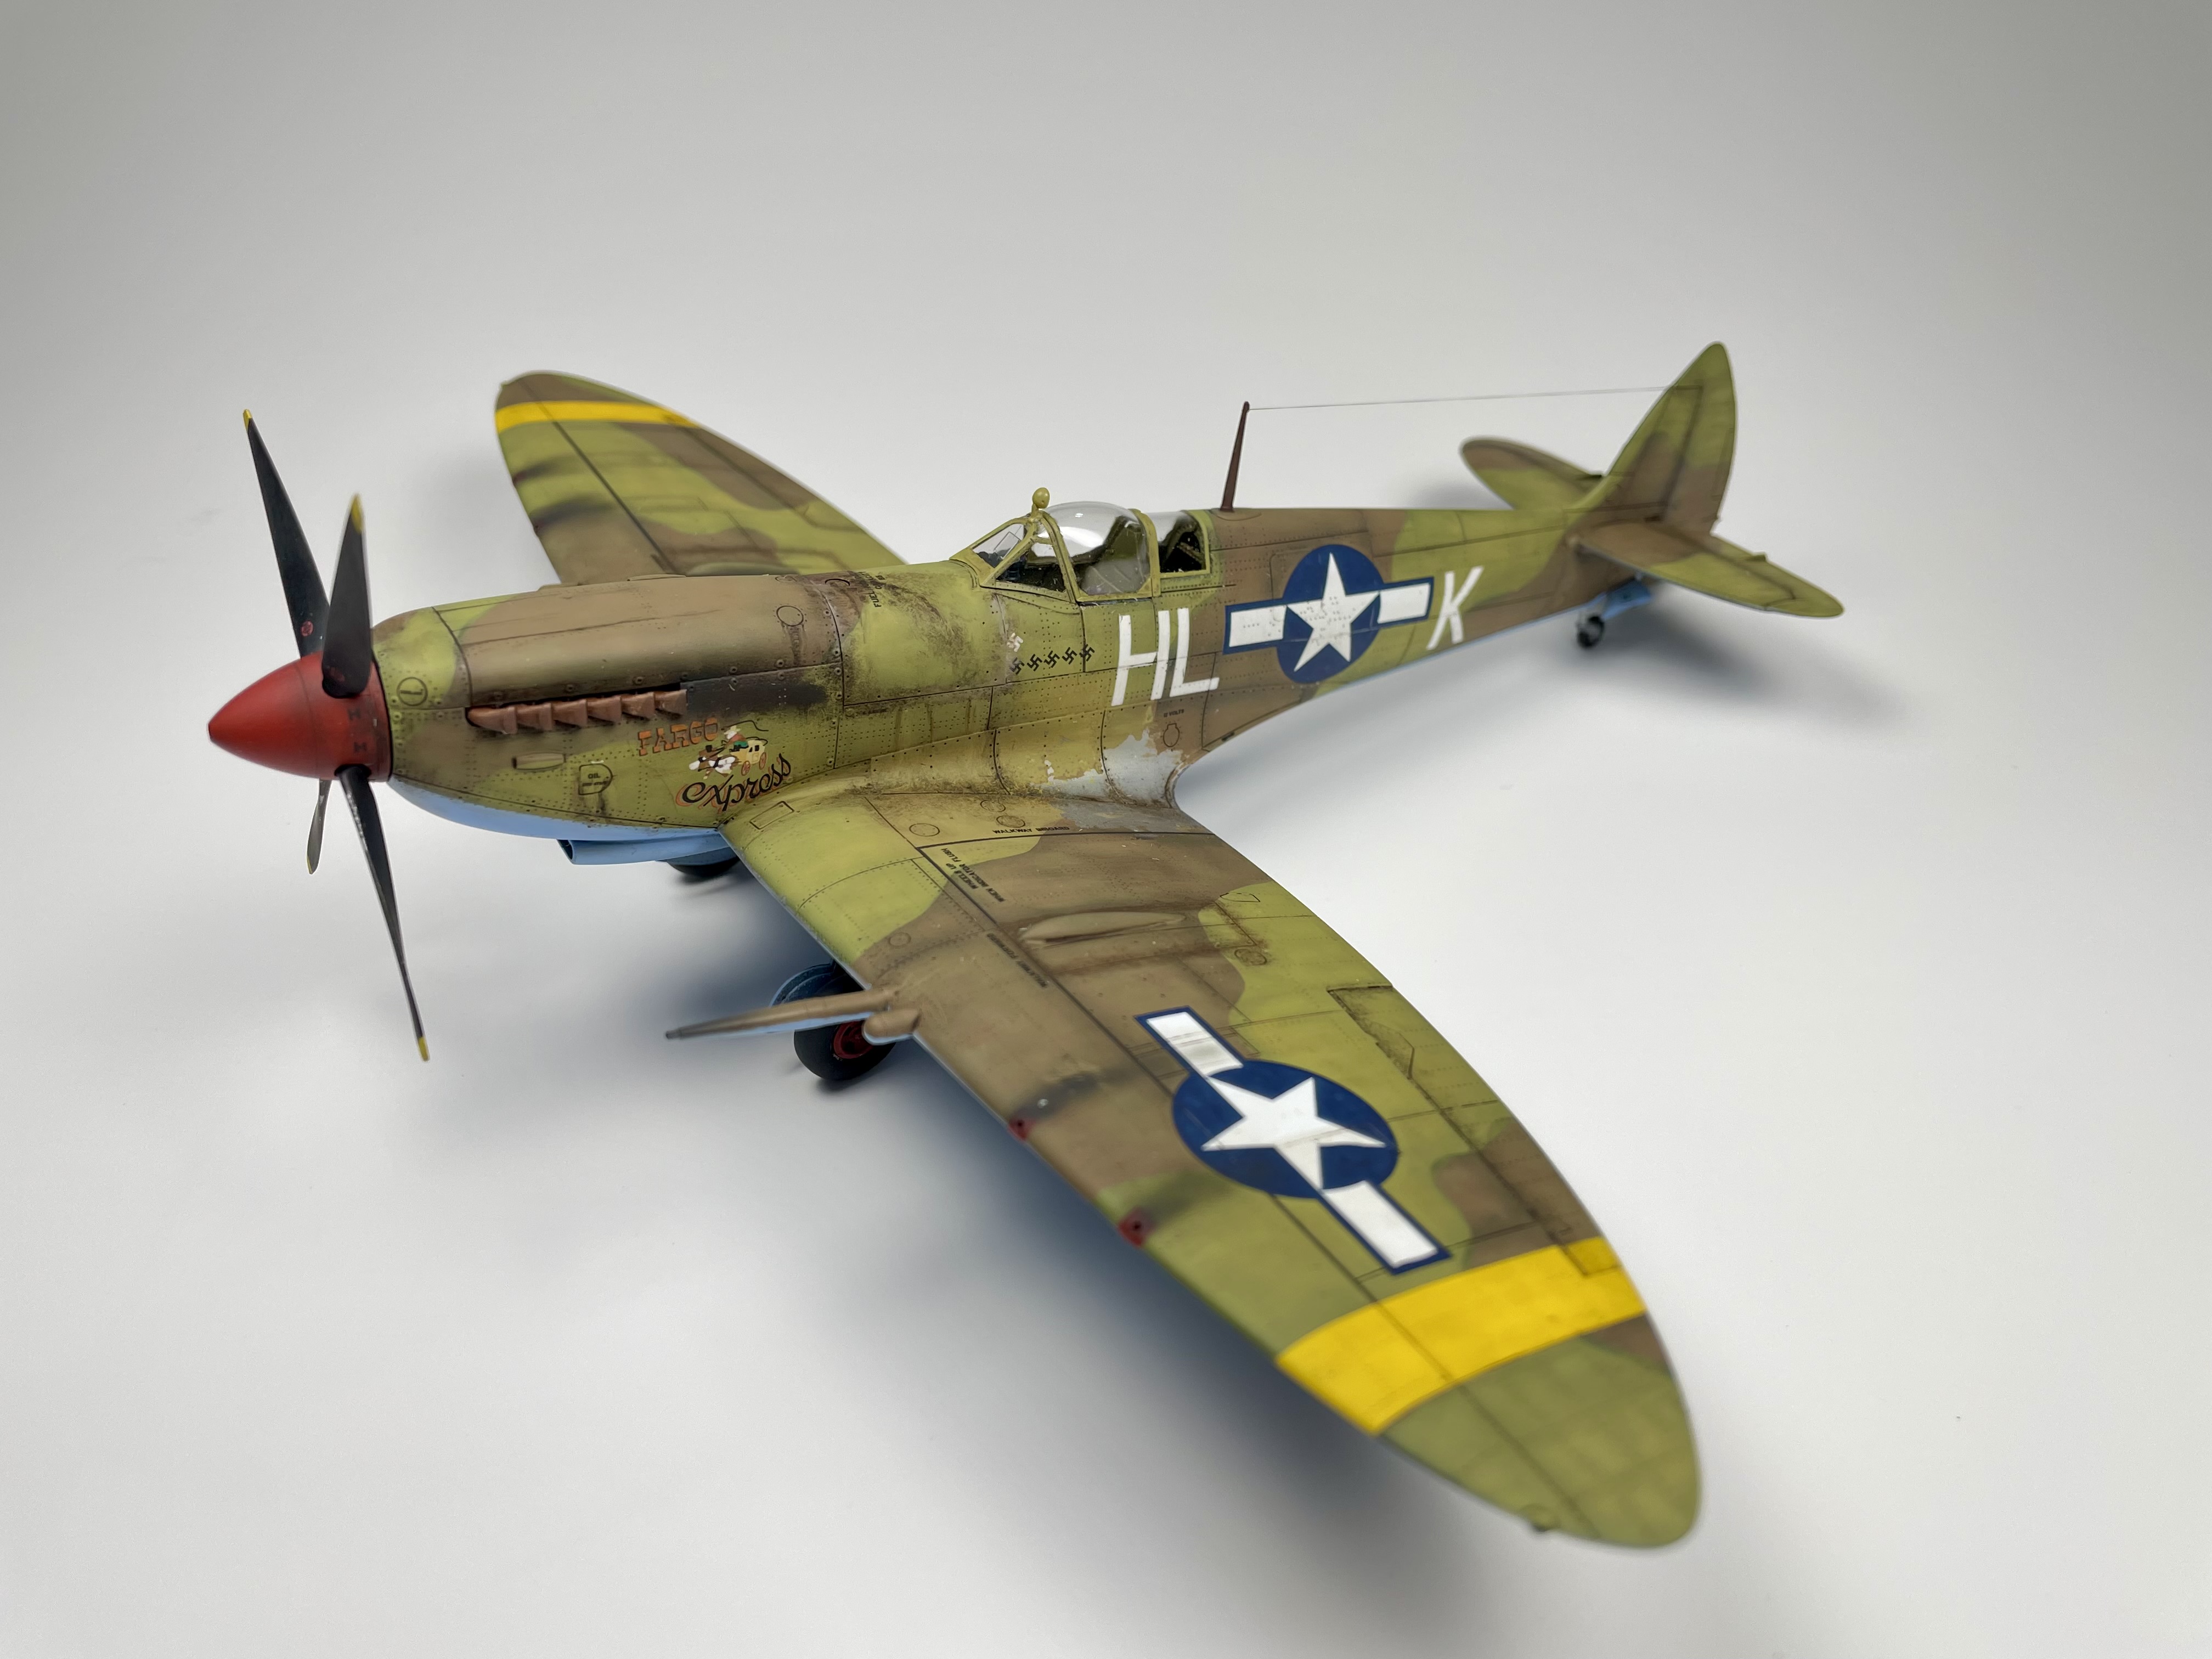
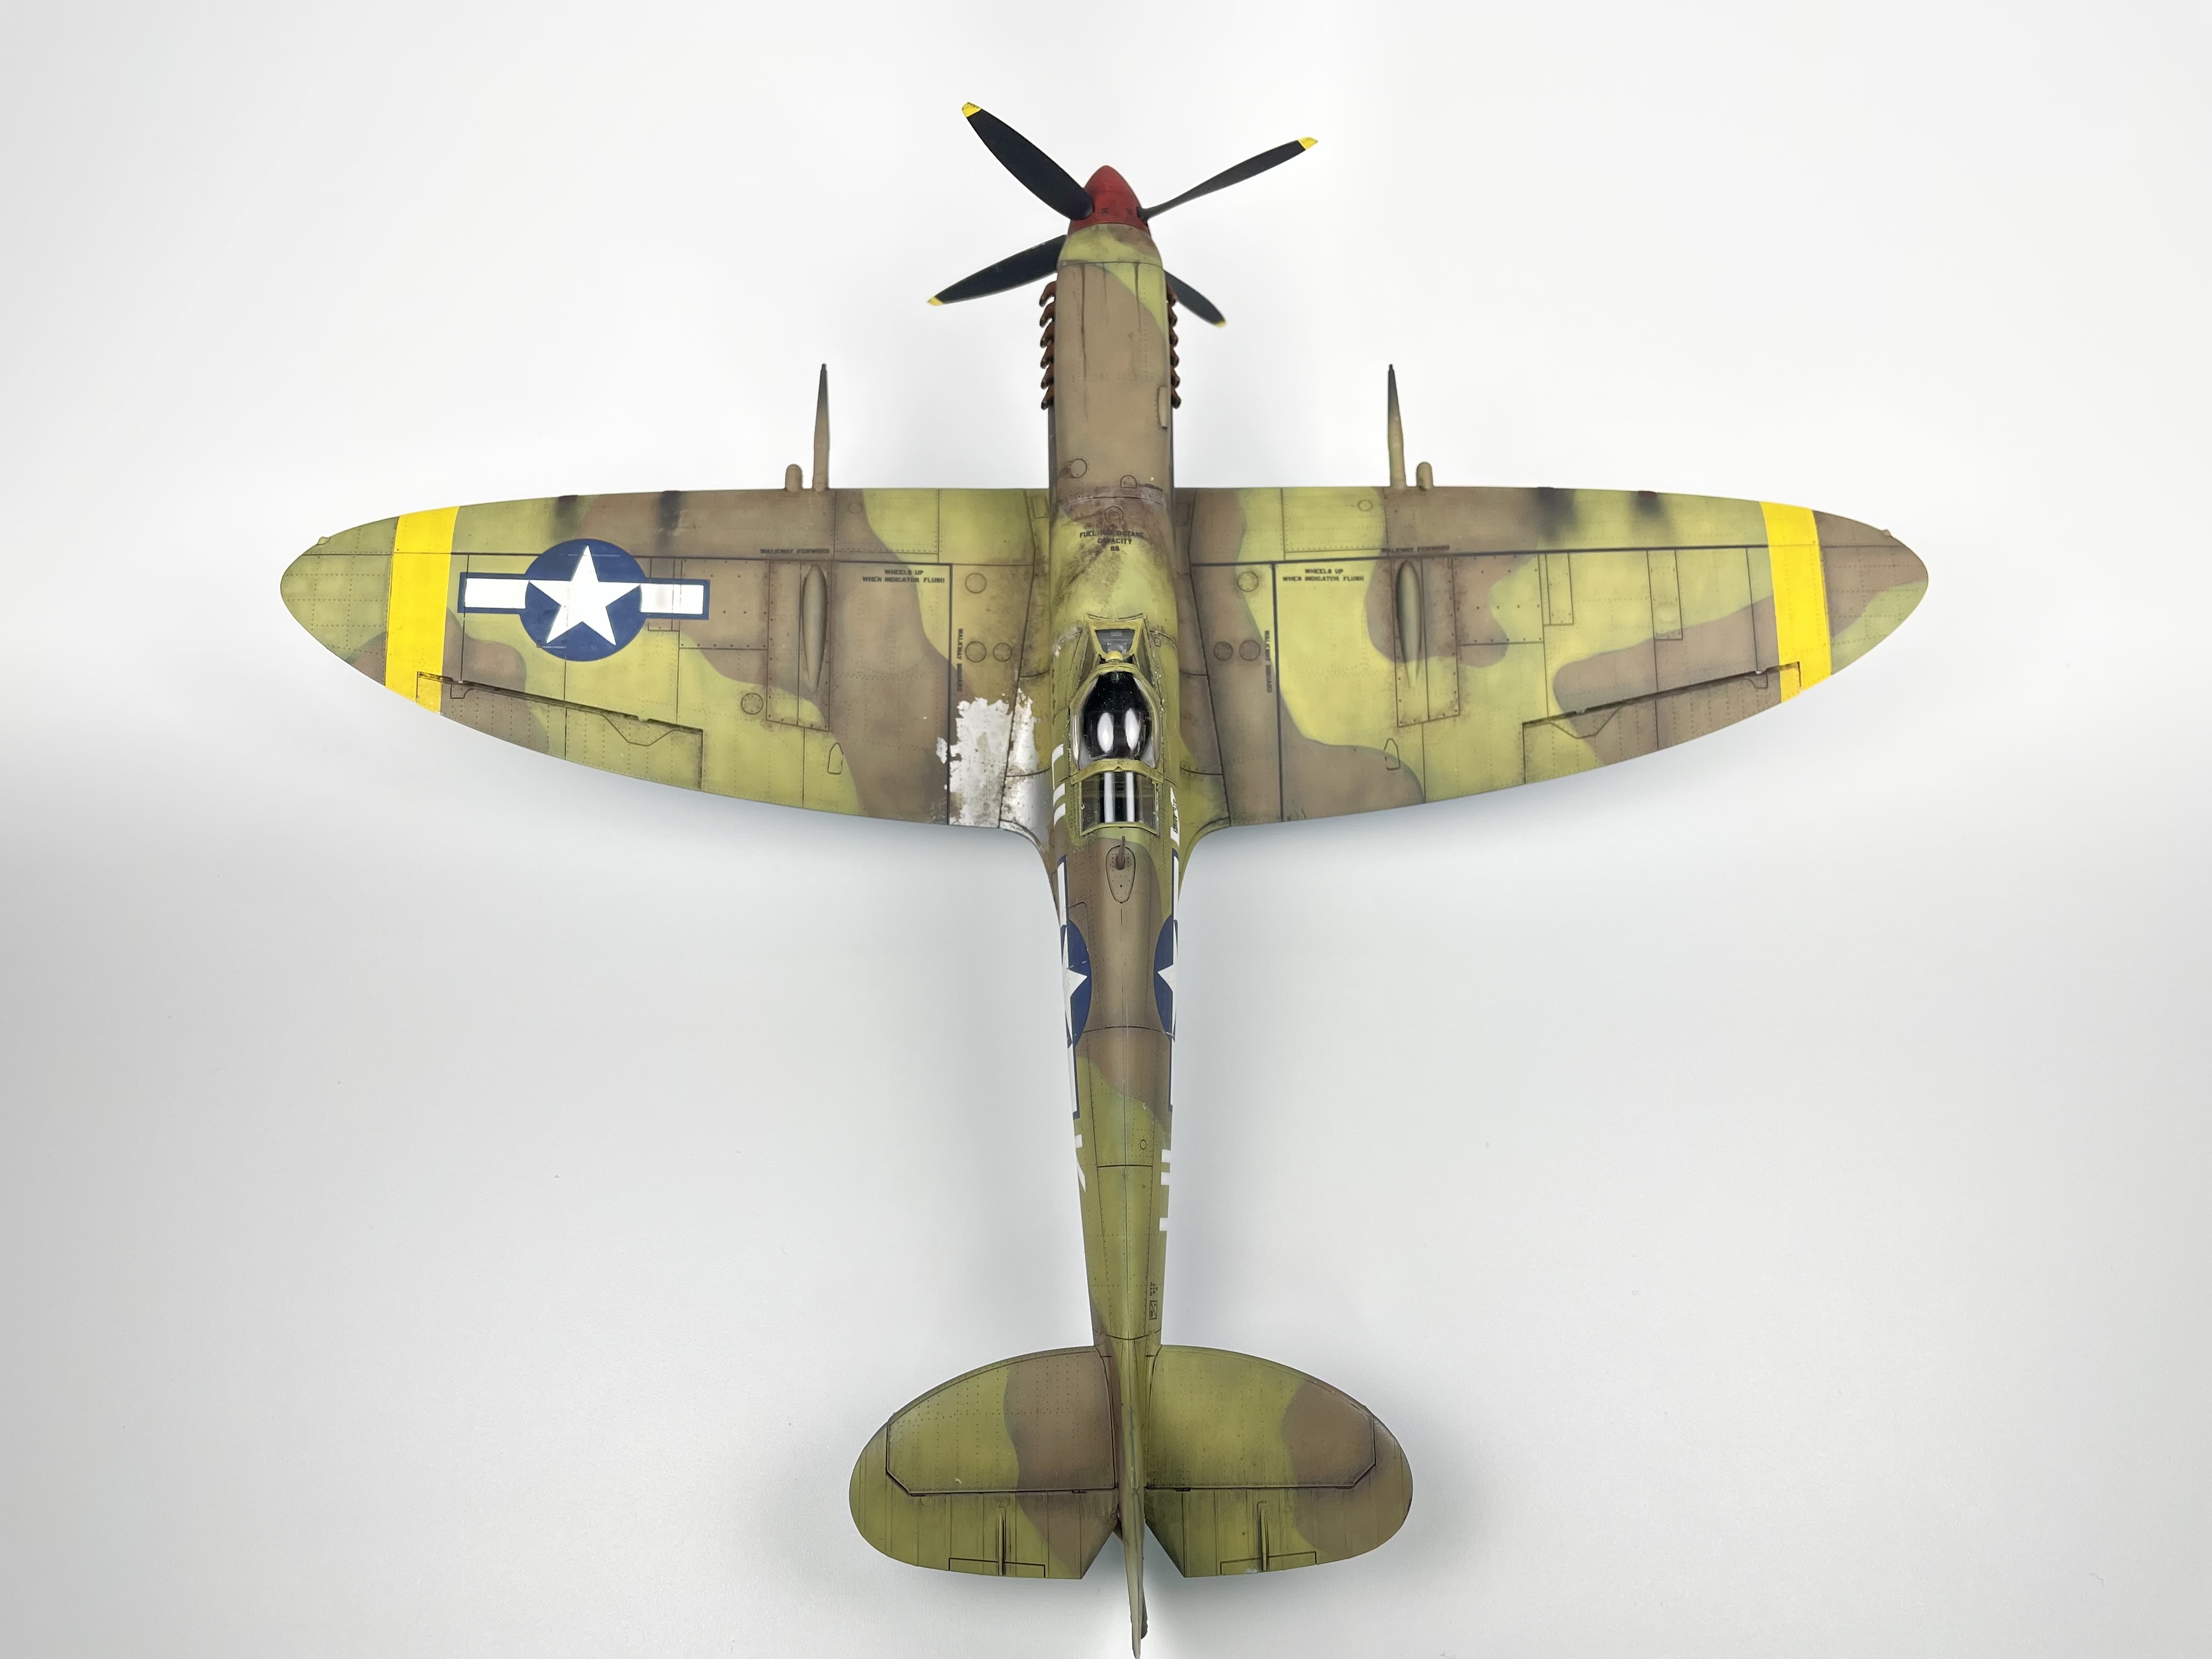
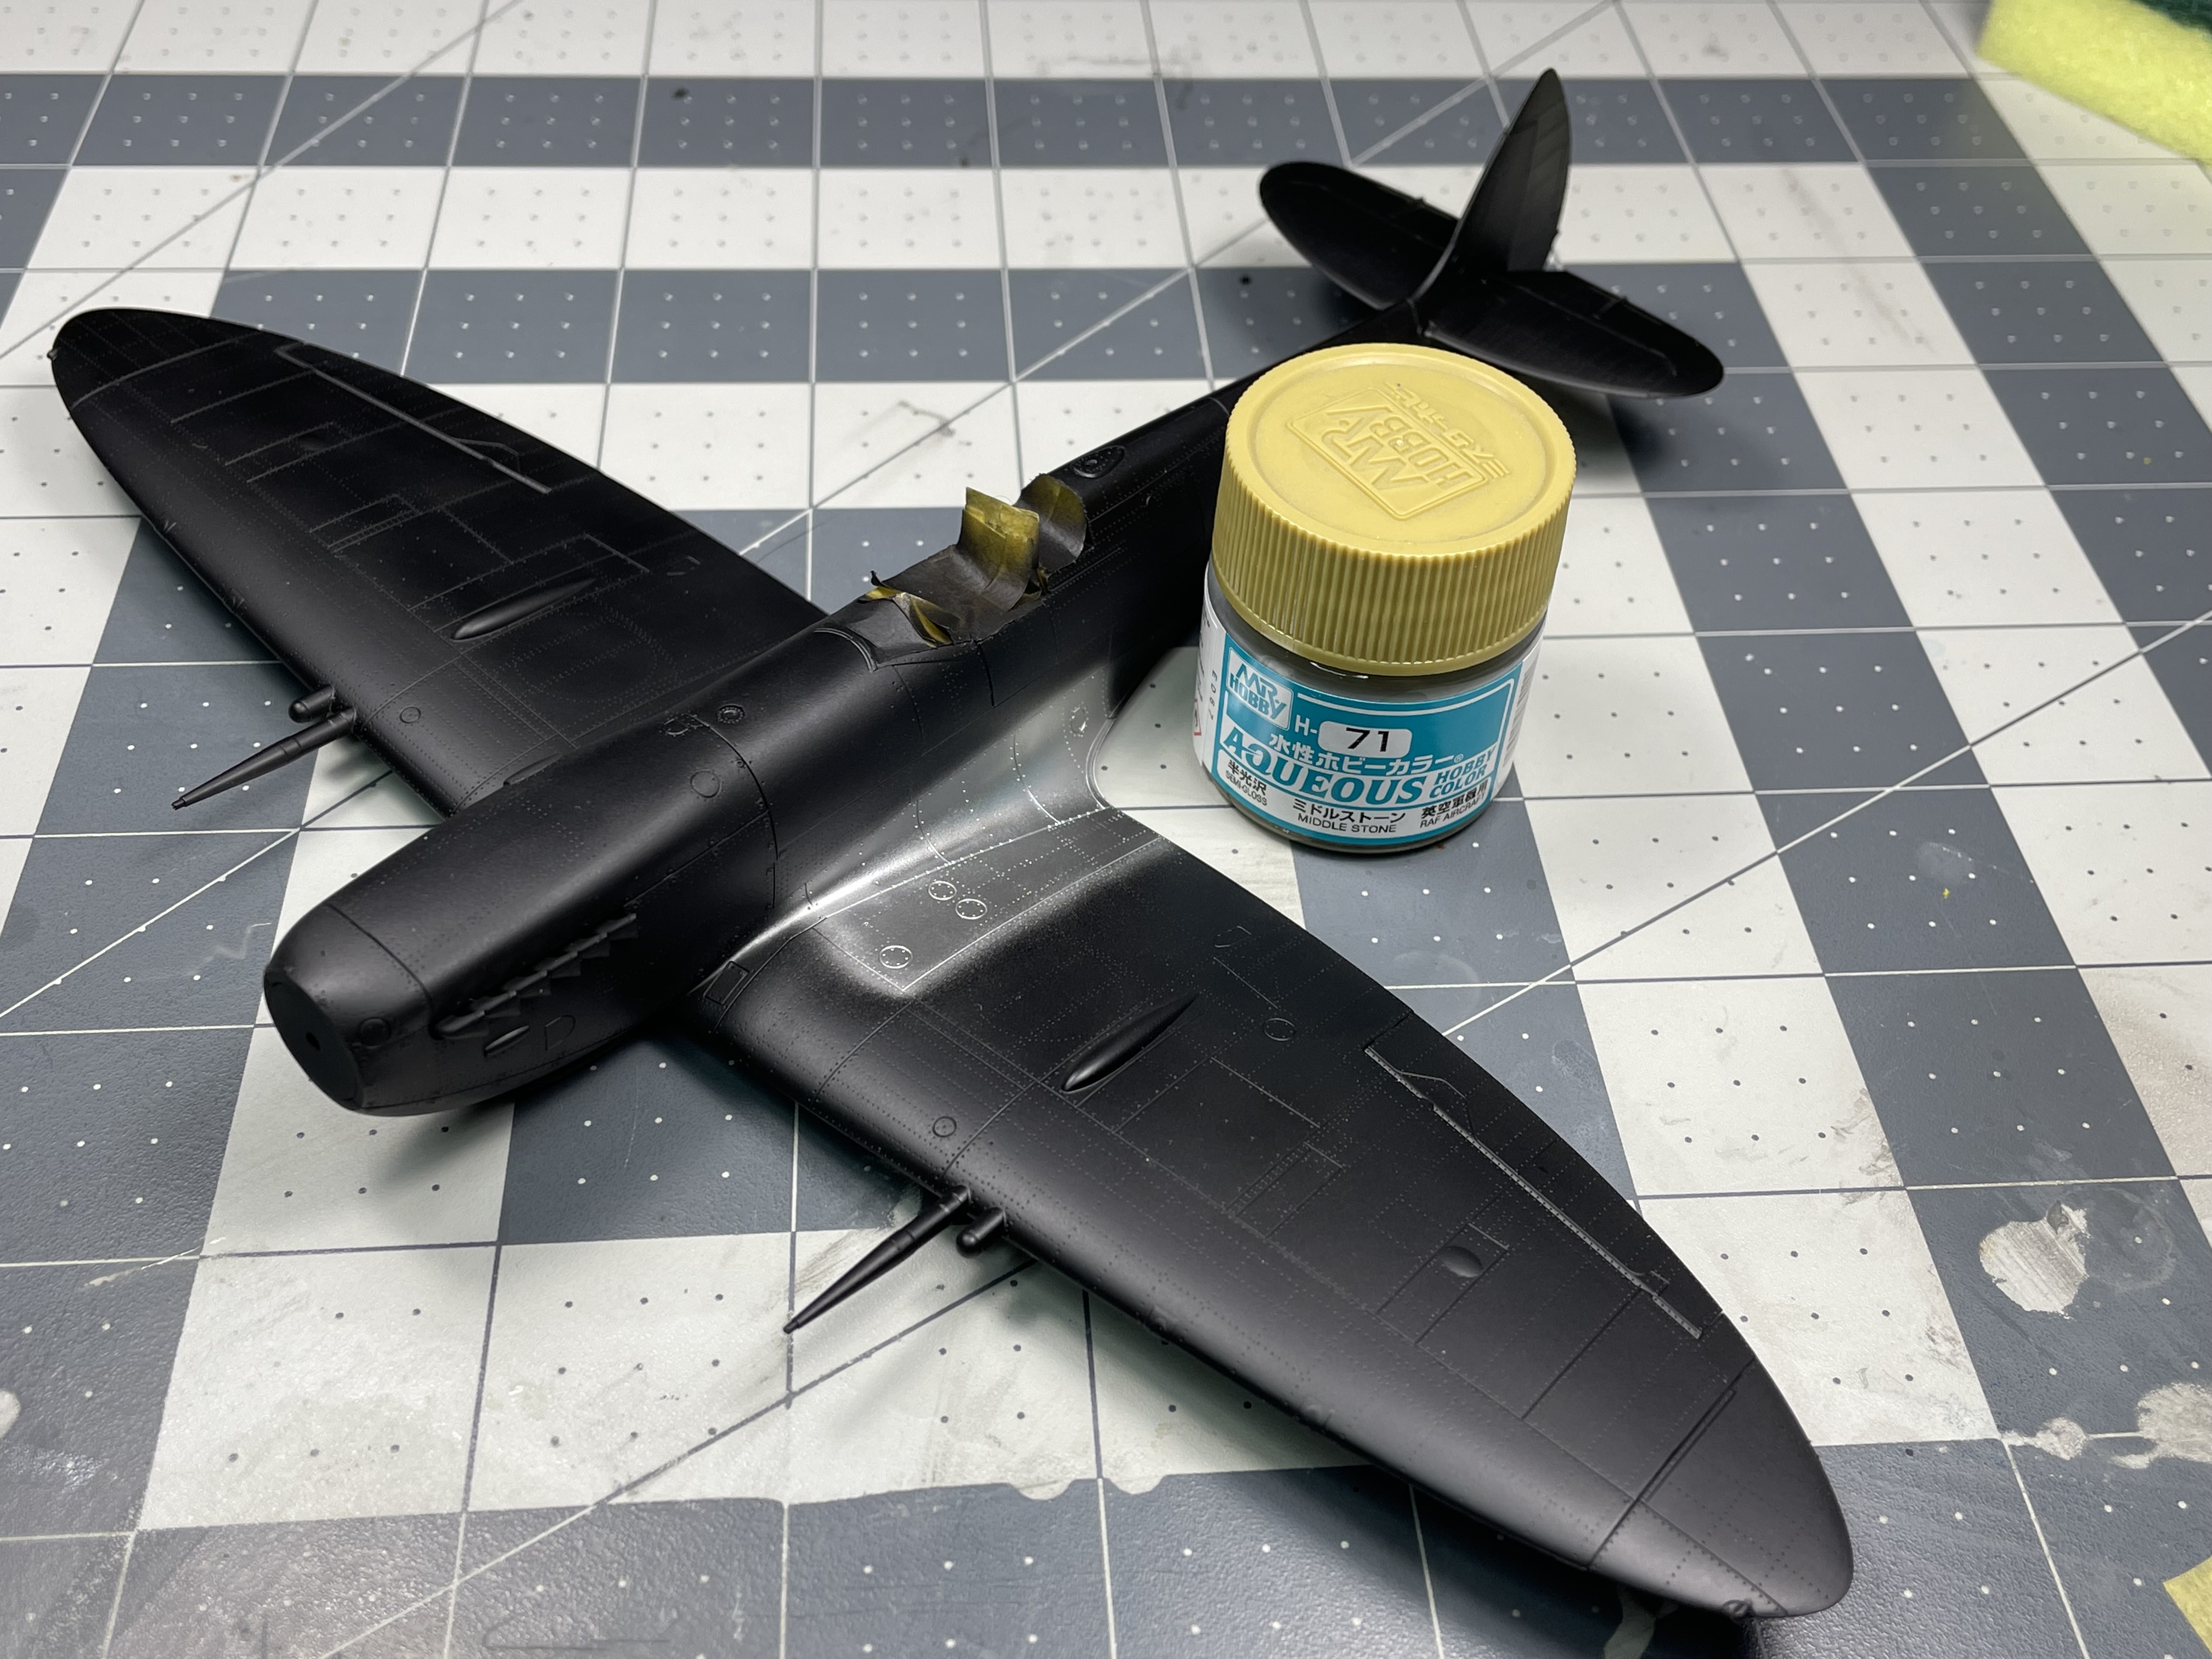
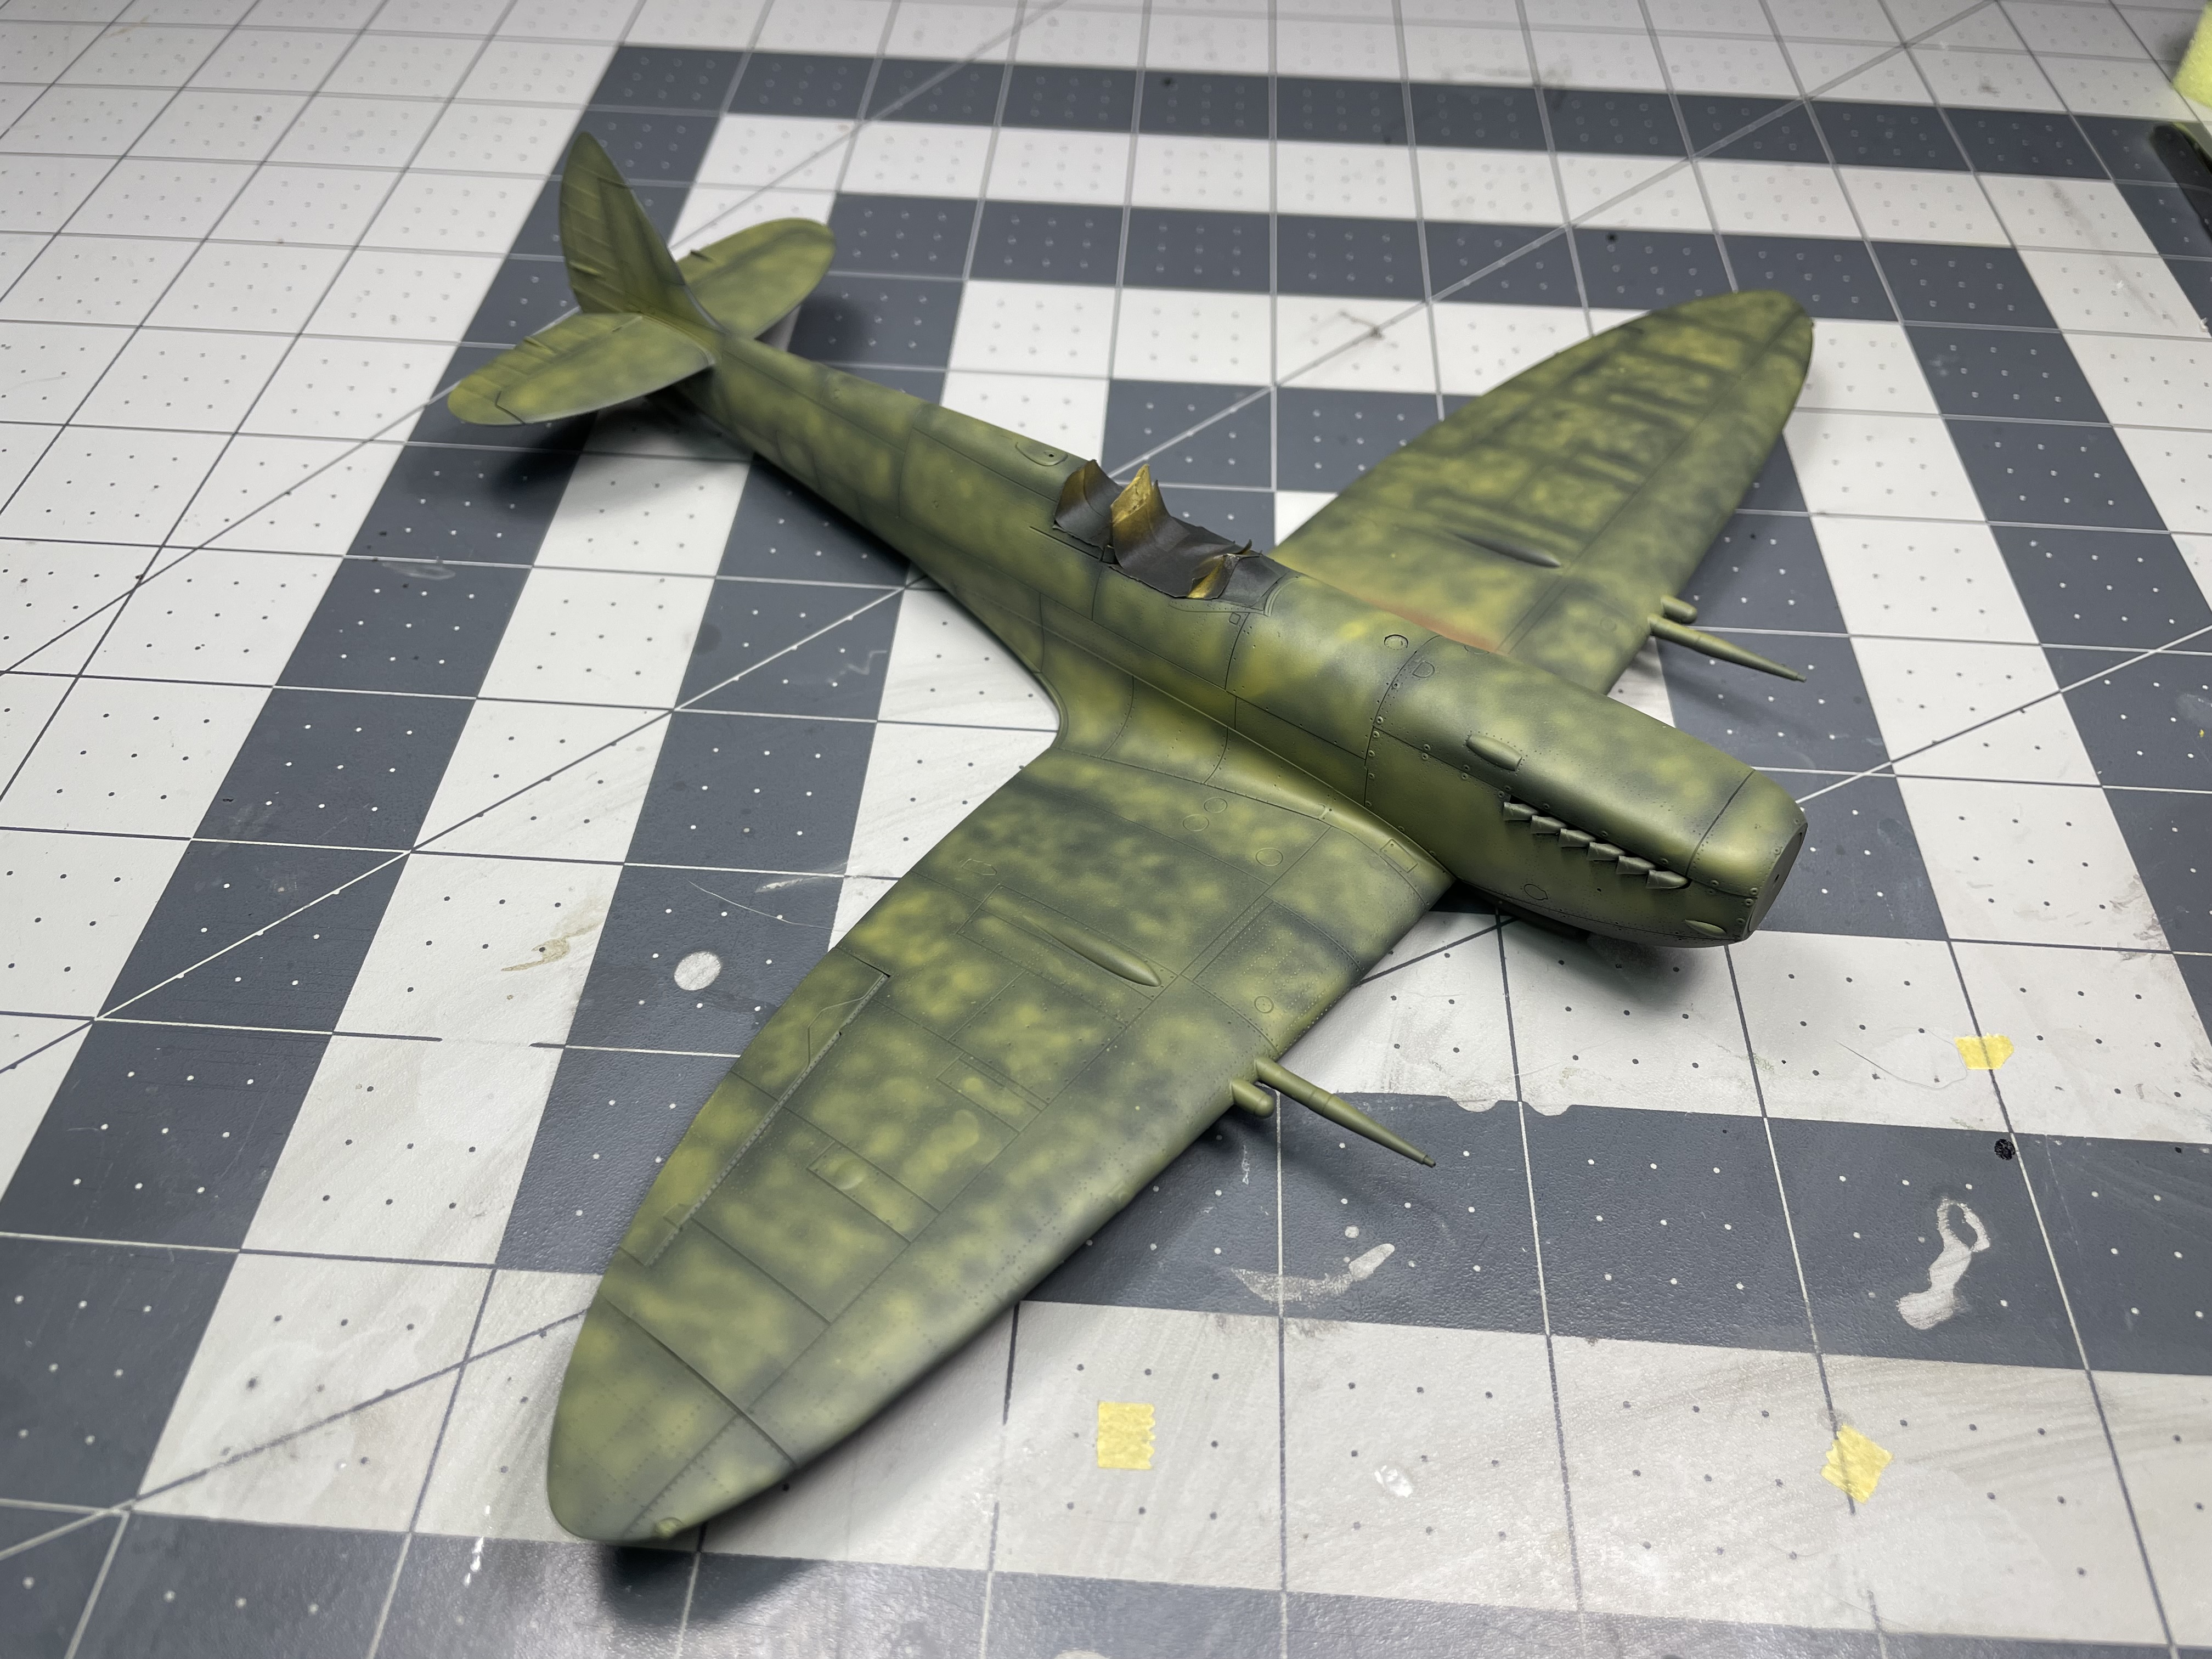
I had never done a hard edge camouflage before and wanted to experiment with making one. I also tried out the Mr. Color Aqueous range of paint which performed well IMO. The finish was painted with the marbling technique although since I also wanted chipping on the wing root I had to find a way to work around the metallic surface while panting.

I used AK masking putty for the camouflage and was really pleased with how it performed, despite the fact that it took a bit to get used to using. In the end I was really pleased with how the marbling and hard edges turned out.

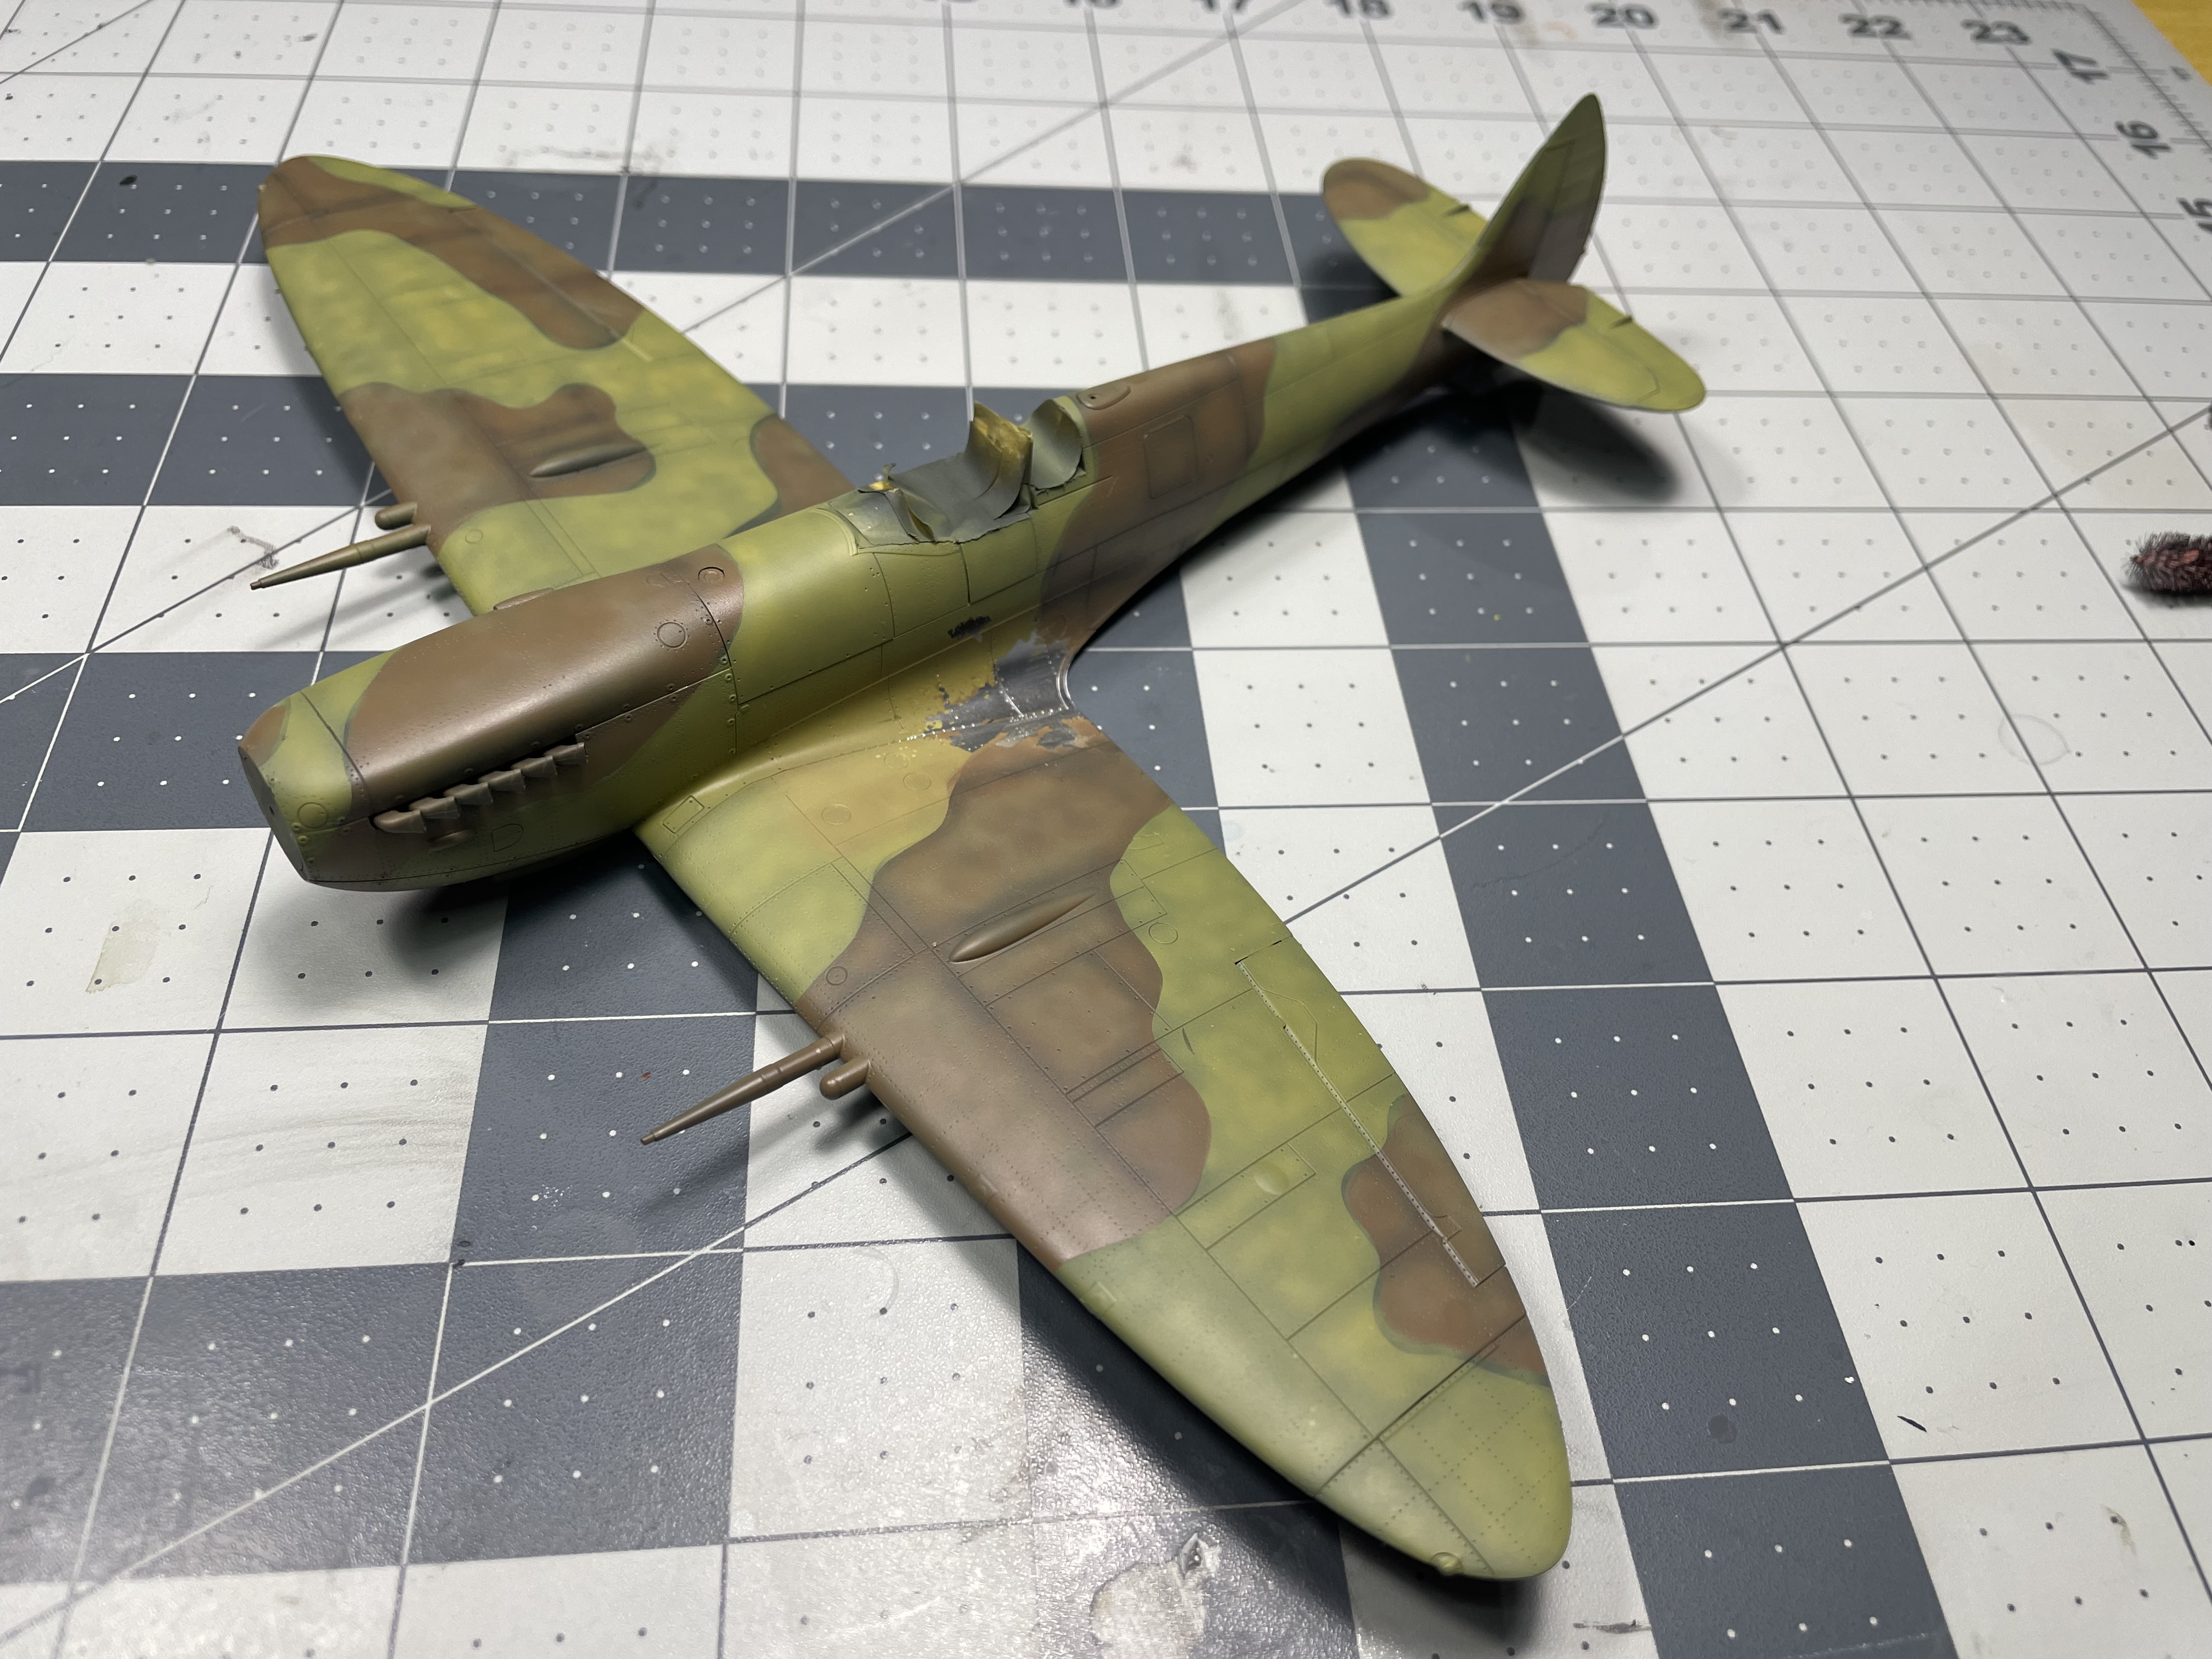
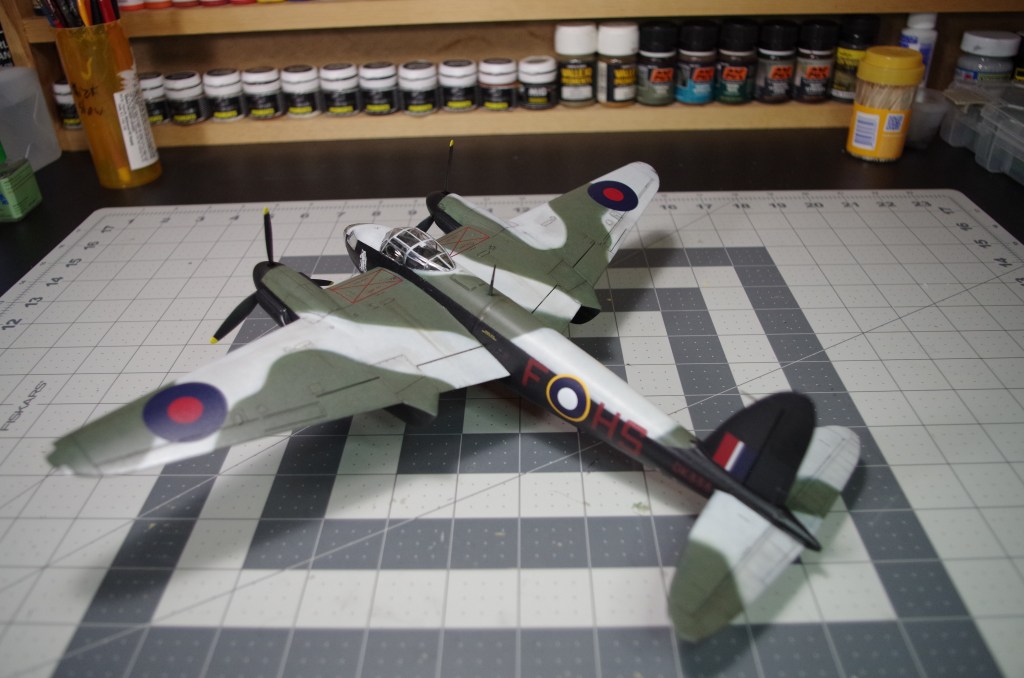
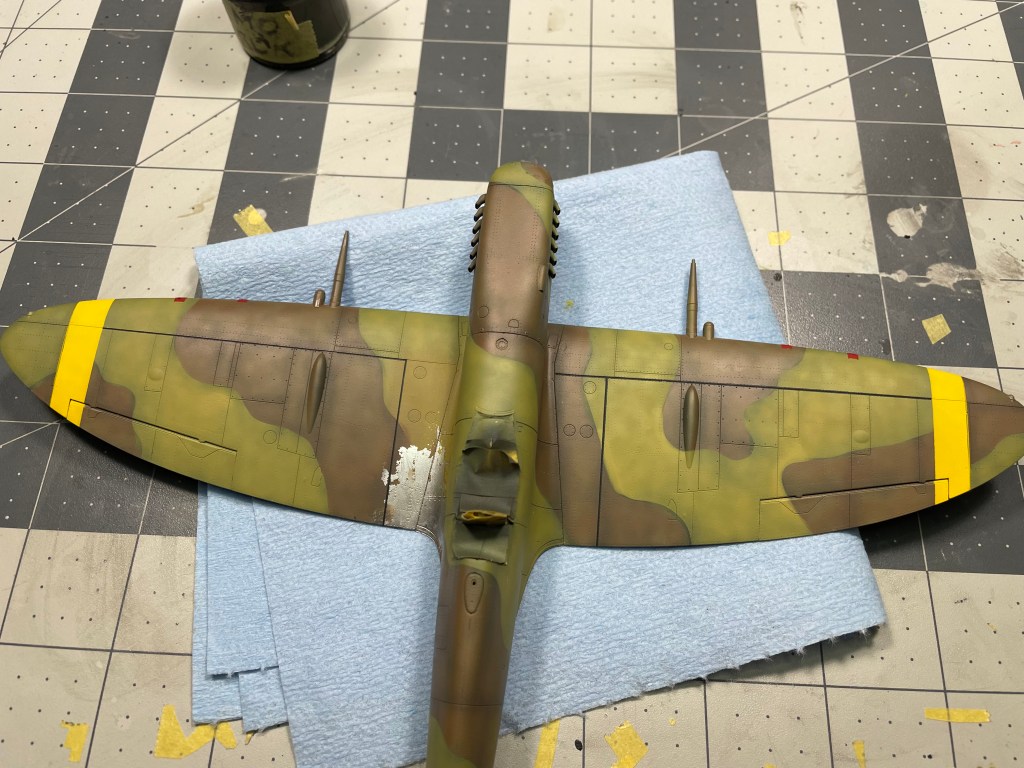
I used AK lacers for the RAF “Azure blue” And I have to say that it’s a fantastic colour to work with, the contrast between the desert camp above and the pale blue below is very nice.

Eduard includes decals for the wing markings but I instead opted to paint them using Tamiya NATO black. The end result speaks for itself in my opinion/

And with that decals were added and the kit was weathered up! I learned that while durable, Eduard decals need a very aggressive setting agent to settle. I clear coated the model with Tamiya X-22 and MCLT. Oils were used for about 99% of the weathering with some pigments used as well.

Categories
1:48 Aircraft

Tamiya P-38G Lightning “Operation Vengeance”

Over the past month I’ve managed to complete Tamiya’s new P-38. I’ve recently completed a move across the country and I’m happy to be back to building. I’m going to try to commit to churn out several builds over the next couple months to make up for the time spent away from the bench.

Categories
Aircraft

Tamiya He-219 “Uhu” (Part 1)

Next on the Bench was Tamiya’s late war German night fighter the He-219 “Uhu” or “Owl”. Construction started with the cockpit of course and Tamiya was nice enough to supply a metal “tub” for all the major cockpit components, this should be pretty helpful to keep the nose down. After putting a couple of nights at the bench in I have to say, I’m already quite disappointed with the kit. Not the typical Tamiya fit as it seems as I had some issues joining the wings together.

I am however quite happy with the level of detail so far, especially on the radio operator’s station! really looking forward to detailing the cockpit up. I’ve also opted to get a aftermarket Fug 220 radar set which, after applied on the nose of the aircraft, will really stand out. I also picked up a set of resin wheels from Eduard. I’ll be posting comparison pictures a little later on in the build.

For the priming I’m trying out Mr. Finishing Surfacer 1500 Black. I found the Vallejo Black primer I used on the Mossie peeled way, way too easily. I found while using the new primer I was still getting a overly rough surface texture even after thinning with leveling thinner. I think I’ll have to look more into what I might be doing wrong airbrushing wise. I suspect the paint is drying before reaching the model, but more investigation is needed.

That’s all for now, For this build I really want to get consistent bench time in. I’m aiming to have it all completed within a Month!

follow the build page on Scalemates.com! https://www.scalemates.com/profiles/mate.php?id=93444&p=projects&project=95754

Categories
Aircraft

Tamiya Mosquito B Mk.IV/PR Mk.IV

After wayyyyyy to long on the workbench Tamiya’s gem of a 1999 kit has finally vacated the table. In all honestly it’s been a slog finishing the Mossie. Not because of any issue with the build itself, but more so the lacking motivation to finish. I used Vallejo acrylics for the finish and tried out color modulation for the first time. A dark wash was applied over top a gloss coat as well as some various fuel and oil streaking effects from Mig.

Now on to the Uhu!